pren
Established Member
Hi!
I've been working on this double bed project for the last few weeks now. I think I've got enough pics together to make this of some interest.
The bed is for a friend who is in need of a new one having .... broke .... her existing one ..... somehow....... :lol:
:lol:
She was after 'Traditional with a modern twist' :?: . I came up with this as a final design (with natural pine woodwork and all gloss-black head and footboards, minus the hearts):
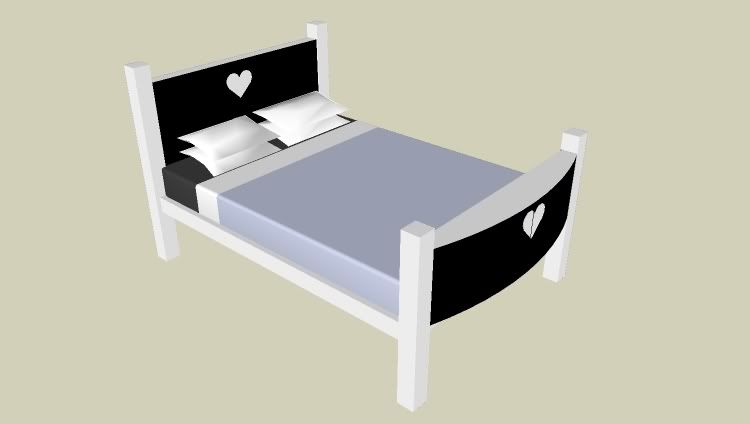
This was to be my first foray into M+T joints (shameful as I've been molesting wood for a couple of years now ). Having researched the various techniques for joining bed rails to posts, I decided to go for morticed ends with a securing 'L' plate bolted into the corner.
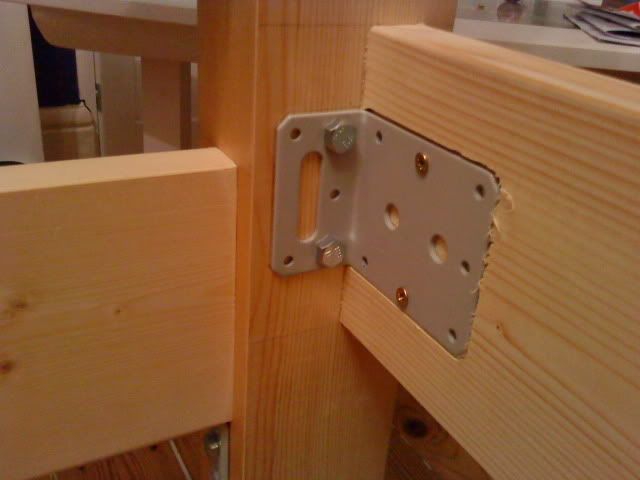
The M8 bolts screwed into some t-nuts set into the posts from the rear.
I could have used bed bolts, but I've had a few beds in the past that have had the bolts fail so I wanted to over-engineer this to avoid mid-coital structural failure. :shock: :wink:
I copied a tennon jig from one shown on here a few months back. I can't, for the life of me, remember who's idea it was. Whoever you are: Thankyou!
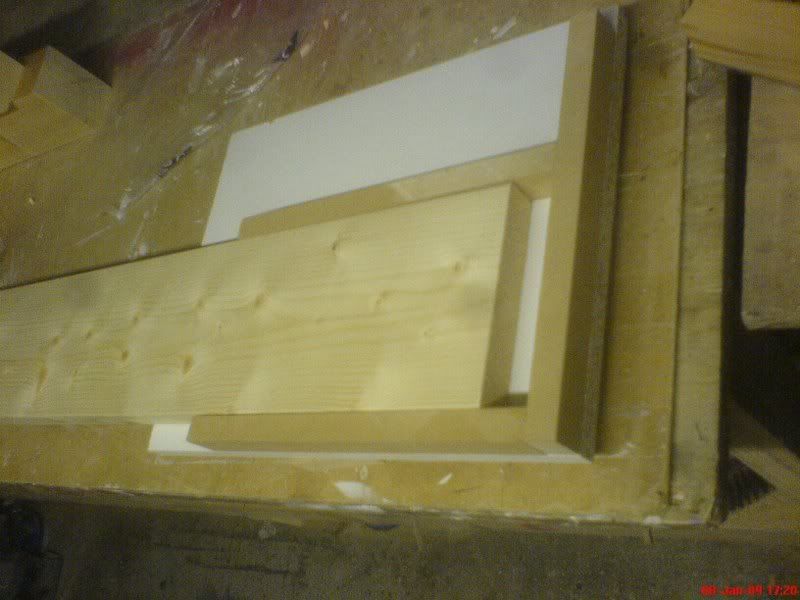
It's just a few strips of MDF ripped to the same thickness as the side rails (144 x 28mm redwood pine) fixed to a flat piece of MFC.
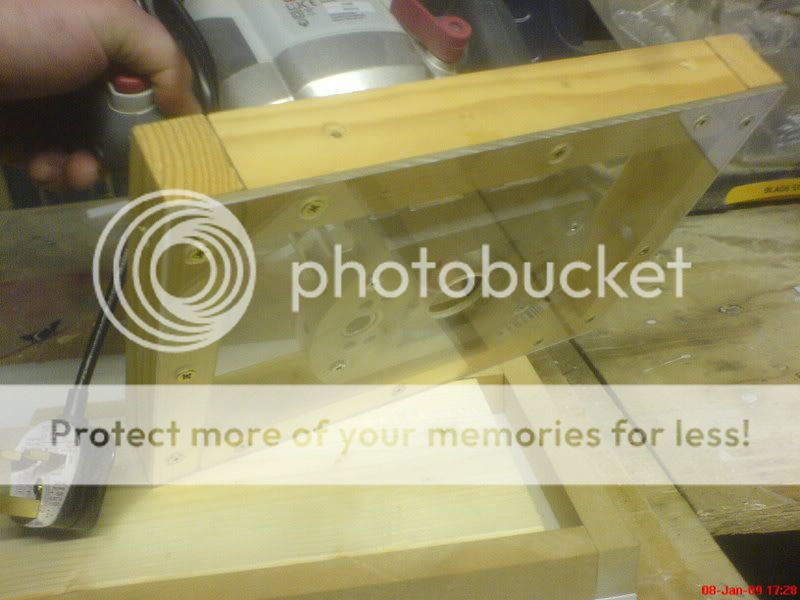
An over-sized router base was made to ride over the sides
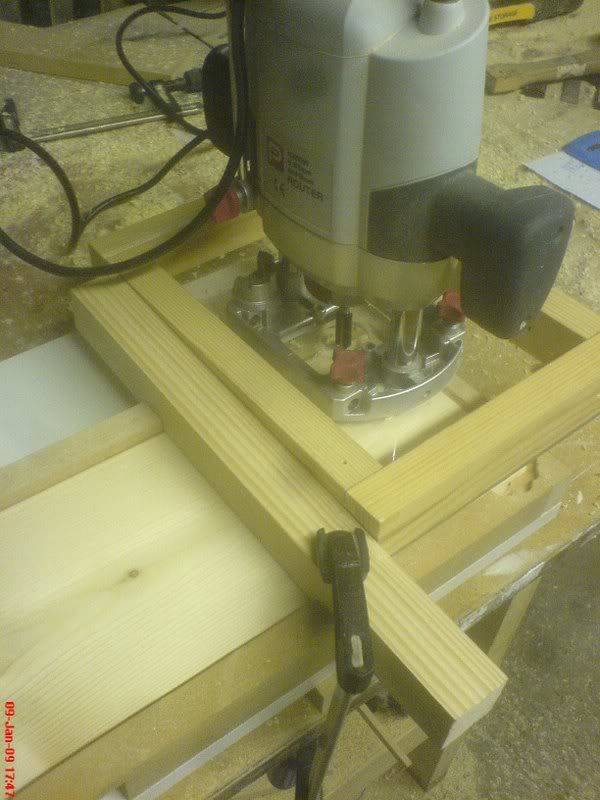
A scrap of baton was fixed to set the tennon depth
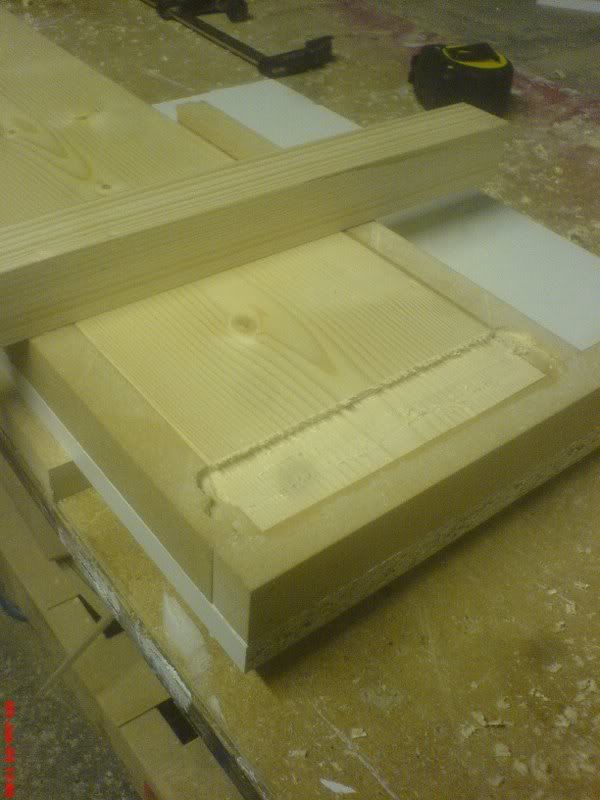
A few passes with the router produced a tennon that I was able to 'tune' to .5mm to produce a snug fit in the mortice.
Having made sure my tennons were repeatable and fitted my test-mortice, I set about drilling out the moritces in the bed legs.
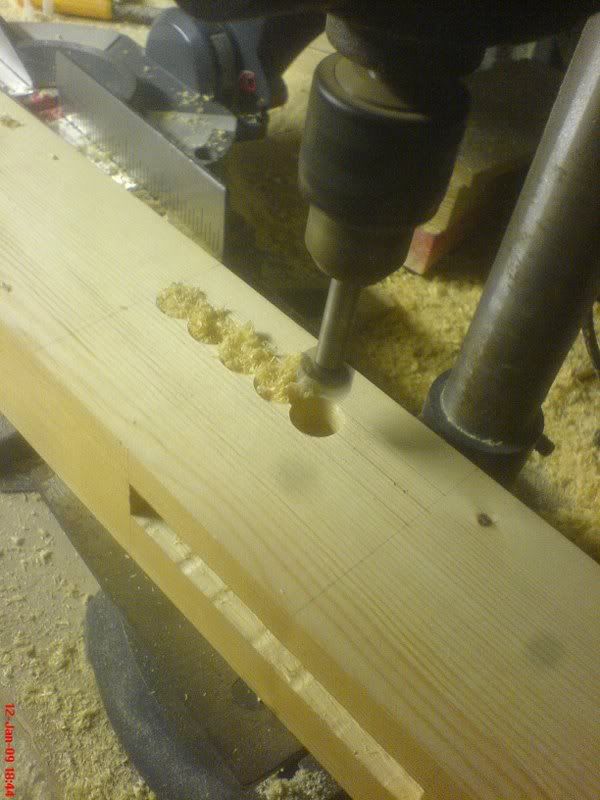
I actually found the morticing process a lot easier and more satisfying that I was imagining.
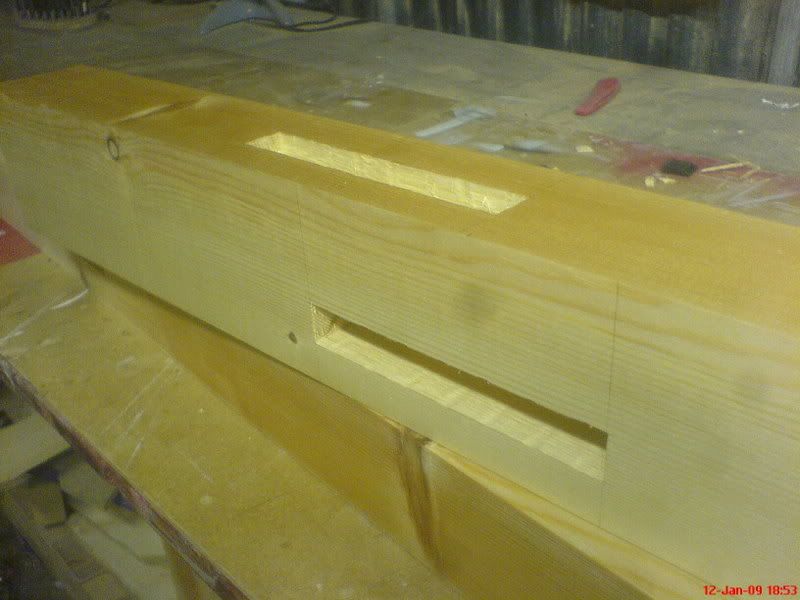
The centre rail was next, secured to the head and foot rails by two joist hangers.
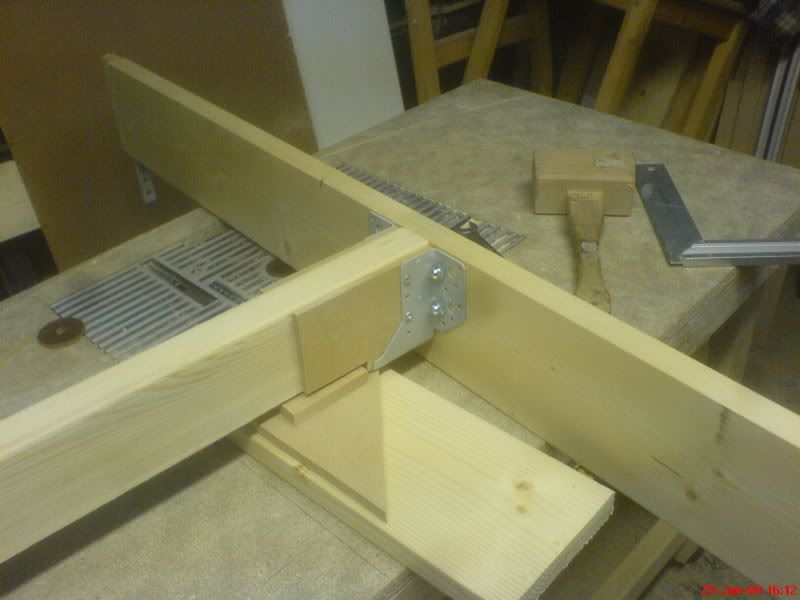
After this, I put a small bevel around the tops of the posts with a 45 degree router bit.
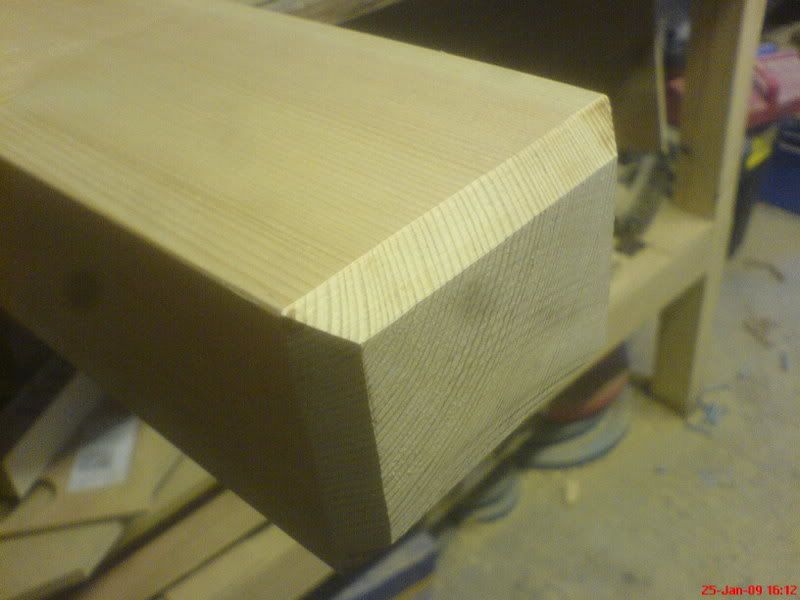
I discovered that by going at the corner first and then working away from it, i could avoid breakout.
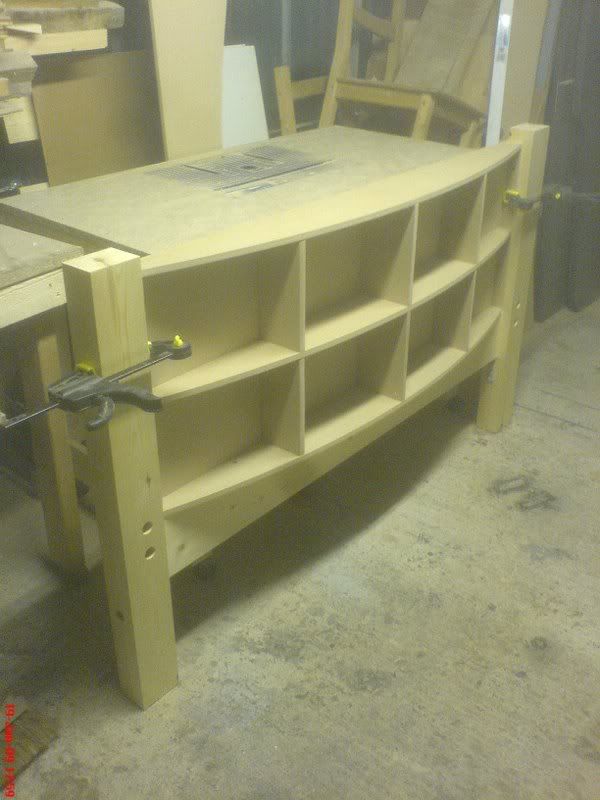
Next up was the curved foot board. This was made from 12mm MDF with a torsion box frame. I used a 2.14m trammel bar to create the curve.
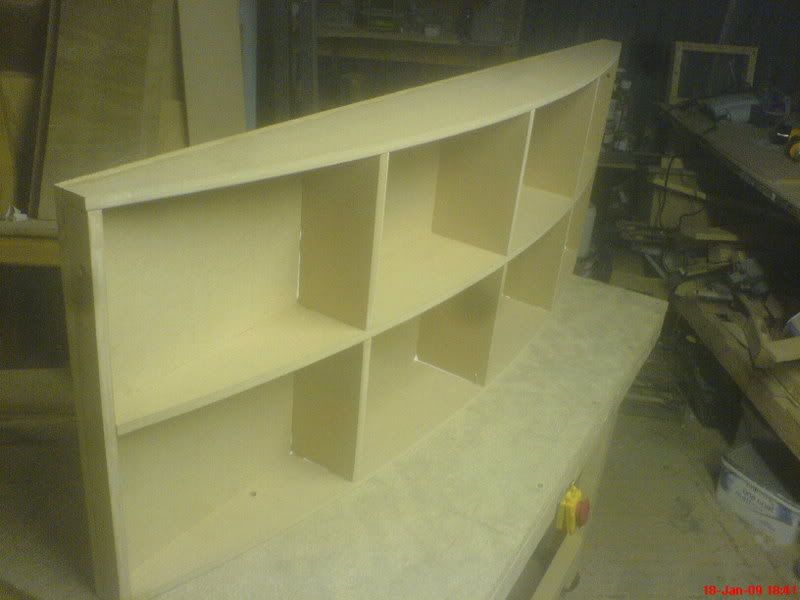
Test fitted between the posts and ontop of the foot rail.
The headboard proved much simpler as all the frame parts were the same depth and could be cut in bulk on my TS.
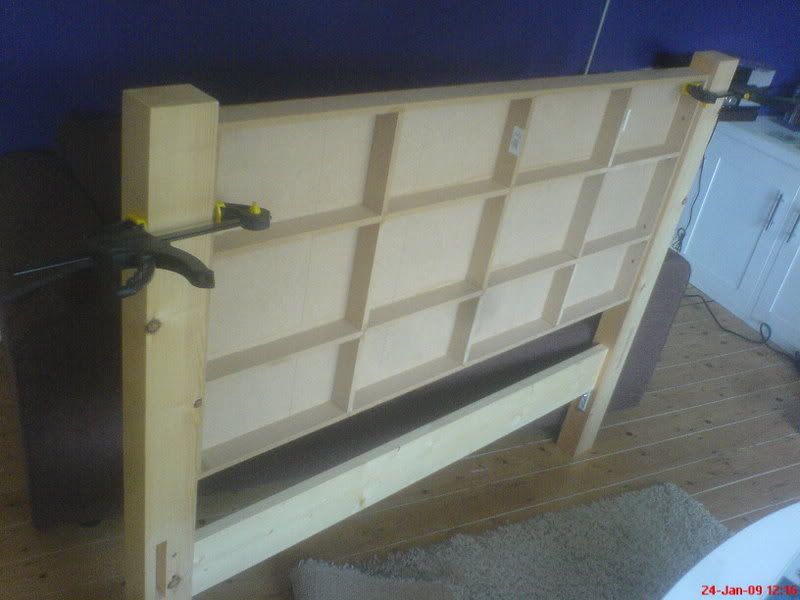
The foot board was then covered with a 6mm 'skin' of mdf which followed the curve nicely. The head board was made from two 'skins' of 9mm MDF.
Both were primed with matt emulsion, having first been filled and sanded.
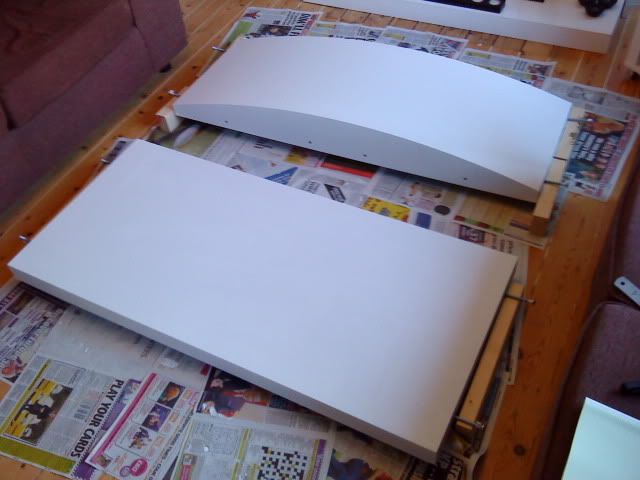
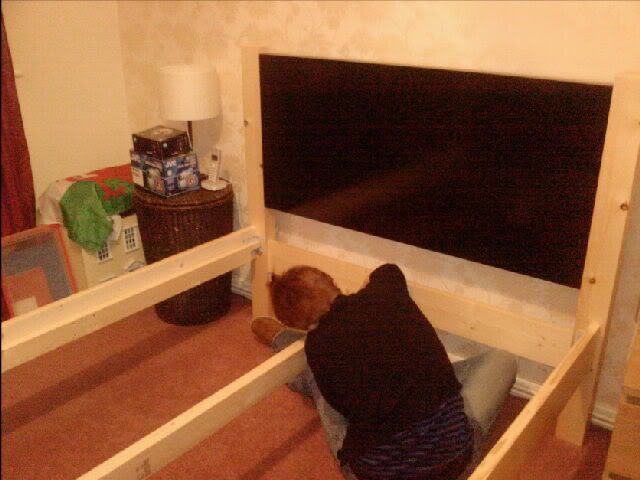
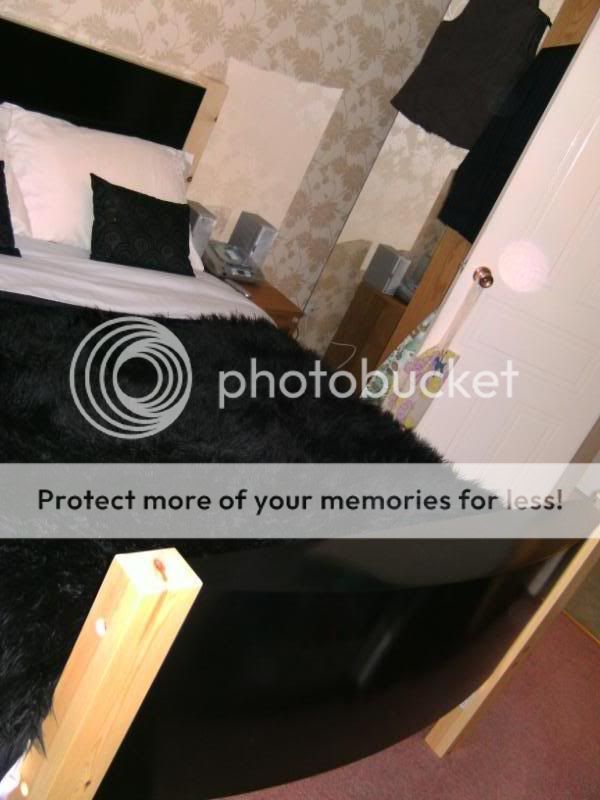
And so, this is the stage at which I am at.
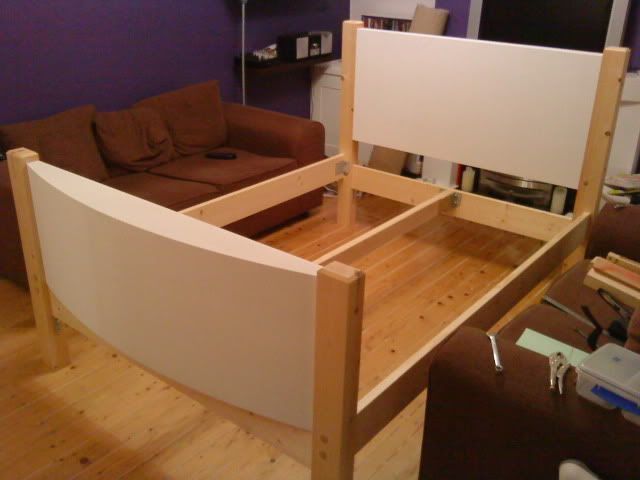
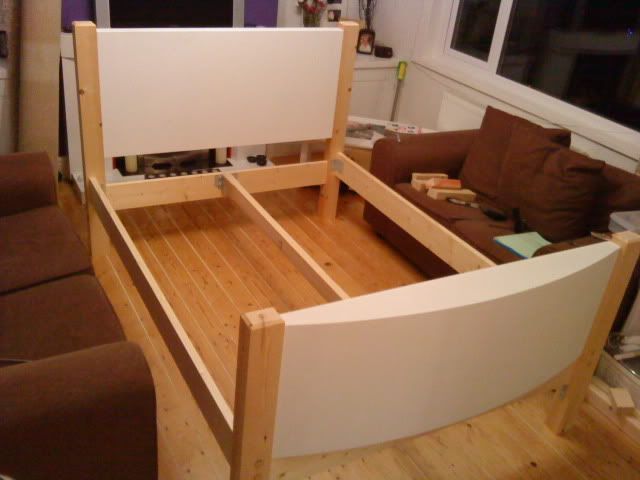
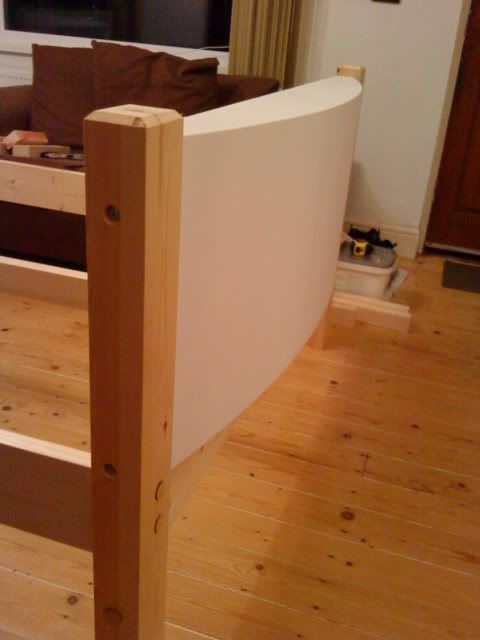
The woodwork needs sanding and coating with a clear gloss varnish and the head and foot boards need sanding and painting with a gloss black finish (I'd rather leave them white but the customer is always right ....).
Cheers.
Bryn
I've been working on this double bed project for the last few weeks now. I think I've got enough pics together to make this of some interest.
The bed is for a friend who is in need of a new one having .... broke .... her existing one ..... somehow.......
She was after 'Traditional with a modern twist' :?: . I came up with this as a final design (with natural pine woodwork and all gloss-black head and footboards, minus the hearts):

This was to be my first foray into M+T joints (shameful as I've been molesting wood for a couple of years now

The M8 bolts screwed into some t-nuts set into the posts from the rear.
I could have used bed bolts, but I've had a few beds in the past that have had the bolts fail so I wanted to over-engineer this to avoid mid-coital structural failure. :shock: :wink:
I copied a tennon jig from one shown on here a few months back. I can't, for the life of me, remember who's idea it was. Whoever you are: Thankyou!

It's just a few strips of MDF ripped to the same thickness as the side rails (144 x 28mm redwood pine) fixed to a flat piece of MFC.

An over-sized router base was made to ride over the sides

A scrap of baton was fixed to set the tennon depth

A few passes with the router produced a tennon that I was able to 'tune' to .5mm to produce a snug fit in the mortice.
Having made sure my tennons were repeatable and fitted my test-mortice, I set about drilling out the moritces in the bed legs.

I actually found the morticing process a lot easier and more satisfying that I was imagining.

The centre rail was next, secured to the head and foot rails by two joist hangers.

After this, I put a small bevel around the tops of the posts with a 45 degree router bit.

I discovered that by going at the corner first and then working away from it, i could avoid breakout.
Next up was the curved foot board. This was made from 12mm MDF with a torsion box frame. I used a 2.14m trammel bar to create the curve.

Test fitted between the posts and ontop of the foot rail.

The headboard proved much simpler as all the frame parts were the same depth and could be cut in bulk on my TS.

The foot board was then covered with a 6mm 'skin' of mdf which followed the curve nicely. The head board was made from two 'skins' of 9mm MDF.
Both were primed with matt emulsion, having first been filled and sanded.

And so, this is the stage at which I am at.


The woodwork needs sanding and coating with a clear gloss varnish and the head and foot boards need sanding and painting with a gloss black finish (I'd rather leave them white but the customer is always right ....).
Cheers.
Bryn


