.
Like you Loz, and a few others i suspect, i've not been turning long... in fact it's just gone past the 12 month mark (and 3 of those i didn't do anything as it was too cold down the shed...!!). So i'm not claiming to be good at it, just got an eye for detail.... and patience.... you need to be patient sometimes... dont be tempted to rush it.
Like you i was impressed and amazed at just
how the Celtic Knots were done... so i watched the you-tube thingy, and was left thinking that if a twelve year old boy could do it.... so could i, and set about having a go..... here's some pics (i hope...)
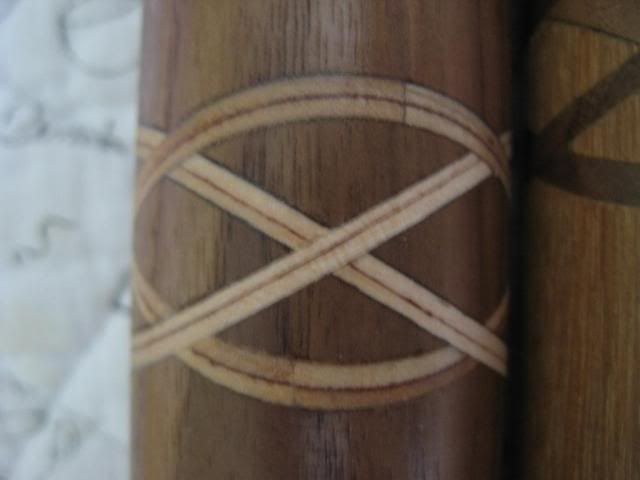
chose my piece of wood... a bit of Walnut, and decided to use Birch Ply as an insert, 2 reasons..... 1, i liked the contrast of dark and light wood, and 2, i had some...!
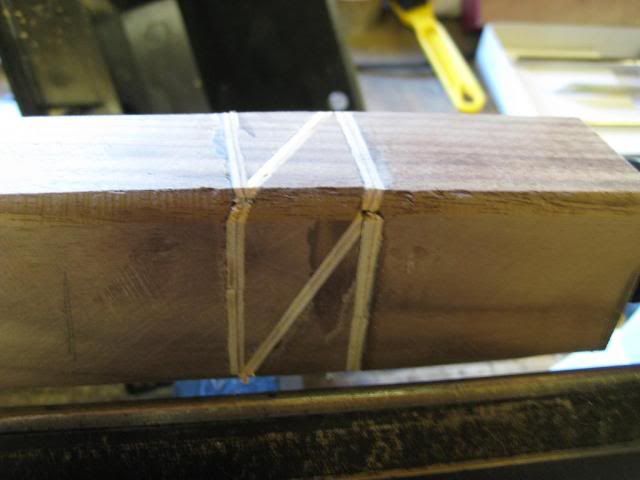
Then set about setting up my chop-saw with a couple of 'stops' for depth and length (sorry, forgot to take some pics of that bit), and proceeded to cut at 30 degree angle. Now the blade width is approx 3mm and the ply was just over 6mm.... so had to cut down to right(ish) size on bandsaw and sand smooth first (this is the patience and preparation bit...!!)
oh... i also forgot to mention that the ply was only 25mm wide..!! so each cut & glue step needed TWO inserts of Birch ply to get to the same depth as the Walnut.... keeping up with me..??
Once the two pieces were glued in (just using ordinary PVA), i used a wedge and a weight strategically placed to help close the joint. (again no pics of this, sorry). And left to dry overnight. Did this another 3 times for the other faces, making sure i used the same depth & length stops. And each time 'wedging' the cut closed (and cleaning up the faces before the next cut....).
By the end of cutting and glueing 4 faces the Walnut lump was looking a bit errr.... bent and slightly twisted lets say. But hey.... it's my first attempt....
Here's the pics......
i think you can just about make out the 'bend' in the Walnut here...
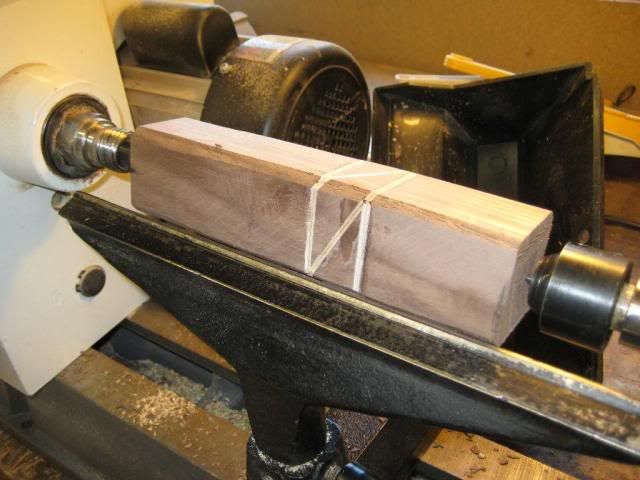
on the lathe ready to go...
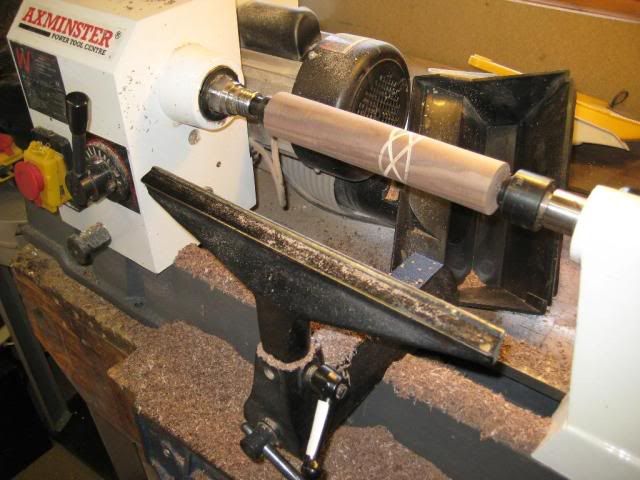
turned to round...
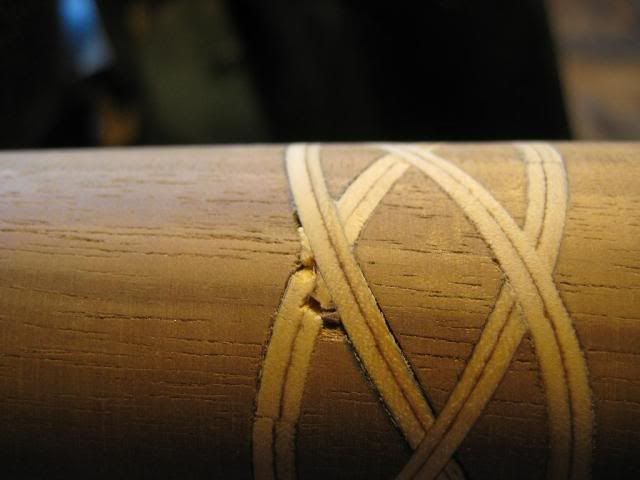
close up of a 'dink' in the ply insert
The 'dink' probably due to me 'easing' the ply in with a hammer while glueing..! Got over this quite easily... just turned it a little bit thinner...!! This left just a tiny errr blemish, which was filled with a bit more glue and sawdust rubbed in.
see top and bottom of the inlaid ply and you can just make out the join in the two pieces per side...
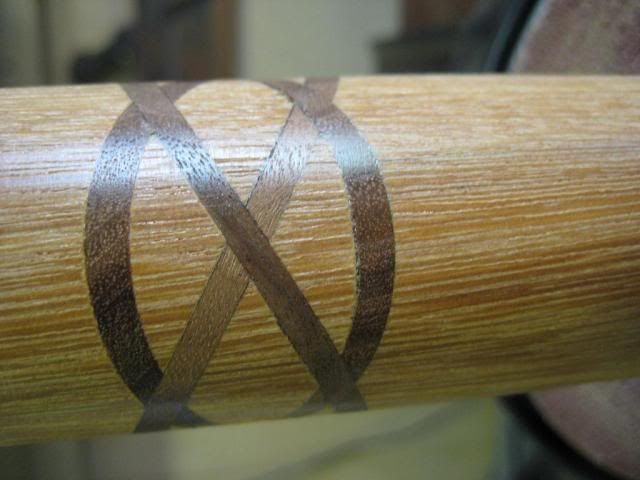
At the same time i also did a Kapur with a Walnut inlay...
this one also suffered the same bending and twisting as i glued it...
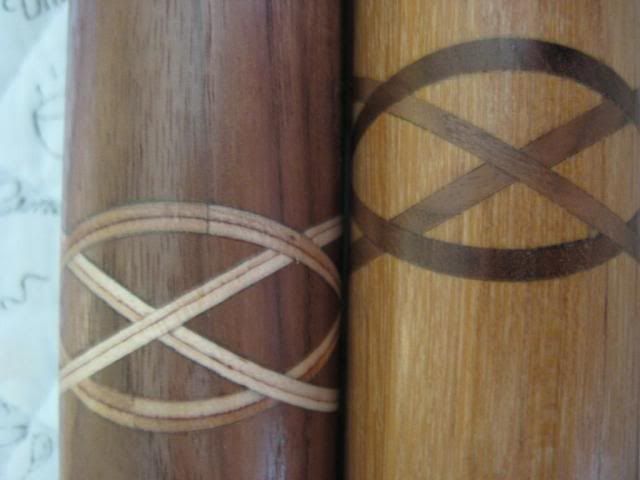
the two side by side.... ready to be made into nice box's.
I know some of the other guys on here are wizzy experts and have been turning for years and make it all look very easy. I'm NOT an expert... just needed to be pointed in the right direction and give it a go. I'll definitely be trying this again..... just like the lad in the video clip.
Give it a go..... i did..!!
Oh.... and on the subject of that lad.... i was a bit bemused as to why he had to cut up so much wood just to make a pen..!! are you pen guys that picky about your wood then...?? :lol: (de-forestation, climate change, blah blah blah...)
Nick
almost forgot to say.... i left the turned pieces of wood on the kitchen worktop, and when my missus (BIGGEST CRITIQUE..!!) comes home she asks where i bought them from..!!! so they must look good enough to use.....??


