Burr Oak Box

UKworkshop.co.uk

Help Support UKworkshop.co.uk:

This site may earn a commission from merchant affiliate links, including eBay, Amazon, and others.

johnny.t.

Established Member
Joined
29 Oct 2008
Messages
1,714
Reaction score
0
Location
Norfolk, near the sea.
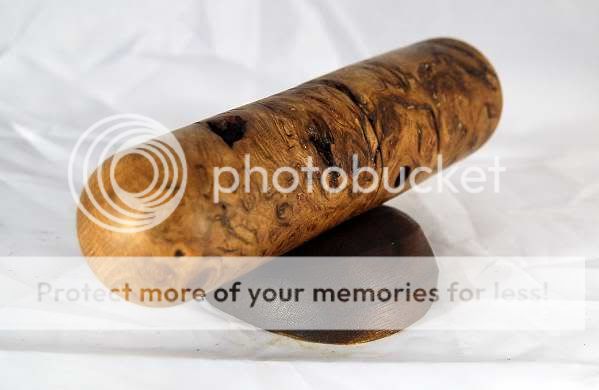
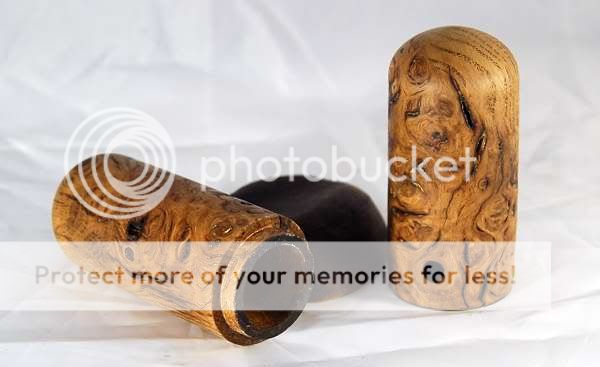
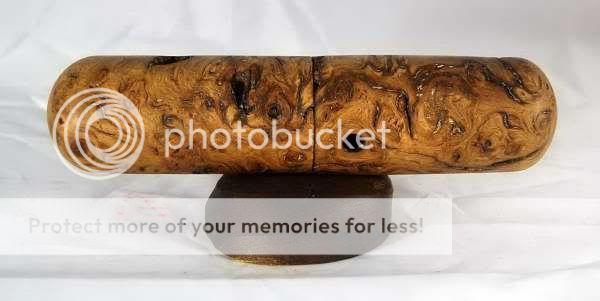
I've had this piece of Burr Oak(an offcut from an earlier project) laying on my workbench for several months and decided today to do something with it. This lozenge shaped box is 8" long and 1 3/4" wide, after turning it has been very gently burned to bring out the figuring that bit more. Its finished with a pastewax buffed to a medium sheen. The stand is just a piece of scrap wood shaped to a pebble shape and burned,it has a central 'channel' to locate the box.
A little of the wax has stubbonly stayed in the cracks(i've picked most bits out) but this looks worse in the picture than in reality.
Comment and critique appreciated.
OAKBOX600.jpg

OAKBOX004.jpg

OAKBOX005.jpg


JT
 
Lovely piece of work JT,and a lovely piece of wood. :D
Nice idea with burning it slightly to bring the grain out more,but not so keen on the plinth,looks good but i think it is too high.Might look better i feel if it was lower.
 
Like the box it is really nice.

To get wax out of burrs I use shoe cleaning brushes it makes it very easy to remove.

john
 
Yes sorry JT i meant to mention the wax and it's removal.
I think it was Mark Hancock who recommended using a shaving brush.
 
Very nice ( the Box ) The pedestal does nothig for me.

I can see these selling as certificate cases maybe ?
 
Lovely box, Try an old tooth brushes to remove the wax. HGB
 
Like the Long Box concept, certainly makes the most of the Burr features, mulling over the implications of an alternate 'stand' , not keen on current presentation.

Guess it's to late to say Try a stiff burnishing brush for the wax problem. :lol:
 
johnny.t.":1wzns02j said:
Thanks Paul :D , I've just got to(try to)get the last of the wax out of the cracks!! I may try a spot of heat to see if it'll melt :shock:

JT

It's best to apply the wax with a shoe brush and then burnish with a shaving type brush mounted in a hand drill. That way you don't get the ugly wax deposits in the voids.

Mark

PS Forgot to mention I really like this piece :)
 
Thanks for all the comments and tips for the wax :D

Before reading your tips I had already carefully run a hot blowtorch over it and it melted the wax in the cracks, it worked really well but a brush would be a lot less stressful :lol:

The idea behind the base was for it to be simple ,smooth,pebble like and matt so as to not take anything away from the appearence of the box(if you see what I mean)......maybe a rethink is in order

cheers JT
 
Back
Top