Benchwayze
Established Member
Stef...
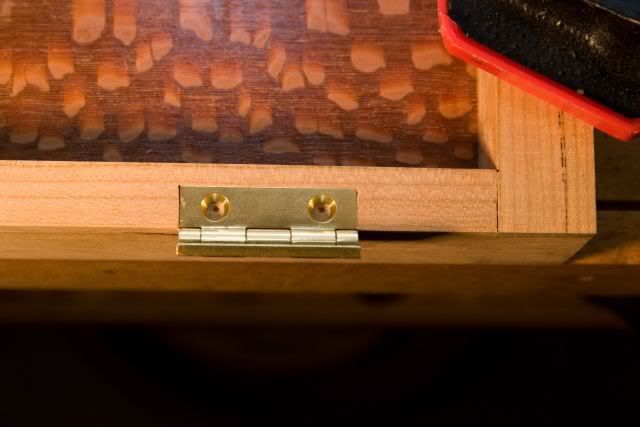
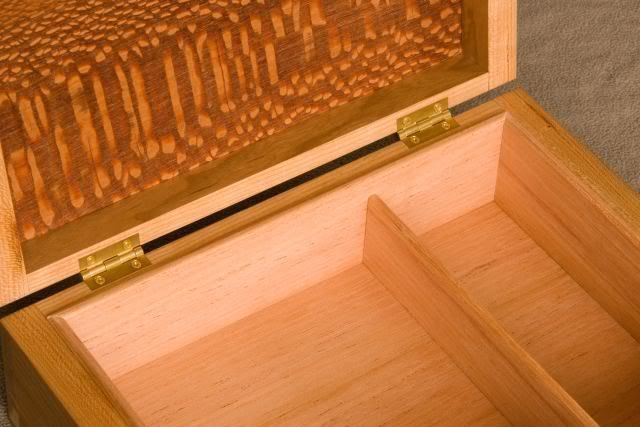
I take it you are fitting a butt-hinge in traditional fashion to your box.
There is a definite and foolproof way of doing this and I'll do my best to explain here. The tools you will need are:
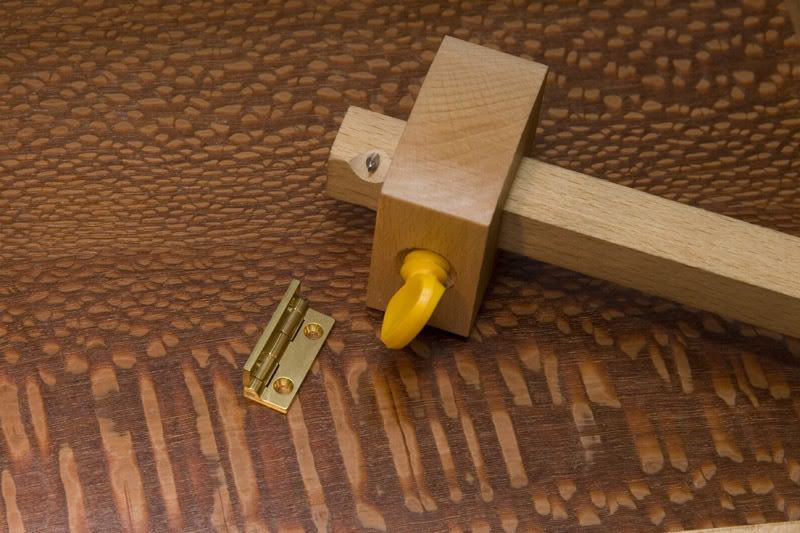
A marking-gauge
A try square
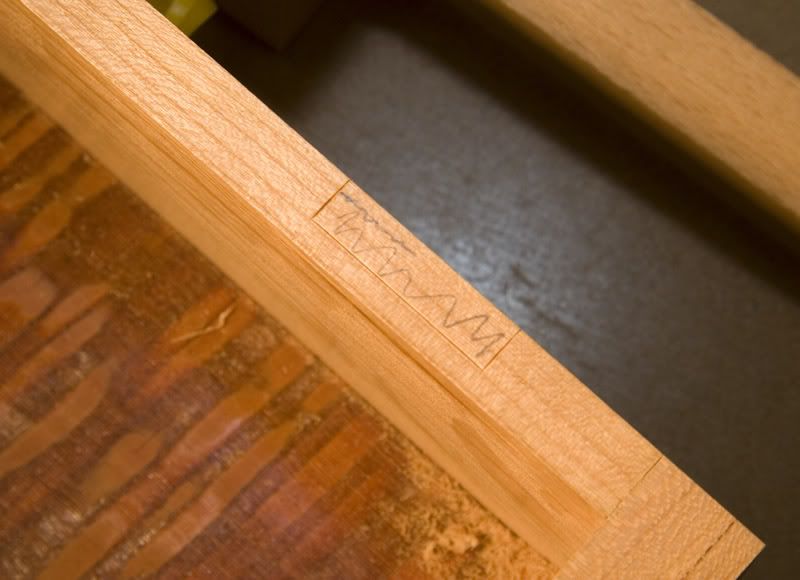
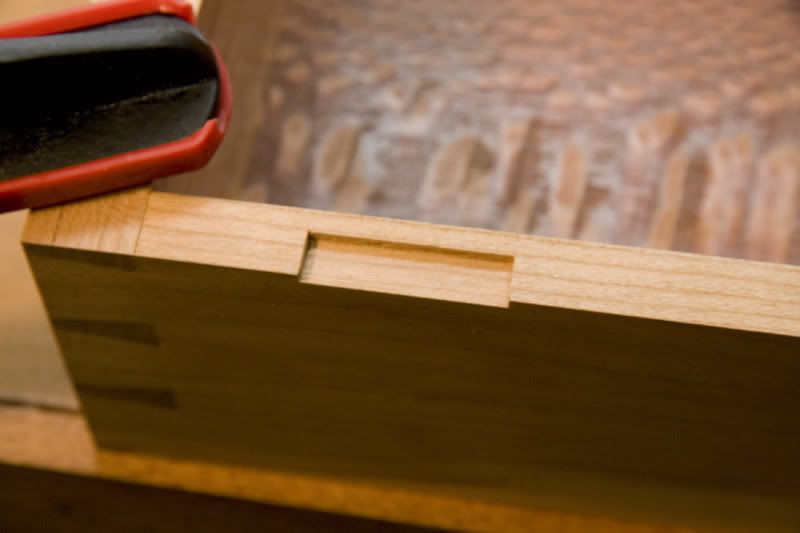
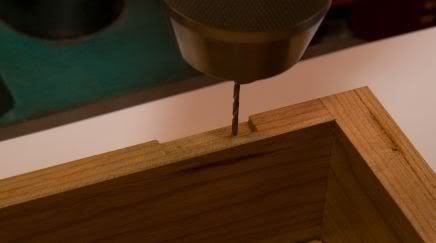
A suitably sized chisel (or hand-router, or Granny's Tooth) and maybe a dovetail saw, to establish the cross grain limits of the housing. You can use a sharp chisel and mallet to establish this dimension. If the hinges are wide, make a series of cross-grain cuts across the width of the hinge housing before removing material to establish depth.
To start, the marking gauge should be set from the dead centre of the butt hinge-pin to the outer limit of its closed width. This establishes the width of the hinge rebate or housing. Mark this on your stock.
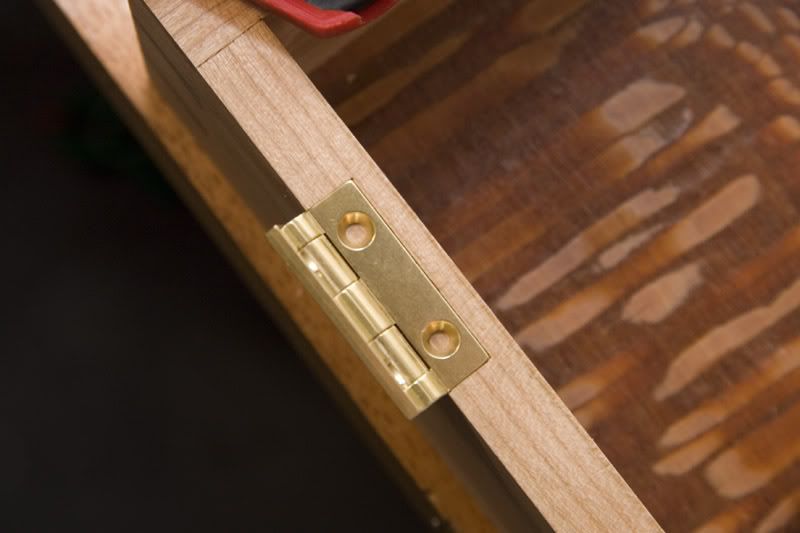
The depth of the housing must also suit the hinge so use the hinge itself to mark this, again taking the centre of the hinge-pin as datum so the same amount of material is removed from lid and box. (Taking into consideration the width of your pencil lead.)
Good quality butt hinges are tapered in thickness from the pin to the outer edge. So the housing has to be sloped from front to rear. The width of your housing is obvious and will depend on the distance from the centre of the hinge pin to the outer edge of the hinge. The housings must be the same in the lid and the box edges and must start at the same distance in from the outer edges of the box.
The depth is critical to prevent binding or gaping of the lid when you try to close the lid. If you don't get it right first time it's a fiddle, but not impossible. At worst you might find it necessary to replace material you've cut away with veneer or codge with thin card. (That's up to you.) At best you will have to shave away more material to get the depth right.
Do you still wish to use butt-hinges? If you do, then read a good text on their fitting in addition to the above. Practice by hinging two pieces of scrap timber, until you are confident. If not, fit surface ‘H’ hinges, of brass and use the appropriate screws. The effect will be the same. A neat looking box.
I hope I haven't missed anything. If so, can I suggest Joyce's treatise on cabinet making? The procedure will be in there, if you can't follow my ramblings. Good Luck
Regards
John


