Bartop Arcade game cabinet

UKworkshop.co.uk

Help Support UKworkshop.co.uk:

This site may earn a commission from merchant affiliate links, including eBay, Amazon, and others.

thomashenry

Established Member
Joined
19 Nov 2015
Messages
258
Reaction score
13
Location
Oxford, UK
With my dresser finished, I've got a little bit of free time to finally make something I've been meaning to do for ages - a bartop aracde cabinet along these lines:
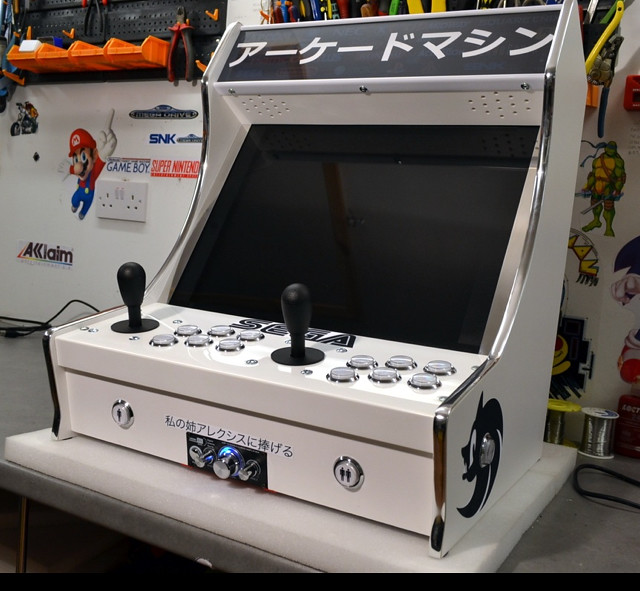
Arcade by Tom D, on Flickr

More specifically, I want to make a cab for a specific game - Robotron 2084. This is an old (1982) game that I got hooked on about 20 years ago when I worked at a company that had one in the staff rest area. I've no interest in getting an original cabinet, there's no way I have space for one, and the electronics are now 40 years old, are often flakey and need attention. On the other hand, this is a game that has never really been emulated properly, the MAME version just isn't quite the same, and you really need the original arcade twin stick controls.

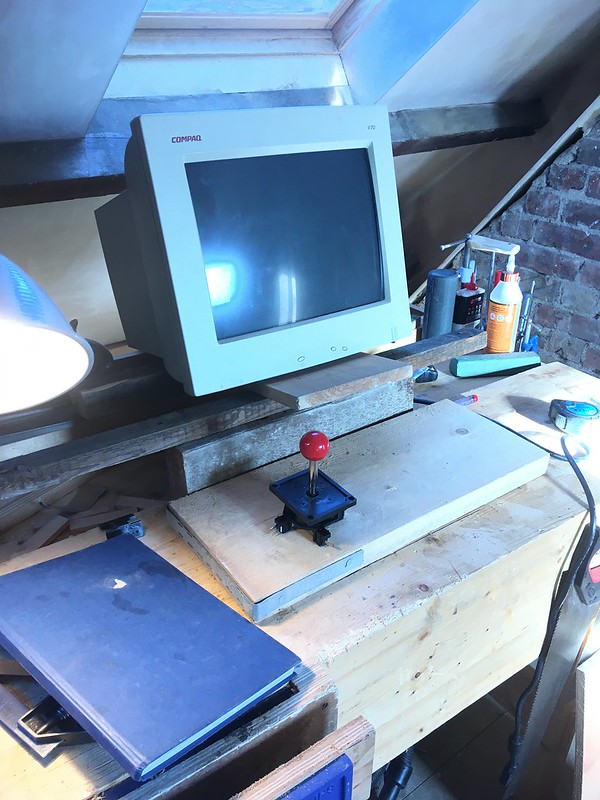
So I've been acqurring the parts I need. A guy in America sells reproduction PCBs, I managed to get some new old stock joysticks from ebay, and I picked up a 17" CRT monitor (has to be CRT for this game!).

Most of these homebrew arcade cabs are made primarity with sheet materials, but I'll be doing mine with timber and joinery, and will build up a frame. Screws are allowed this time though. I'll be using scaffolding offcuts.
 
First thing is a mockup to get an idea of shape and size.

Arcade by Tom D, on Flickr

With some dimensions and angles in mind, I decided on a construction method. Effectively, I will be making a big chunky drawer, about 10cm deep, out of which will rise an angled frame for the screen.

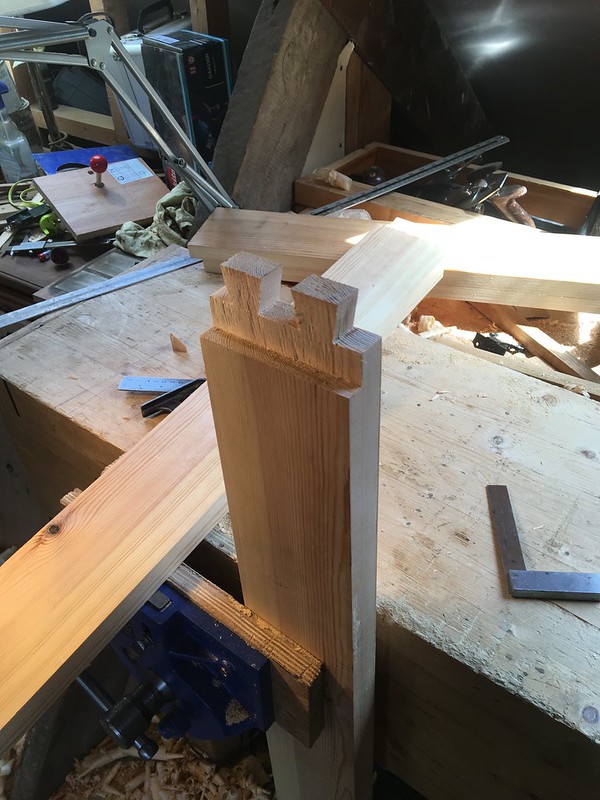
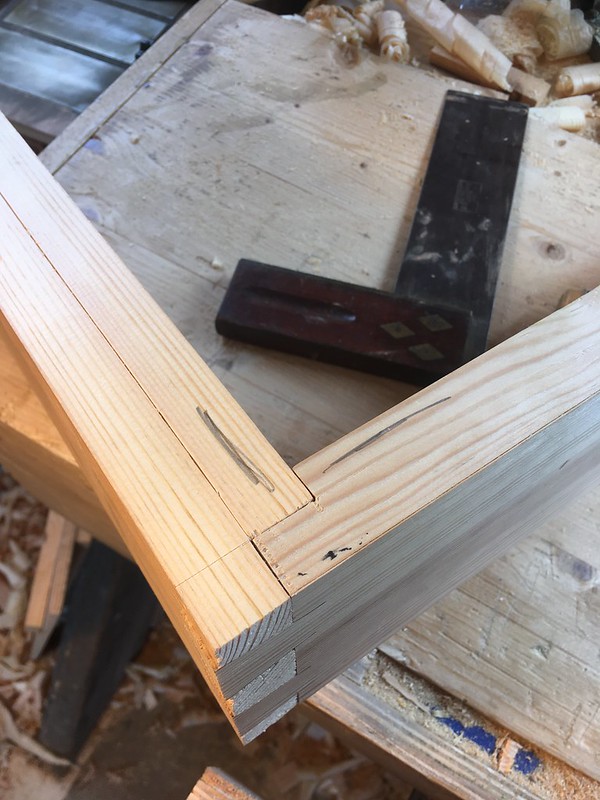
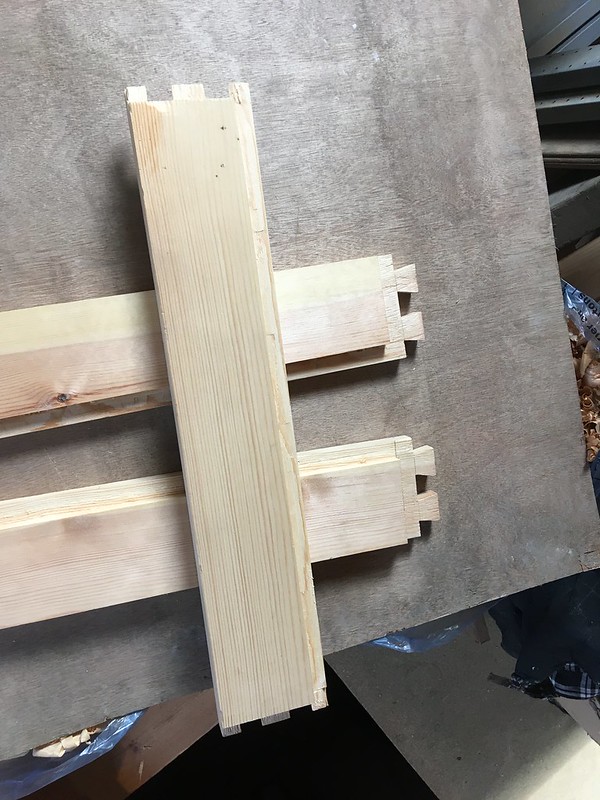
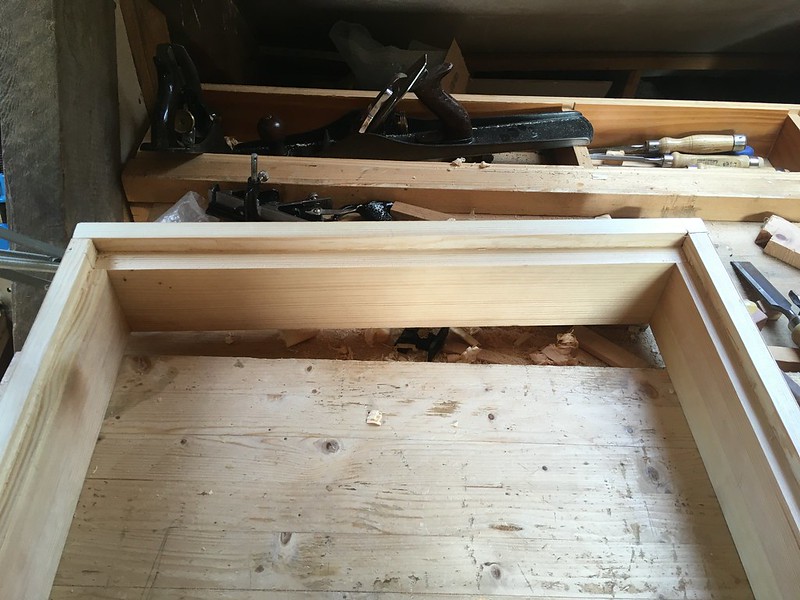
So, with that in mind, and some stock prepared, onto some joinery. Sides join the front with dovetails, both parts of which are rebated:

Arcade by Tom D, on Flickr

Arcade by Tom D, on Flickr

The reason for the double rebate is the rebate going along the lengths of the sides and front.

Arcade by Tom D, on Flickr

Which results in this:

Arcade by Tom D, on Flickr

The rebates give me nice support and registration for the control panel to drop into
Arcade by Tom D, on Flickr
 
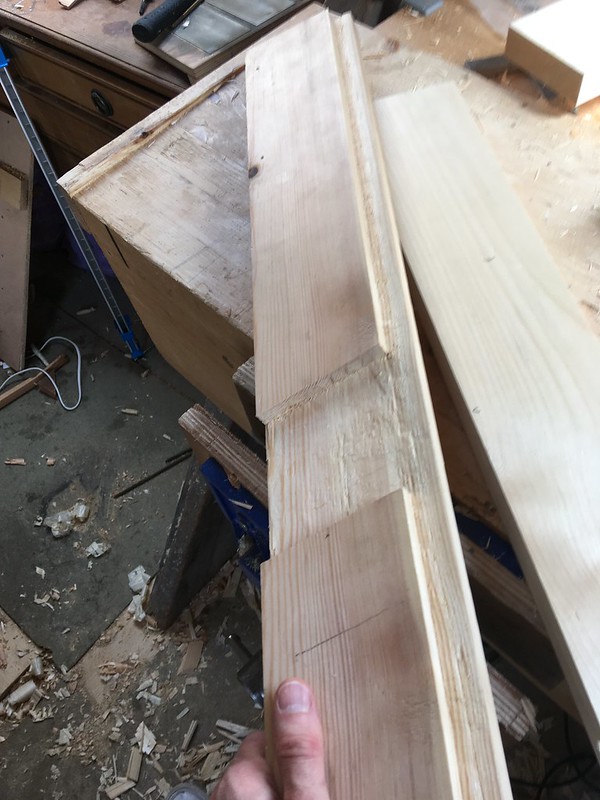
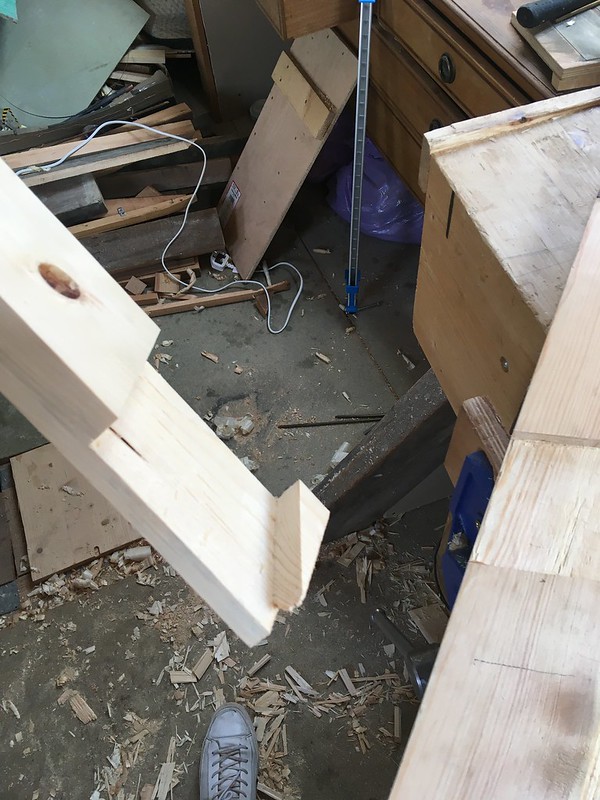
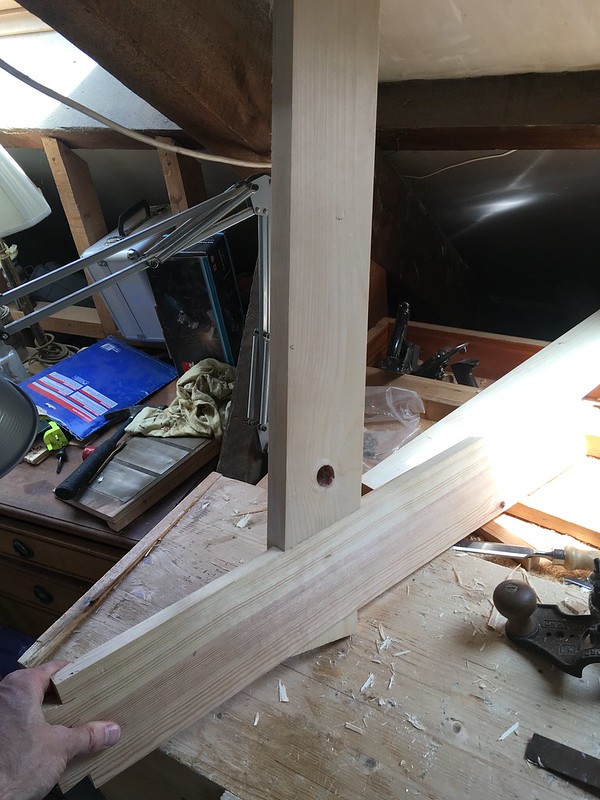
At 20cm from the front of the unit come two angled upright stiles, sloped back at and angle of about 16degs. For the joinery here, I did some big meaty lapped housing joints - here cut into the bottom side:

Arcade by Tom D, on Flickr

And the mating part cut into the stile:

Arcade by Tom D, on Flickr

Came together with a nice tight fit:

Arcade by Tom D, on Flickr

(that hold on the upright piece is where a huge knot fell out of the wood!)
 
Looking good!
I like the double rebate. Difficult to visualise but it works.

I think I would have preferred an oblique mortice and tenon for the side though. That little angled stub looks ready to split off, but I expect you have a plan.
 
That little angled stub was just left on whilst I was cutting the joint, in order to give support to the hand router. It's been cut off now, otherwise the unit would't sit flat!
 
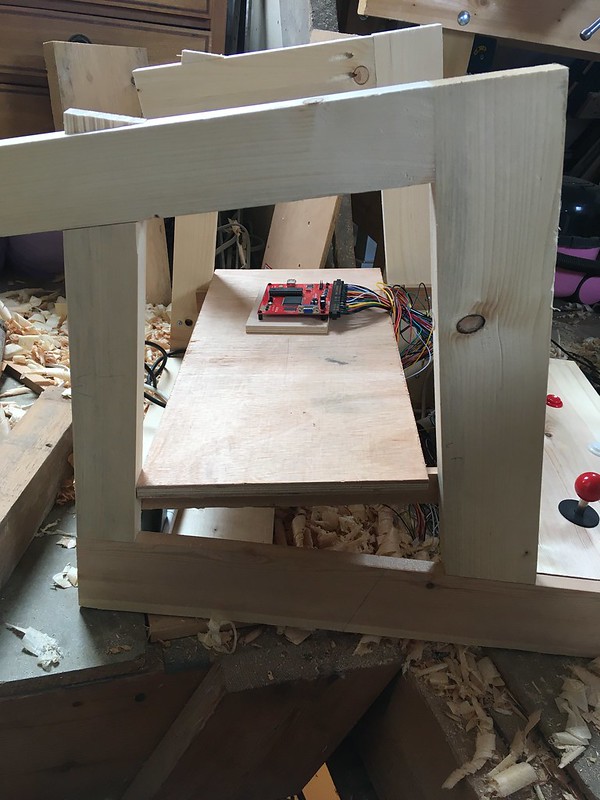
The sides of the frame are simple enough, a 90 degree joint at the top (would normally do an M&T joint here, but to save a bit of time I used some pocket srews). Then at the back another angled lap joint to a vertical rail that goes back down to the base.

Untitled by Tom D, on Flickr
 
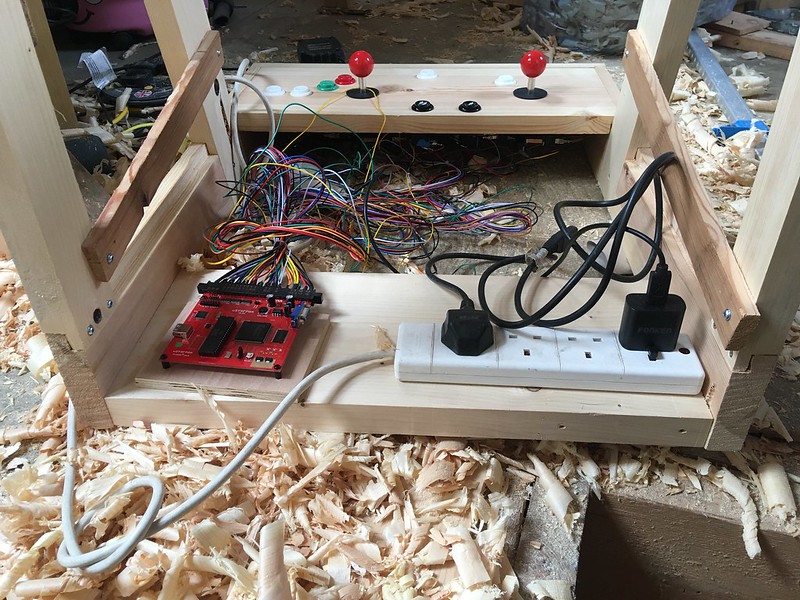
At the back, I flattened some scaffold board and joined it to the sides with screws. This surface can then be used to mount the power sockets and game PCB.

Untitled by Tom D, on Flickr
 
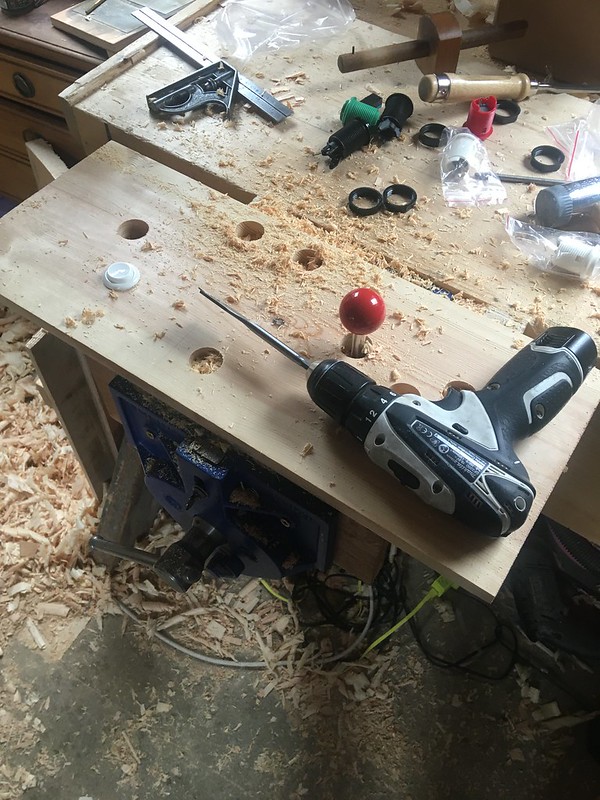
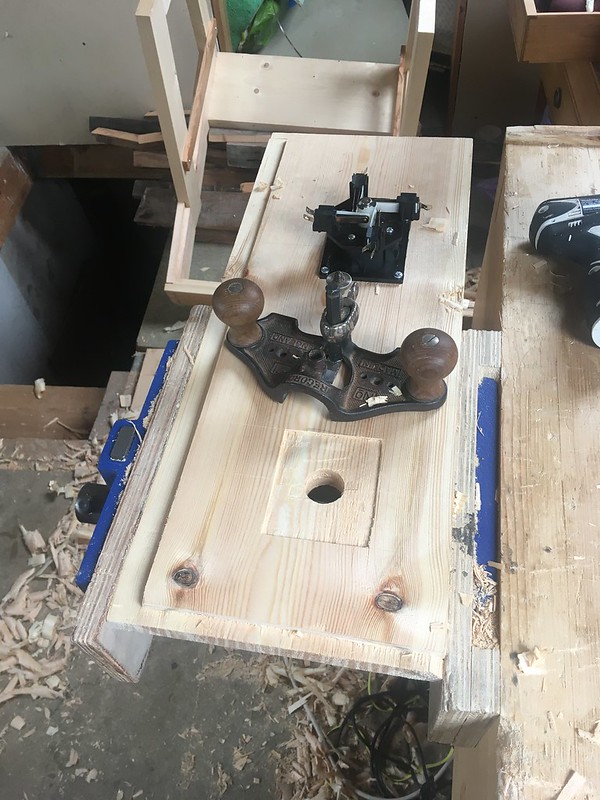
The front control panel is another slab of scaffold board, with rebates around three edges to drop into the base, and holes for the controls cut with a £4 28mm paddle bit.

Arcade by Tom D, on Flickr
 
The two joysticks have a rectangular base with 4 holes in the corners for mounting bolts/screws. I decided to chop out two shallow mortises to slot the joystick bases into. The idea was to provide extra stability and accuracy.

Arcade by Tom D, on Flickr

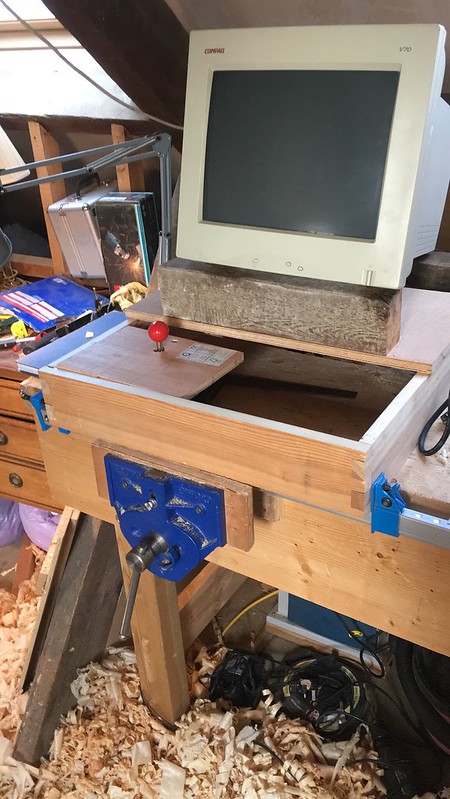
With that, the control panel drops in...

Arcade by Tom D, on Flickr

The screen is supported by some plywood resting on some battens. I'm tweaking the exact height. I'll stick with this method of supporting the monitor, as it gives me flexibilty to swap it out for another one if this one breaks, or I encounter a better one.

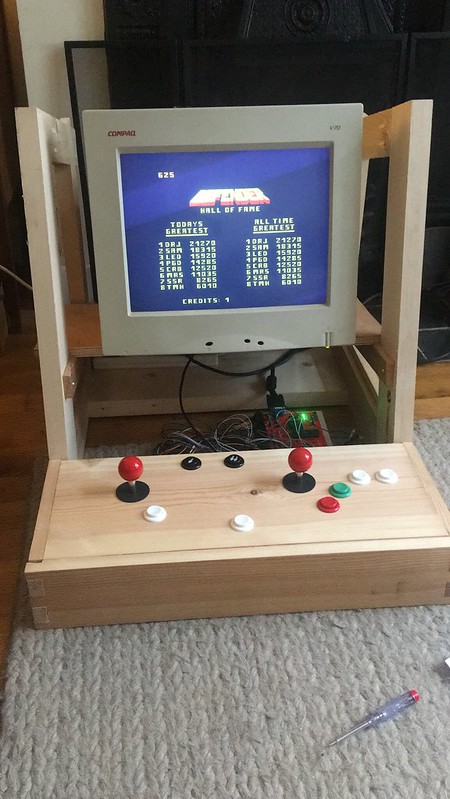
Although this was inteneded to be a dedicated Robotron cabinet (requiring only two joysticks and a start button), the PCB actually supports several other games (Defender, Joust and Stargate being the most notable). I thought it would be a shame to not be able to play those too, so I added buttons for those games as well. This has increased the width of the unit a bit. The cabinet is now what you'd call a "Multi Williams".
 
Everything is in and working great. Already racked up a good score on Robotron 8)

What remains now is to make a panel with a cutout for the monitor screen, and slide it into two grooves I'll plough down the sides of the angled uprights. The speaker will also be mounted to this panel.
 

Latest posts

Back
Top