Aragorn
Established Member
Following on from Part 1, here’s the WIP of the base of the chopping block trolley. 
After the usual grind of
Gluing-up................................... Planing..................................... Ripping....................................... and Thicknessing.....
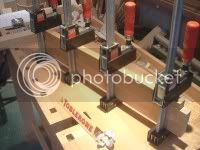
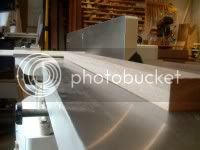
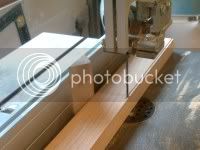
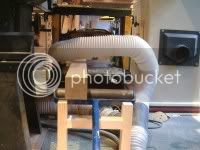
if you want to see a bigger photo, click the thumbnail
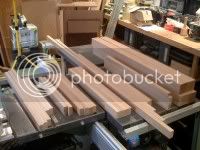
... I end up with the stock for the trolley base and its shelves:
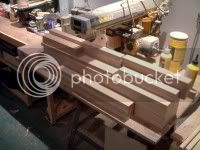
and cut it to length at the SCMS:
The construction of the base is all M&Ts in oak. Guess what I used for this? :roll:
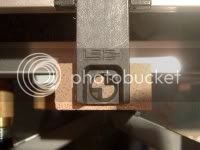
The Leigh FMT makes cutting very accurate tenons and mortices a breeze, and for a jig guided operation is strangely enjoyable to do!
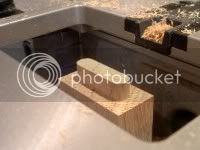
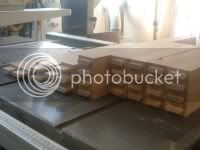
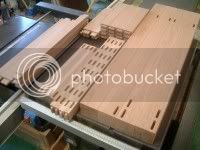
So, here’s the tenons .................. and mortices:
This 3-way joint...
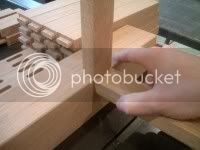
... is done using an offset haunched tenon:
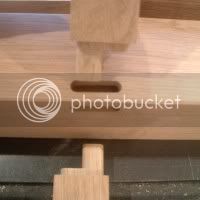
(Sorry - it’s a bit out of focus)
So, with all the joints cut, it’s time for a glue-up or two:
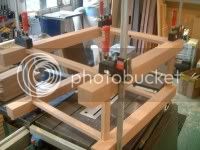
I glued-up one half first, then glued the two halves together.
The two shelves are glued up separately:
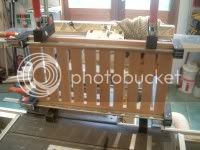
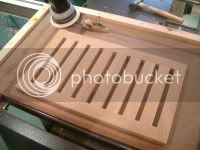
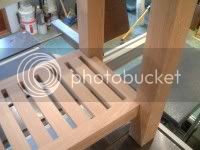
Here’s one of the shelves after a light sanding..., and after being notched on the bandsaw to fit around the trolley legs:
The base is to have a towel rail at one side which also doubles as a handle to move it about.
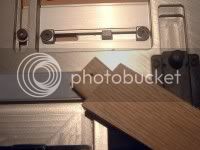
I cut an angled tenon at the FMT:
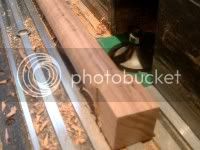
... and made a walnut dowel on the router table. The stock is thicknessed to exactly 1”, and then rounded on the table using a ½” cround-over cutter. The uncut stock at each end stops the stock from becoming unstable on the table as the dowel is cut.
With the tenoned stock cut down to length, I can shape it at the bandsaw and spindle sander. Holes are drill part way through on the drill press to house the dowel.
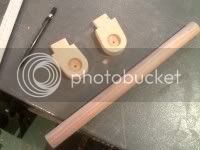
I also made up so oak pegs that fit into mortices on the other side of the trolley. These will get used more when the trolley is used outside at the BBQ, for hold utensils/towels and so forth.
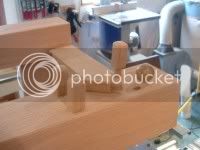
Here’s a pic of the assembled base, ready for some more sanding a some finish. You can see I have cut down two of the legs to take the castors, which are just screwed into the endgrain.
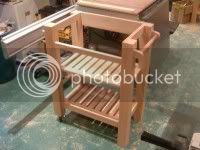
The drawer in the trolley is a simple construction. The sides are fixed to the front and back with pocket hole joinery, and the oak veneered MDF panel is sloted into grooves.
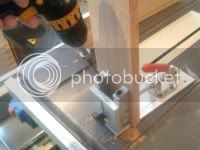
The drawer front will simply be screwed to the drawer from the inside, and the whole thing runs on full extension drawer runners, the same as the rest of the kitchen.
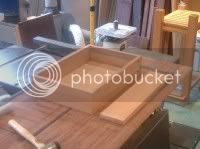
The base is screwed into the chopping block through the rails, which were pre-drilled before assembly to accept stainless steel screws and washers. The screws fix into oak blocks embedded in the block, and overall there is a range of about 8mm each way to allow for movement across the field of the top.
The base is finished with 3 coats of Finishing Oil and a coat of wax buffed to a reasonable sheen.
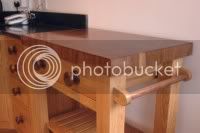
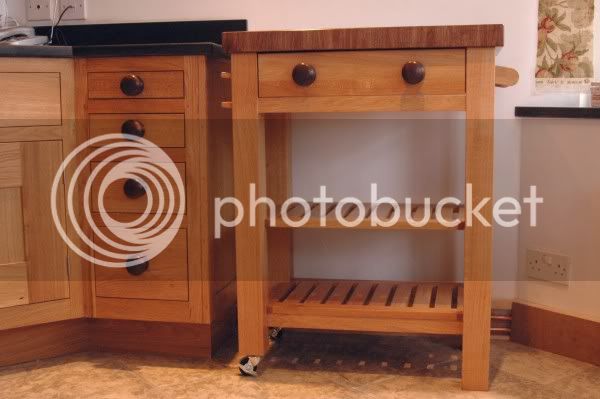
Here’s some pics of the finished item in situ:
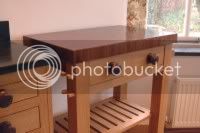
This was really enjoyable to build and makes a nice way to finish off a large project.
Next I’m taking a break from work to have a go at the UKW competition
After the usual grind of
Gluing-up................................... Planing..................................... Ripping....................................... and Thicknessing.....


if you want to see a bigger photo, click the thumbnail
... I end up with the stock for the trolley base and its shelves:

and cut it to length at the SCMS:

The construction of the base is all M&Ts in oak. Guess what I used for this? :roll:

The Leigh FMT makes cutting very accurate tenons and mortices a breeze, and for a jig guided operation is strangely enjoyable to do!

So, here’s the tenons .................. and mortices:


This 3-way joint...

... is done using an offset haunched tenon:

(Sorry - it’s a bit out of focus)
So, with all the joints cut, it’s time for a glue-up or two:

I glued-up one half first, then glued the two halves together.
The two shelves are glued up separately:

Here’s one of the shelves after a light sanding..., and after being notched on the bandsaw to fit around the trolley legs:


The base is to have a towel rail at one side which also doubles as a handle to move it about.
I cut an angled tenon at the FMT:

... and made a walnut dowel on the router table. The stock is thicknessed to exactly 1”, and then rounded on the table using a ½” cround-over cutter. The uncut stock at each end stops the stock from becoming unstable on the table as the dowel is cut.

With the tenoned stock cut down to length, I can shape it at the bandsaw and spindle sander. Holes are drill part way through on the drill press to house the dowel.

I also made up so oak pegs that fit into mortices on the other side of the trolley. These will get used more when the trolley is used outside at the BBQ, for hold utensils/towels and so forth.

Here’s a pic of the assembled base, ready for some more sanding a some finish. You can see I have cut down two of the legs to take the castors, which are just screwed into the endgrain.

The drawer in the trolley is a simple construction. The sides are fixed to the front and back with pocket hole joinery, and the oak veneered MDF panel is sloted into grooves.

The drawer front will simply be screwed to the drawer from the inside, and the whole thing runs on full extension drawer runners, the same as the rest of the kitchen.

The base is screwed into the chopping block through the rails, which were pre-drilled before assembly to accept stainless steel screws and washers. The screws fix into oak blocks embedded in the block, and overall there is a range of about 8mm each way to allow for movement across the field of the top.
The base is finished with 3 coats of Finishing Oil and a coat of wax buffed to a reasonable sheen.
Here’s some pics of the finished item in situ:


This was really enjoyable to build and makes a nice way to finish off a large project.
Next I’m taking a break from work to have a go at the UKW competition


