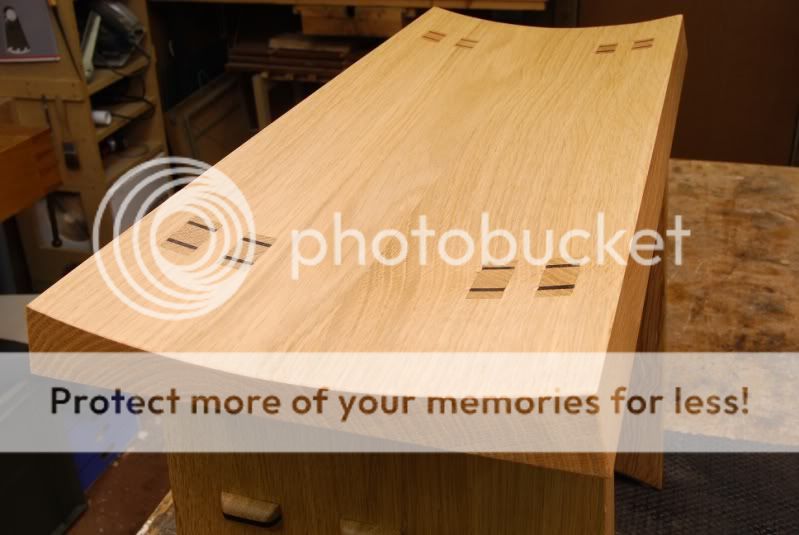
Alan Peter's music stool...Dun

UKworkshop.co.uk

Help Support UKworkshop.co.uk:

This site may earn a commission from merchant affiliate links, including eBay, Amazon, and others.

woodbloke

Established Member
Joined
13 Apr 2006
Messages
11,770
Reaction score
1
Location
Salisbury, UK
Having got an oddment of material left over from my main project, I've decided to crack on with one of these, which has long been on my 'tuit' list:
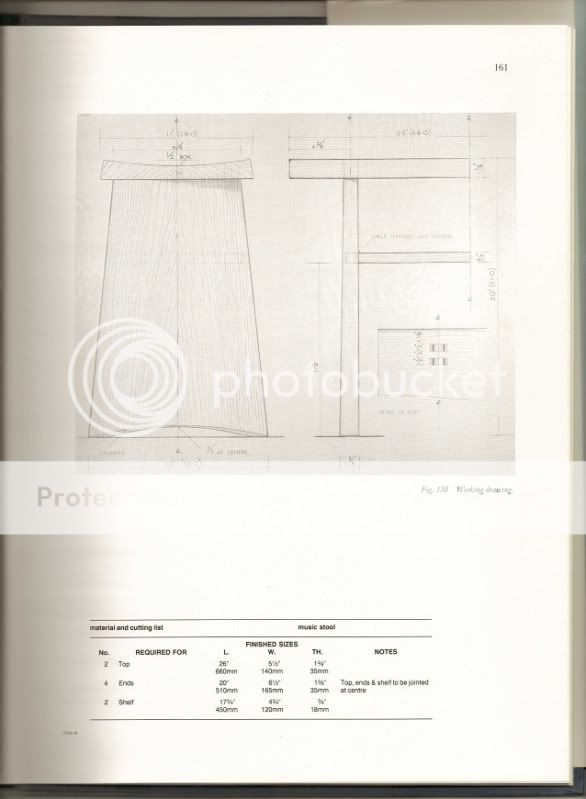
Scan1.jpg


which is one of Alan Peter's designs from his book 'Cabinet Making - the Professional Approach' I didn't quite have enough material for a full size stool so my one's been scaled down to threequarter size.

Material is air dried English Oak...none of your AWO here :) all jointing will be exposed and wedged. I got all the main pieces glued together today, so next will be marking out the joints. Nick Gibbs in BW recently made something similar iIrc - Rob
 
Looking forward to this one. I've looked at that stool with interest and intent on a few occasions. ;)
 
Paul Chapman":6tfo2jkf said:
woodbloke":6tfo2jkf said:
I didn't quite have enough material for a full size stool so my one's been scaled down to threequarter size.

Do you have a 3/4 size piano :? :lol:

Cheers :wink:

Paul
The actual full size seat is 660mm long...if you measure it with tape, that's quite big! The length of my seat will be 500mm which is about the width of a normal dining room chair. Top will be dished using a convex sole woody, yet to be converted from a standard jackplane - Rob
 
Bit of an update on this little project.

Top ready to be joined, biscuits are:

002small-1.jpg


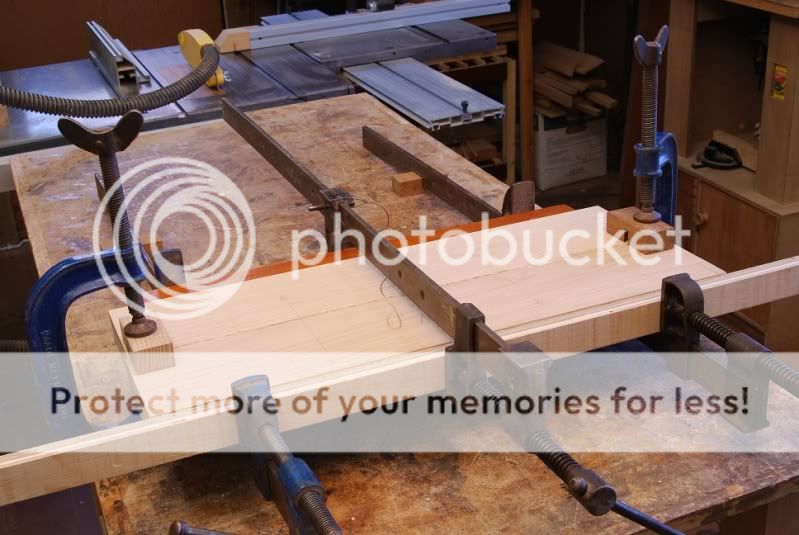
offset as the top will be dished. Top now glued:

004small.jpg


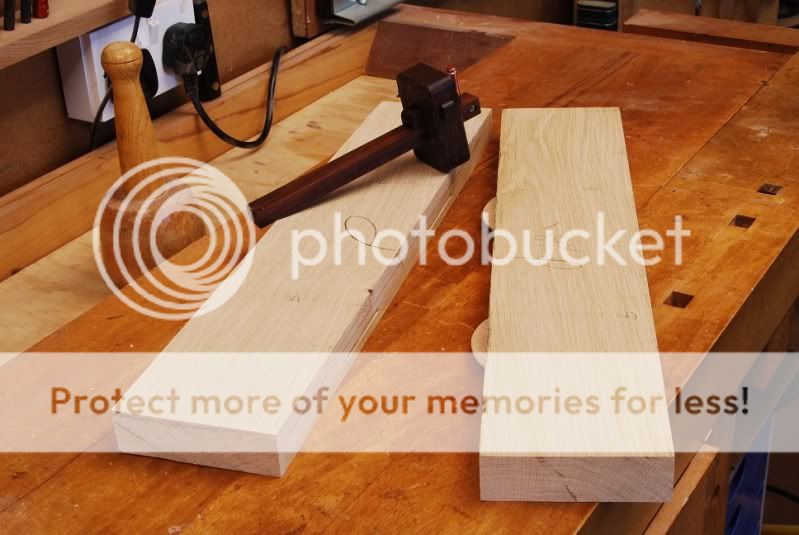
together. Blocks either side of joint to ensure that there's no 'step.' Marking out the mortises for:

markingtopsmall.jpg


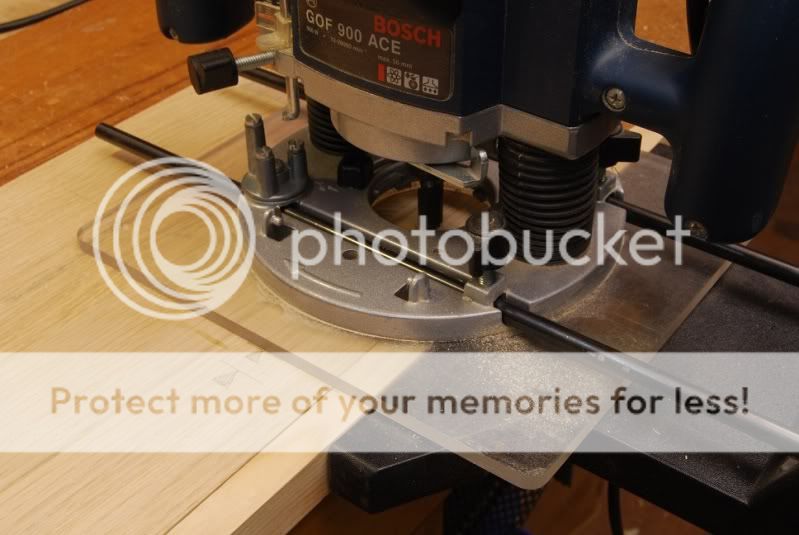
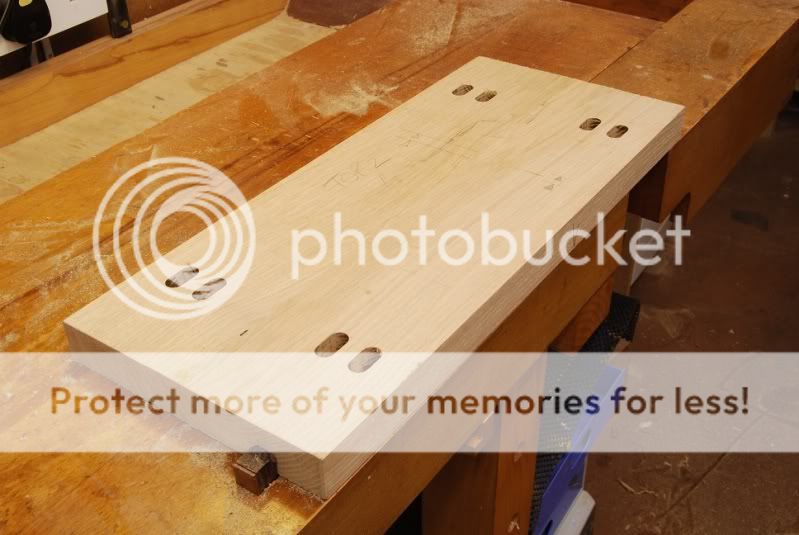
the top, with mortises cut with a router. Note the marks:

marksontopsmall.jpg


to show the limits of the cut. Eight completed mortises:

009small.jpg


which have now to be squared out at the ends and then elongated by a mm each side on the top to allow for the wedges. These mortises will be filled with softwood prior to dishing the seat with a convex soled woodie - Rob
 
Very nice work Rob. I have just started the last chapter of AP's book and it covers this stool first so it's fresh in my mind. I really like it and am looking forward to seeing your progress.
 
following this with interest as i bought swimbo a piano recently and need to make a stool to match - i have acquired a oak table on ebay which i'm going to butcher for the materials
 
A little more work's been done on the AP stool:

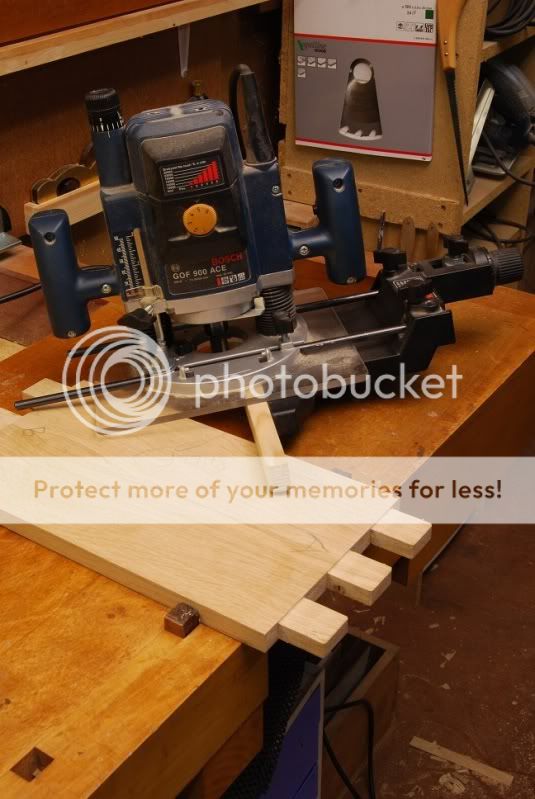
routingtenonstothicknesssmall.jpg


the cross-rail or stretcher, is shown with the tenons machined to the correct thickness...1.5mm coming off each side. The saw slots for the wedges have yet to be cut.

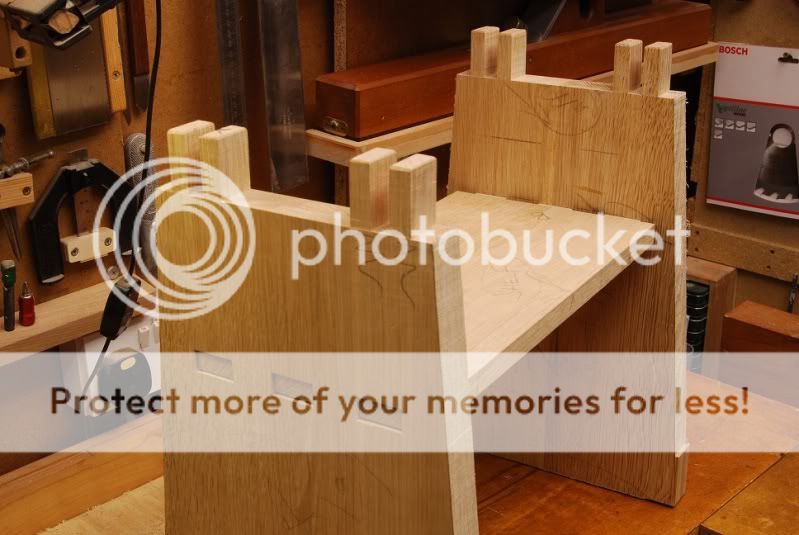
A general shot of a dry run to test the fit of the stretcher joints is shown:

dryrunofjointsmall.jpg


The seat fits each of the twin tenons individually but I've yet to assemble it onto the main frame, again saw slots for wedges have yet to be cut. This needs to be done when the stretcher rail has been fully pulled up tight to the shoulders... [-o< 8-[ Rough shaping has been done on the sides and the curve on the bottom has been marked out from a template.

If all goes well, the dishing of the seat will be the next job - Rob
 
oooo, this one looks like a cracker.

Looks like you've really got the grain matched nicely with those boards too. Makes such a difference to the end result.
 
mickthetree":9f5v7if4 said:
Looks like you've really got the grain matched nicely
Some bits do and some don't, unfortunately, as it was made from odd bits from a board full of knots and splits. I'd got all the decent stuff out of it for my other project and the wood for the stool was what was left...hence the mismatch in places - Rob
 
I feel we'll be seeing a compass plane before long....

Very precise work as usual Rob. One query, the knife marks for your mortices go right across the piece, is the plane to remove these with a swipe of the plane?
 
Ironballs":1ijw9402 said:
I feel we'll be seeing a compass plane before long....

Very precise work as usual Rob. One query, the knife marks for your mortices go right across the piece, is the plane to remove these with a swipe of the plane?
If Rob Lee would extract the digit, then there might be a bit of compass plane work :lol: ...Martin let me have a very nice older Record though, so I don't need one desperately.
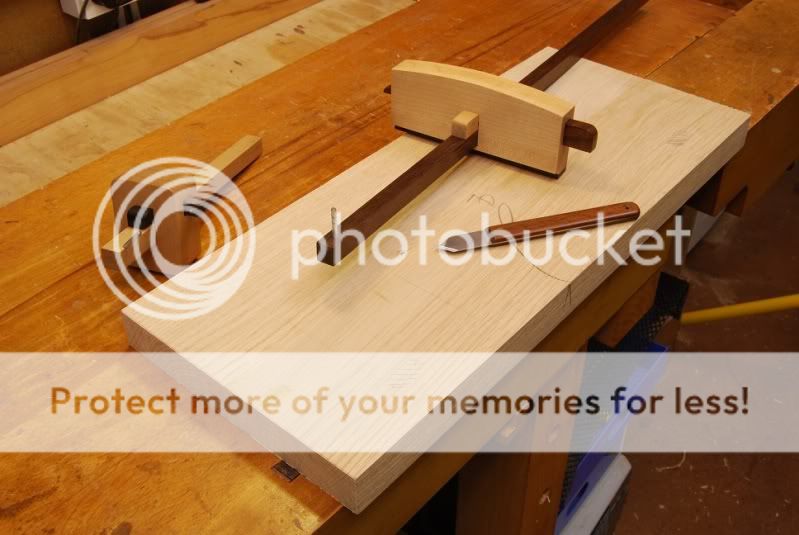
I usually do knife lines very faintly if they're to be removed later (which these will be at cleaning up time) and only the bits where a chisel has to register are knifed in heavily - Rob
 
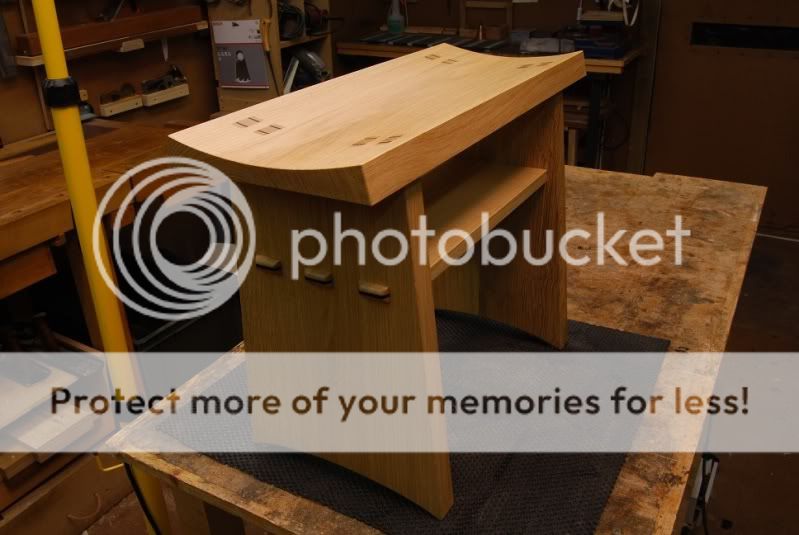
Finally got this little project finished:
006small-1.jpg


007small-1.jpg


small008.jpg


Very little sanding was done on it apart from the top, so the finish was straight from the plane with a light pass from a cabinet scraper in places and then a a quick going over with 150g. Applied finish is two coats of matt Osmo Poly-X with some Alna teak wax over the top. The curve at the bottom of each leg was bearing cut in and then the chamfer made with LV 'shaves...again, no sandpaper used. Aris's taken off with the LN block, not sanded. There were one of two problems with wedging the top joints which can be seen more clearly on the latest Blog entry. I managed to fudge it so it's not too unsightly :( but it's a shame it happened
Material is air dried English Oak with Wakansian rosewood wedges - Rob
 

Latest posts

Back
Top