kirkpoore1
Established Member
I built my shop to look kind of like an old factory, brick on one side with keystoned arches over the windows, clerestory for extra light, etc:

It's also pretty good sized--22'x26'. That means not only can I fit a lot of machines, I can have most of them in use at the same time.
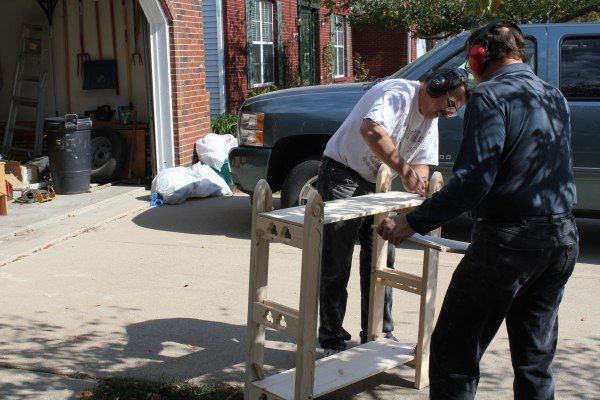
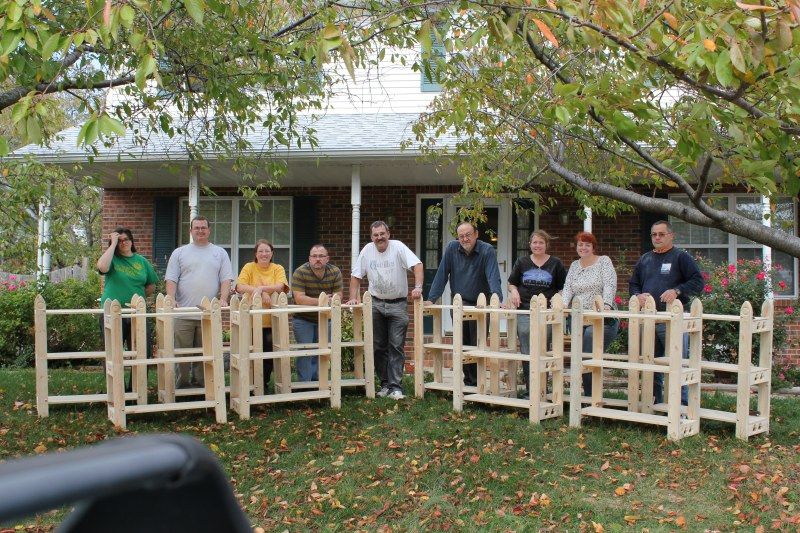
I'm in a medieval re-creation group (the SCA), and build medieval style furniture for use within the group. (Not super-lucrative, but heck, it's paid for all my machines.) The SCA isn't hardcore as far as re-enactor groups go, but we try where we can, and that includes having medieval or quasi-medieval furniture when we go camping. Occasionally, I'll have a group of friends over to build stuff for their personal camps. They get furniture for the cost of materials, and I get some help building my things. Over the weekend, we built break-down shelves. Ah, you say, how hard can a set of shelves be? True, there's nothing really hard, but trying to do 10 sets in one weekend is a non-trivial effort. Here's a couple of sets:

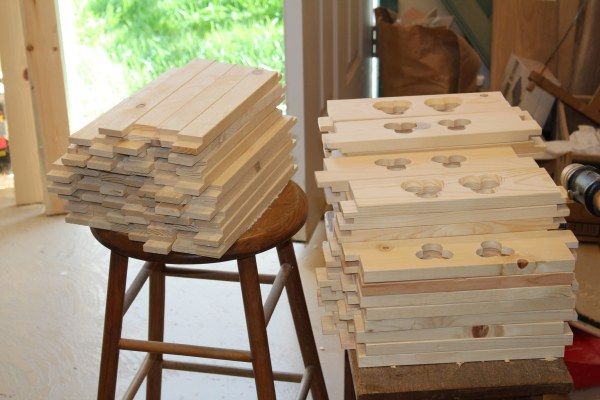
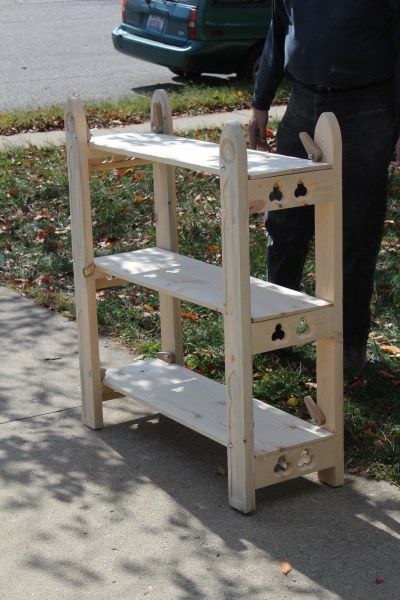
The individual shelves store inside the legs, and when assembled are held in place by cams which are bolted on the legs. This way everything stores in a couple of tidy packages, while there are no parts to lose. Everything except the cams is made of pine from the lumber yard, while the cams are made of shop scrap.
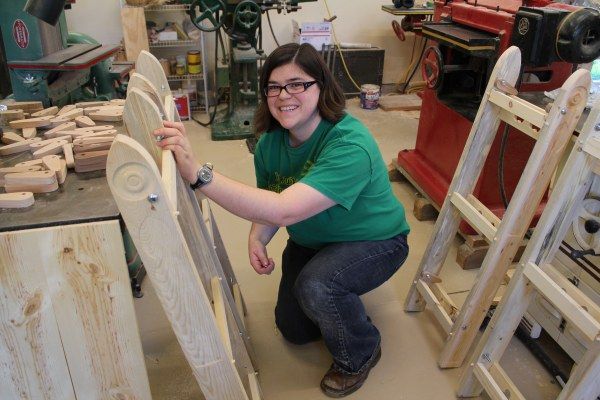
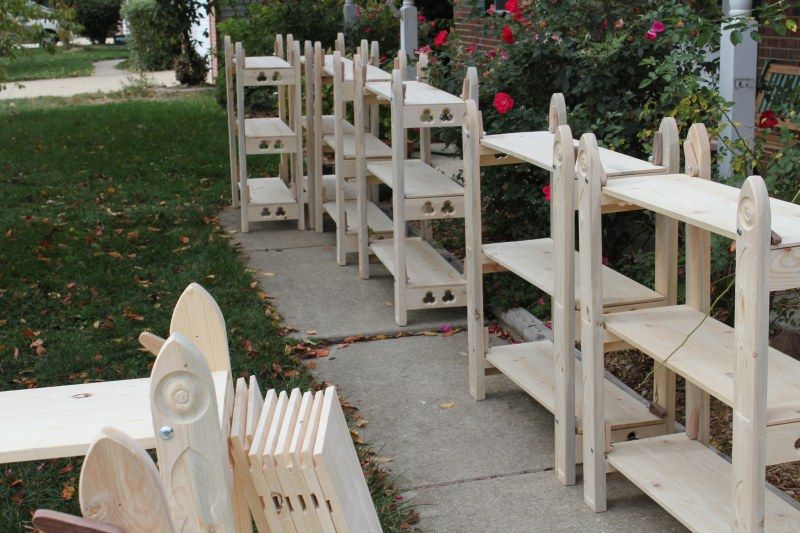
We had ten folks over for the weekend, six from Saint Louis and four down from Iowa. A few of us had started two weeks before to glue up shelf blanks since I didn't have enough clamps to do all in a day, but other than that and cutting up the shelf rail blanks, we were starting from scratch. Initially, I had a great assembly line going to make legs--2x4 through the planer, over to the RAS to get cut to length, then to the jointer to get an edge straight, next to the tablesaw to rip to final width, and finally to the big bandsaw to get the top pointed. Alas, we didn't get pictures or a movie of this, because we were all working. After the legs were cut out, I assigned folks to individual tasks (all listed on a checklist so I could keep them straight), and we finally got some pics:
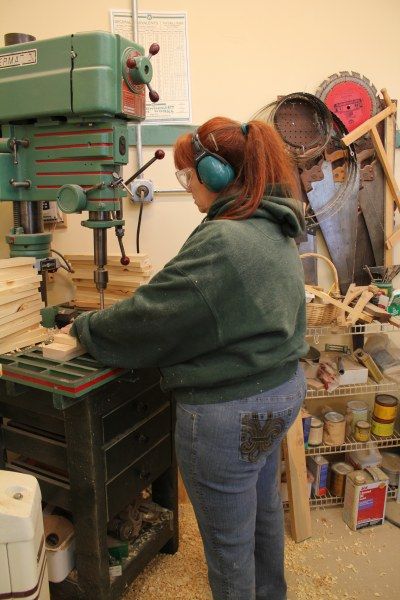
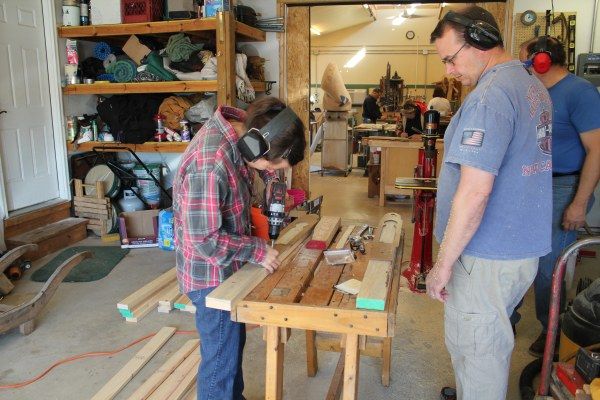
Eileen drilling trefoils in the outer rails.
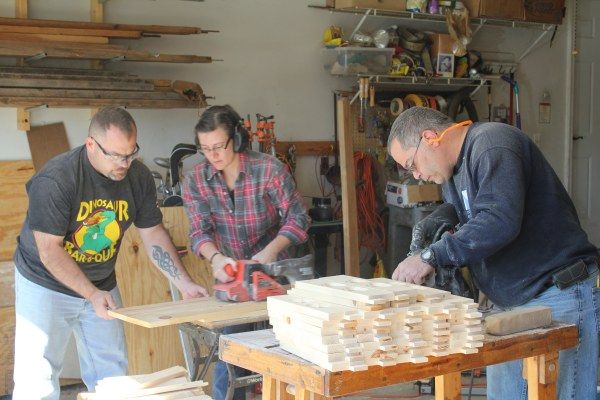
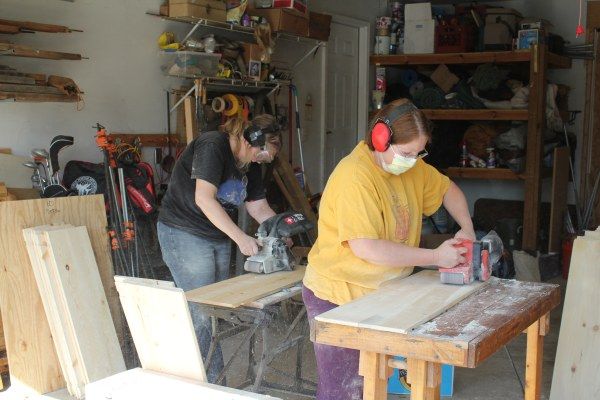
Rob, Kim, and Gary sanding rails.

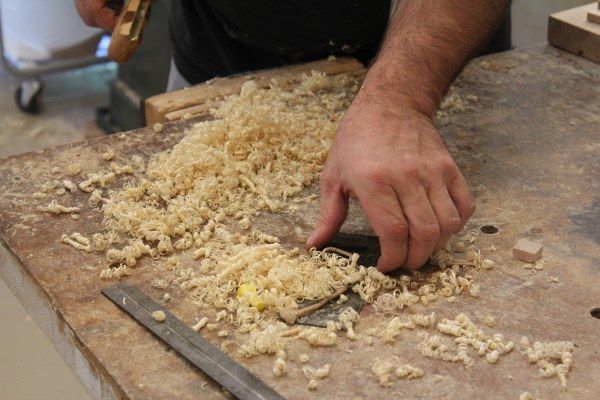
Rounding the edges on rails. Rob is using a plane (a Radiplane, IIRC) that has a couple of cutters to do this rounding. I've heard people mock this type of plane for only doing one thing that can be done by other stuff, but it's really fast and if you go the right direction leaves a finished surface.
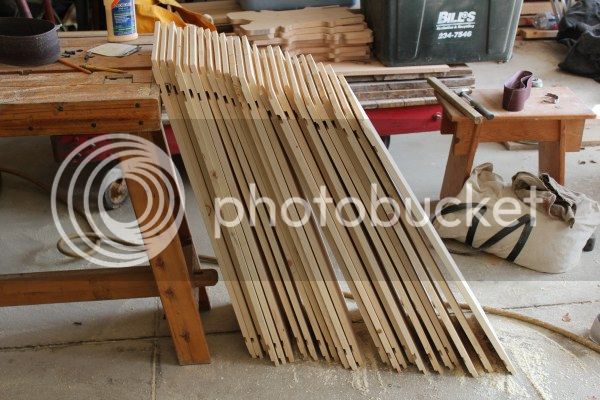
Here's the leftovers. Speed was important with 120 of the rails.
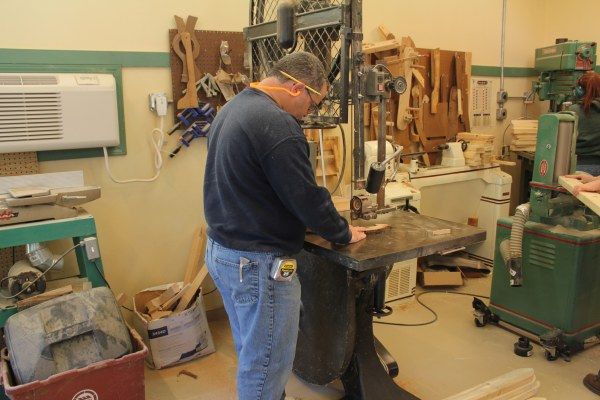
Gary is cutting the cams out of half inch oak and walnut scrap on the 30" bandsaw.
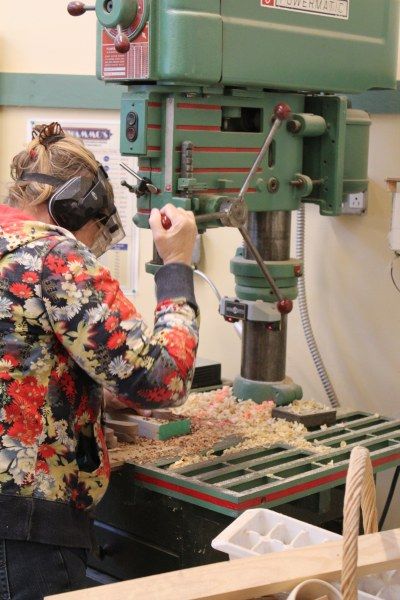
Neathery drilling the bolt holes in the cams.
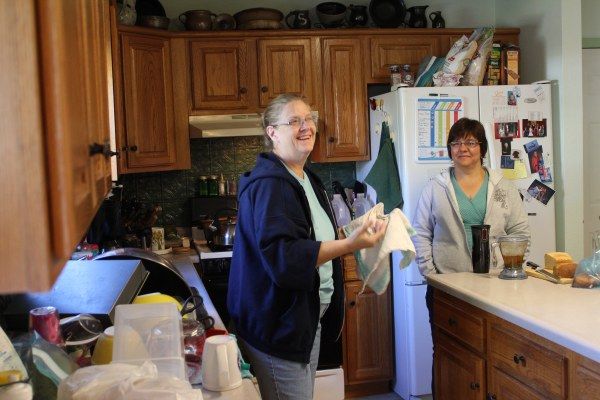
The support crew, my wife Maria and Gary's wife Mary. Not wanting to build stuff in the shop, they got a turkey smoking on our new grill and then went shopping in Saint Louis while the rest of us broke for lunch.
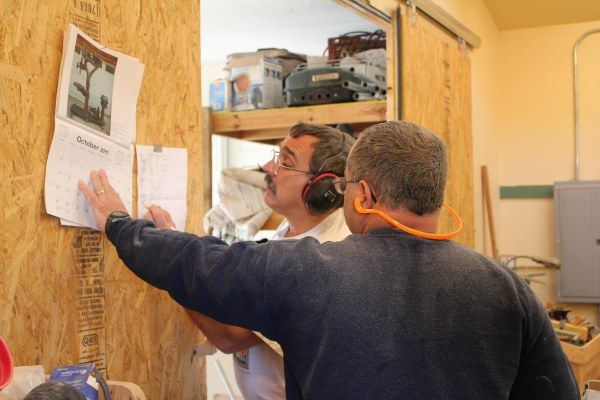
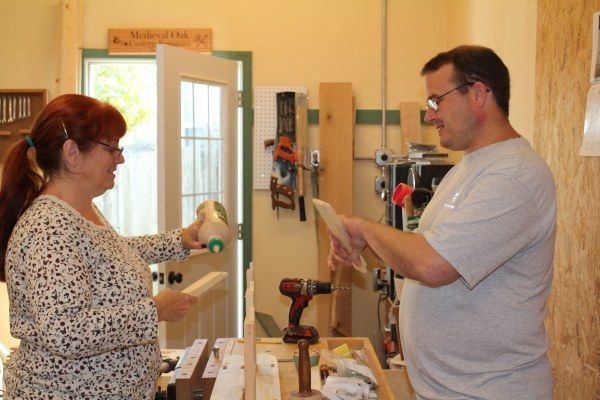
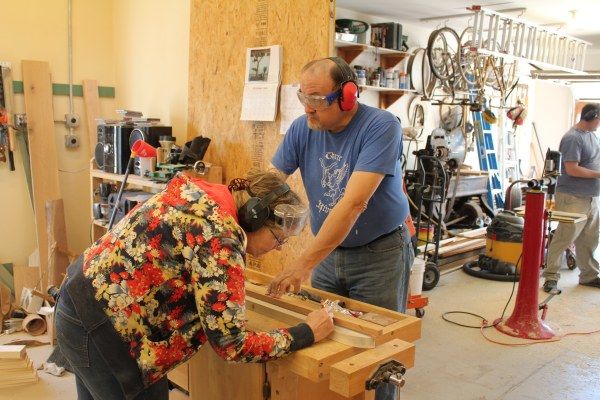
Back from lunch, Gary and I see what's next on the checklist.
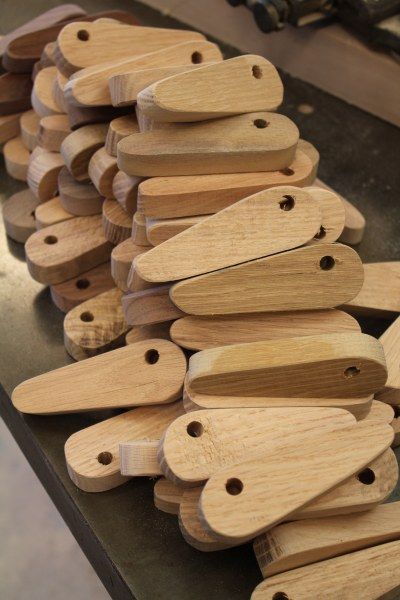
Here's the pile of cams waiting for the assembly the next day. We needed 80 cams plus a few spares.
Matt and Kim moved on to using the overarm router to cut decorative designs on the outside of the legs. I had two patterns for those designs, and Kim attached the patterns to the inside of the legs while Matt did the routing.
We moved the router out to the garage because there was no room to run it in the shop given the number of people involved. I am absolutely sold on the Duro router, despite some earlier bearing problems during the restoration. Using it as a pin router worked great, even with someone like Matt who'd only used a router a few times. I really need to build some kind of guard for it, and it works better when you sit on a kitchen stool to use it (it has a long rebuilt pedal and tends to rock when you step on it), but it did exactly what I wanted and the problem bearing didn't heat up a bit.
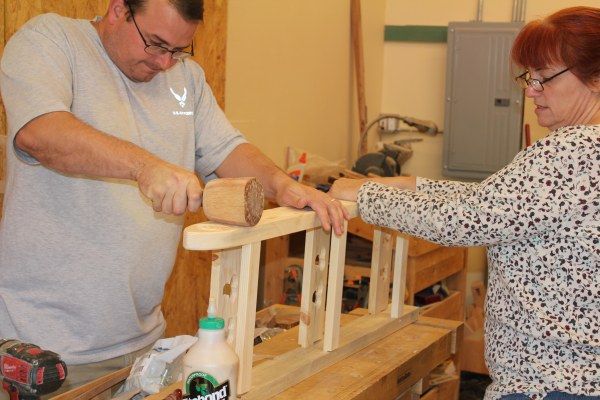
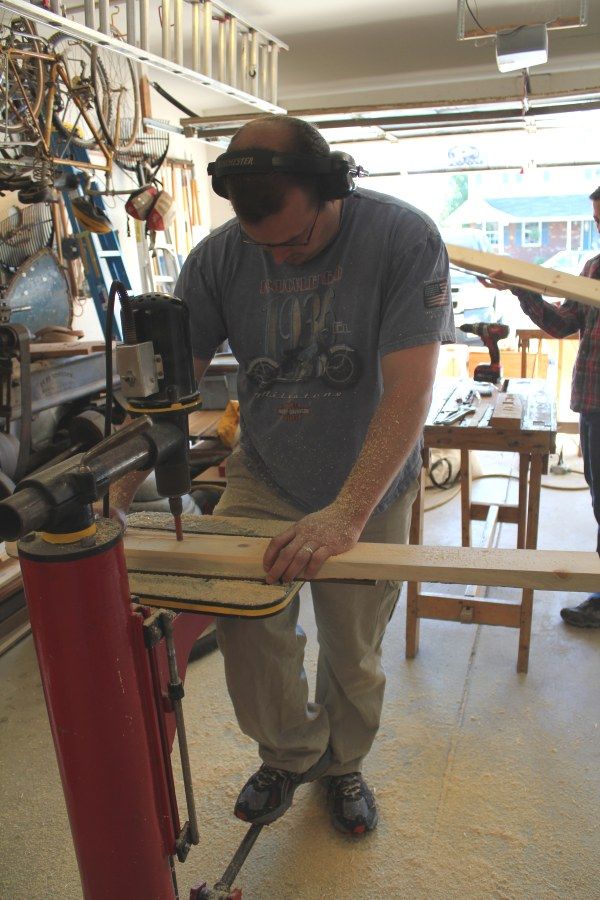
Neathery and Rick laid out the mortises using a story stick and a ruler. We got video of me mortising, but no still shots, alas. When I figure out what cheap (i.e. free) software I need to compress a 900 MB video file down to something manageable, I'll put it on youtube.
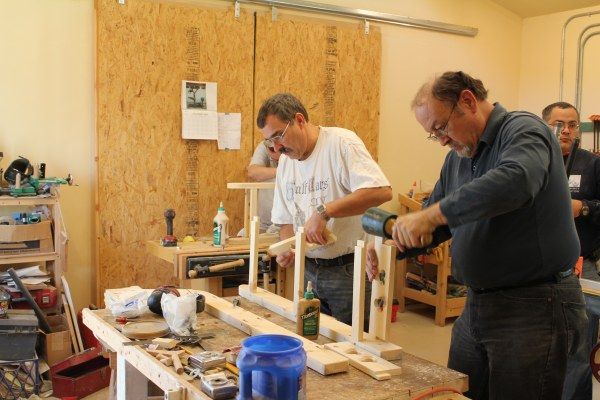
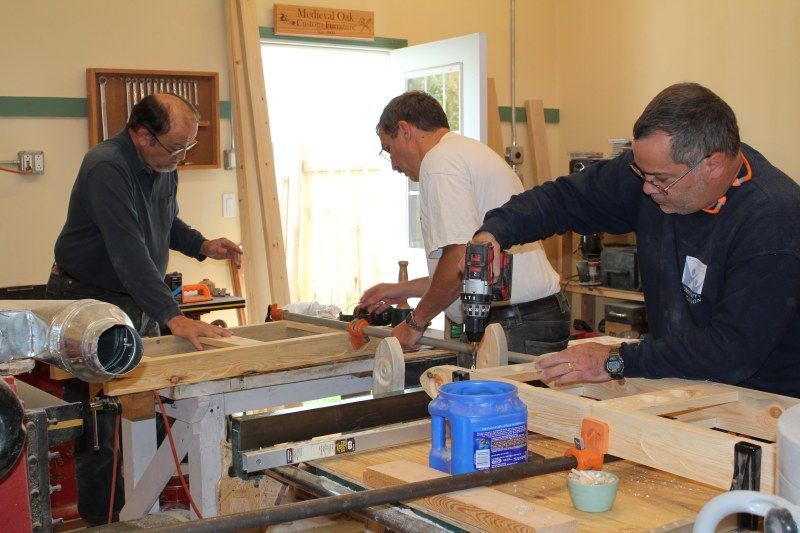
Various factory scenes.
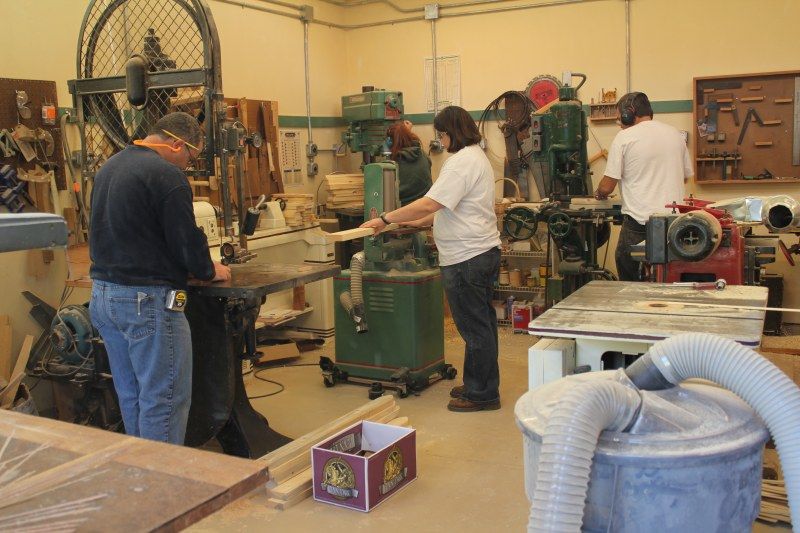
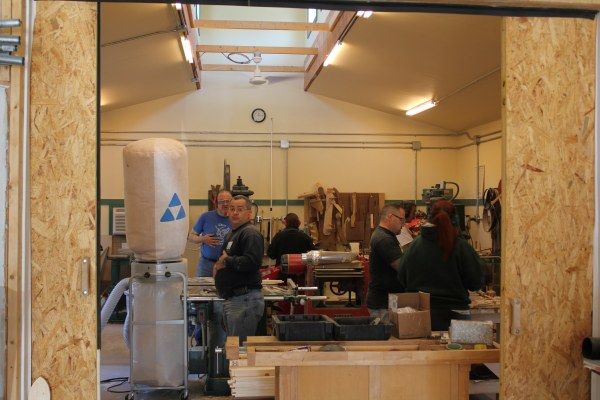
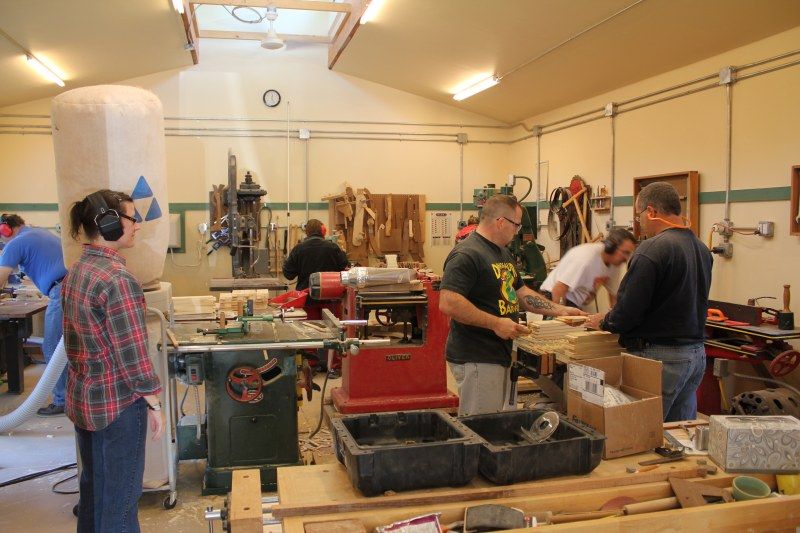
I like these shots because it shows so many people working all at the same time. Nothing like a hundred amp subpanel to keep everyone going!
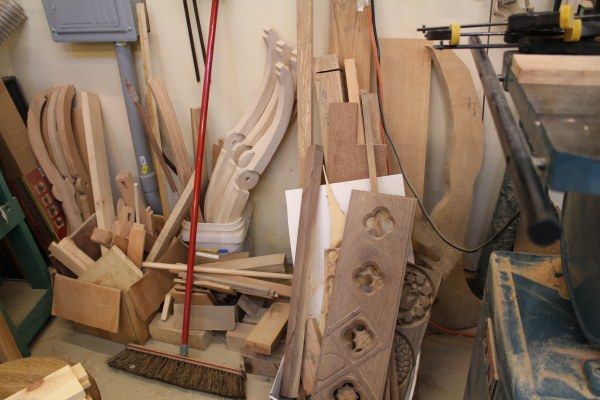
When you're building lots of the same thing like I do, you have to have a place to store the spares for later. We actually got a couple of parts out of the spares pile during the project.
After breaking for the evening, we ate fantastic smoked turkey, green salad, green bean casserole, and carrot cake for dinner. A well-earned repast.")
Kirk
edits: Who knew that 'S-T' was autoreplaced by "dung"? I mean, the city is kind of dirty and was named after after a Frenchman, but it doesn't usually smell that way...
It's also pretty good sized--22'x26'. That means not only can I fit a lot of machines, I can have most of them in use at the same time.
I'm in a medieval re-creation group (the SCA), and build medieval style furniture for use within the group. (Not super-lucrative, but heck, it's paid for all my machines.) The SCA isn't hardcore as far as re-enactor groups go, but we try where we can, and that includes having medieval or quasi-medieval furniture when we go camping. Occasionally, I'll have a group of friends over to build stuff for their personal camps. They get furniture for the cost of materials, and I get some help building my things. Over the weekend, we built break-down shelves. Ah, you say, how hard can a set of shelves be? True, there's nothing really hard, but trying to do 10 sets in one weekend is a non-trivial effort. Here's a couple of sets:
The individual shelves store inside the legs, and when assembled are held in place by cams which are bolted on the legs. This way everything stores in a couple of tidy packages, while there are no parts to lose. Everything except the cams is made of pine from the lumber yard, while the cams are made of shop scrap.
We had ten folks over for the weekend, six from Saint Louis and four down from Iowa. A few of us had started two weeks before to glue up shelf blanks since I didn't have enough clamps to do all in a day, but other than that and cutting up the shelf rail blanks, we were starting from scratch. Initially, I had a great assembly line going to make legs--2x4 through the planer, over to the RAS to get cut to length, then to the jointer to get an edge straight, next to the tablesaw to rip to final width, and finally to the big bandsaw to get the top pointed. Alas, we didn't get pictures or a movie of this, because we were all working. After the legs were cut out, I assigned folks to individual tasks (all listed on a checklist so I could keep them straight), and we finally got some pics:
Eileen drilling trefoils in the outer rails.
Rob, Kim, and Gary sanding rails.
Rounding the edges on rails. Rob is using a plane (a Radiplane, IIRC) that has a couple of cutters to do this rounding. I've heard people mock this type of plane for only doing one thing that can be done by other stuff, but it's really fast and if you go the right direction leaves a finished surface.
Here's the leftovers. Speed was important with 120 of the rails.
Gary is cutting the cams out of half inch oak and walnut scrap on the 30" bandsaw.
Neathery drilling the bolt holes in the cams.
The support crew, my wife Maria and Gary's wife Mary. Not wanting to build stuff in the shop, they got a turkey smoking on our new grill and then went shopping in Saint Louis while the rest of us broke for lunch.
Back from lunch, Gary and I see what's next on the checklist.
Here's the pile of cams waiting for the assembly the next day. We needed 80 cams plus a few spares.
Matt and Kim moved on to using the overarm router to cut decorative designs on the outside of the legs. I had two patterns for those designs, and Kim attached the patterns to the inside of the legs while Matt did the routing.
We moved the router out to the garage because there was no room to run it in the shop given the number of people involved. I am absolutely sold on the Duro router, despite some earlier bearing problems during the restoration. Using it as a pin router worked great, even with someone like Matt who'd only used a router a few times. I really need to build some kind of guard for it, and it works better when you sit on a kitchen stool to use it (it has a long rebuilt pedal and tends to rock when you step on it), but it did exactly what I wanted and the problem bearing didn't heat up a bit.
Neathery and Rick laid out the mortises using a story stick and a ruler. We got video of me mortising, but no still shots, alas. When I figure out what cheap (i.e. free) software I need to compress a 900 MB video file down to something manageable, I'll put it on youtube.
Various factory scenes.
I like these shots because it shows so many people working all at the same time. Nothing like a hundred amp subpanel to keep everyone going!
When you're building lots of the same thing like I do, you have to have a place to store the spares for later. We actually got a couple of parts out of the spares pile during the project.
After breaking for the evening, we ate fantastic smoked turkey, green salad, green bean casserole, and carrot cake for dinner. A well-earned repast.
Kirk
edits: Who knew that 'S-T' was autoreplaced by "dung"? I mean, the city is kind of dirty and was named after after a Frenchman, but it doesn't usually smell that way...