adzeman
Established Member
Change to: A job I have kept putting off for years and finally got round to doing it.
When your workshop is too small for the amount of kit you have, each tool should have its designated space with a rule, “When you have finished using it put it back to where it belongs.”
Oh yea? Not in my workshop. I do try, but fail, badly.
One problem is when one obtains a new piece of kit where does it go?
How close should it be to the working area?
Can one stretch out and select it or put it back?
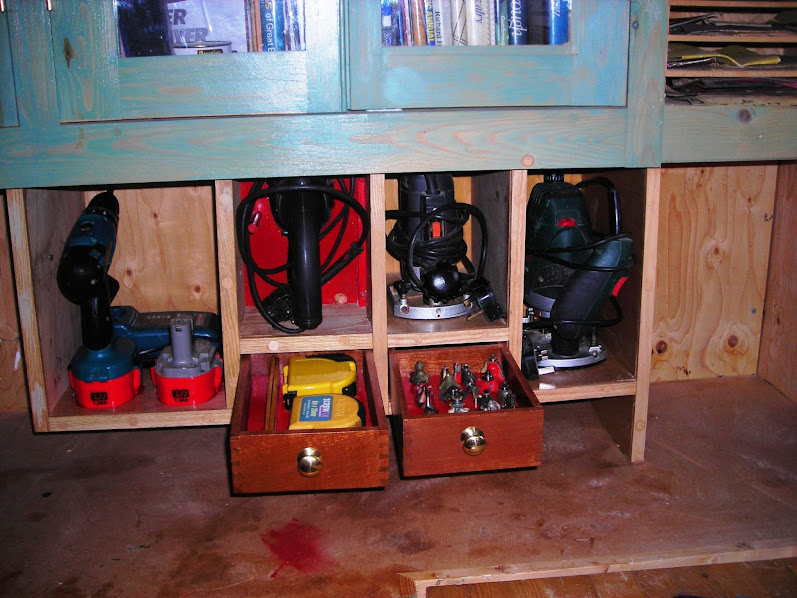
Last year I obtained a second hand Bosch router at the Bentley wood fair. I was so pleased with my purchase (only £10.00) I decided to make a dedicated place for it in the workshop with a drawer to store my collection of router bits.
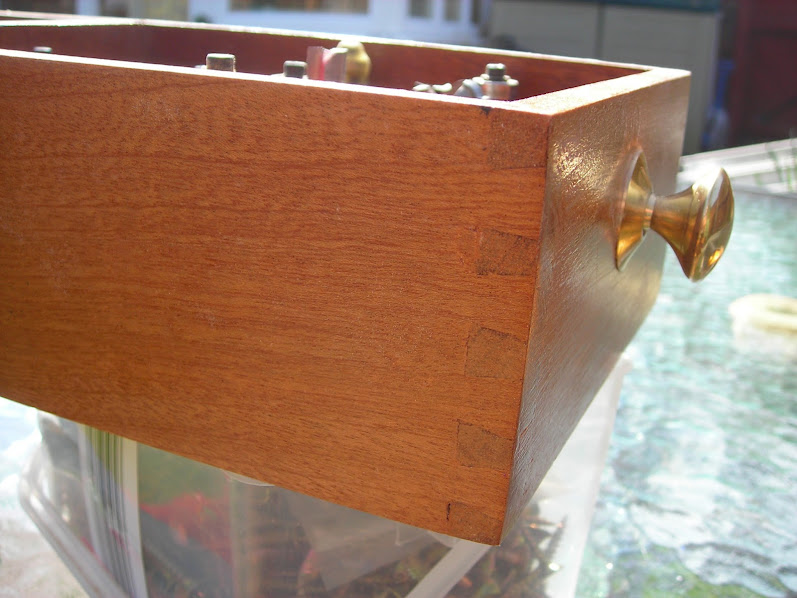
I was delighted with the result and stood there admiring my handiwork but could not help looking at my 40 year old Elu router still in good nick with plenty of service left in it. What had this faithful tool done not to have its own pride of place in the workshop?
So I extended the station to allow this old and trusted router to sit alongside the Bosch, and while I was at it, a space for the future for when I get round to buying a ½” router, maybe a DeWalt or a Festool! I can dream and I was on a roll.
At this time my cordless drill packed in, buying cheap cordless drills is poor economy so off to Screwfix who were doing an offer on a DeWalt model. Too late the offer had ended but they were doing a good deal on a Makita model so I bought that one.
Yes you have got it, I had to build a station for this new piece of kit too and include a spot for my old and trusty Skil power drill.
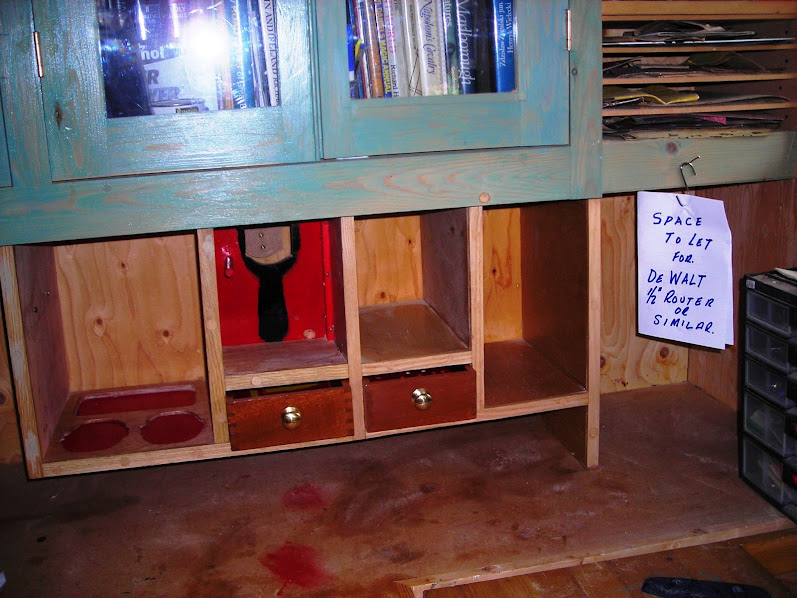
I don’t know if its an age thing but I have three measuring tapes on the go together with two folding rules which during a project I put down and as if by magic disappear. So, alongside the bit drawer I made a measuring drawer so these invisible devises could have their special place.
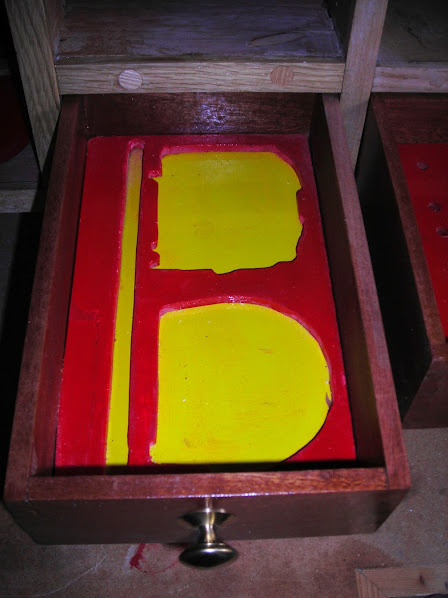
All loaded up
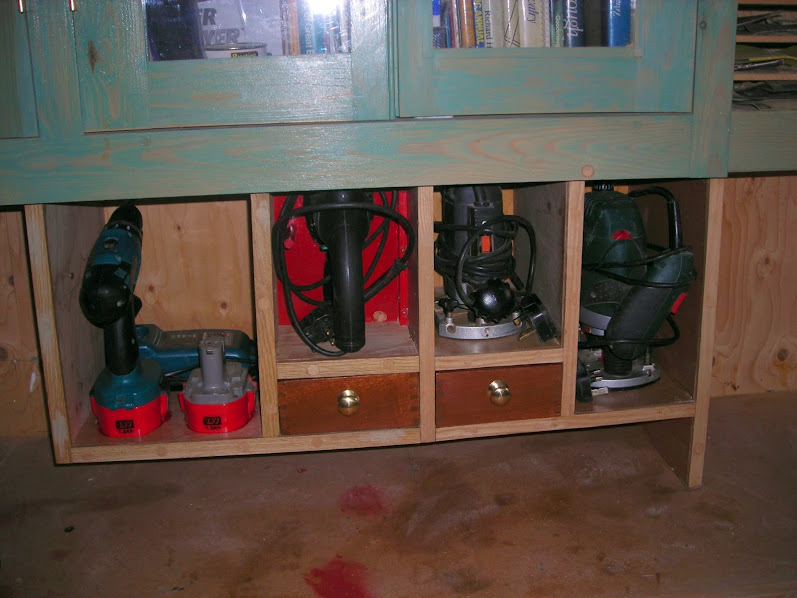
and closed up
The truth is I am still playing at it and this is what is under my bench and it’s scary.
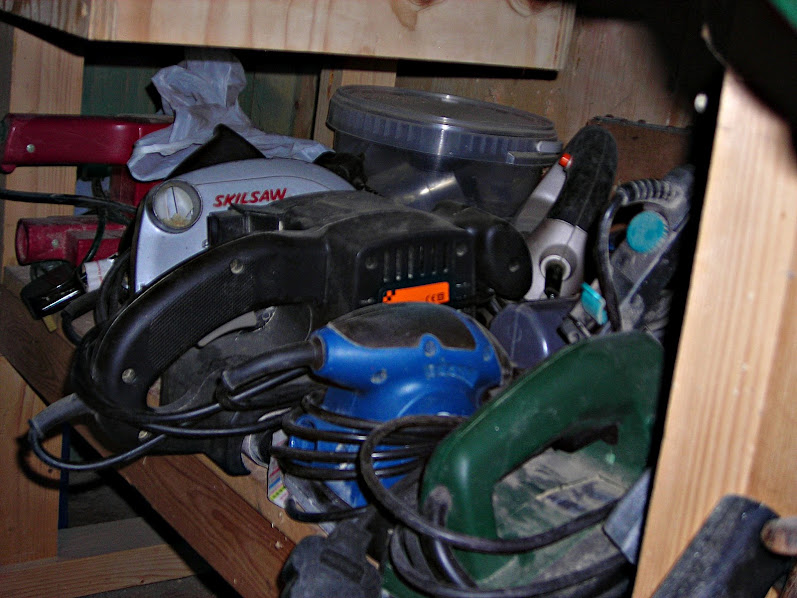
They maybe close at hand under the bench but they collect an awful amount of dust.
Cables become entangled. Cables become damaged and some will not pass a PAT test.
When you want a particular tool it’s a bind pulling out two or three to get to the one you want and when you have used it tends not to get put back but gets in the way on the bench top, or! goes on the floor in risk of serious damage.
The answer is to stop playing about with the new kit and organize ones self and set out my stall for my basic kit.
My first ideas were set down on paper the following being an early attempt.
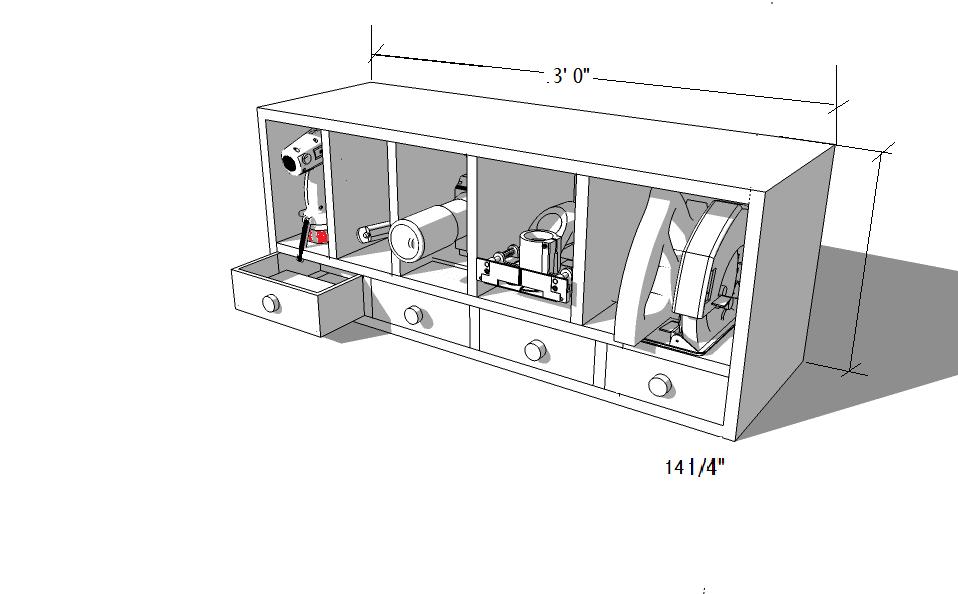
I never have enough drawers to which I find useful. There are always small items which need a home so I put these into the first prototype.
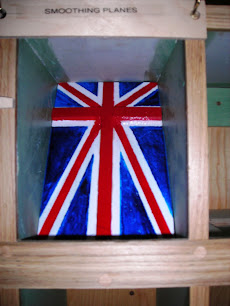
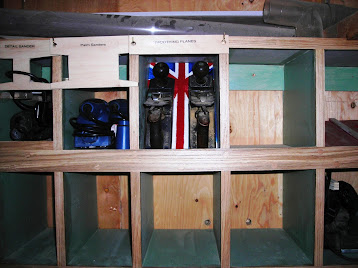
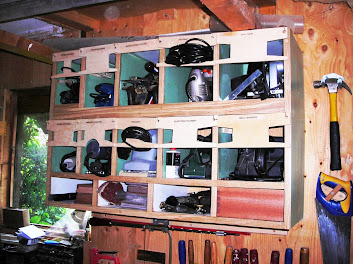
It was obvious that I did not have enough wall space for a single deck of pigeon holes or arms long enough to make the kit accessible so a double deck was included for. Another requirement was for my smoothing planes to be included within the centre of the box.
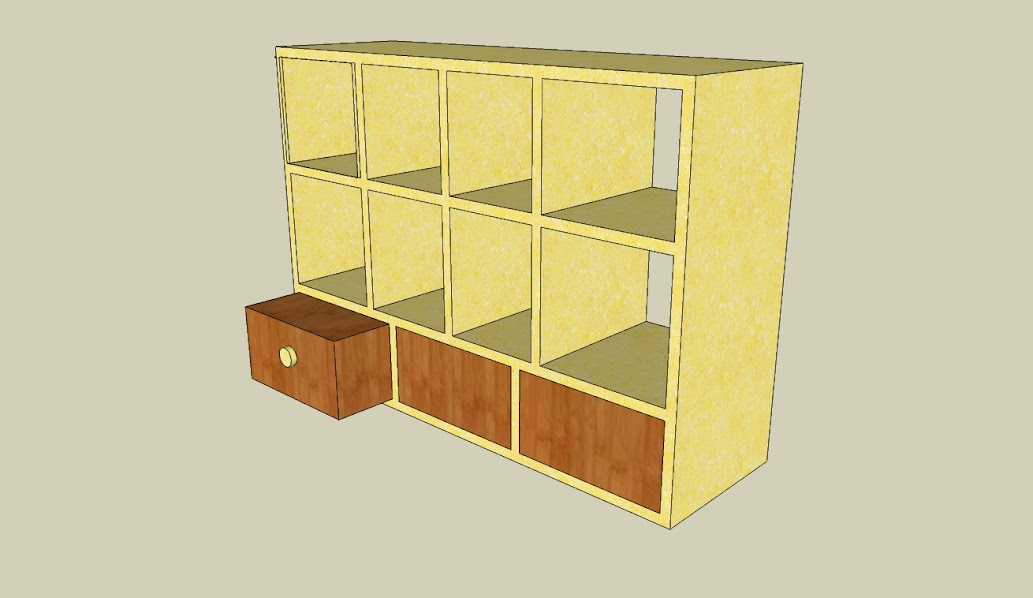
The above gives space for 8 tools and I have at least 12 but they are different sizes and the final size is dependant on what I can cut out of a standard 8’ x 4’ ply sheet.
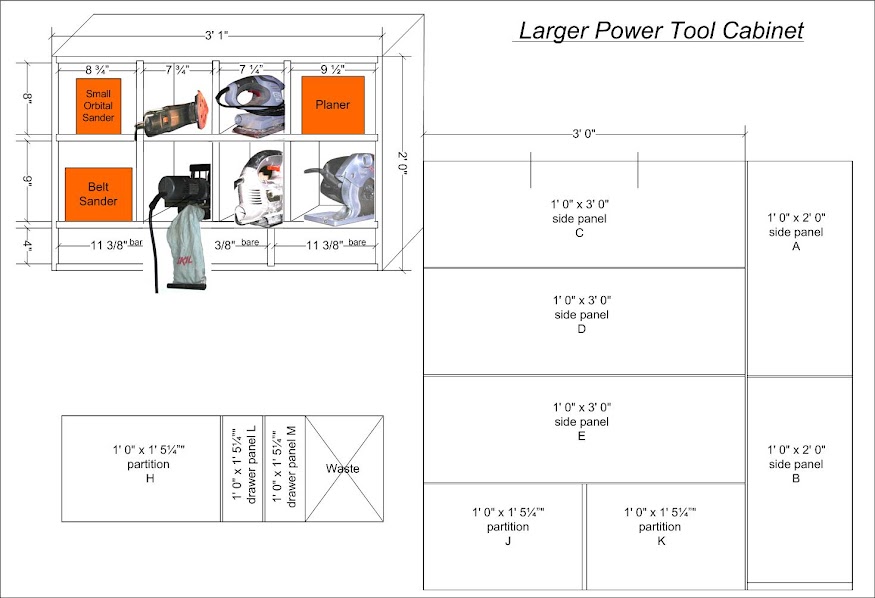
Using the above and laying out the power tools on the ply an acceptable layout was produced.
This being the end arrangement.
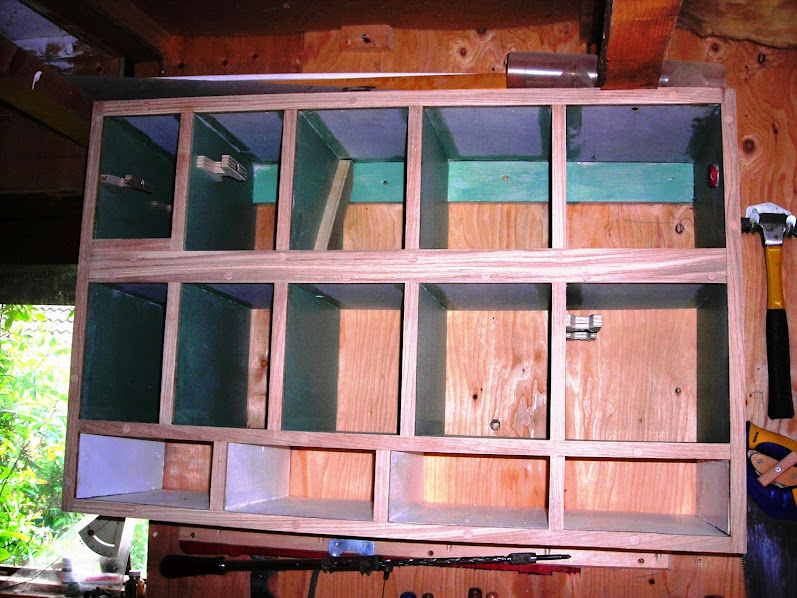
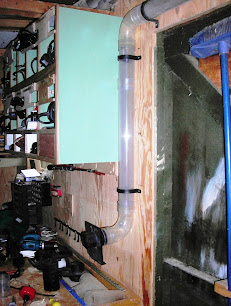
A home is still needed for the contents of this box.
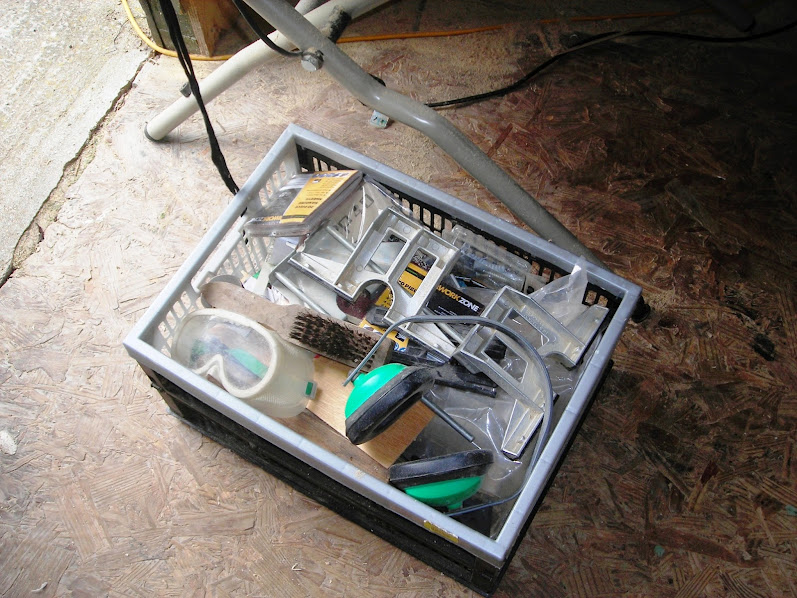
W.I.P. is making the drawers hopefully finding a home for this kit.
When your workshop is too small for the amount of kit you have, each tool should have its designated space with a rule, “When you have finished using it put it back to where it belongs.”
Oh yea? Not in my workshop. I do try, but fail, badly.
One problem is when one obtains a new piece of kit where does it go?
How close should it be to the working area?
Can one stretch out and select it or put it back?
Last year I obtained a second hand Bosch router at the Bentley wood fair. I was so pleased with my purchase (only £10.00) I decided to make a dedicated place for it in the workshop with a drawer to store my collection of router bits.

I was delighted with the result and stood there admiring my handiwork but could not help looking at my 40 year old Elu router still in good nick with plenty of service left in it. What had this faithful tool done not to have its own pride of place in the workshop?
So I extended the station to allow this old and trusted router to sit alongside the Bosch, and while I was at it, a space for the future for when I get round to buying a ½” router, maybe a DeWalt or a Festool! I can dream and I was on a roll.
At this time my cordless drill packed in, buying cheap cordless drills is poor economy so off to Screwfix who were doing an offer on a DeWalt model. Too late the offer had ended but they were doing a good deal on a Makita model so I bought that one.
Yes you have got it, I had to build a station for this new piece of kit too and include a spot for my old and trusty Skil power drill.

I don’t know if its an age thing but I have three measuring tapes on the go together with two folding rules which during a project I put down and as if by magic disappear. So, alongside the bit drawer I made a measuring drawer so these invisible devises could have their special place.

All loaded up

and closed up

The truth is I am still playing at it and this is what is under my bench and it’s scary.

They maybe close at hand under the bench but they collect an awful amount of dust.
Cables become entangled. Cables become damaged and some will not pass a PAT test.
When you want a particular tool it’s a bind pulling out two or three to get to the one you want and when you have used it tends not to get put back but gets in the way on the bench top, or! goes on the floor in risk of serious damage.
The answer is to stop playing about with the new kit and organize ones self and set out my stall for my basic kit.
My first ideas were set down on paper the following being an early attempt.

I never have enough drawers to which I find useful. There are always small items which need a home so I put these into the first prototype.
It was obvious that I did not have enough wall space for a single deck of pigeon holes or arms long enough to make the kit accessible so a double deck was included for. Another requirement was for my smoothing planes to be included within the centre of the box.

The above gives space for 8 tools and I have at least 12 but they are different sizes and the final size is dependant on what I can cut out of a standard 8’ x 4’ ply sheet.

Using the above and laying out the power tools on the ply an acceptable layout was produced.
This being the end arrangement.

A home is still needed for the contents of this box.

W.I.P. is making the drawers hopefully finding a home for this kit.


