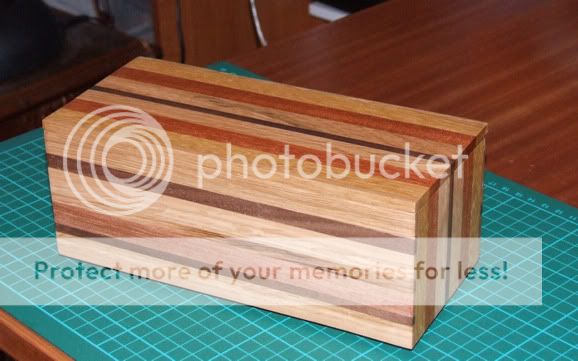
a laminate box wip

UKworkshop.co.uk

Help Support UKworkshop.co.uk:

This site may earn a commission from merchant affiliate links, including eBay, Amazon, and others.

devonwoody

Established Member
Joined
11 Apr 2004
Messages
13,493
Reaction score
25
Location
Paignton Devon
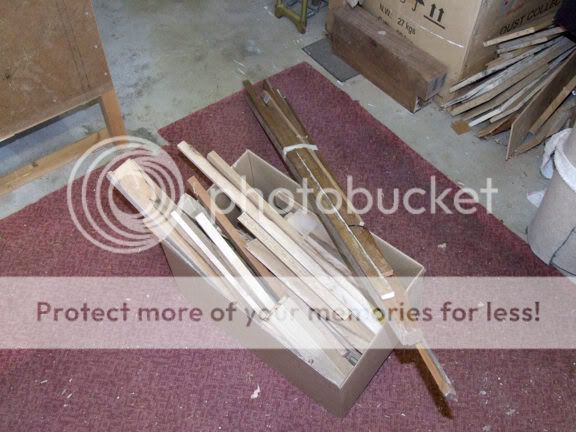
Decided to use timber this time from the scrap box.
1-1.jpg


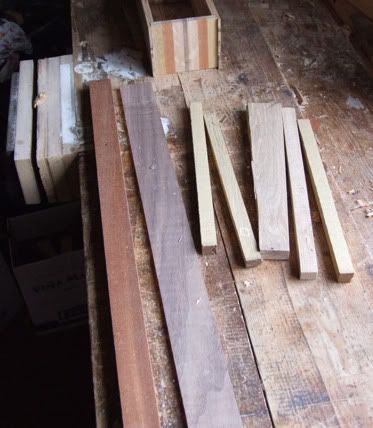
So I sorted it in to piles according to lengths.
2-2.jpg


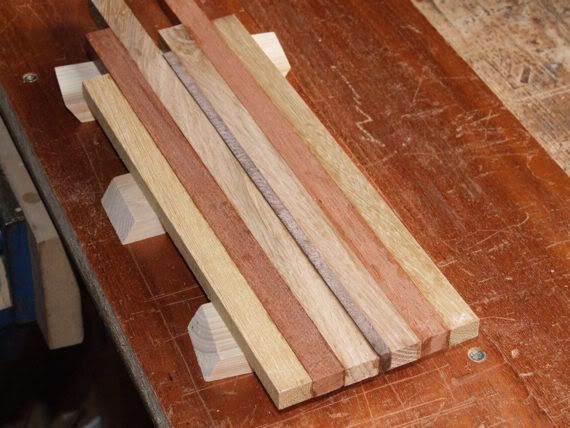
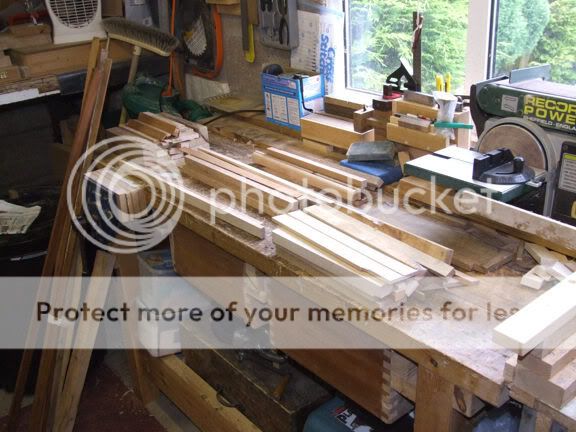
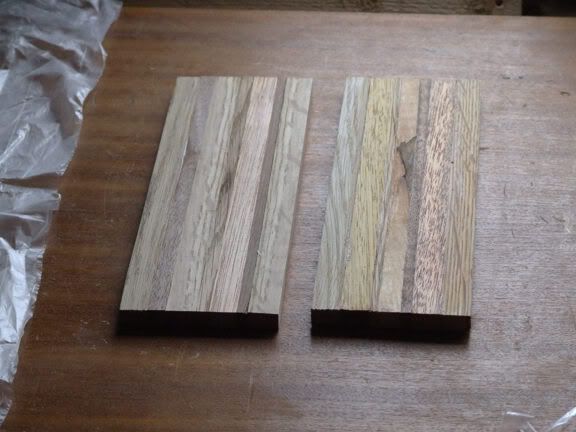
Started with the shorts length piles first and prepared timber down to 10mm thickness and accepting any width that was conveniently available.
3.jpg


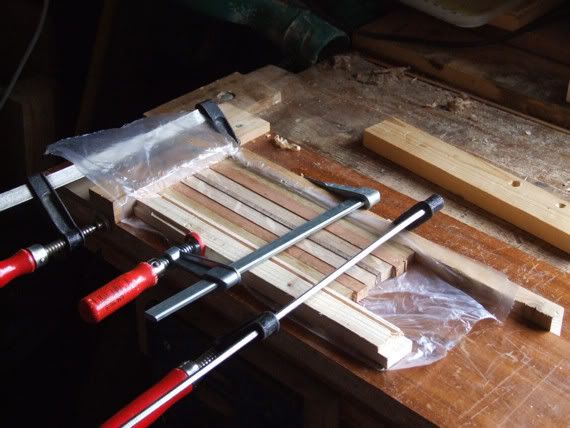
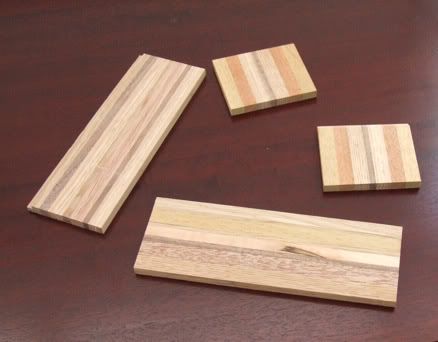
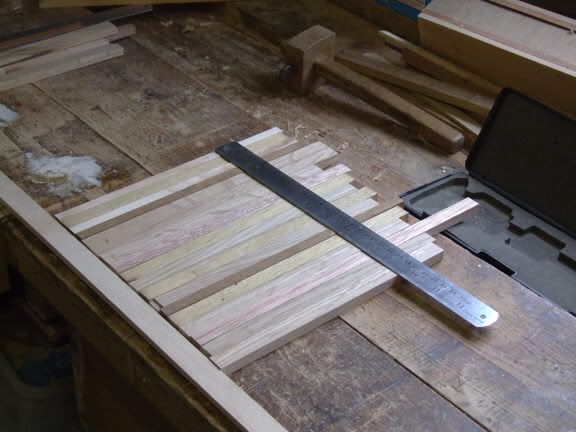
Result of the day spent in the workshop with laminates glued up as two pieces which are 80mm widths and 221mm long.
4-2.jpg


Must say though that for all the effort involved to obtain two such short pieces it must only be for love not any profit.
 
The front and sides ready for gluing up.

6-2.jpg


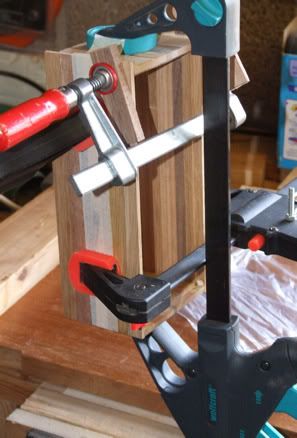
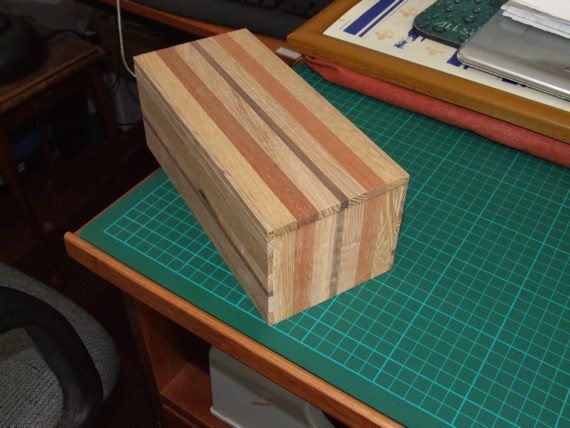
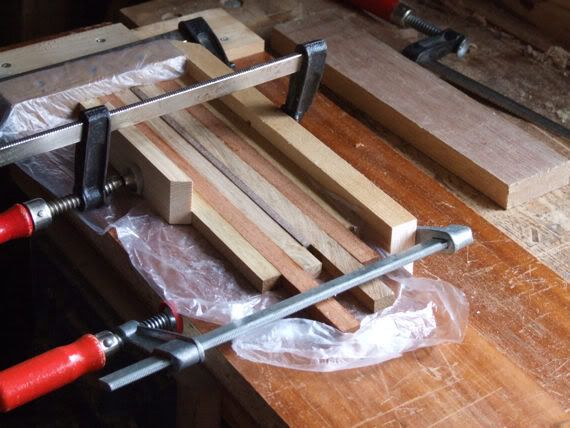
The four pieces are clamped and glued.

7-2.jpg


Decided to make the lid using strips, and I have sorted out matching timbers to follow timber lines, will prepare and glue up later today

8-2.jpg
 
Got the lid timber gluing up.

9-2.jpg


After coming of cramps I have decided that another side piece is required each side so that lid does not just drop into box. Anyway the position so far.

10-2.jpg


Put another strip on each side last evening, and then this morning shaped the lid to fit box.

11-2.jpg


It just goes to show it never pays to throw any scraps away. :wink:
 
Had a good day.
The lid fell on as picture above.
Went shopping twice.
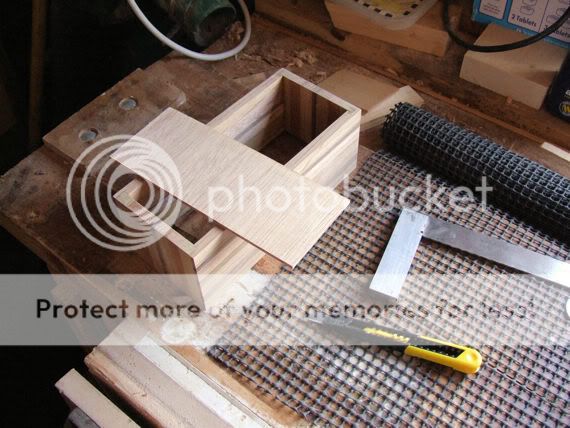
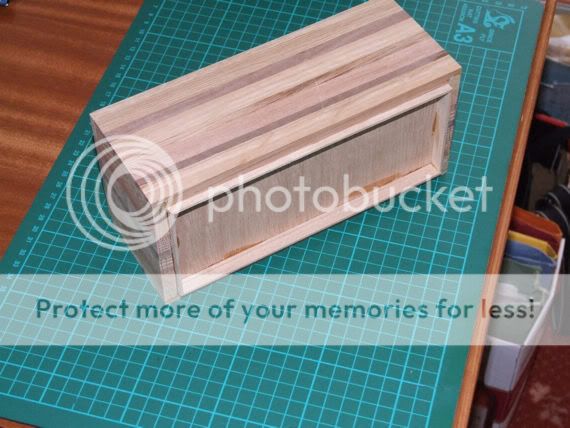
And then the base and base support just jumped on.

The base is a piece of 4mm 3 ply and I scored it with a stanley knife to stop the edge splintering when cutting across the grain, I did it both sides and then for some reason I flexed it and low and behold it separated so a saw cut was not needed along the greatest length.
So thats a new tip?

12-2.jpg


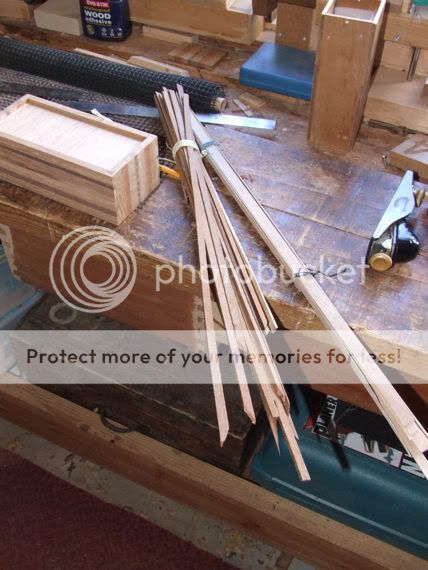
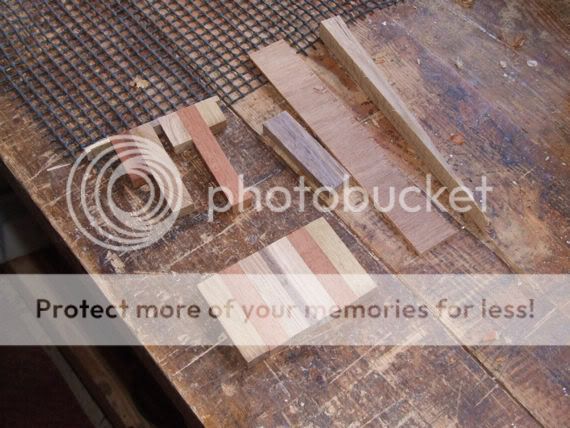
I then went to my scrap storeage area and found this bundle of waste cuttings off the tablesaw.

13-2.jpg


I fitted them under the base ply and left a protusion to cut off after glue had set and then I had nother stroke of luck. I found that it make a handy base support and feet will not be made for this box.

15-2.jpg


So the box is now awaiting a sand and then shellac/wax finish and all the waste timber left from this project amount to this.


14-2.jpg


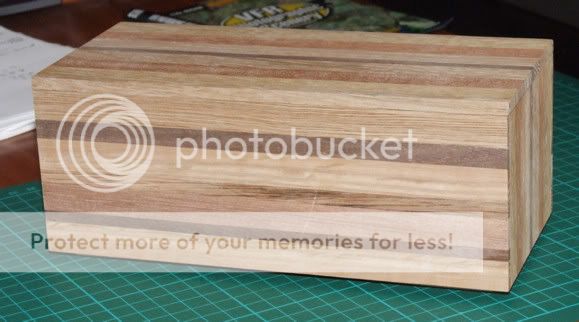
The box awaiting finish.

16-3.jpg
 
That box is looking really nice. Can't wait to see how the colours and grain come up with the finish.

I'm with you on not throwing scraps away. I even have some strips of oak that are wafer thin from trimming on the table saw - one day I'll know what to do with them! My wife even uses sawdust and shavings in her art, but I produce it faster than she can use it. :lol:
 
Thanks all for looking and comments.
I think the weather as finally caught up with me (the wind and rain) because I have got something like lumbago, so taking a break from the workshop until the weather turns.
 
Got back out into the workshop (taking Ibuprofen for the lumbago and its got me moving )

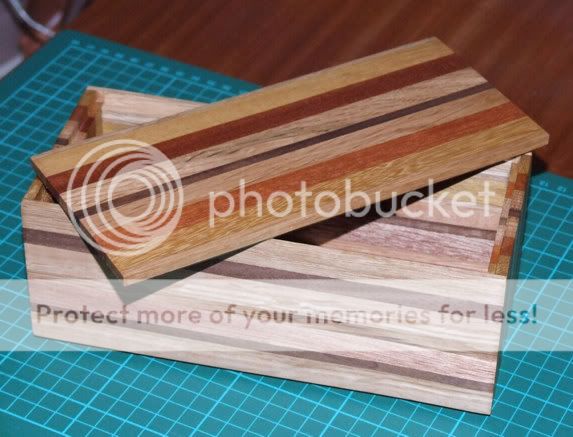
The laminated box was coated with clear shellac and then waxed so now the box is looking for a home.

3-1.jpg


2-3.jpg


Thanks for looking in.

PS.the laminating bug as caught me and I have started a new thread!
 

Latest posts

Back
Top