You are using an out of date browser. It may not display this or other websites correctly.
You should upgrade or use an alternative browser.
You should upgrade or use an alternative browser.
A kind of lazy susan
- Thread starter devonwoody
- Start date

Help Support UKworkshop.co.uk:
This site may earn a commission from merchant affiliate
links, including eBay, Amazon, and others.
NeilO
Established Member
DW, looking good...except for that purpleheart :lol:
the Lacewood? looks absolutely gorgeous..
really looking forward to seeing the finished piece.
the Lacewood? looks absolutely gorgeous..
really looking forward to seeing the finished piece.
ByronBlack
Established Member
the purpleheart sticks out like a sore - thumb, but I actually like it, i'm really enjoying watching this one come together, an original design and interesting to see it being implemented.
What finish are you going to use on this one DW?
What finish are you going to use on this one DW?
devonwoody
Established Member
What finish are you going to use on this one DW?
If it is a success I am hoping for it to be a permanent feature (as an ornament) on the dinning table so a finish that is appropriate and easily cleaned.
Any suggestions?
ByronBlack
Established Member
Easily cleaned and practical - I would go with something like Rustins plastic coating, very easy to clean. If you don't mind a bit of rubbing, and yearly maintenance, i'm a huge fan of danish oil and wax.
devonwoody
Established Member
Thanks for finishing advice above.
However I have had a panic attack I think the ply insert holders cheapen or lower the project and I got out my scrap boxes:
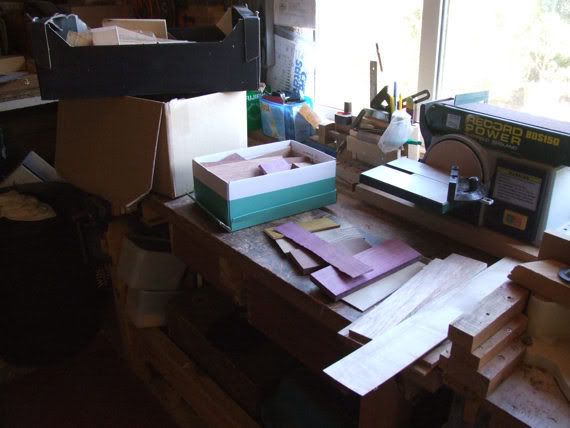
And found sufficient bits to remake the lower inserts in matching timbers to lids. Now I,m concerned that I might get a nasty reaction caused by grain/warp if I glue these pieces under the top lids instead of the original ply I cut.
So looking for a majority verdict on what I should do before I glue up.??
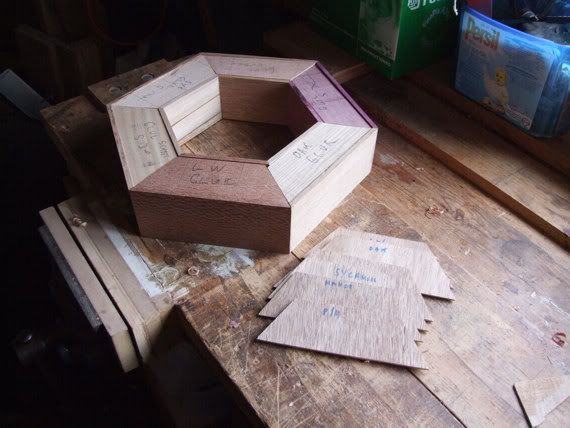
Incidently I hand cut the new bits using a bit of scrap offcut with a straight edge to ensure a decent cut to a drawn line..Never used this way of cutting before but I can fully recommend.
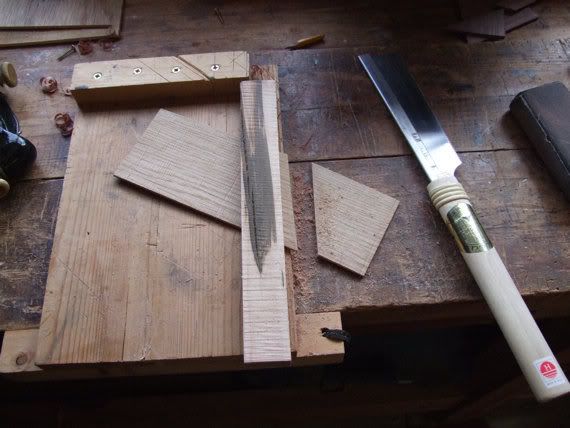
By the way, do I need to start a new thread if this one takes a long time to download?
However I have had a panic attack

And found sufficient bits to remake the lower inserts in matching timbers to lids. Now I,m concerned that I might get a nasty reaction caused by grain/warp if I glue these pieces under the top lids instead of the original ply I cut.
So looking for a majority verdict on what I should do before I glue up.??

Incidently I hand cut the new bits using a bit of scrap offcut with a straight edge to ensure a decent cut to a drawn line..Never used this way of cutting before but I can fully recommend.


By the way, do I need to start a new thread if this one takes a long time to download?

£24.99
Facemoon Reusable Masks,Safety Masks,Dual Filter Masks, Paint, Dust, Epoxy Resin, Construction, Welding, Sanding, Woodworking, Chemical Reusable Gas Masks
ShenZHEN CIRY MINGYANG LITIAN ELECTRONIC ECOMMERCE

£10.10
£15.48
Portwest Browguard with Clear Visor, Size: One Size, Colour: Clear, PW91CLR
Amazon.co.uk

£10.19 (£0.39 / count)
£11.99 (£0.46 / count)
Nicpro Carpenter Pencil with Sharpener, Mechanical Carpenter Pencils Set with 26 Refills, Case, Deep Hole Marker Construction Pencils Heavy Duty Woodworking Pencils for Architect (Black, Red)
NicproShop EU

£15.99 (£1.60 / count)
£27.44 (£2.74 / count)
3M 8822 Disposable-fine dust mask FFP2 (10-pack)
Amazon.co.uk

£199.00
£360.17
Trend Portable Benchtop Router Table with Robust Construction for Workshop & Site Use, 240V, CRT/MK3
Amazon.co.uk

£16.99
£19.99
Respirator Mask,Safety Dust Face Cover,Dust Face Cover Paint Face Cover,Gas Mask With Filter,For Paint,Dust And Formaldehyde,Sanding,Polishing,Spraying And Other Work
ShenZHEN CIRY MINGYANG LITIAN ELECTRONIC ECOMMERCE
devonwoody
Established Member
The lids are playing me up, They fitted at a dry trial run but withtitebond3 on they are slipping or creeping.
When does the creep happen, whilst setting?
When does the creep happen, whilst setting?
ByronBlack
Established Member
I use titebond all the time, and in my experience you get some slippage at the early stages of setting, I would get them nice and tight in clamps as soon as possible really.
devonwoody
Established Member
The Australians recommended a few grains of sand to stop slippage but didn't work this time for me (most probably because the pieces glued together have one sloped surface.
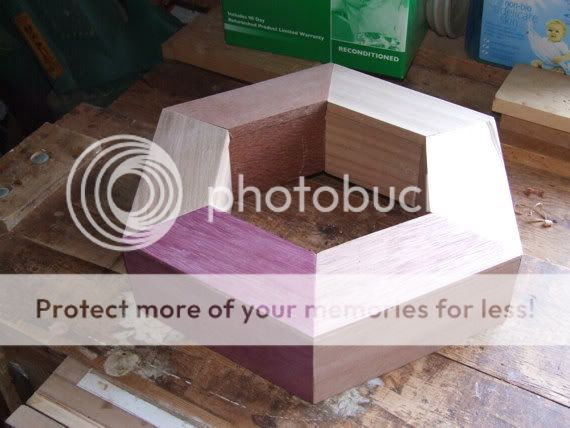
The six lids have now been roughly fitted and glued up to their insert bases but I have doubts about their stability and I might have to go back to ply or solid pieces and machine to shape on router.
Putting this portion away for a few days and return to the centre box which will need smaller pieces to compliment the design.
The six lids have now been roughly fitted and glued up to their insert bases but I have doubts about their stability and I might have to go back to ply or solid pieces and machine to shape on router.

Putting this portion away for a few days and return to the centre box which will need smaller pieces to compliment the design.
OPJ
Established Member
I was also quite concerned by the purpleheart, but since the lids have gone on, I don't know why, but it really seems to work quite nicely! 
devonwoody
Established Member
Taken a photograph of lazy susan out of the direct sunlight of earlier pictures shown above to display the timber colours without glare.
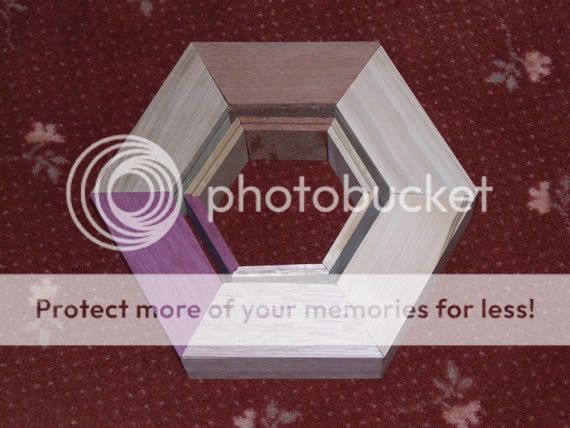
There is a gap on the lacewood lid which might mean I will have to remake a new piece for this section.
But I am keen to get going again and start making a cover for the centre section. This is also creating problems because I want to maintain the slope, however I will try a session today.
Any comments appreciated.
Lord Nibbo
Established Member
I thought the outer hexagon looked excellent, that middle section will make it look fabulous. You must be a glutton for punishment with all those angles you've cut =D> \ /
/
devonwoody
Established Member
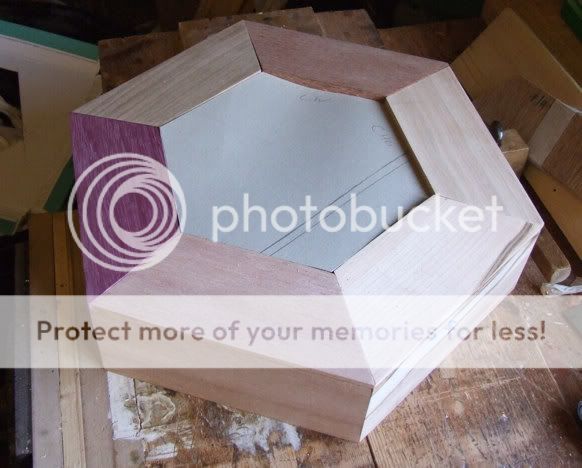
The frontal view
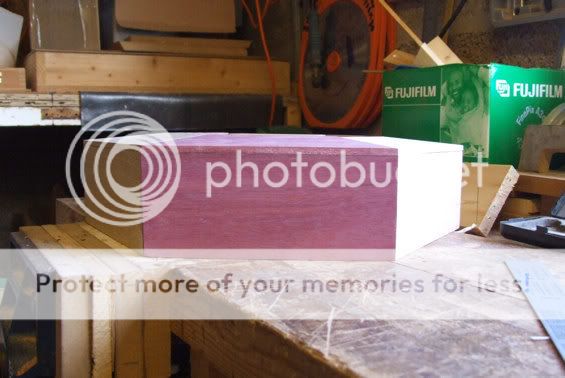
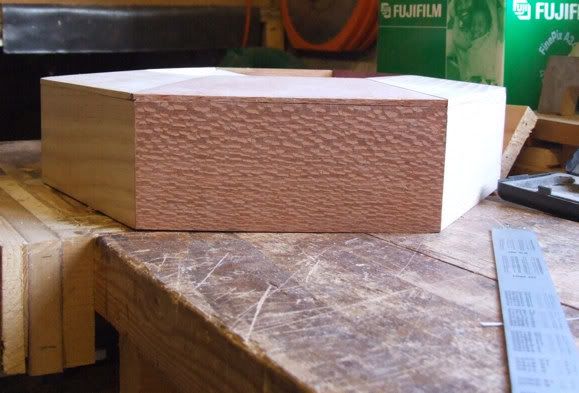
Decided to change tactics for the centre and make a one piece lid , compound angles drove me frantic and also realising that they would have to be cut by hand because of the small size.
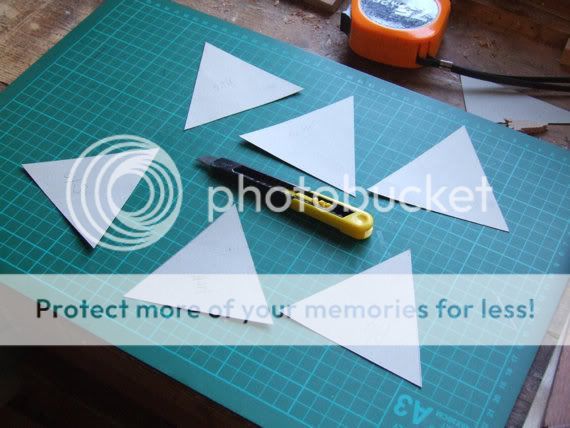
Made a paper template as per picture and then sharpened my Stanley knife blade on the wet & dry sanding block ( I do that these days and I haven’t had to change or brake off any blade for sometime). Cut the six paper segments and marked the outside edges and timber variety, otherwise I thought I might have a large sort out puzzle at the end of the day.
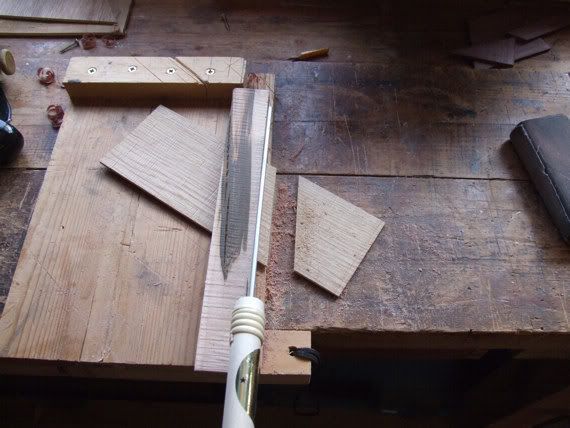
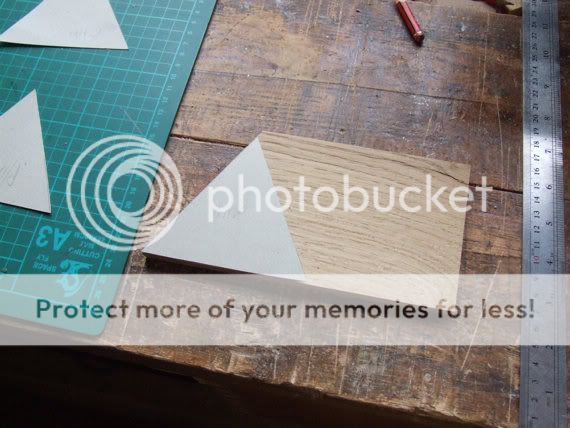
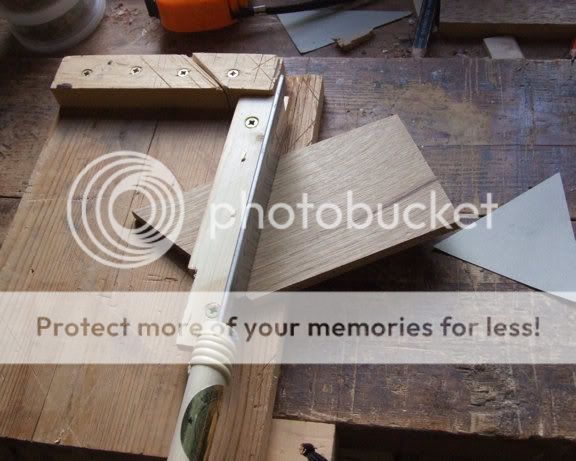
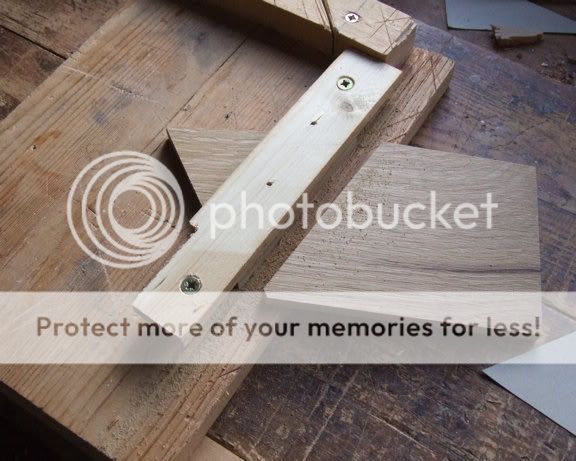
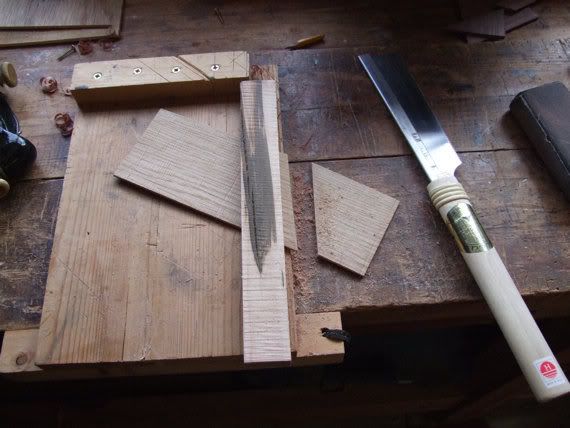
Cut to the first to line on the SCMS saw;; but when needing to cut the other angle my fingers started to tingle, so I knocked up this idea for cutting the second side, I screwed a batten on my sawing board tightened it down tight on the timber and used it as a straight edge for cutting line. I can tell you using a Japanese saw the cut was super, equal or better than the SCMS cut.
The end is in sight, usually my boxes are 5 day jobs, but this one is stretching out, perhaps because it is 7 boxes.


Decided to change tactics for the centre and make a one piece lid , compound angles drove me frantic and also realising that they would have to be cut by hand because of the small size.

Made a paper template as per picture and then sharpened my Stanley knife blade on the wet & dry sanding block ( I do that these days and I haven’t had to change or brake off any blade for sometime). Cut the six paper segments and marked the outside edges and timber variety, otherwise I thought I might have a large sort out puzzle at the end of the day.

Cut to the first to line on the SCMS saw;; but when needing to cut the other angle my fingers started to tingle, so I knocked up this idea for cutting the second side, I screwed a batten on my sawing board tightened it down tight on the timber and used it as a straight edge for cutting line. I can tell you using a Japanese saw the cut was super, equal or better than the SCMS cut.


The end is in sight, usually my boxes are 5 day jobs, but this one is stretching out, perhaps because it is 7 boxes.
devonwoody
Established Member
Two of the lid pieces are short on width so I have built up to accommodate the triangle.
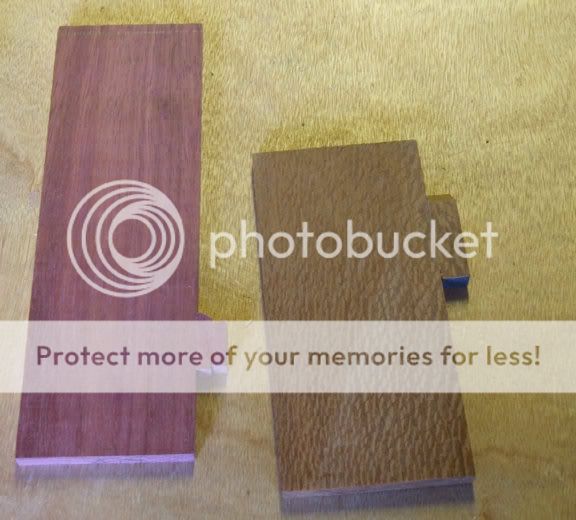
I have now got all 6 pieces cut and roughly fitted to centre space, did need some recuts and further attention is going to be required but will give it a rest for a few days just incase something springs to mind that might be missed if I go straight for a glue up. Thinking knobs, beadings etc.
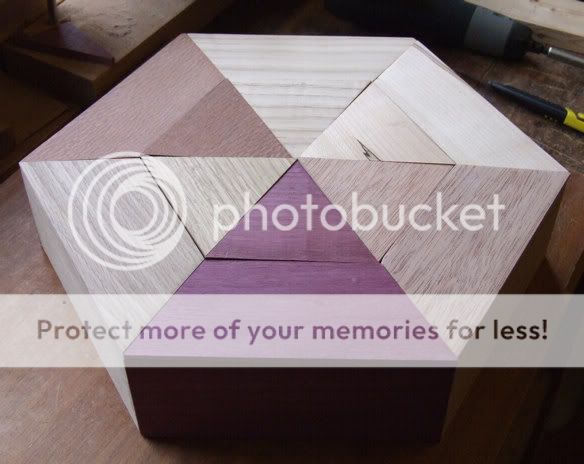

I have now got all 6 pieces cut and roughly fitted to centre space, did need some recuts and further attention is going to be required but will give it a rest for a few days just incase something springs to mind that might be missed if I go straight for a glue up. Thinking knobs, beadings etc.

ByronBlack
Established Member
How about, taking the order of the internal lids and flipping them 180 so you have a contrast, i.e. the purple heart lid will be on the opposite side etc.. And to crown it off, how about a small pyramid style handle in the middle..
Lord Nibbo
Established Member
It just gets better and better

What inspired you to come up with this design DW?

What inspired you to come up with this design DW?
devonwoody
Established Member
quote
What inspired you to come up with this design dw?
Sleepless nights! :wink:
I'll investigate setting lids at opposing positions, but it will definitely have a knob at the crown.
Looking at it this morning I would also like the rise to continue as the outer ring, but I will need a mathematician to give me the angles assuming a 4mm rise. Anyone out there please?
devonwoody
Established Member
It’s a week and I’m back, I can’t believe where that went. Some of you know I’ve been jigging around and today the first dry day I got lumbered with planting around 500 spring bulbs. Did it the easy way, dug a trench and poured them in.
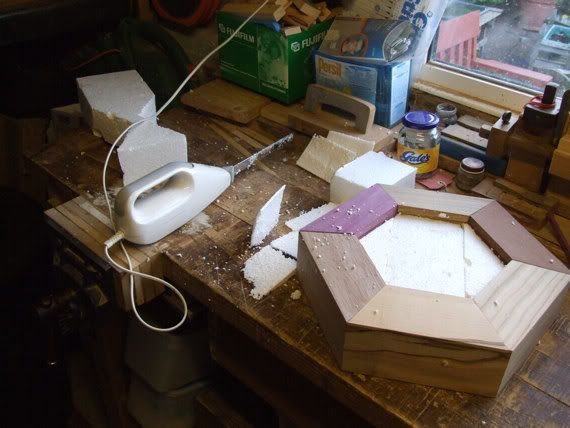
So this evening I purloined a new tool for my workshop, the electric bread knife and then cut some polystyrene to shape and fitted inside the seventh box orifice.
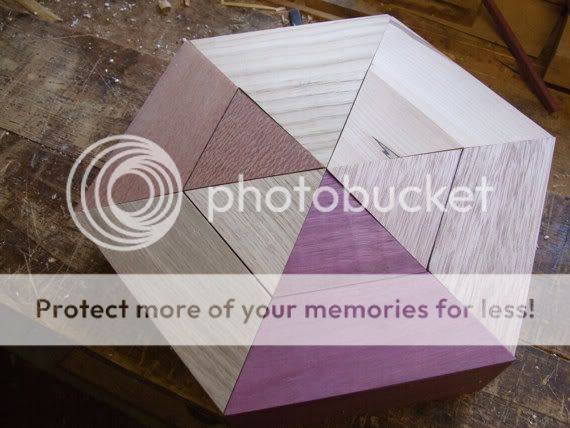
Dropped the lid on top and got a reasonable fit.
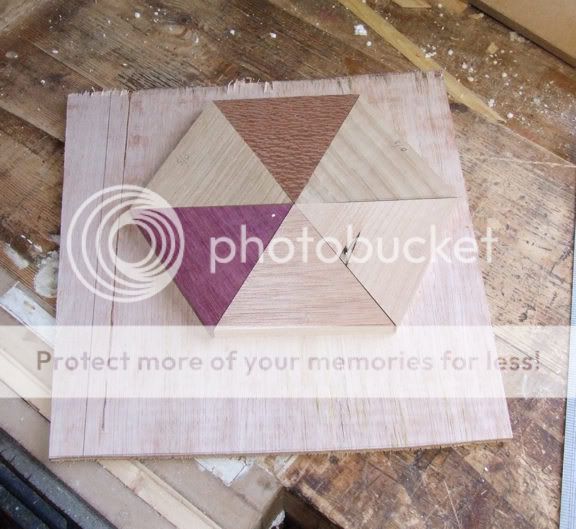
Then decided to make a ply template to glue the triangular pieces too.
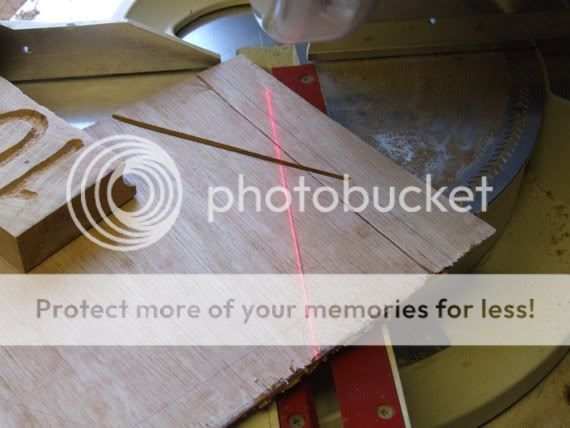
Handy things laser lines on SCMS saws.
The ply fitted OK.
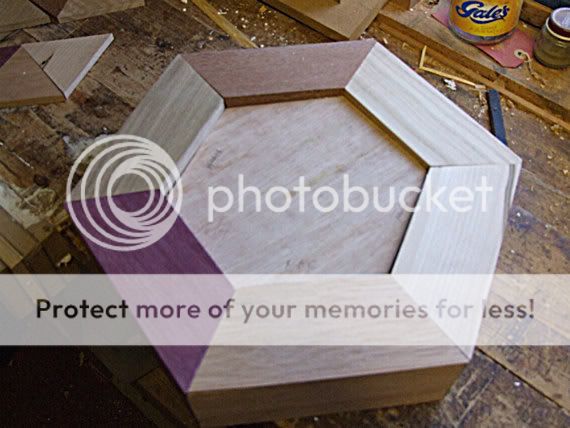
So glued pieces down and edges of each piece to each other.
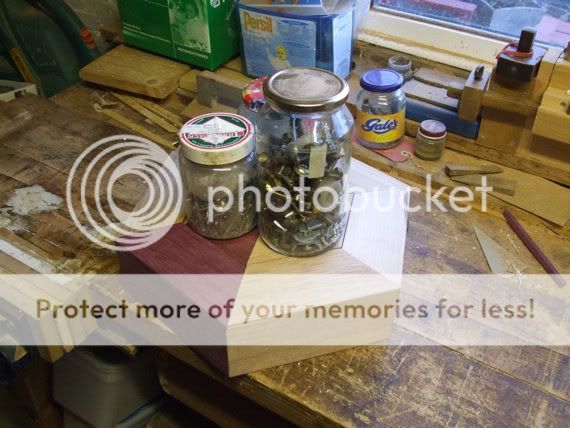
Going back later this evening to bring it into the kitchen for the evening to keep it nice and warm and also keeping my fingers crossed.
So this evening I purloined a new tool for my workshop, the electric bread knife and then cut some polystyrene to shape and fitted inside the seventh box orifice.

Dropped the lid on top and got a reasonable fit.

Then decided to make a ply template to glue the triangular pieces too.

Handy things laser lines on SCMS saws.

The ply fitted OK.

So glued pieces down and edges of each piece to each other.

Going back later this evening to bring it into the kitchen for the evening to keep it nice and warm and also keeping my fingers crossed.
Fecn
Established Member
The lid makes all the difference. Very nice 


