A kind of lazy susan

UKworkshop.co.uk

Help Support UKworkshop.co.uk:

This site may earn a commission from merchant affiliate links, including eBay, Amazon, and others.

devonwoody

Established Member
Joined
11 Apr 2004
Messages
13,493
Reaction score
25
Location
Paignton Devon
A type of lazy susan

--------------------------------------------------------------------------------

http://www.woodworkforums.ubeaut.com.au ... hp?t=55591

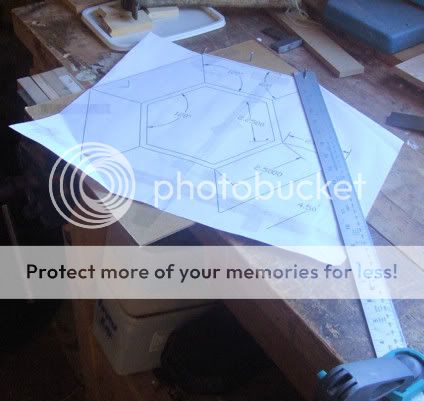
I had help form Australian forum members who kindly supplied a working drawing (using their cad program and also some trig experts.) which I blew up in PSP X1 and made a full sized poster.

So am going to attempt a seven box project using a different species of timber for each section. I will most probably keep the setup as a fixed system to avoid turning it into a mobile feature and thus avoid balance problems. Also not going to glue each box until the outer ring has been completed incase cutting accuracy does not come at 100%(which I think would be very unlikely)
__________________
 
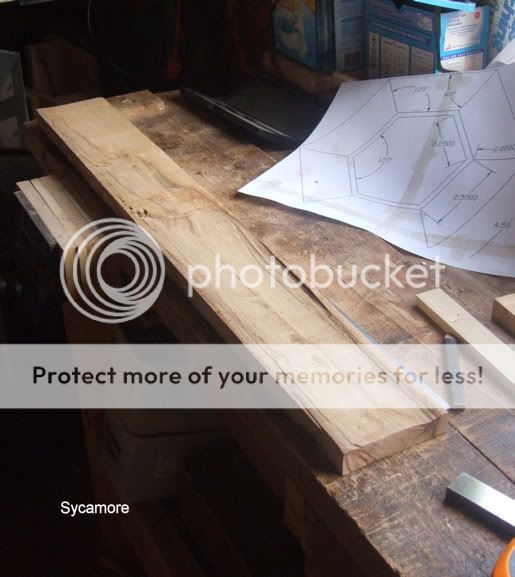
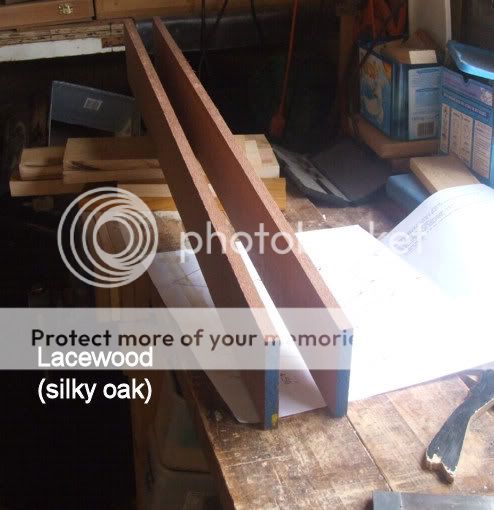
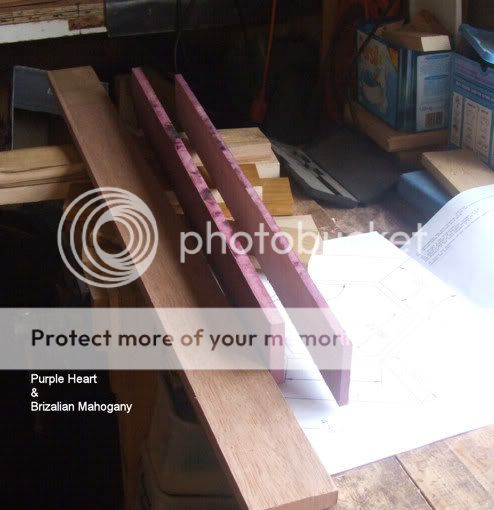
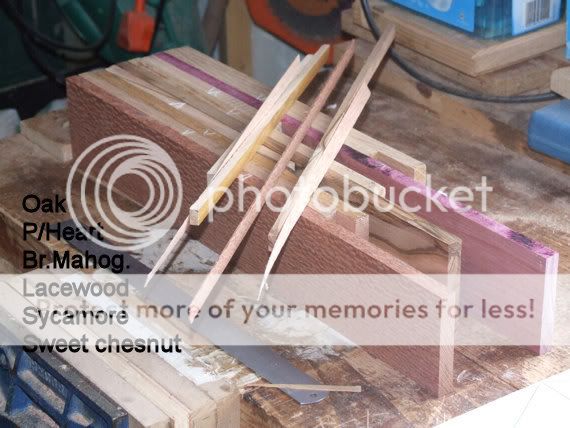
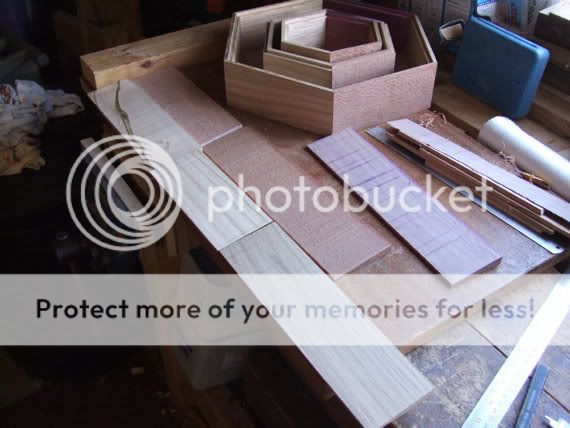
Spent the day preparing timber for the six outer boxes and pleased to say that all finished up at 12mm thick and 74mm wide, various lengths but should be enough I hope if there are no mishaps.

5-7.jpg


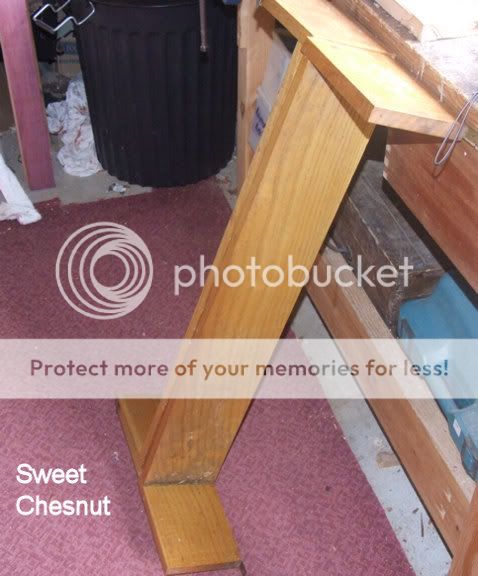
The Shelves shown were from our childrens bedrooms made in 1970 and have been stored in the loft the last 23 years. They would have been made by hand (perhaps a black & decker portable clip on circular saw may have been around then) the joints shown were through tenons and wedged.
6-7.jpg


7-7.jpg


8-7.jpg


9-7.jpg


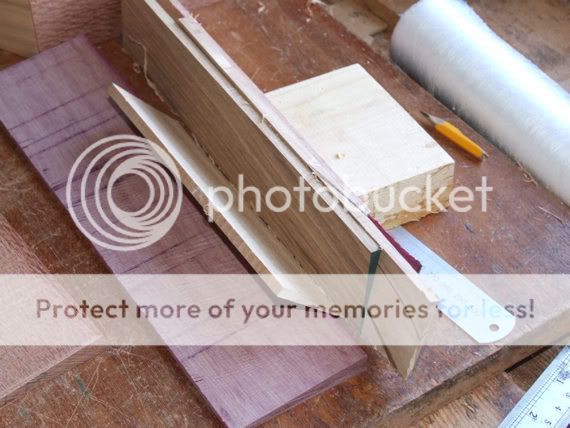
The last picture shows timbers finished with a few slivers laying on top that are 0.5mm thick after coming of the Triton workcentre. I was thinking I might purchase a tablesaw this week at the Yandles wood show, but how could I improve on that ripping.

10-6.jpg
 
Happy birthday DW :eek:ccasion4:


Are you sure about the Sycamore? usually, this is a very light coloured wood which is often described as creamy in fact.
It is rare to get the kind of figuring you show in that plank and I think the species might be some other.

Having said that, I do have some Sycamore with a little figuring, sold as '2nd grade' wood (at 2/3 price :D ), but it is still a very creamy light colour (i used it in many boxews in my recent box threadt)
 
Definately Sycamore Tony.

I purchased it 2 or 3 years ago and posted pics on the forum complaining about the quality (spalting).
The supplier up Oxfordshire way somewhere sent me another 4 boards but not much better.
It does have nice colour charteristics tho. with the bits I can use.
The tablesaws didn't like it, bent up their insides!
 
Had a little rant on the other forum, then went and helped the trouble and strife getting ready for the autumn cleanup in the garden.

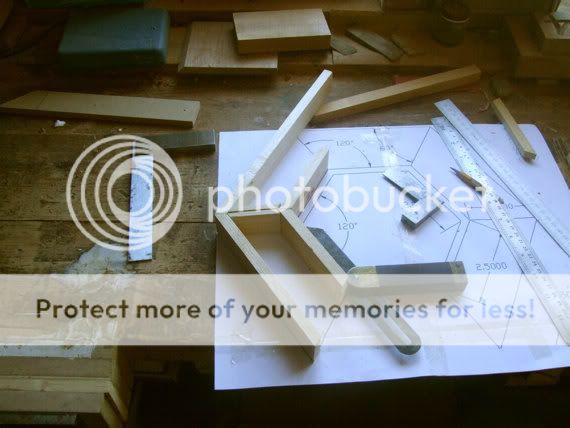
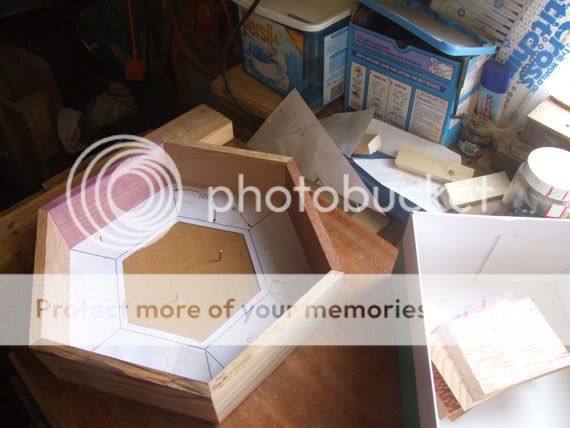
And then did a dummy run on the boxes using some software battens cut to size fitting the template as shewn below.

11-5.jpg


Its not proving to be easy because very precise measures are required taking into account angles.

So can anyone out there give me some directions or tips which way they would go?
 
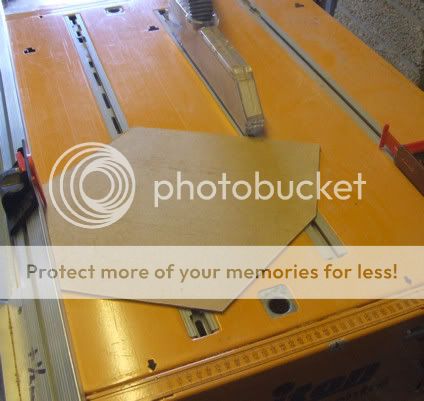
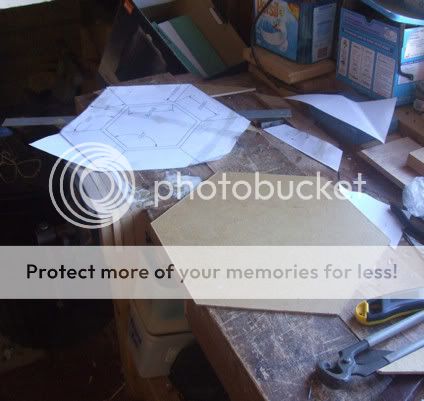
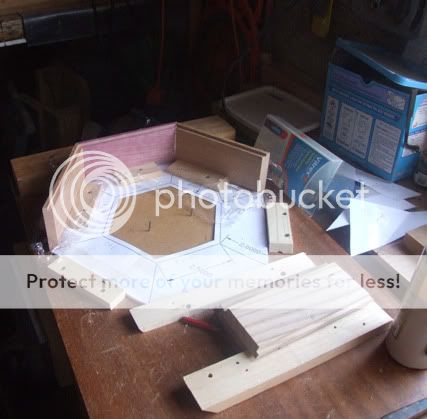
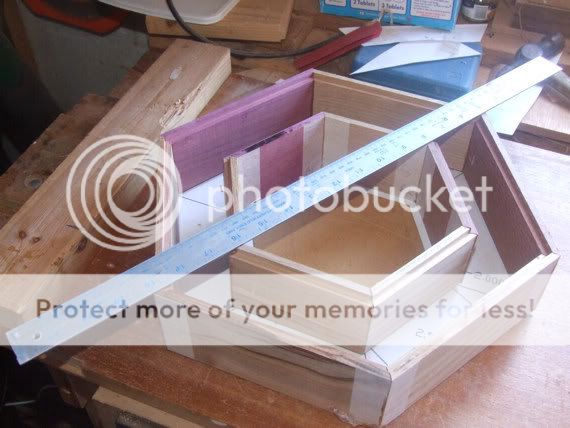
Using the paper pattern I made from the computer I have cut a hardboard template and going to attempt to stick box sides with a temporary type of glue to the hardboard and gluing up the sides with pva and superglue at the same time.

Nailed an old ruler to the bench and used a Stanley knife to cut some of the hardboard to shape. Nailed the ruler down because last year the stanley knife ran across the ruler and my thumbnail and it needed superglue to stick the thumb tip back on. :cry:

12-5.jpg


13-6.jpg


14-6.jpg


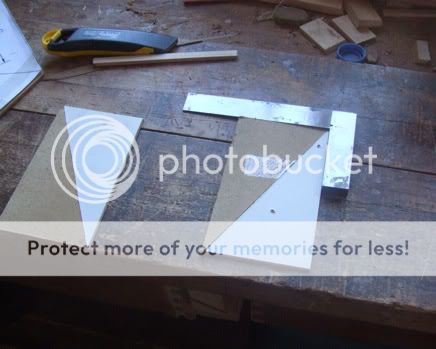
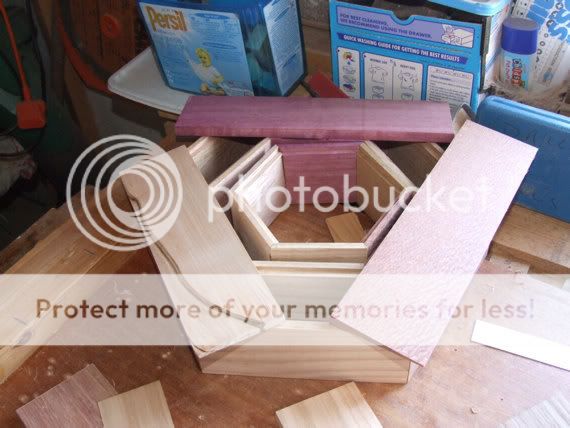
Cut the template out as per photographs below and had a bonus, I got 4 60x30x90 triangles (forgotten what sort of triangles they are called now)

16-7.jpg


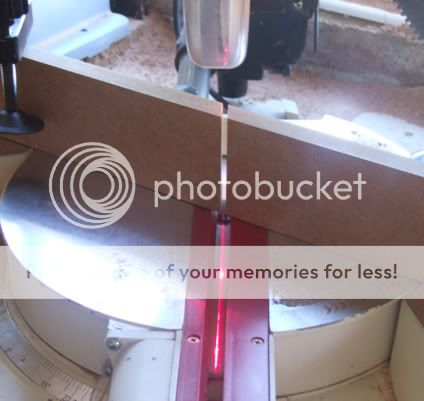
Put a fence with a 30% cutting line ready to use on box sides.

15-6.jpg


But still not commited if someone advises me a different way later this evening.
 
Rebated the top and bottom edge of the outer ring boxes and fitted on a flat board as a trial run.

17-6.jpg


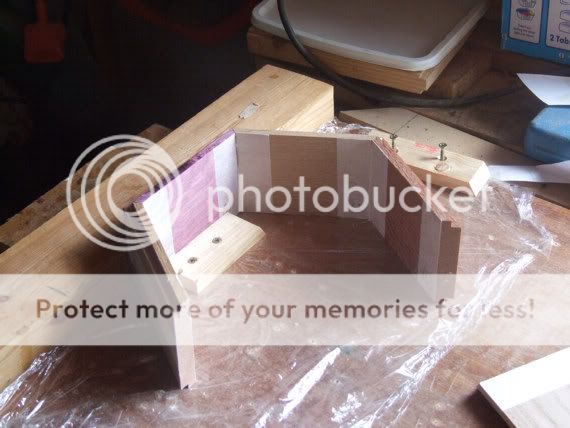
Glued the first three pieces at their edge with titebond plus a streak of superglue, the superglue does really avoid the need for clamps, I just hold in position for around 30 seconds.
18-5.jpg


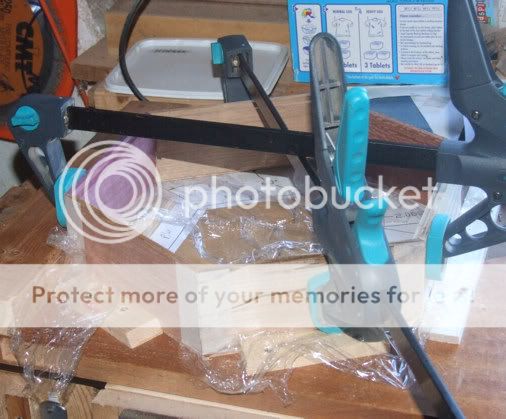
The final outside piece does have a clamp and will hold my breath tomorrow when clamp released. However I will be fitting a base very quickly to give further support in case there has been any springing.

19-7.jpg
 
Had a good day, (especially if you see my other thread) the 7 box is going well.

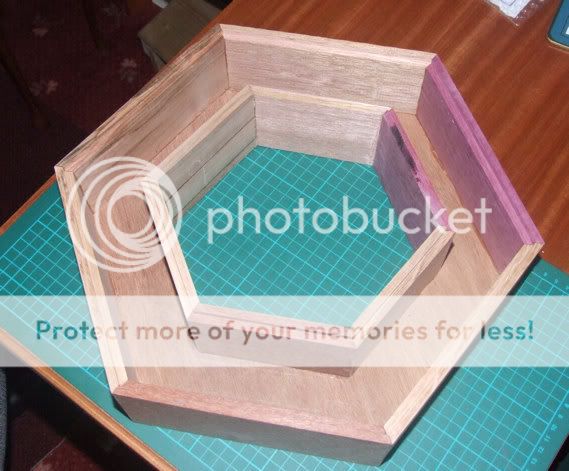
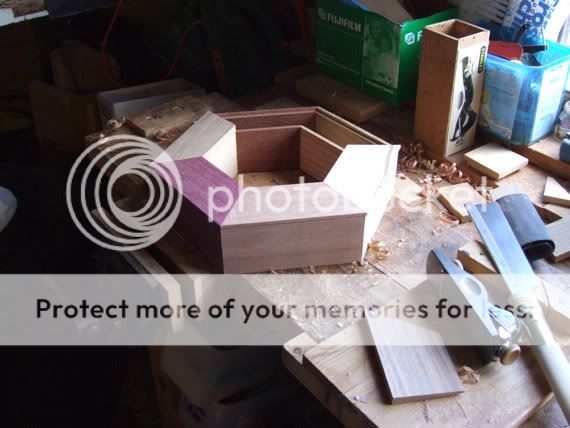
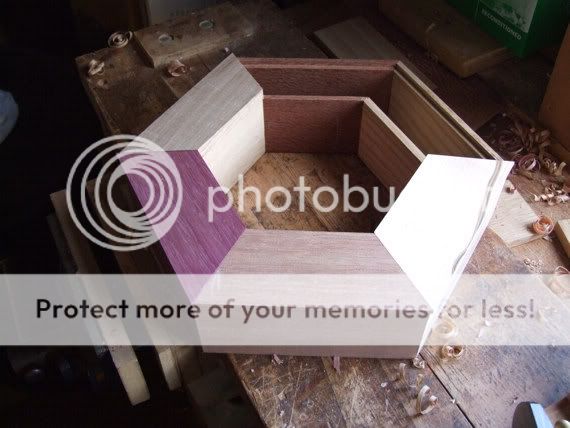
The outer ring has glued satisfactorily, and started the inner ring as per this pic. (glued in segments not a complete ring)

20-3.jpg


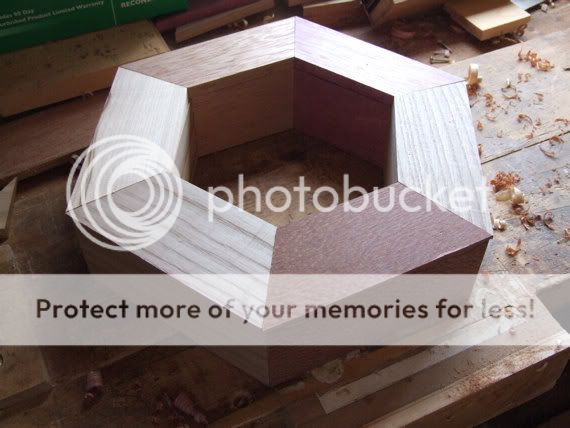
and when the remaining segments were glued and set I put them together thus:-

21-3.jpg


Cleaned up the glue lines and added this pic. as an edit.

22-4.jpg


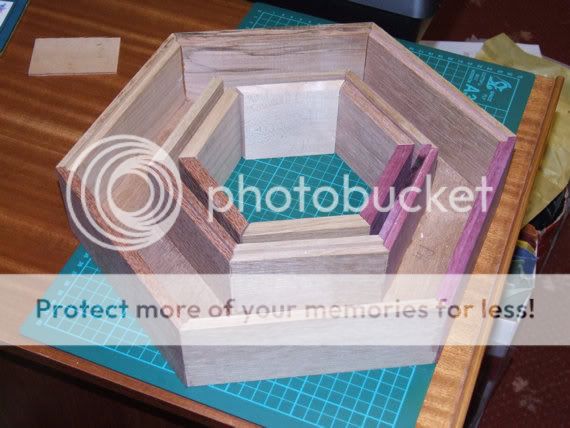
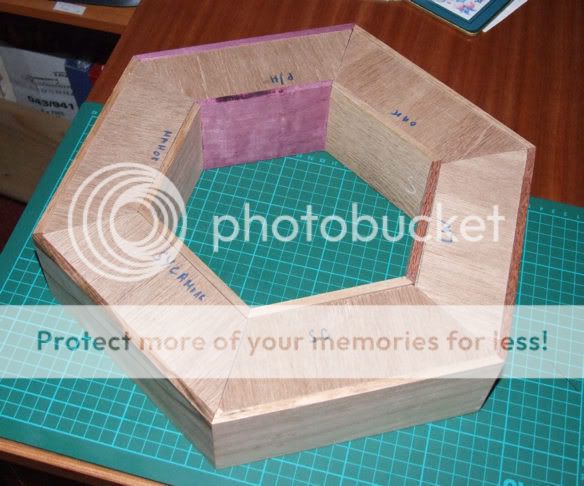
I then have cut a base (in 3 ply) that fits the inner and outer ring, glued it in place to give stability.

The straight edge matches mitre cuts through both inner and outer, thats another reason I have had a good day :)
 
Looking good DW. I might just be being a bit thick or I may have missed something, but when you are gluing these pieces together, are you using any kind of biscuit or tonque to help join the mitres, or are you gluing the end-grain mitres directly together?

If the latter, is that strong enough, as i've always thought it wasn't possible to glue end-grain successfully. My apologies if I have got this wrong.
 
DW, sorry chap but I`m on the fence with this one..
the original concept was intriguing, using several species of wood, but for the moment the Purpleheart seems to unbalance the piece when looking at the pictures in my eyes...as I said the jury is still out..
maybe once its finished the P/heart may not be quite as loud :lol:
im waiting with anticipation..
 
Byron, All my mitres to date have not needed biscuits or splines inserted and over the past 15 months since I have concentrated on box making there was only one failure. (the previous six sided box, which fell apart when attempting to cut corner stringers) Some of my earlier attempts at mitred corners needed stringers because of machinery problems not being allowed for. (creepage when blade cutting) Lately I have been using superglue in addition to Titebond 3 to hold mitres together to get a quick set. This instance, hopefully, the base will maintain the joints! I am considering putting keys in at a later date when my new tablesaw arrives!

Neilo, your comments are valid re purple heart but at a later stage there is perhaps going to be something more outrageous (contrast wise) so perhaps the p/h will look quite subdued.
 
DW, more outrageous :shock: , then you did manage to find a supplier for Dayglo florescent Tulipwood???? :lol:

Its not that i dislike the piece, per say...but every time I look at it my eye is immediately drawn to the P/heart, like i said a "touch" overpowering..


its probably not half as bad in the "flesh" , because its probably not as big as it looks, or is it?(my guesstimatoin is 250mm diameter)
 
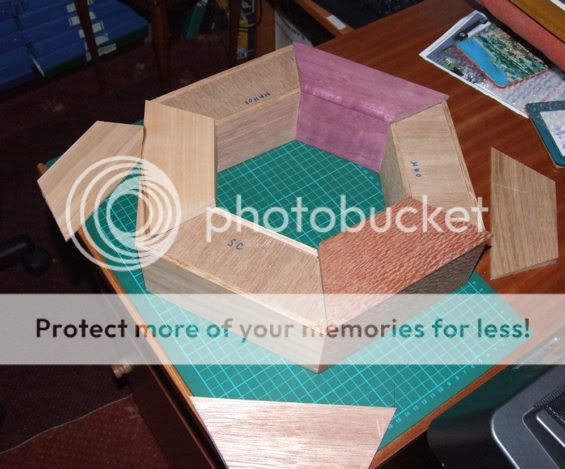
Made only a little progress today because I am indecisive about lid arrangement for the seven boxes.

I did prepare another 6 pieces however for the final 7th box but I have not glued up at present because rebates and dadoes have to be decided.

I would like to have lids that are inclined to avoid a flat top appearance so tomorrow I might mock up some lids with some scrap softwood offcuts to get a preview.

26-2.jpg


Your comments or ideas would be welcome and not miffed at any adverse remarks.
 
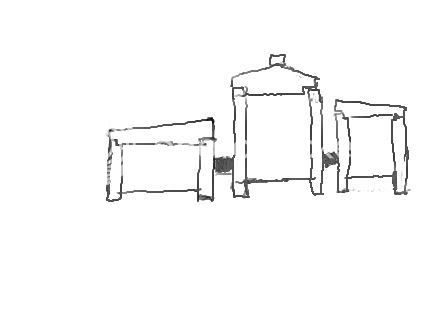
I've been posting the same box on the Aussie forum and between us they have got me out of a fix with the lids. We are going to do something like this.


liddrawingninjpg.jpg


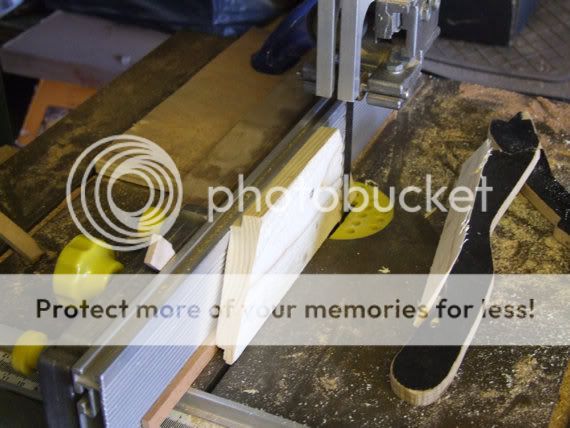
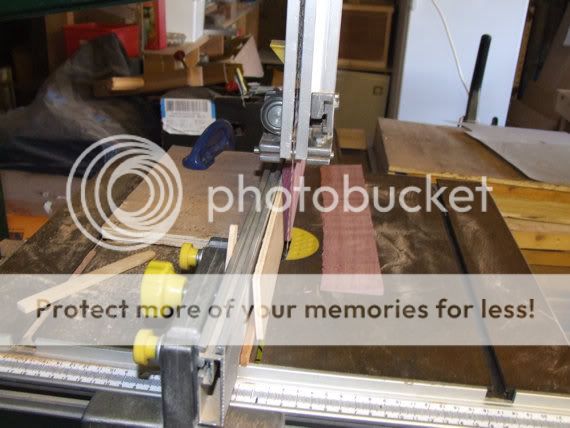
So did a dummy run with some scrap softwood on the bandsaw and using a good quality blade on an ordinary machine I got perfect chamfer cuts.

28-2.jpg


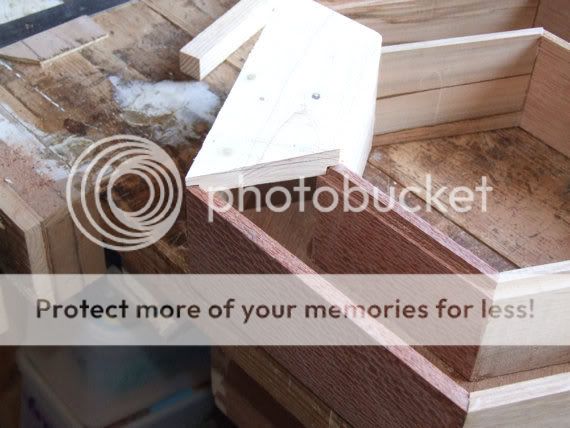
and fitted the trial lid thus.

29-1.jpg


Cut my lid shape by hand using a 30% offcut on my sawing board and rebated all edges.

27-2.jpg


Cut six lids from hardwood stock to match box timbers but will have to fit layers under the lids because the timber had already been prepared to 12mm thickness and 18mm total is needed.

30-1.jpg


31-1.jpg


The waste offcuts from the bandsawing.
32-1.jpg

.
Turned them good side over and laid some out as samples before cutting to shape.

33-1.jpg


The thread might now shutdown for a few days, I've got that new tablesaw coming Monday and I have got it to setup and also rearrange the workshop plus learn to use the machinery.
 
Hi DW,
I assume you intend to match the lids with the base ( ie wood for wood) from the last layout...
you might try to use a really dark/black wood for the finial, if your going to use one?
and still waiting for the more outrageous twist, you have in store.... :lol:
 
Got back to the lazy susan today, but now started using Japanese handsaws because each lid seems to need individual fitting. Also hand planing down to size but leaving the final fit until all these six boxes cut.

35.jpg


36.jpg

37.jpg


So thats four box lids on the way!
 
The last two lids were prepared this afternoon and all six are now roughly fitted;

38w.jpg


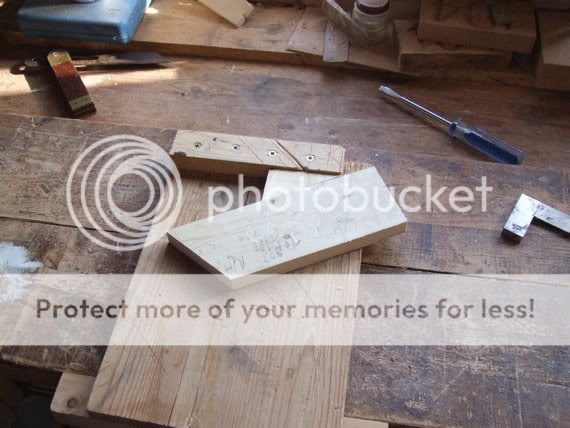
To hold these six lids in position I have also made 6 inserts in ply and thse will be glued to the underside of lids as the means of keeping their positions.
They are each labelled because it was necessary to fit each individually.

39w.jpg


Final pic. shows what I am trying to describe in above photo and three lids have been laid on those inserts.

40w.jpg
 

Latest posts

Back
Top