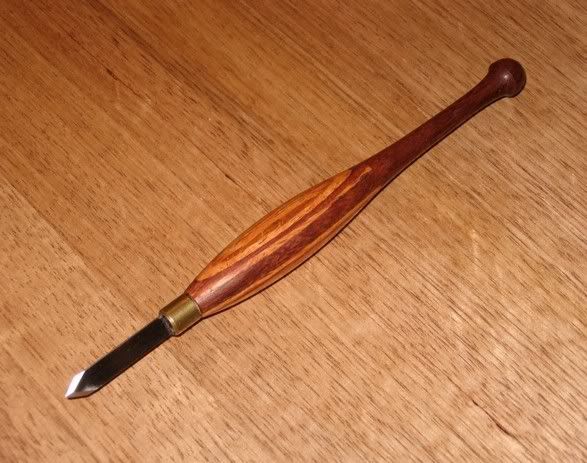
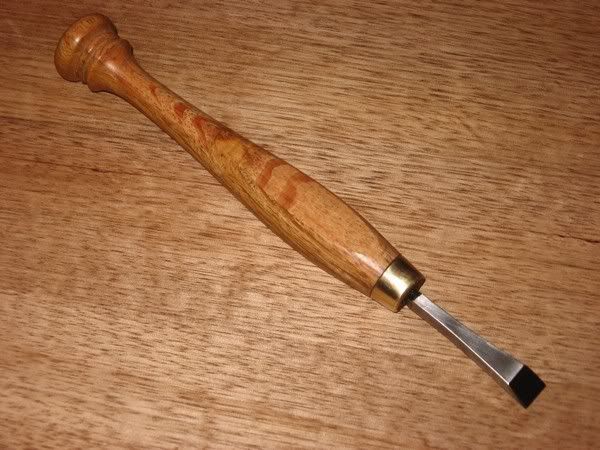
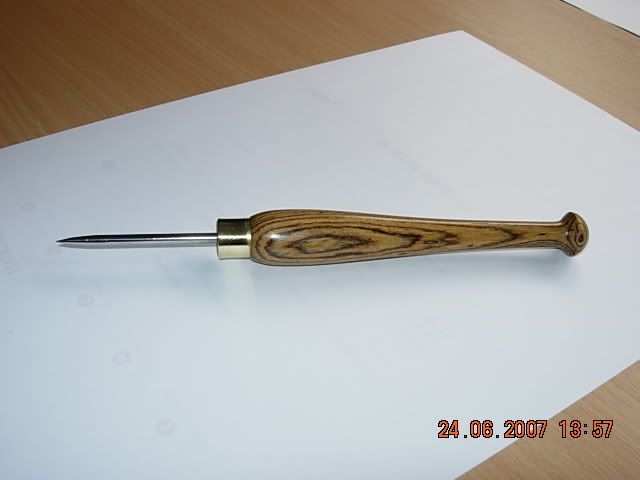
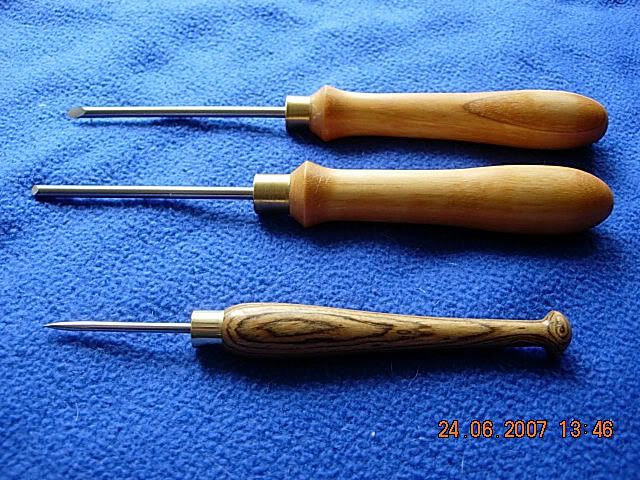
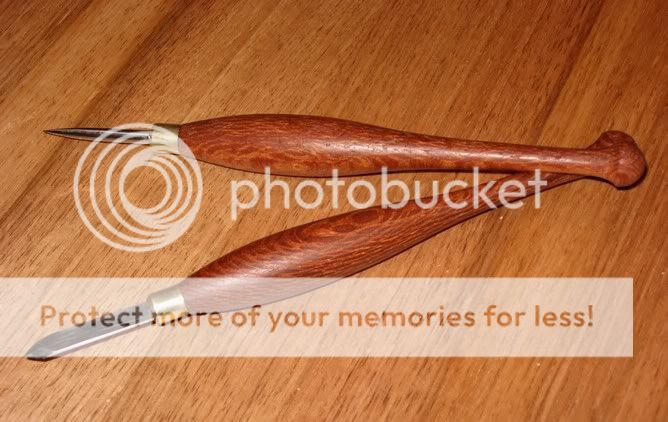
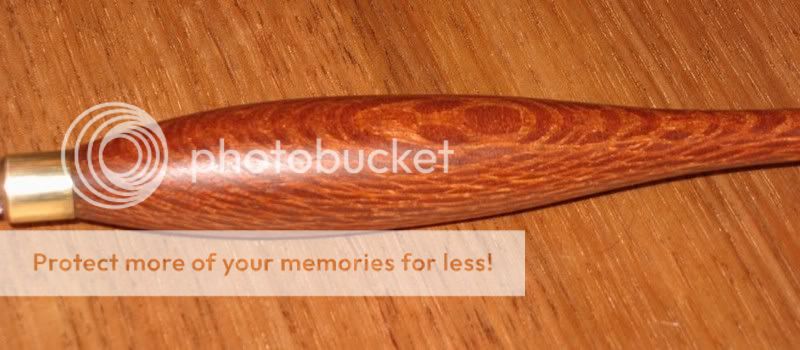
A few new dovetail marking knives and a couple of chisels

UKworkshop.co.uk

Help Support UKworkshop.co.uk:

This site may earn a commission from merchant affiliate links, including eBay, Amazon, and others.

Derek Cohen (Perth Oz)

Established Member
Joined
2 Mar 2005
Messages
3,391
Reaction score
1,890
Location
Perth, Australia
I have been refining a dovetail marking knive and scratch awl design over the past year, and I think that I am getting there.

The knife blades are HSS jigsaw blades that I surface grind and then double bevel. The awl blades are ground and hardened from concrete nails.

Here are a few recent examples:

A Jarrah set for a friend:
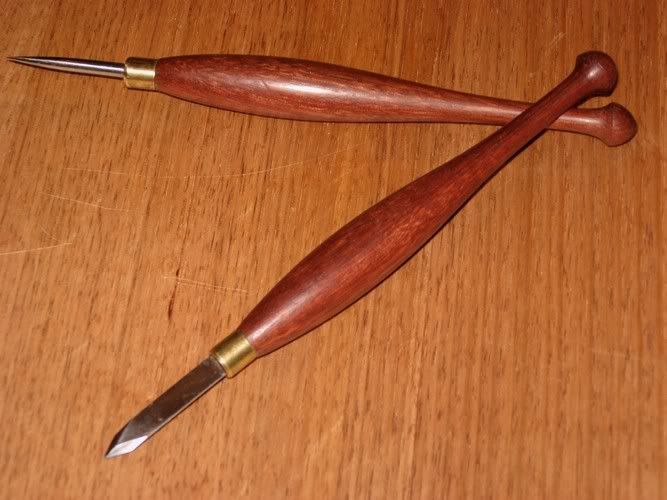
MarkingknifeandawlsetinJarrah2.jpg


A She-oak set I kept for my own use (as I love the flaw):
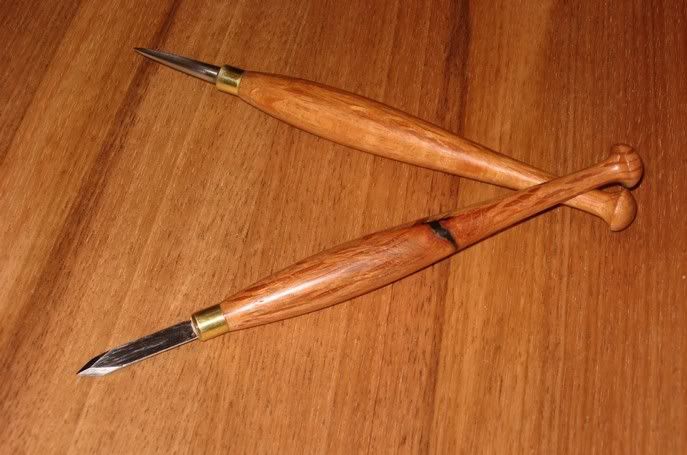
MarkingknifeandawlsetinSheoak1.jpg


Here are a couple of "harlequin" marking knives.

The first is in Jarrah and Olive wood:
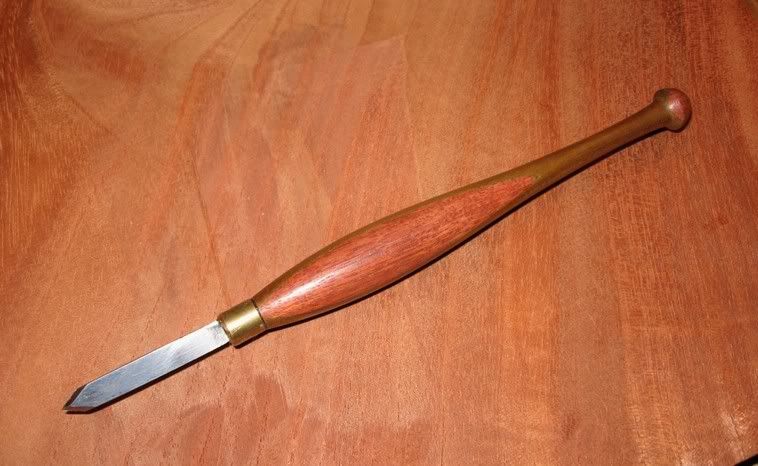
Markingknife-OliveandJarrah1.jpg


And another in Jarrah and She-oak:

Markingknife-jarrahandsheoak1.jpg


Oh, while I am showing these, here is a fishtail chisel in Tasmanian Blackwood for cleaning half-blind dovetails.
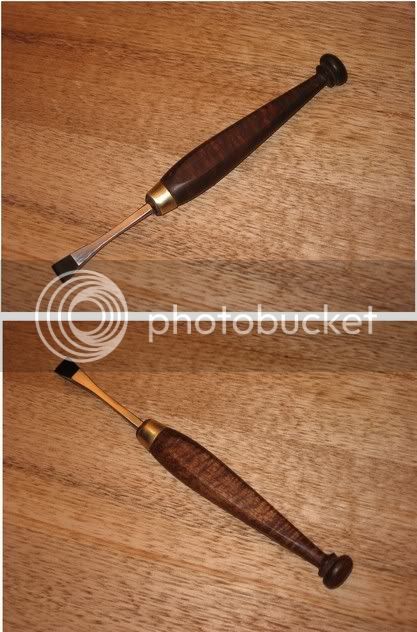
Dovetailchisel1.jpg


and another in She-oak:

Fishtailchisel-Sheoak1.jpg


Thanks for looking.

Regards from Perth

Derek
 
Beautiful work Derek. I've never done any turning but those lovely little handles make me want to give it a go. You said you used a masonry nail for the awl but what is the process for the little fishtail chisel blades (or is that a trade secret)?
 
Hi George

No secret on the fishtail chisels.

Take an old chisel blade and shape it with an angle grinder!

Afterwards you probably need to reharden the steel (you think?!).

I tried something different with regard tempering for the She-oak chisel. Actually, I would like comments on this.

Usually, I just heat the blade red hot with a butane torch and then plunge it into either water or peanut oil, then re-heat in an oven at 225 C for about 20 minutes until golden yellow/brown (that seems enough for small blades). For this blade (which started life as a 3/8" Marples/Irwin) I re-heated it with a hot air gun (used for paint removal), just fanning the blade until it showed a yellow tinge, then quenched in water. Seemed to work OK. Hollow ground on a grinder and then honed on a extra fine diamond stone. It holds a good edge.

Regards from Perth

Derek
 
Hi Derek, I seem to remember from my metalworking days at school that there was a range of colours that indicate various temperatures. I think it started with light straw, dark straw, blue, red then white. My recollections were that the tempering colour for plane iron and chisels were light straw. This probably equates to your golden yellow. The heat was put about 1" from the end and taken away when the end reached the light straw colour, and then left to cool naturally.
 
Thanks for the additional info Derek, I'll have to look around the car boot sales for some more old chisels to use as source material.
 
Hi Derek,

Do you do any grinding on the masonry nails to get that nice gradual taper on them ? How do you keep the grinding even to give the nice smooth transition to the awl ?

Cheers, Paul :D
 
Paul

Grinding blades for awls is the easiest thing in the world!

Cut off the projecting head of the nail and chuck the nail into your power drill. I use a disk sander but you can use a bench grinder as well. Now hold the spinning nail (hence the drill) against the spinning disk (or grinder wheel). Taper the nail until it gets nice and pointy.

OK, now you have a pointy and rough nail that is blue. I spin this again, this time against a deburring wheel to clean it up and smooth it down. You could also use very fine sandpaper.

Heat the last 1/2" of the nail red hot and quench it in water. You now have a rock hard edge that will scratch steel. Clean it up again. This time I polish it with Veritas green rouge. It comes up like chrome.

I leave the nail hardened in this state. It should not lose its edge, ever.

Regards from Perth

Derek
 
That's a great idea Derek, I had the feeling I was missing something simple and I was !!!

Just off to the workshop to give it a try !

Cheers, Paul. :D
 
Derek - love those little tools =D> going to have to make a fishy chisel for d/t's, I have a good pair of skew chisels but the angle on them is a little too steep so one of those chisels might be just the job and while I'm about it a couple of those knives and maybe and awl wouldn't come amiss :D - Rob
 
Had a play in the workshop with a couple of masonry nails and it works a treat, well pleased !

Will have to wait till the weekend to turn up a couple of handles and perhaps have another go at a marking knife as well.

Cheers, Paul.
 
Lovely tools Derek

I have some pen turning blanks in She-oak which might be just big enough?

Did you make the ferrules too?

Rod
 
Having been suitably inspired by Derek had a go myself today

DSCN1309.jpg


Also made a couple of small turning tools from the 5mm silver steel I picked up at Penny Farthing Tools during the recent mini bash, each about 240mm including handles.

DSCN1305.jpg


Thanks Derek for the inspiration and the tips !

Cheers, Paul. :D
 
Very nice Paul!

I like those turning tools. I am inspired to make up a few for myself (although I have had my eye on a set of Hamlets).

I did make a marking set in Banksia today. This is quite a rarish West Australian timber (since is is really just a plant) with a most unusual grain.

Banksiaknifeset3.jpg


and a close up:

Banksiaknife2.jpg


Regards from Perth

Derek
 
Back
Top