a box to golden proportions

UKworkshop.co.uk

Help Support UKworkshop.co.uk:

This site may earn a commission from merchant affiliate links, including eBay, Amazon, and others.

devonwoody

Established Member
Joined
11 Apr 2004
Messages
13,493
Reaction score
25
Location
Paignton Devon
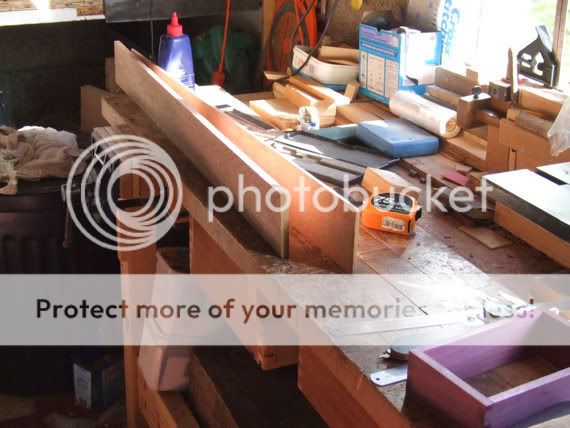
Decided to give the strip design boxes a rest this time, partly because I purchased a new stock of hardwood in the week.

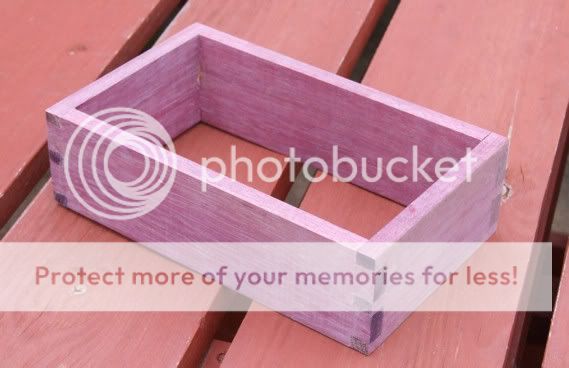
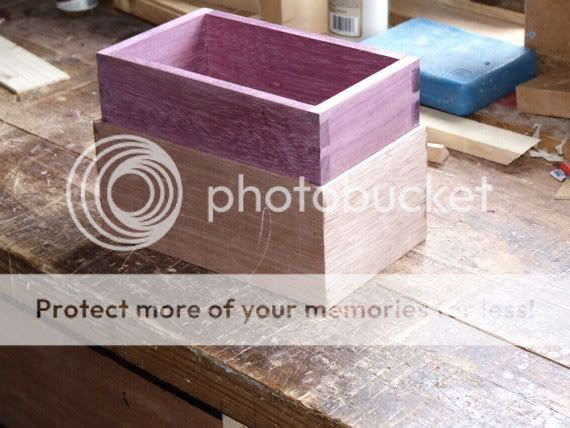
So making a box using purple heart and having in mind keeping the design of the box close to the Golden proportions.

So length is 204mmx 136widex 68 high..

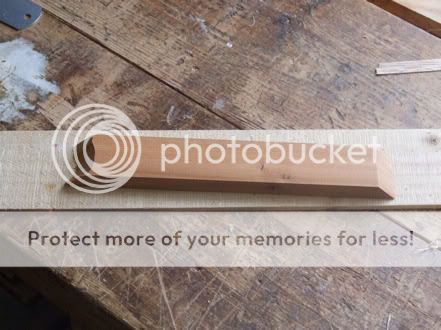
Prepared a short length of P/H on the bandsaw which was 25.4 mm thick and finished with two halves 11.2 & 10.4 after putting through the thicknesser, which means I only lost 3.8mm overall using both machines.

I did look at a new bandsaw machine earlier in the week but I was dissatisfied with the fence that came with the saw. My present saw rpsb12 has a fence which is very adaptable and will track to the blade perfectly if I am prepared to be diligent in its set up.

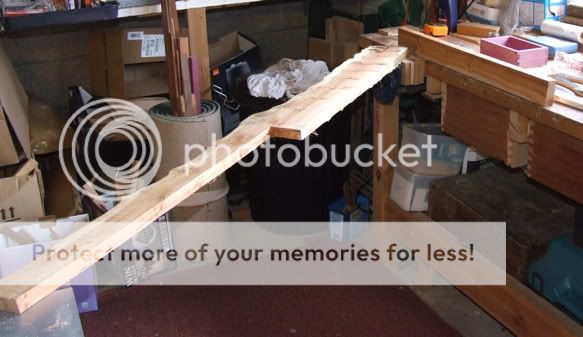
Then cut the timber to lengths on my chop saw and finished up with only that short piece of wastage. Also I have one length of 700mm left from the resaw for another day.
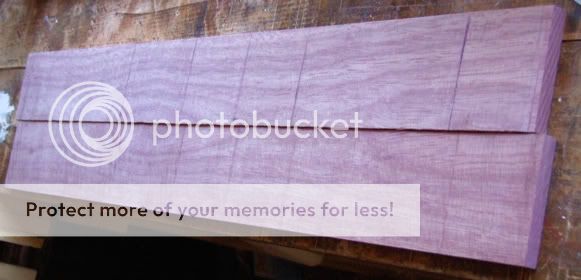
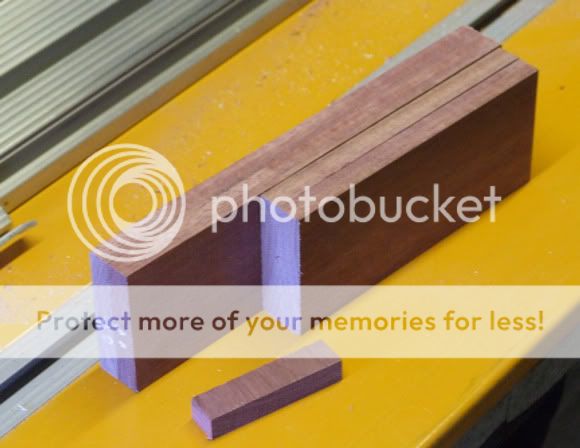
1-3.jpg


2-5.jpg


Couldn't resist putting the purple heart on that orange tabletop!
 
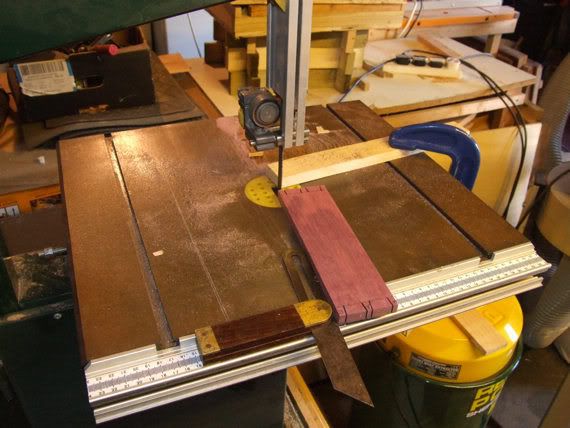
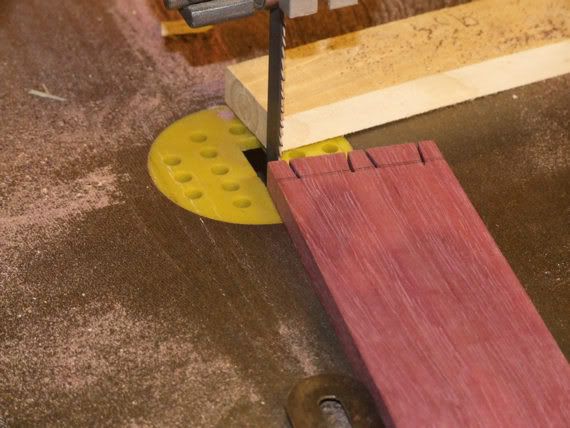
Too warm in the workshop this afternoon but made a start this evening and cut the tails on the bandsaw (using the M42 blade with 14 teeth) and created the set up shown in the pics instead of making a jig.
Mitre gauge held to the table edge and run the timber against its edge up the blade to the stop held with clamp.
This way I know the tails are the same both sides when I mark up the pins but if cut by hand it only needs a fraction off the line and when pins are marked up they never have a clean look on the face side of timber.

3-3.jpg


4-4.jpg
 
Regret to say the box is no longer to Golden Proportions. I fitted back piece No.2 to side piece number 3 and it should have been to side piece Number 2.

So I cut 10mm off both side pieces and redid the pins.

This purple heart is hard. Doing these few dovetails has blunted my chisels 3 times. So before using chisels again another resharpen is required.

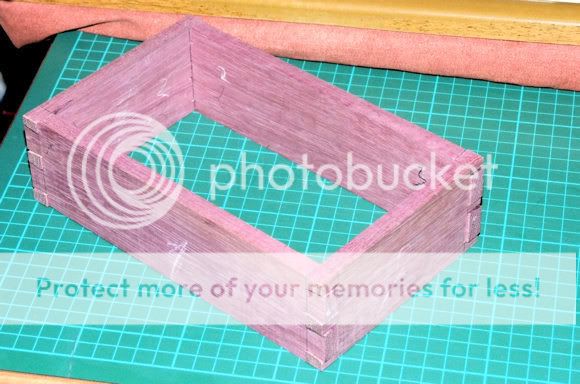
Picture below of progress but not a close up,(that will walt until I have passed joints after the glue up)

5-4.jpg
 
Unusual timber this purple heart.

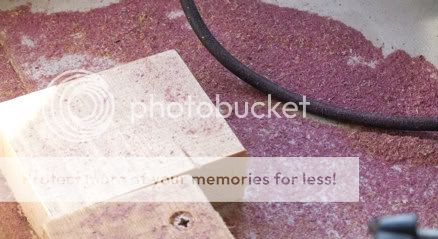
picture of dust (from chopsaw)
6-4.jpg


I got the box glued up this morning and cleaned up the joints this evening. First I tried the sanding disk but it turned the end grain of the dovetails almost black.
Switched over to a honed up chisel and that worked better but even then I had to resharpen before getting all round the box.

Just a couple of gaps to slip something in.!

7-4.jpg
 
Hoping for a productive day after the problems of the past 2/3 days, firstly the weather and then this:

yew2.jpg


yew3.jpg


yew1w.jpg


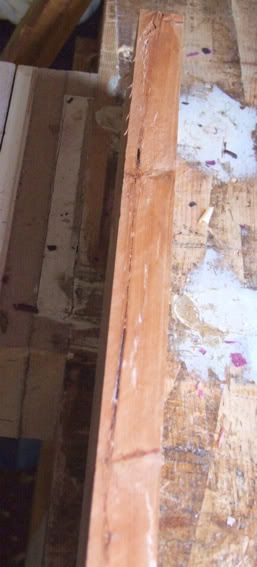
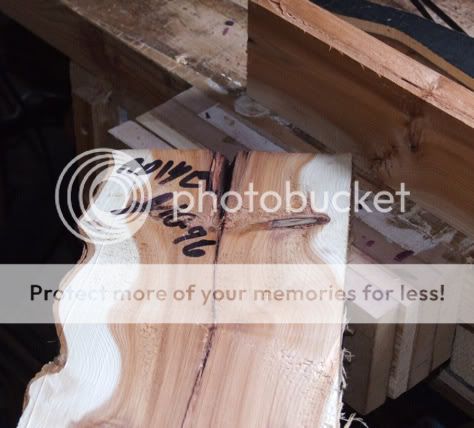
I obtained some Yew timber last week and thought I would use a contrasting colour on this P/Ht. box, but after attempting to clean the board up it has gone into the scrap box to be used at a later date for those strip designs I am addicted to these days.
So now I have got to find another board to work on to develop the idea I have in mind for this present box.

Can anyone please tell me if that white timber at the outside edges of the yew is stable timber ?
__________________
 
DW - the sap on yew can be used as well as the heartwood, no problems with it apart from the normal splits, checks and cracks :) that you always get with this timber - Rob
 
Thursday afternoon..

Had a really good day in the workshop today.

Used the bandsaw and resawed some Br. Mahogany from 21mm down to 12 mm thickness.

8-4.jpg


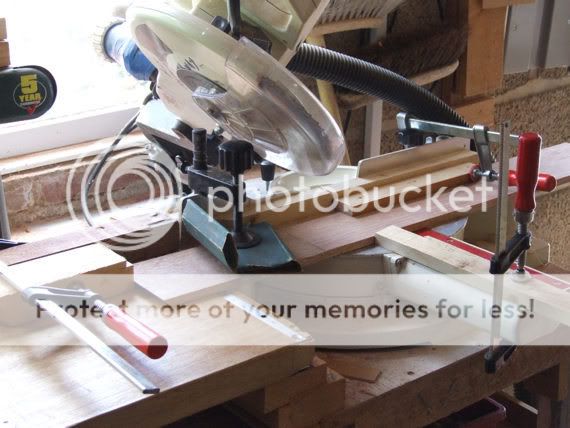
After cleaning up on the P/T down to 10mm I put 4 pieces in the SCMS using 4 clamps each time to stop any drift whilst I cut mitres.

9-4.jpg


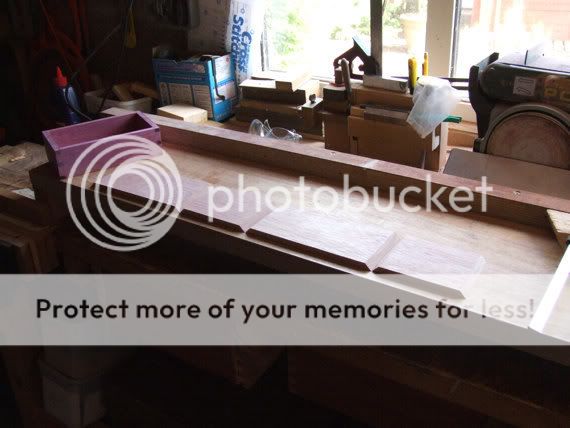
The laid them out and double checked that I had got my sizing correct.

10-4.jpg


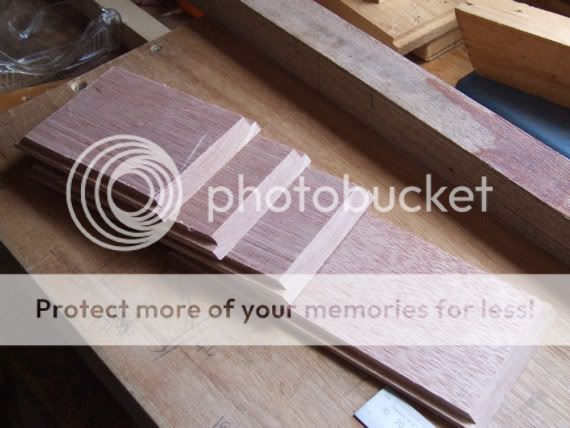
Then put a rebate on all top and bottom pieces.

11-4.jpg


Glued them up strapped with masking tape and clamps, (some slippage, not much) and then made sure everything fitted!

12-4.jpg


Next decision how many layers?
 
Some good news and some bad news on project.

The good news is that the front elevation of boxes will be returning to the golden numbners.
I had some luck or intuition making the third box I selected by eye a piece of timber and made another layer and on measuring this morning I find that it agrees to the golden number sequence.
top box height (when lid is made) 40mm, middle box 55mm, bottom box 95mm heights.
14-5.jpg


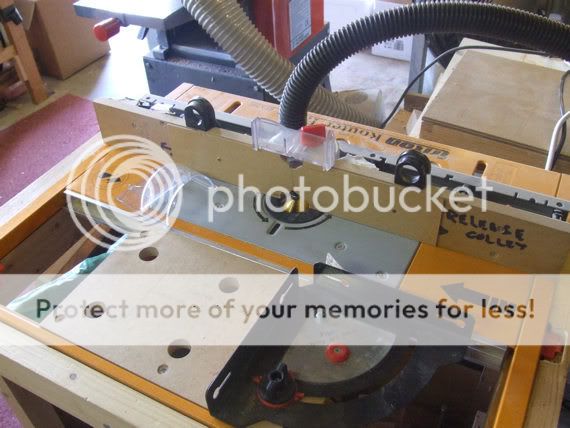
The bad news, last week I purchased a 45% chamfer router bit and tried to make corner mitre joints for that third small box .

13-5.jpg


And this is what happened.

15-5.jpg


It got sucked into the fence space because the material is not wide enough to span the space. So in future I will have to put the mitre on a wider piece first and then cut off timber widths required?
__________________
 
devonwoody":3ekkqh6r said:
The bad news, last week I purchased a 45% chamfer router bit and tried to make corner mitre joints for that third small box .
...snip..
It got sucked into the fence space because the material is not wide enough to span the space. So in future I will have to put the mitre on a wider piece first and then cut off timber widths required?
Or clamp the piece onto the sliding table so it just moves across the cutter not into it. I presume that is a sliding table on the triton, never having used* one I am not sure.

*Not strictly true but the trition I have ridden had nothing to do with wood work.:D
 
Thanks Davel for your reply, Yes it does slide but when working with 10mm thickness timber it is difficult to clamp to a backing piece.

Perhaps one of those clamp down type holders might work but not confident that they could withstand the forces involved.
However you have given me something to think about, many thanks.

However more bad news no workshop today, the low pressure isnt expected to clear us until late today.
http://www.bbc.co.uk/devon/webcams/torquay_webcam.shtml
 
Managed to get out the workshop late Saturday after that low pressure had passed over us.

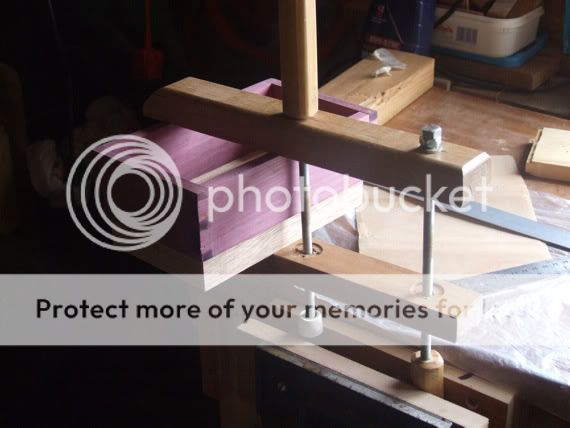
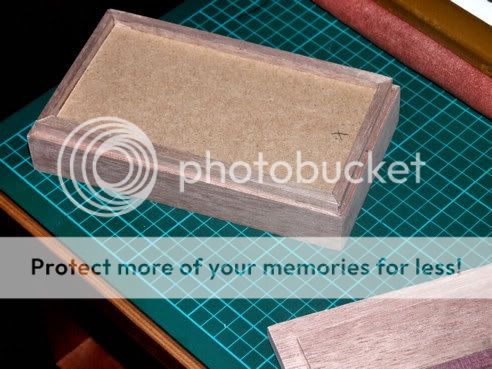
I had a shop made clamp given me a couple of years ago by one of the Australian forum members on one of the visits to Australia and can be seen here in use holding two boxes together whilst I fitted a base.

16-6.jpg


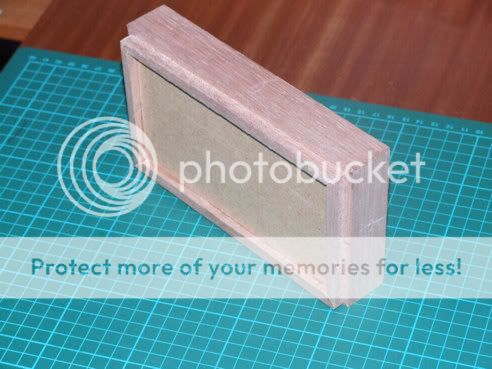
Glued on the base as picture below.

17-5.jpg


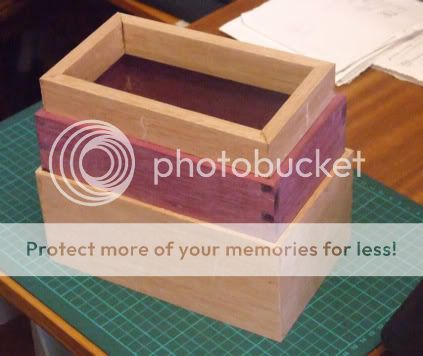
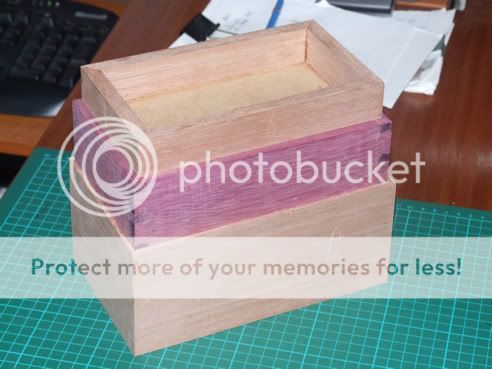
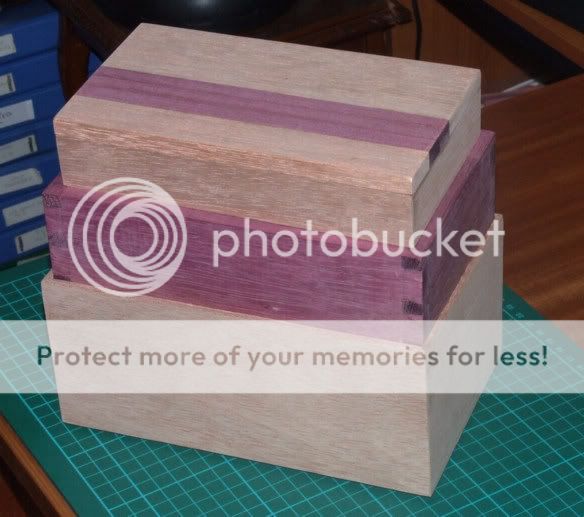
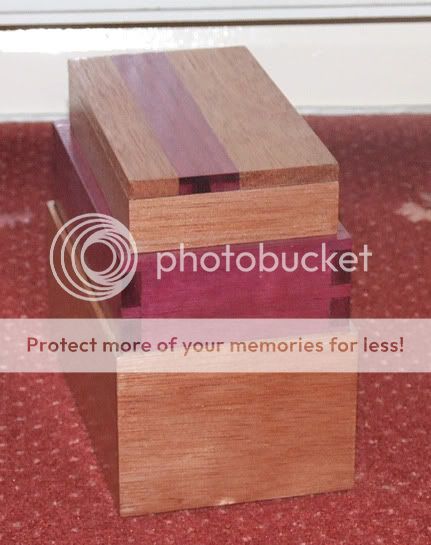
And now have a stack of three boxes.

18-4.jpg


As we all know there is another spell of damp weather passing through the next two days so progress might be halted again!
 
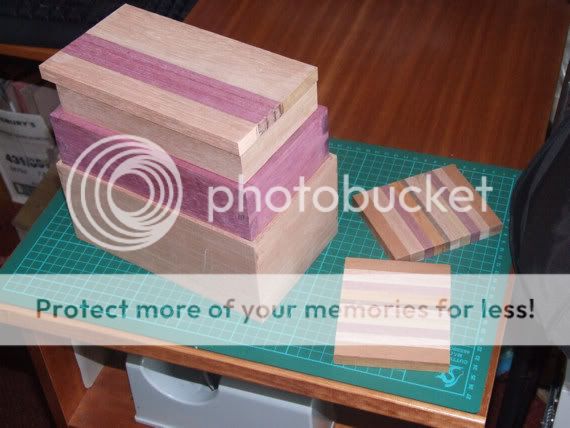
Prepared two versions for a lid and decided to use as per picture, the smaller pieces I cut up and going to use for coasters.

19-6.jpg
 
Finalised the construction, all boxes (trays) fit but I will confess that the side elevations do not meet the criteria of golden ratio.
A bit of sanding to do and then on advice given elsewhere I shall varnish boxes on this occasion because I gather purple heart changes colour on exposure to ultra violet rays.

2007_0821purpleheart100016.jpg


So will post nother picture when finish applied .

Thanks for all encouragement and comments.
 
Hi JJ, might I suggest that you cut your rebates before cutting mitres, that way there's less chance of the timber splintering on delicate mitres when you use the router and also less chance of tipping the wood when routing.

Dom
 
Yes Dom your comments are very valid.
I would say that this project proceeded without plans only an idea this means as I am sure you know in decisions unplanned being made.

Unplanned construction has its interesting side and avoids projects being repetative.
 
DW - Dom makes an excellent point. On my teak casket recently finished I was going to produce the rebate for the base with a bearing guided rebate cutter when glued and then square out the corners. However, when Newt came round he pointed out the error of my ways #-o on this occasion and rebates were much easier cut on the router table. If you do go down the route of cutting rebates once glued, a large perspex base extension is very handy to prevent the router tipping - Rob
 
DomValente":q3z1q16r said:
Hi JJ, might I suggest that you cut your rebates before cutting mitres, that way there's less chance of the timber splintering on delicate mitres when you use the router and also less chance of tipping the wood when routing.

Dom

Not an adverse remark to your comment above, but I was a naughty boy on this part :

22-3.jpg


I glued the rebate on :wink: but was done to maintain the size ratios ande again I mention this comes about because of not working to plans.
 
Two coats of shellac and two coats of poly varnish so far.

23-3.jpg


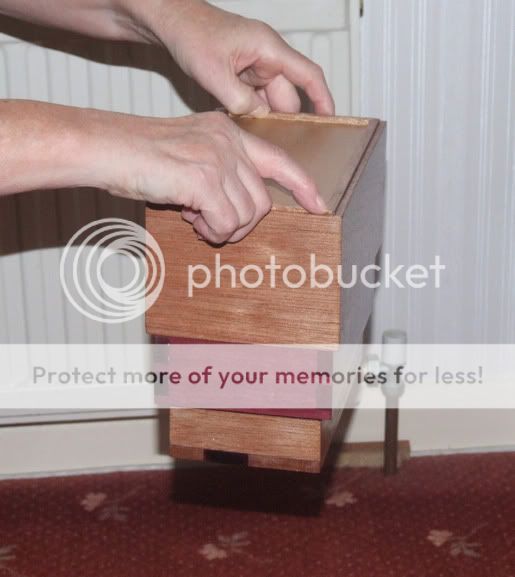
but look at this, upside down and no fastenings. :)


24-3.jpg


Hows that for a boast?
If I put on any more coats they wont fit. :)
 

Latest posts

Back
Top