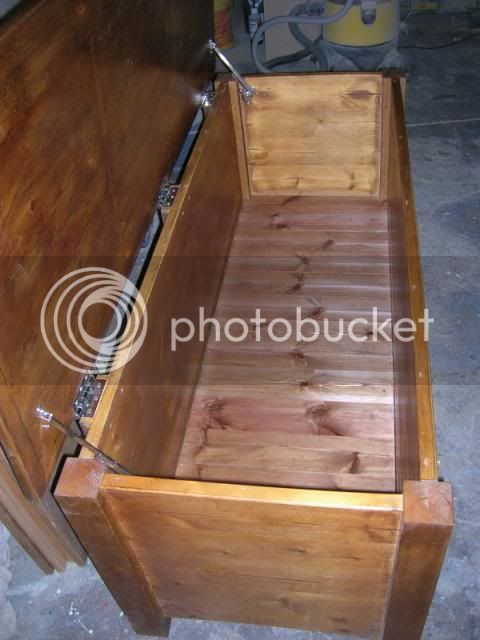
A BIG box this time!

UKworkshop.co.uk

Help Support UKworkshop.co.uk:

This site may earn a commission from merchant affiliate links, including eBay, Amazon, and others.

mailee

Established Member
Joined
26 Jun 2005
Messages
5,502
Reaction score
4
Location
grimsby Humberside
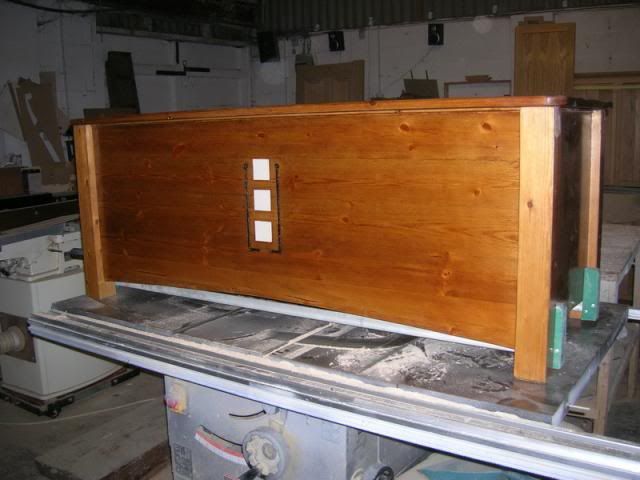
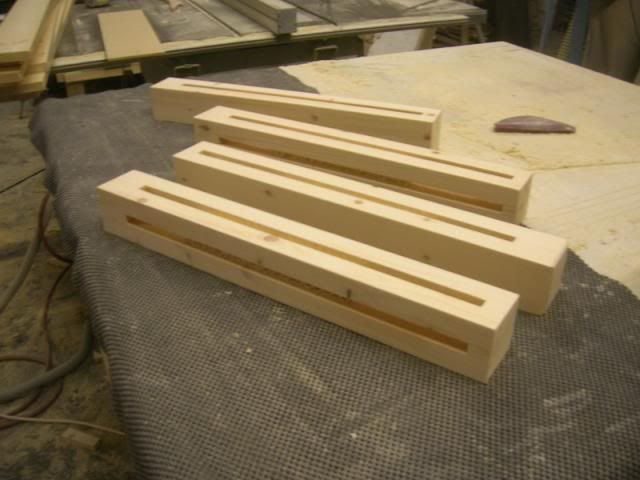
Over the last couple of days I have been working on my latest project, this time in Pine. It's a rather large blanket chest of a Rennie Macintosh design. My first job was to make the legs.
After laminating some boards I made the side panels. These will be housed into the legs with dowels to allow for movement.
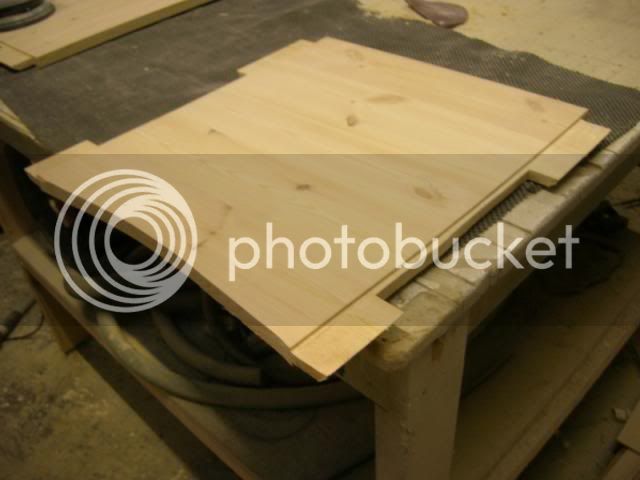
Then the front and rear panels were made.
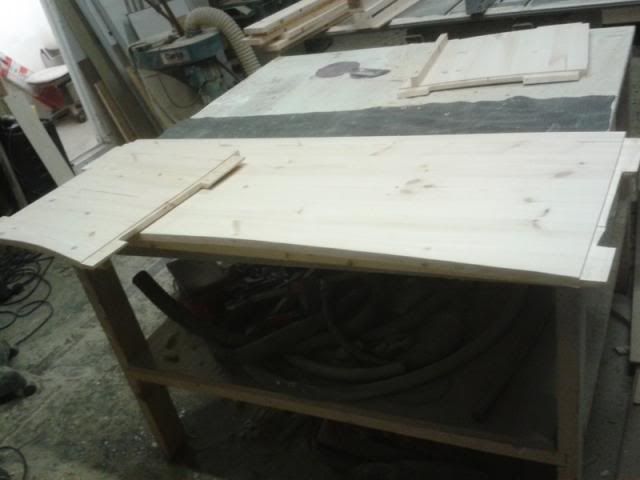
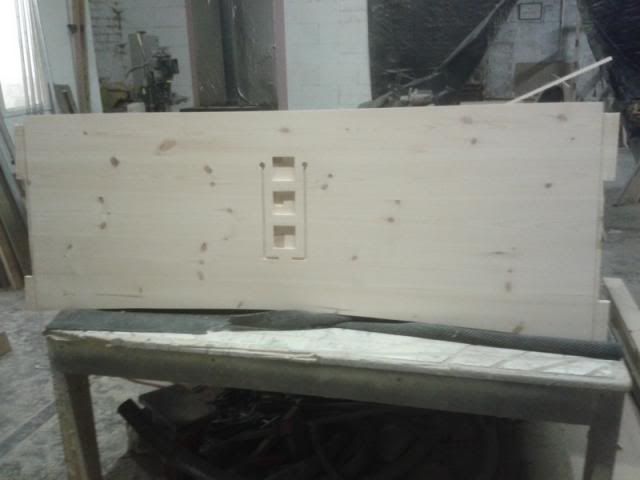
At this stage I thought I would route out the design for the front panel, These are for inset tiles with a black accent line.
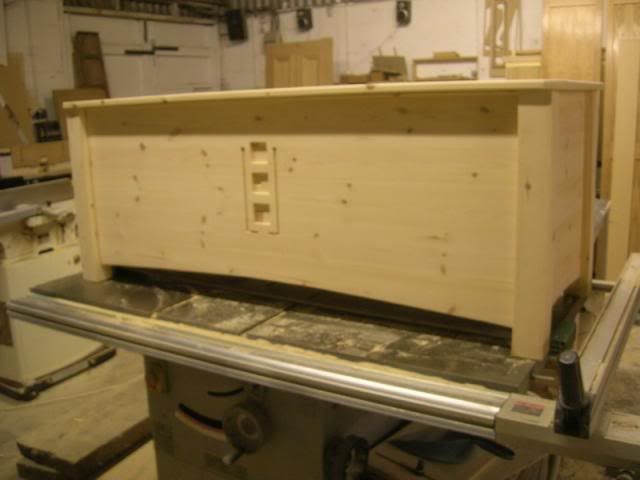
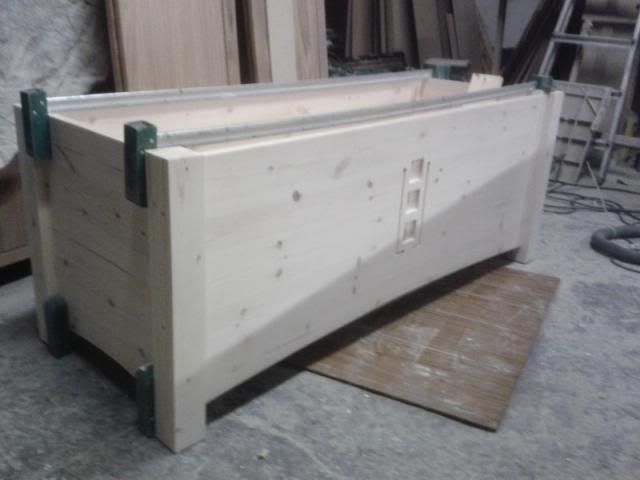
By the end of today I had a dry fit before I put any finish on.
i have the boards for the top in glue up so tomorrow i shall make that. Then it will all be stained before assembly. Then apply the finish which will be a wax. :D
 
Like that very much,what type of hinges do you have in mind for this ?, will you be using some kind of device (gas strut) to hold the lid open ?,
 
Alan

That's very nice, in the future I will be making a toy box similar to this for the grandchildren, will all the joints be dry and held together with dowels? My thoughts were to apply glue to the centre section of each board and peg the top and bottom to allow for movement, would that be ok? My reason for using a little glue is because it will get a right hammering from both Eva and Harry (the grandchildren), who will probable use it to hide from their mam and dad :lol: :lol: :lol:

Baldhead
 
I will be using butt hinges on this Mark. I won't be using gas struts but two soft closing ones. I always use them on chests especially a toy box for the safety factor. You are right Baldhead I have just glued the centre of the panel and dowelled the top and bottom. Remember to slot the holes in the panel to allow for the movement.
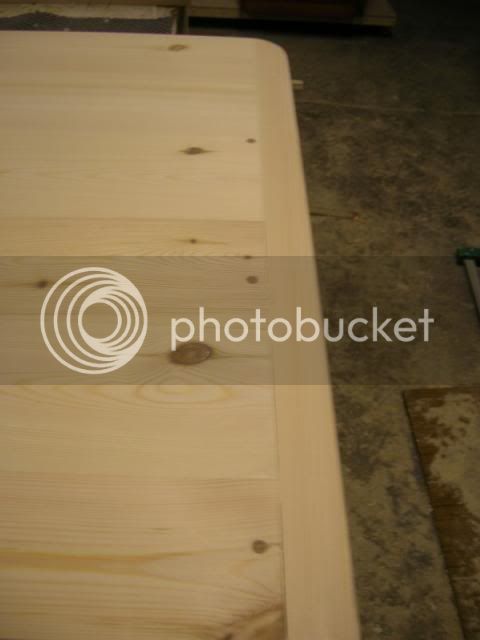
I made a start on the top today after leaving the boards in the clamps over night. After a good sanding I made and fitted the breadboard ends.

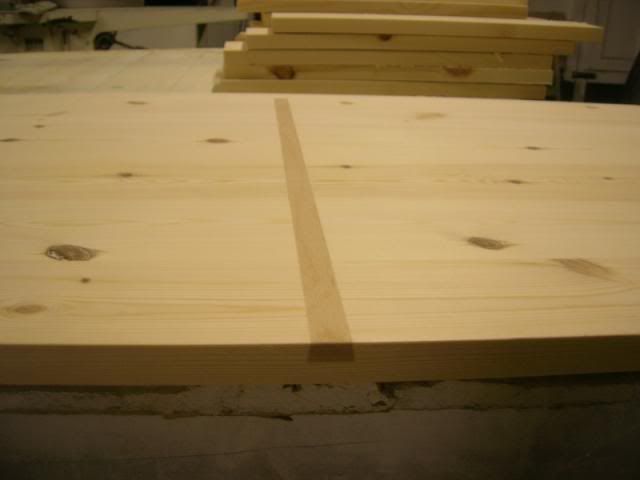
I added some hardwood dovetailed runners to help in keeping the panel flat.

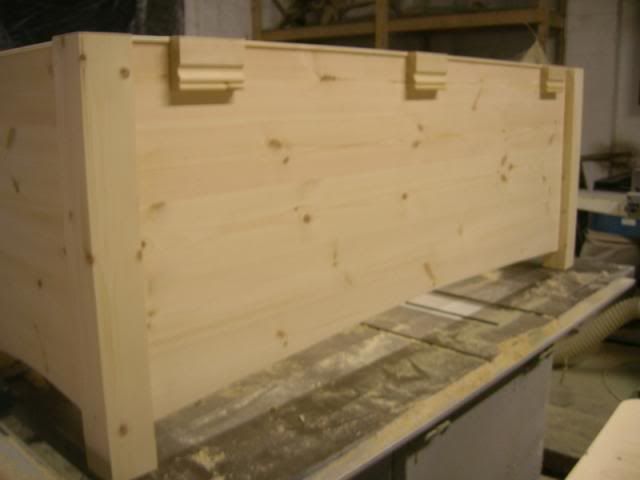
After adding some mouldings to lip the top I made up some blocks for the hinges at the rear.

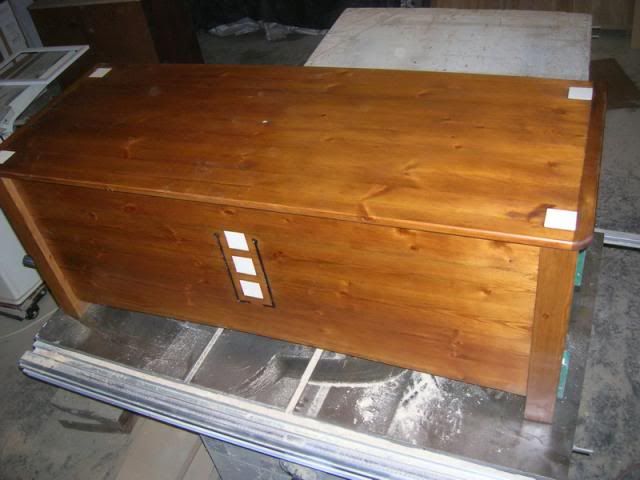
last job tonight was to cut out four squares in the top corners of the lid for more tile inlays and try it on top of the chest.
 
Could you please point me in the direction of those soft closing ones,have 3 grand children and their daddy ( my son) has asked if i could make some sort of toybox for them.
I may be missed something here but how id the bottom made and fixed in ?
 
Yes they are the ones I use Andy.....but they are cheaper here: http://www.eurofitdirect.co.uk/toy-box-lid-stay I have been using them for a few years now and they are very good. Carriage from this company is very quick too. (No I don't work for them) :lol:
Sorry mark I almost missed your question. For the bottom I glue and screw a runner around the sides and then just 'plank' on top of them. I glue them together and pin or screw them into the runners. I also leave a small gap at each end for expansion. HTH. :wink:
 
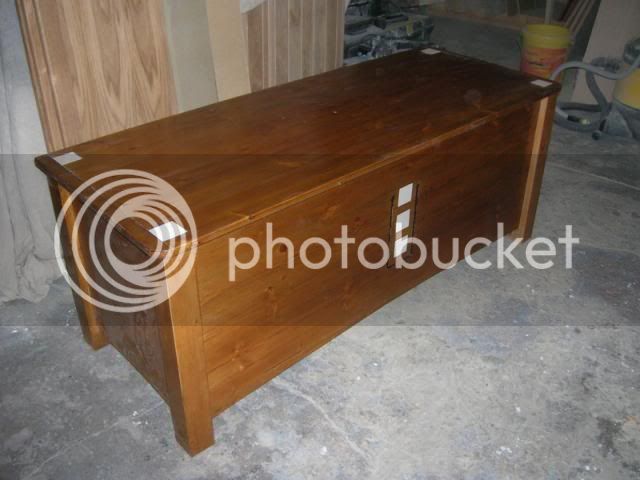
Well today I got the finish on it and the box assembled. I still have the fittings to go on yet and a final polish before delivering it. :D

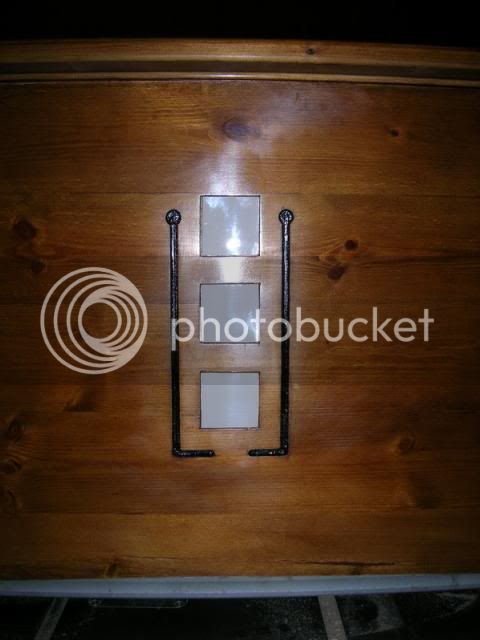
Here is the detail on the front.

And the details on the top.
 
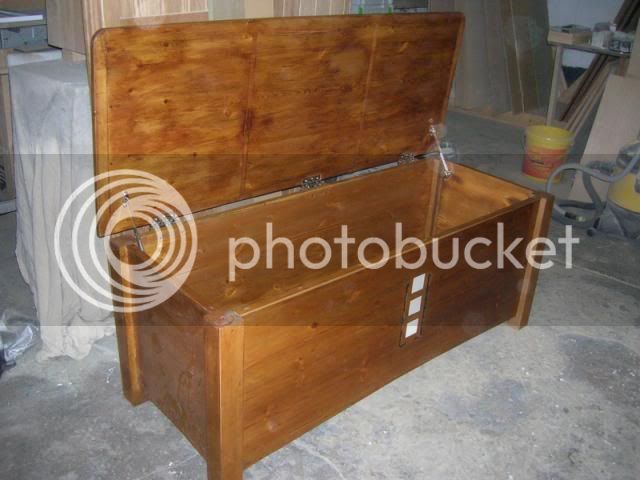
Well I got it finished today although I am not too happy with the inside of the lid as it came out patchy. :( Looks like there wasn't enough sealer on it before staining.

I was worried if the soft closers would have enough damping for the lid as it is pretty heavy but they work fine. :D

I used some pretty decent hinges on it due to the weight of the lid.
 
Back
Top