5 or 6 boxes

UKworkshop.co.uk

Help Support UKworkshop.co.uk:

This site may earn a commission from merchant affiliate links, including eBay, Amazon, and others.

devonwoody

Established Member
Joined
11 Apr 2004
Messages
13,493
Reaction score
25
Location
Paignton Devon
Friends and family have been hinting they would like a box and to be honest I am running out of display space at home so I am pleased that I have somewhere to put new boxes.

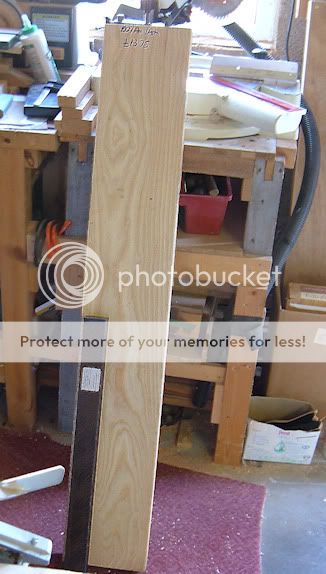
I have a piece of American Ash 27” x206mm x54mm with some nice grain and this should make 6 boxes six inches square but there is a nasty flaw at one end so I might only obtain 5 boxes of that size at the end of the day. They need to be 6 inches square because the internal dimension will take a DVD disk in its cardboard package.

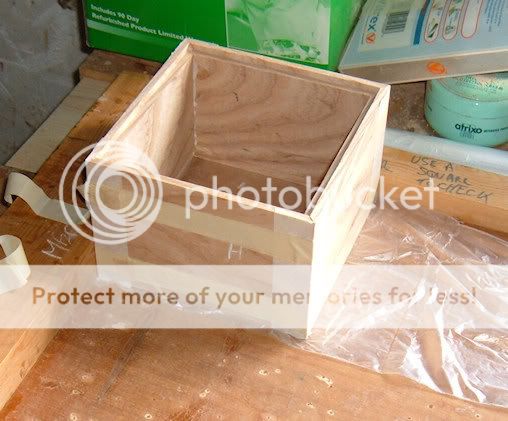
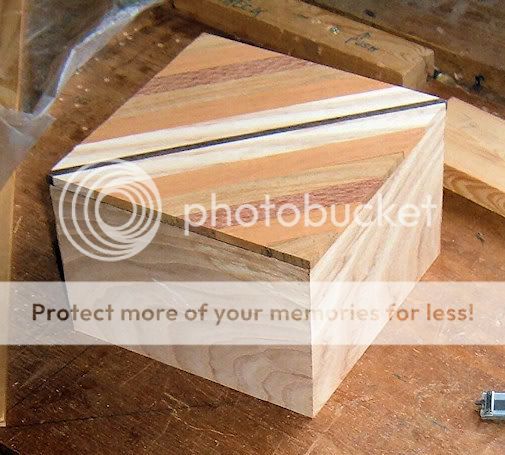
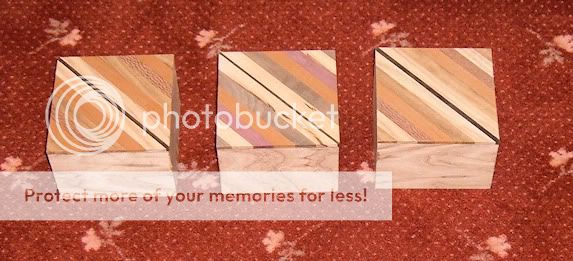
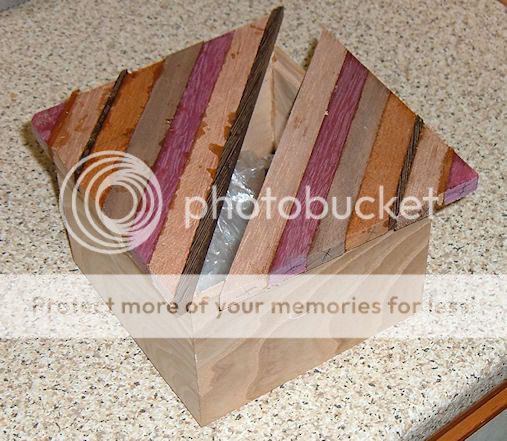
So I am aiming to mass produce a copy of this box I did earlier this year.
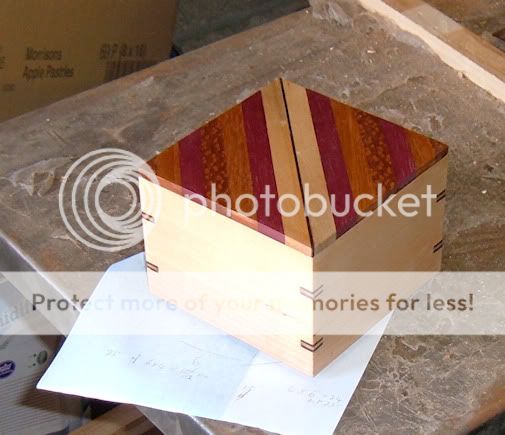
1w-3.jpg


This is the area which has a bad patch.
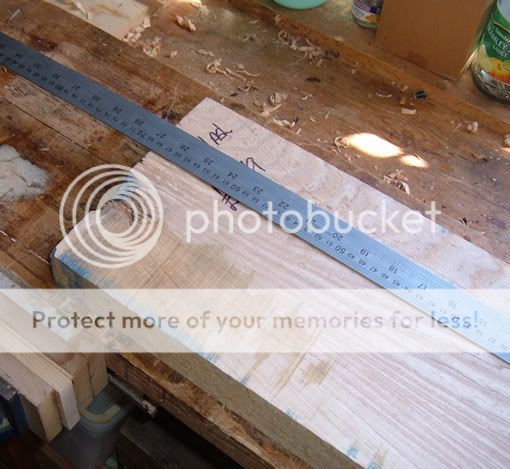
2w-4.jpg


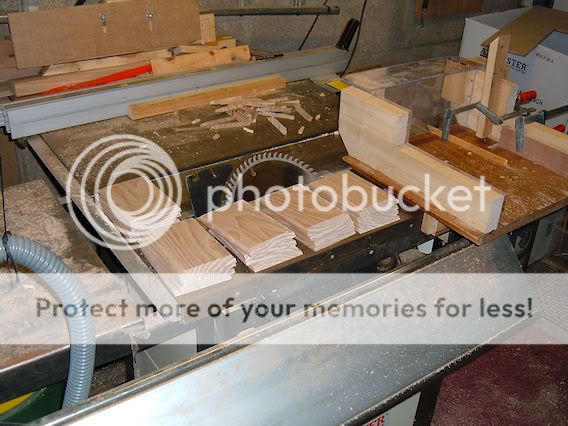
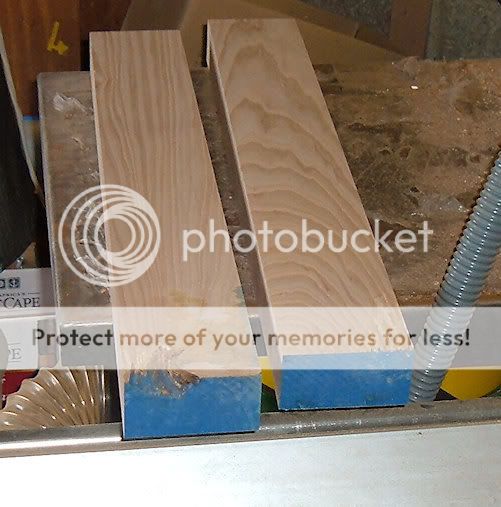
Put face edges on one side and edge then took over to the tablesaw and obtained two lengths 100 mm wide.
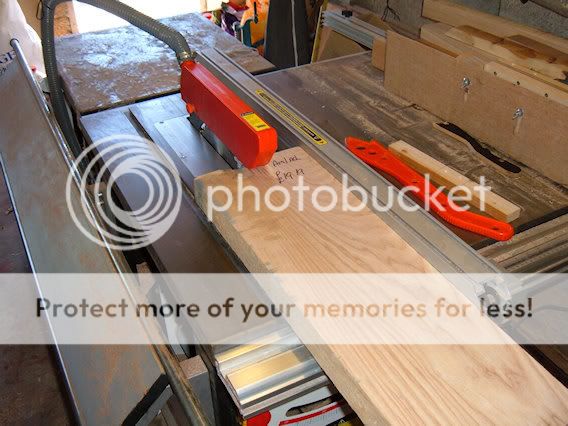
3w-4.jpg


4w-3.jpg


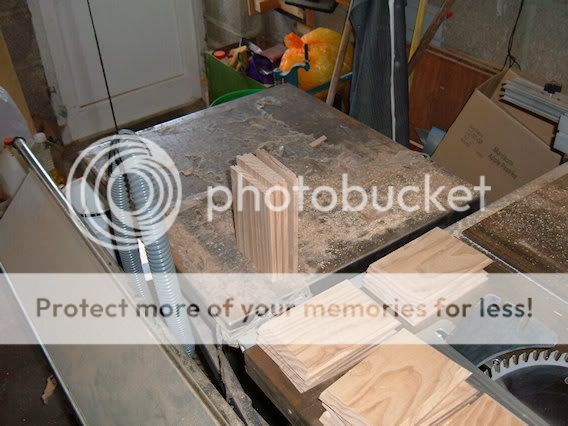
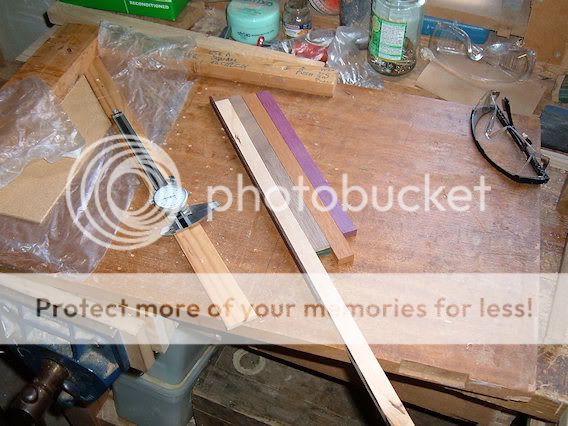
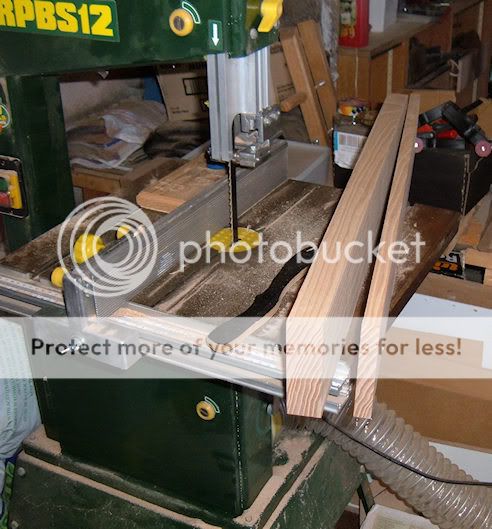
Each large piece was then run past the bandsaw and I go 6 perfect pieces 16mm thick, these were then cleaned up on the thicknesser and reduced to just over 11mm final thickness each.
5w-3.jpg


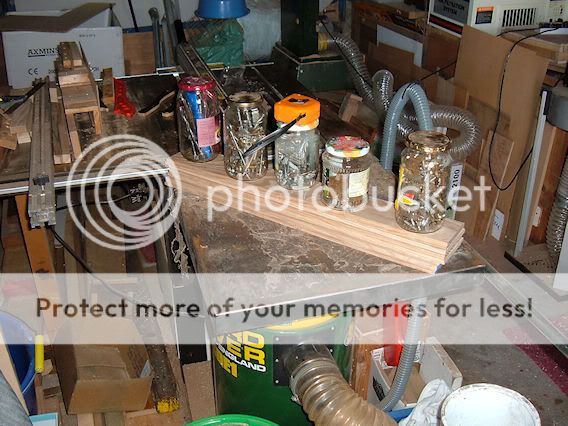
At the end of the day I had machined rebates on both edges of all pieces (ready for future use has lid and base fittings.) and stacked up with some weights to hopefully stop any pieces floating up or bowing over the next 48 hours when I hope to restart.
6w-2.jpg
 
Looks like it should keep you busy :wink:
I think ash has a lovely grain pattern,and your original has a great selection and contrast of timbers.
Are you going to make them all identical?

Andrew
 
I got in a session yesterday afternoon but reduced thicknesses down to 10mm then cut the mitres on all pieces for 5 boxes.
Thickness was reduced to 10mm because at over 11mm they were feeling a bit on the heavy side.

7w-1.jpg


Box number 6 is still on the cards but will have to be smaller, might just get a dvd in but tight.

8w.jpg


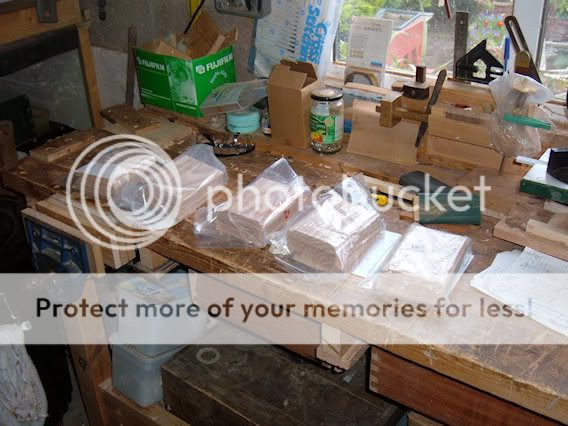
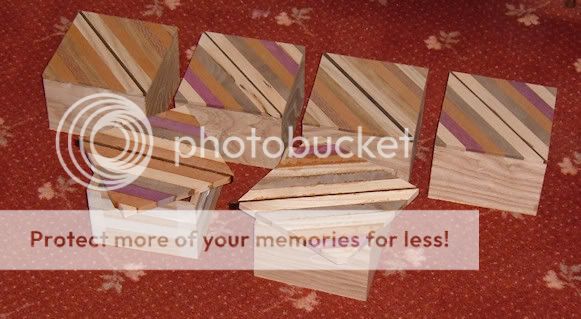
I had to pack the sets away because my friendly neighbour wants to come in and make a new front door (for his daughter) and its over 3ft wide, so I'm not expecting to work on the boxes for another 24 hours and I wanted to keep all sets separate for grain matching.

9w.jpg
 
That's a good idea. I've got a collection of cardboard-packed CDs building up and they don't like to sit in the plastic racking along with all my plastic-cased CDs. I think it's time for me to start thinking about another box! :D

Yours is coming along nicely though, shame about that defect on one board.
 
Back in the workshop on my boxes after the door making session.

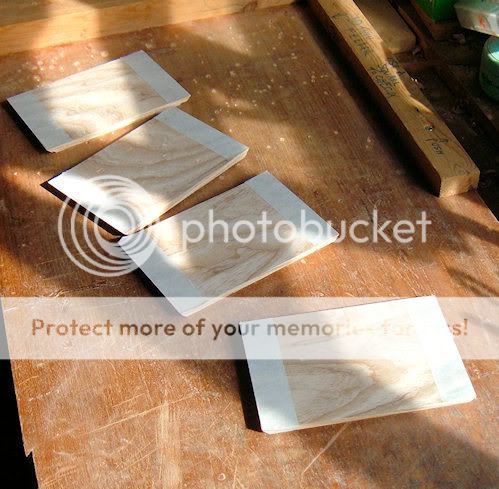
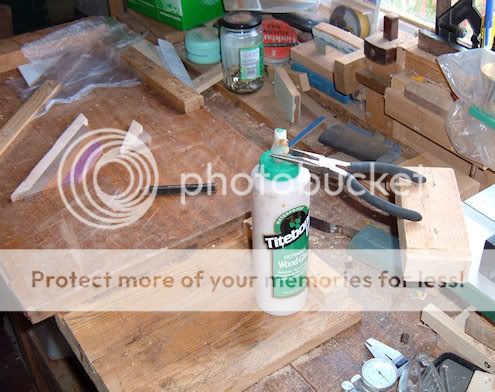
I have put masking tape at each end on all pieces because that titebond 3 I'm using just oozes out at any joint. (I've got a new bottle on order and hopefully this one is will be less fluid)

10w.jpg


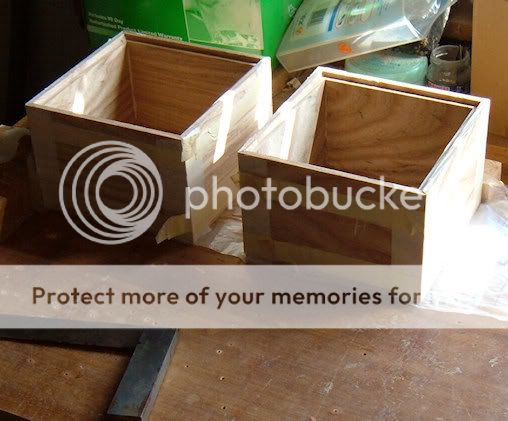
first box up on glue bench.


11w-1.jpg


second box up on glue bench

12w-1.jpg


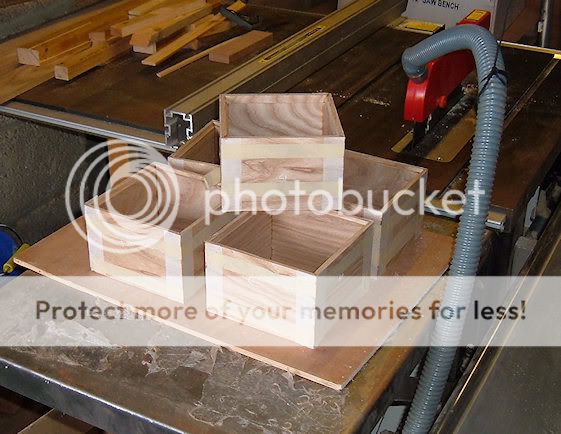
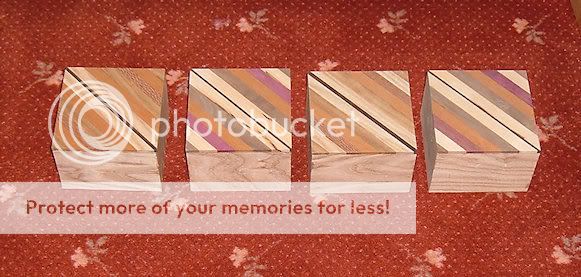
5 boxes done :)

13w-1.jpg


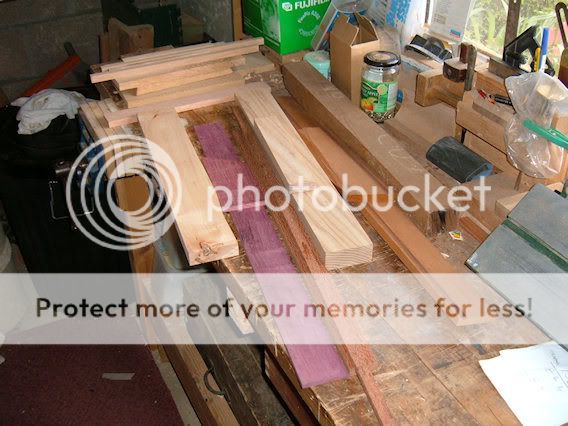
Pulled out some timber lengths to use for lids, but calculations on quantity is proving a bit stressful. :?

14w-1.jpg


Actually I would prefer to make one box at a time rather than this effort, there doesn't seem the same consideration applied because of methods of working.
 
Now you've started the asembly,can see that you've got some fantastic grain figuring.
Also like the simple but effective idea of a fixed square on your assembly bench - might have to copy that one :wink:

Andrew
 
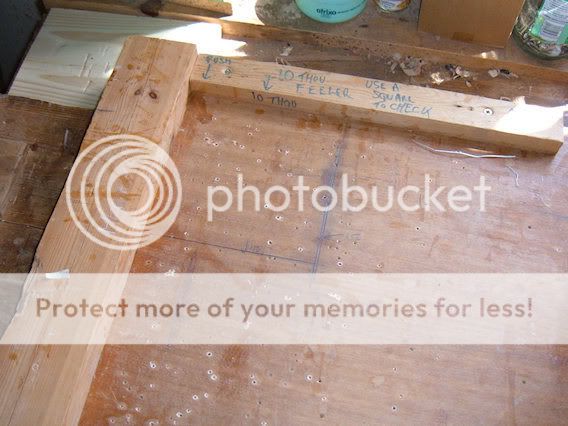
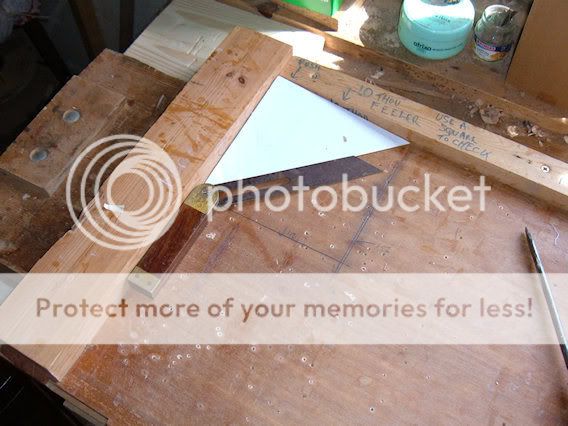
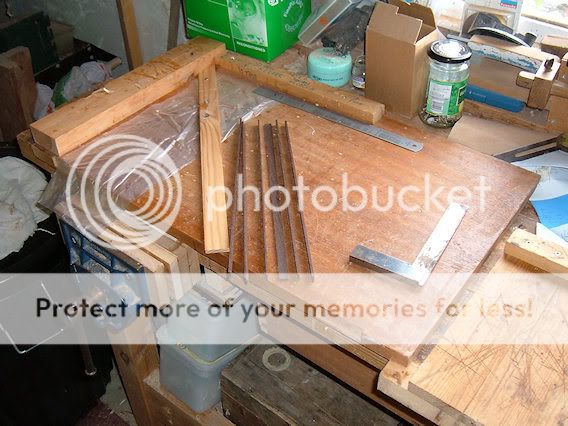
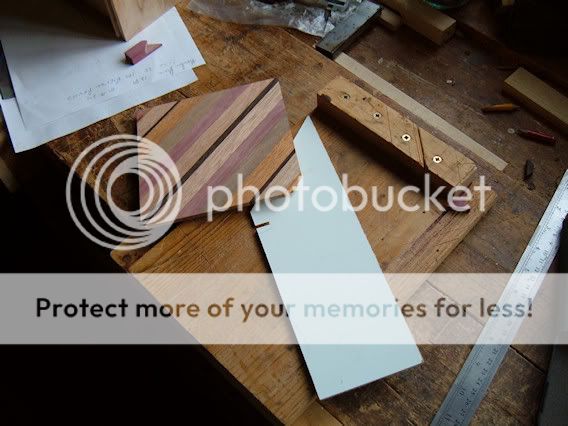
Got the assembly board out again for the lids.
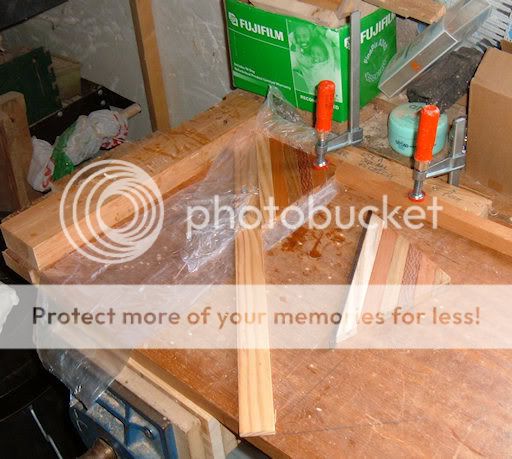
Marked in pencil the area needed to make the lid laminations.
Ignore the instructions on batten (it was previously used on a mitre sled)

15w-1.jpg


Made a card template to 45% and also set angle.

16w-1.jpg


The last of the dark coloured wenge cut to 2mm thickness strips. (more ordered from Yandles today, they do a carrier service with next day delivery)

17w-1.jpg


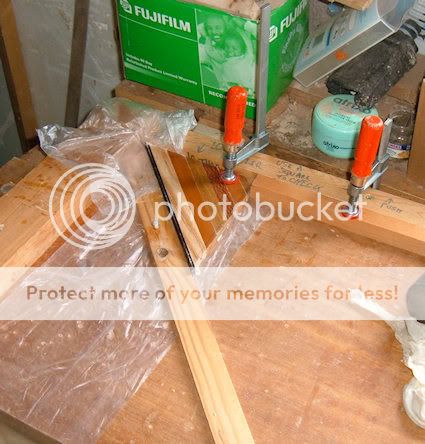
first portion of laminated strips glued to former with simple clamping.

18w-1.jpg


The other portion. (although I am going to have to add a portion at two corners to get correct outline fit)

19w-1.jpg
 
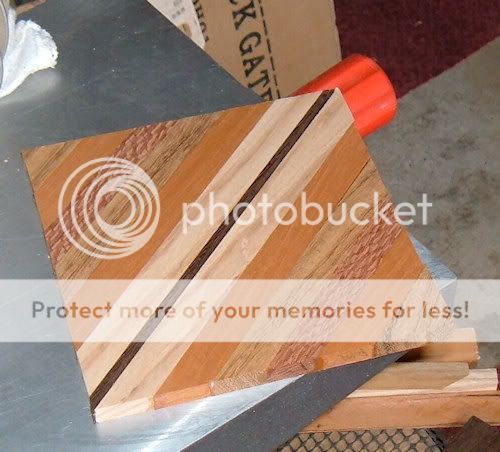
Put the first glued up laminated lid through the thicknesser and it has come up very nice.

20w-1.jpg


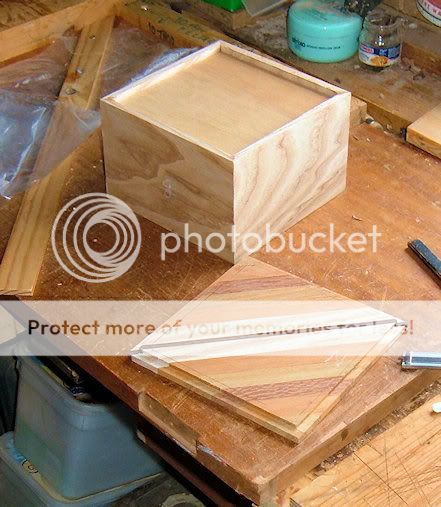
Then took over to the tablesaw and sized to fit box roughly, the router table was set up and rebate put to each edge and lid fits so well it trapped the skin on my finger when dropping in. :wink:

22w-1.jpg


21w-1.jpg


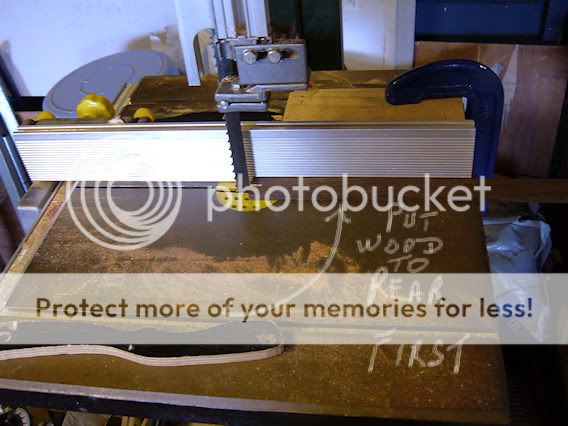
Whilst setting up the bandsaw to cut some more strips instead of placing timber to the front of blade to set blade position I went to the rear and because there are no teeth it makes it easier to find the cutting line because of the straight edge.

23w-1.jpg


New colour arrangement for third box.

24w-1.jpg


And finally today just as I was packing up the courier arrived with a timber delivery ordered yesterday from Yandles.
A 4ft length of Ash 8x2 and a 2 ft length of Wenge 2 x 2.
So thats worth knowing next day delivery from Yandles. (cost £11 delivery)

25w-2.jpg
 
Three down,

26w-2.jpg


I have heard comments that the nozzle can be difficult to take up on titebond, I always use longness pliers and lever up and never clean when shutting off and this way I never have any problem with sealing or opening.

27w-2.jpg
 
Interesting tip on setting up the bandsaw. Didn't realise Yandles offered next day delivery either! :shock: :wink:
 
Four boxes

28w-2.jpg


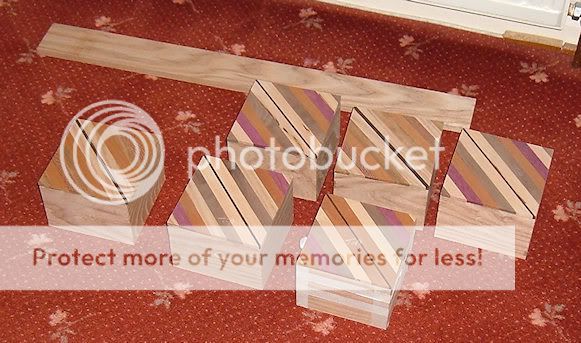
nearly 6 boxes.

29w-2.jpg


It isn't so interesting making a set of boxes, in fact box number four when making the lid (cutting rebate underside to drop on its carcass), it clipped in first time and nipped my finger again :)
 
6 lids on and fitting done, the last three lids I could almost do with my eyes shut, just feel alone.

Number 6 box is slightly smaller than the other five, inside measurement is 148mm so might not call it a DVD box.

So its out with the respirator today and orbital sanding to clean up, then glue in bases and I like a packing piece to hold the base in and also to create its stand.

The other piece of ash laying on floor is for another box to use the last of the ash from the plank.

30w-2.jpg


Oh I have just thought I might add splines at mitred corners. !
 
A couple of the boxes are playing up, the lids have bowed or warped.

Both boxes have some iroko pieces in the lid, the timber has been in my possession over 20 years and the offcut in question has been laying around indoors for few months, I think it must be down to machining type stress.

So I am going to leave for a few days before attempting any clean up otherwise I shall have ago cutting out the iroko and if that is not successful I will have to remake the two lids again.
 
Will be back on show.

But had a lathe delivered and trying to find somewhere to place it, so it looks like a new workshop is going to be designed and laid out before this job is completed.
 
I have had a go at trying to correct that awkward lid.
Cut down the line of the piece that I think was causing the problem.

31w-2.jpg


However I decided that a couple of hours making a new lid would be the best way to go.

so prepared timber and glued as per photo .

32w-2.jpg
 
This number 6 box is nothing but trouble.

The corner has chipped off when cutting the lid rebate.

lid3w-1.jpg


So I have cut a small section .

newpiecelid2w.jpg


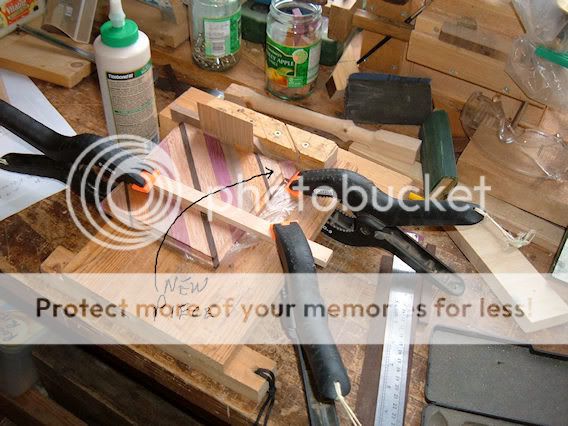
Gluded it up on the former and clamped down.

lid4w.jpg


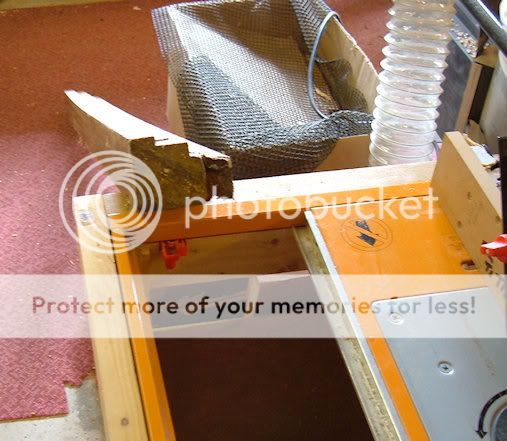
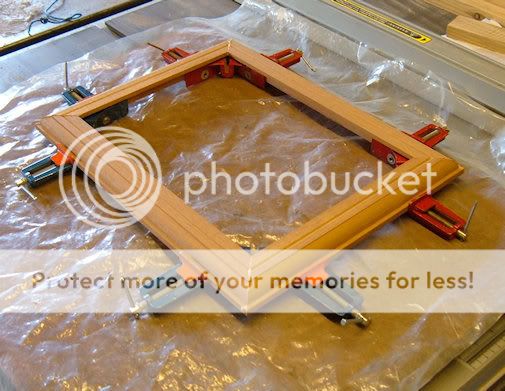
And whilst waiting for that to set I had to knock out a new picture frame.

A piece of old window cill (meranti).

cillw.jpg


the frame.

framew1.jpg


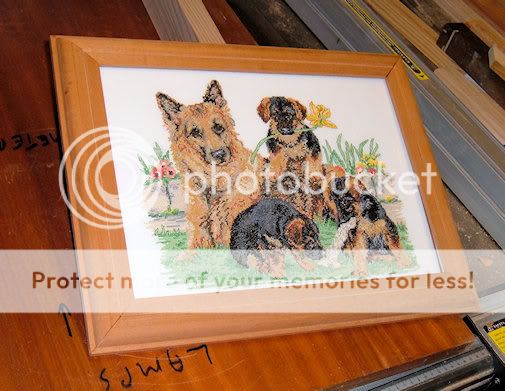
And the crossstitch embroidered by the trouble and strife.

frameddogsw.jpg


Did also manage to make a tool box for my turning dept, :)

So it might have started as a bad day but finished up OK.
 
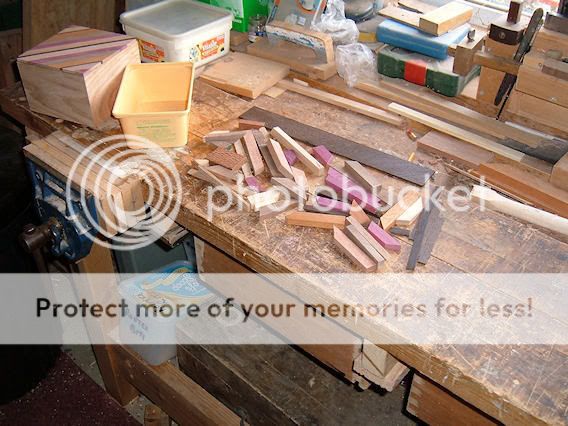
Decided to decorate the corners so I laid out all the end pieces left over from the making of lids.

33w-2.jpg


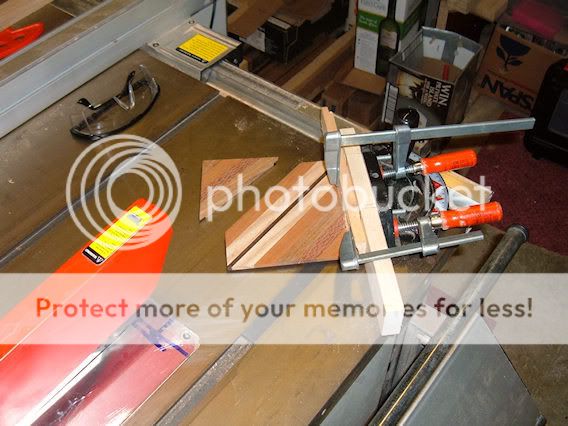
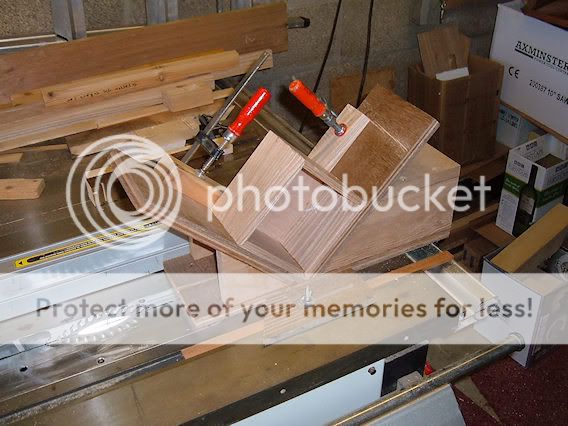
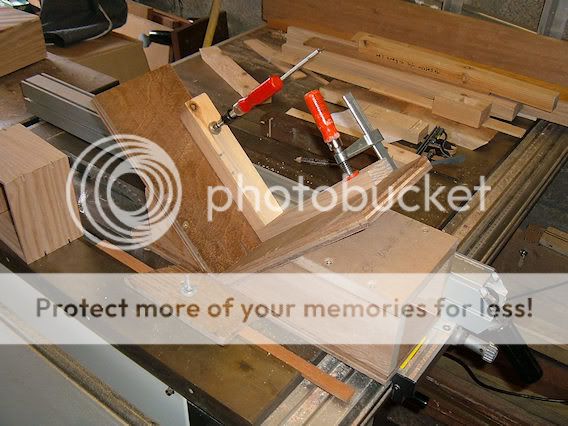
Cut the corners using a jig I made last year, showing two pics. so clamping arrangement is obvious.


34w-2.jpg


35w-1.jpg


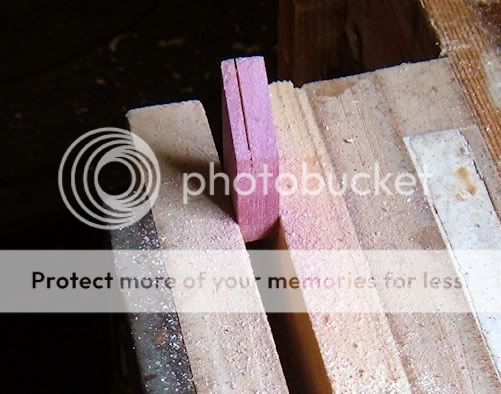
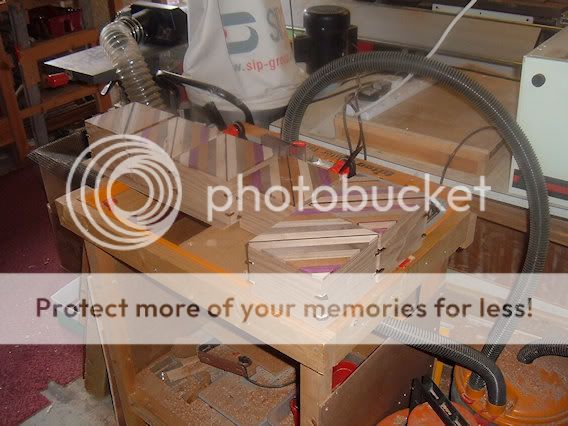
Six boxes laid out to see with splines added in that black wenge again.

36w-1.jpg


Will leave for 48 hours for glue to really set then cut off wedges and sand boxes and lids ready for applying a finish.
 
Loving your boxes 8)


We one exactly the same hanging at the top of our stairs the the dear wife made a few years ago
frameddogsw.jpg
 

Latest posts

Back
Top