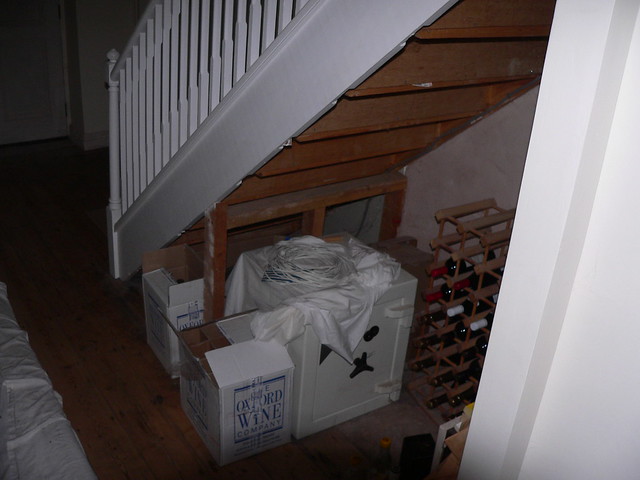
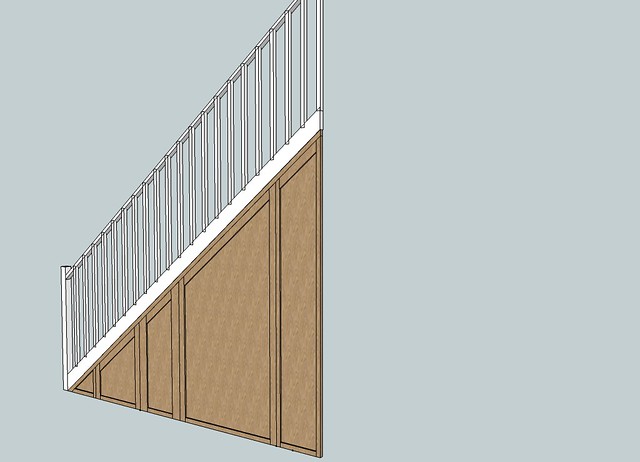
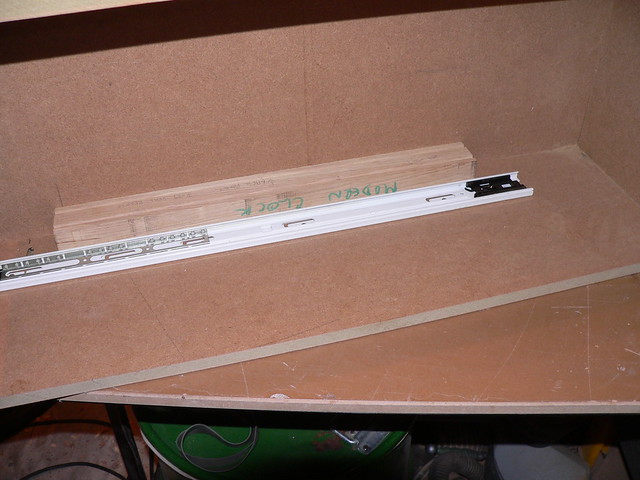
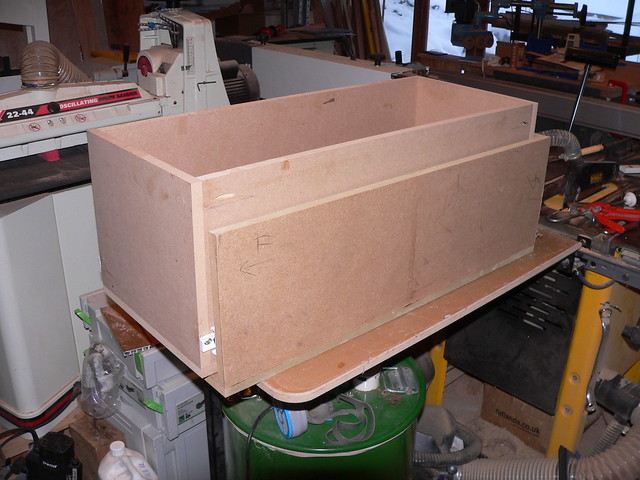
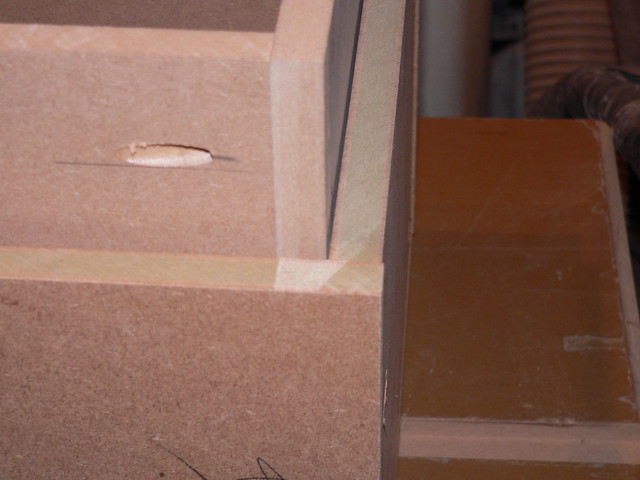
Progress has been slow as other projects jumped the queue.
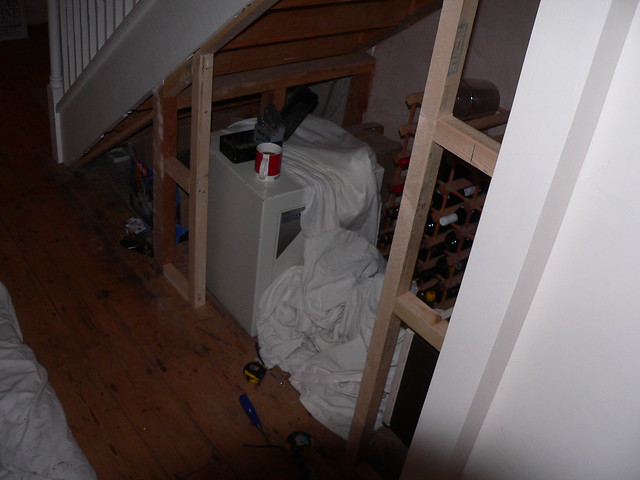
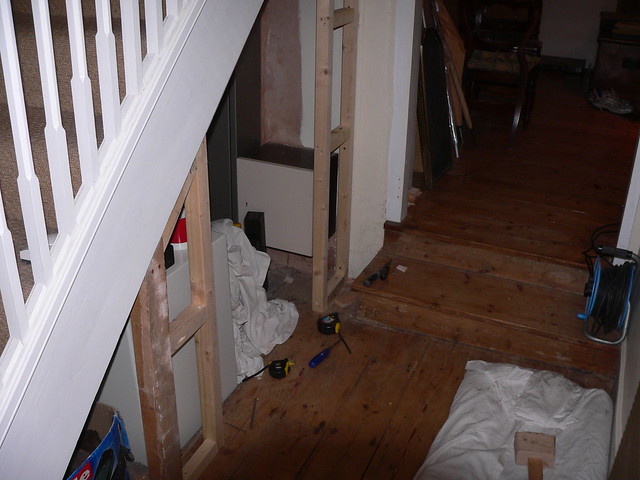
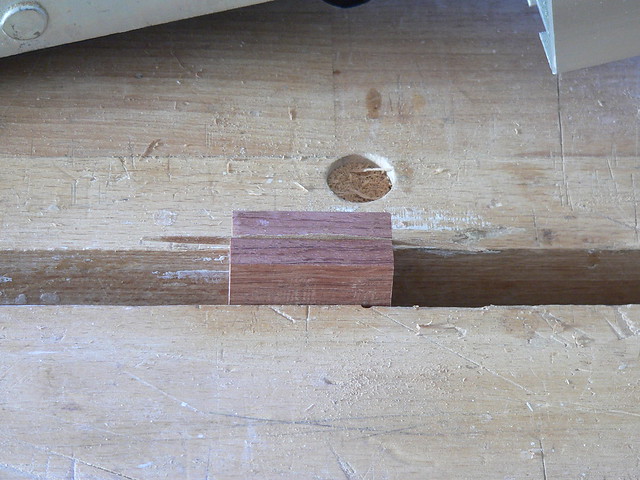
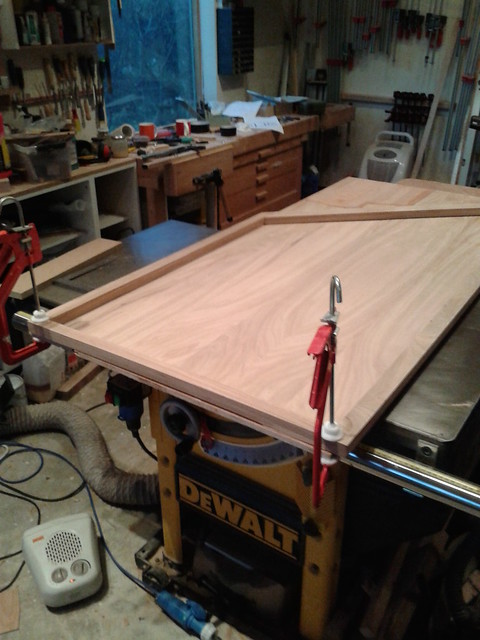
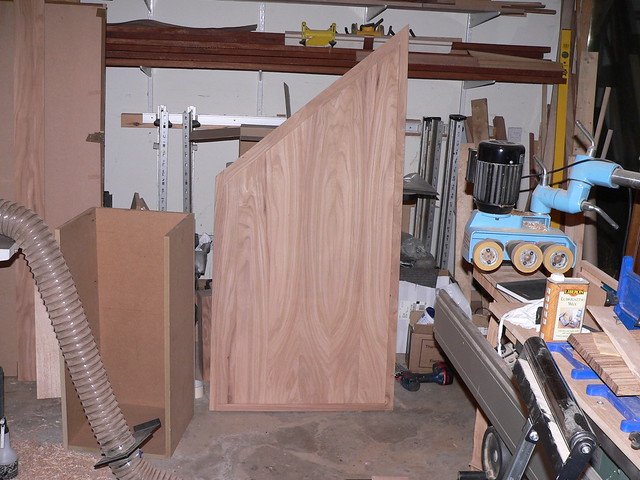
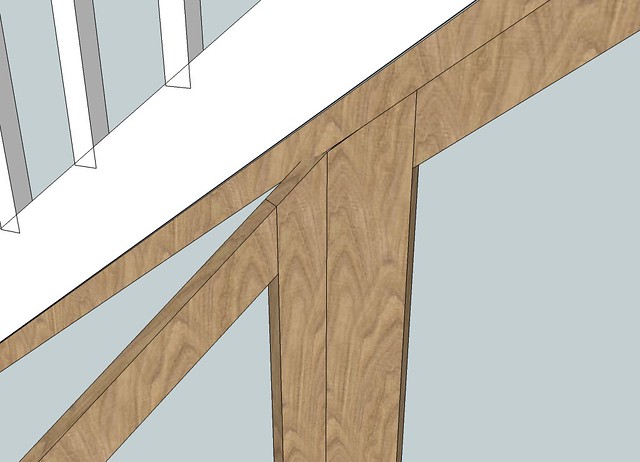
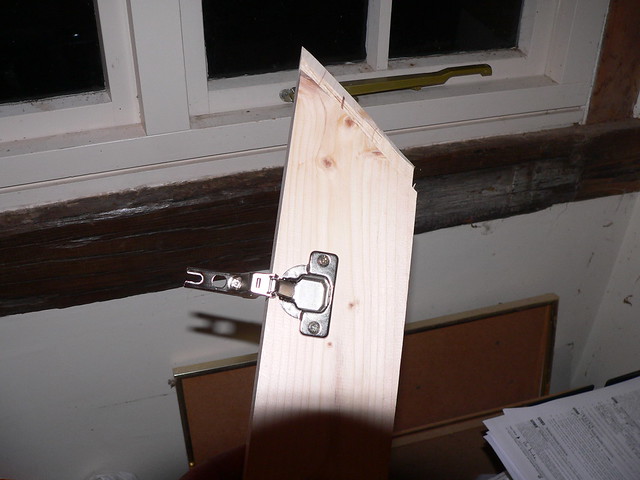
Because I've had to use a softwood frame, I didn't want to see it when the door was opened and so I've been applying thin pieces of elm to the visible faces.
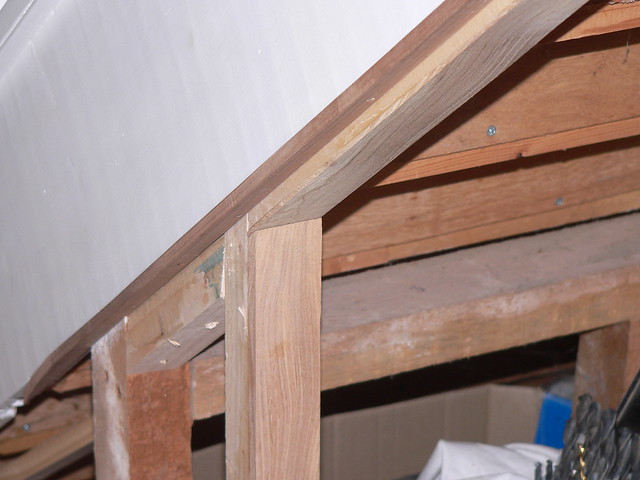
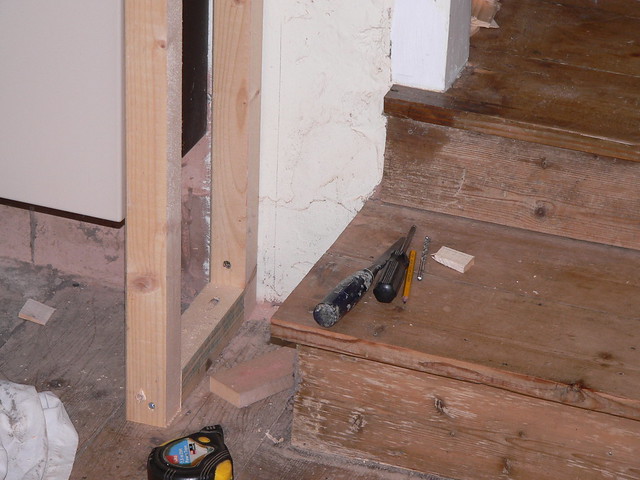
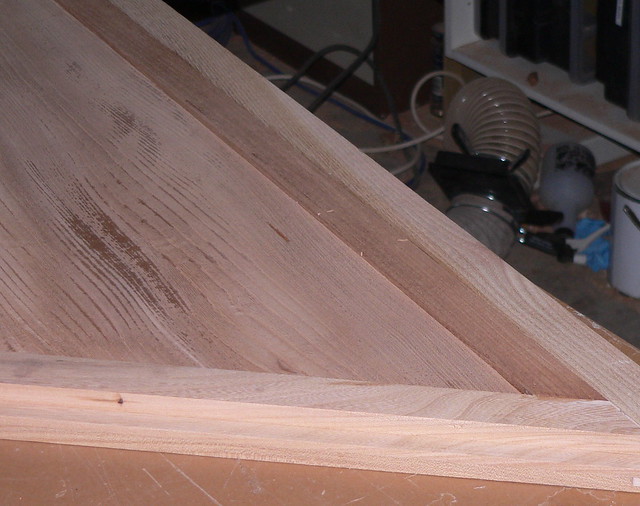
Slight ****-up on the top diagonal softwood frame. If I'd reduced the depth I could have used it as a stop for the door. Now I'll have to rebate the top of the door but that''ll have to do.
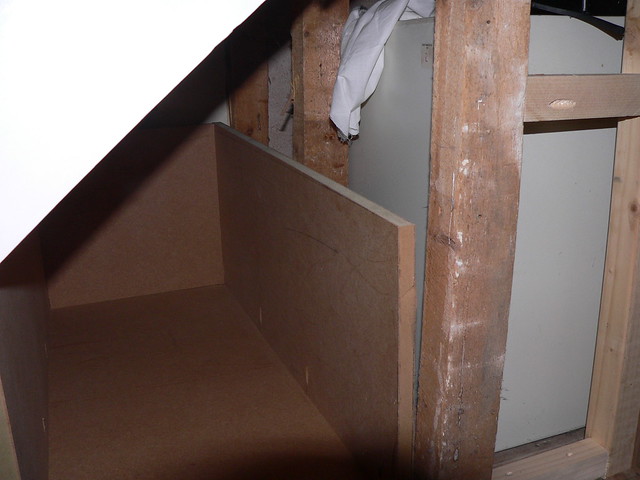
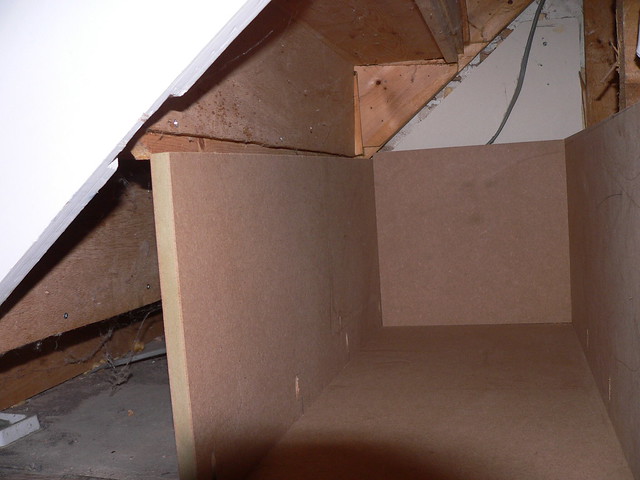
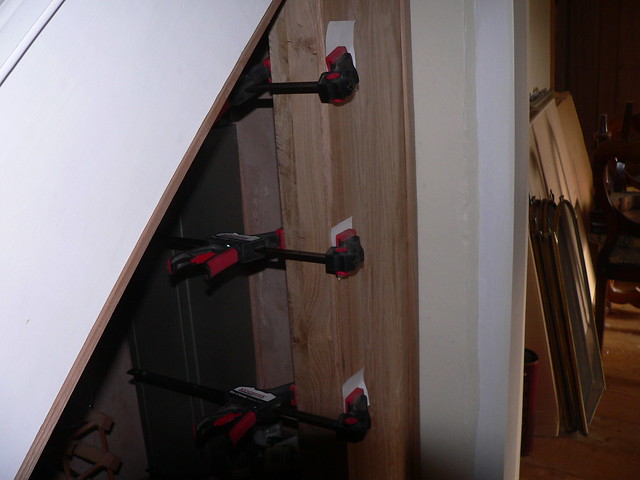
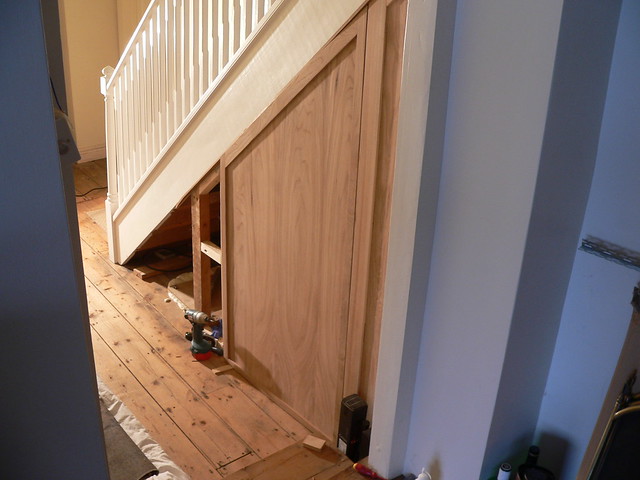
I also discovered that the stairs aren't straight (made by my builder a long long time ago) plus when he put that support in, it projects a bit too far underneath the stringer and doesn't leave me with much room to get the panelling in. I foresee lots of fiddling about.
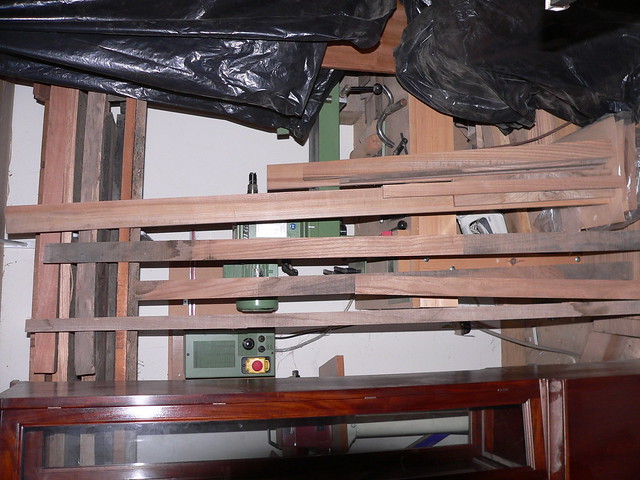
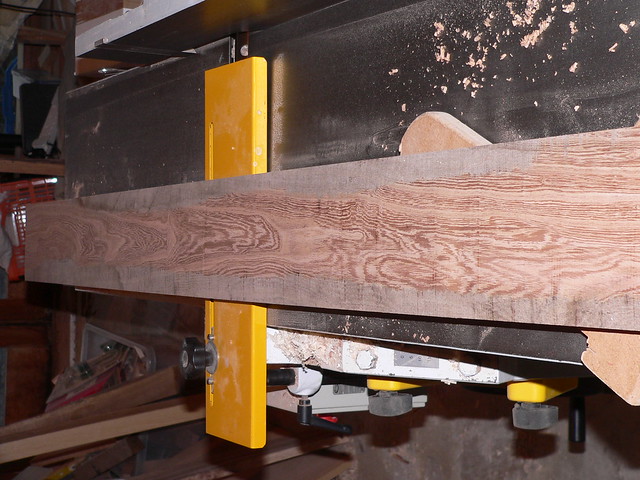
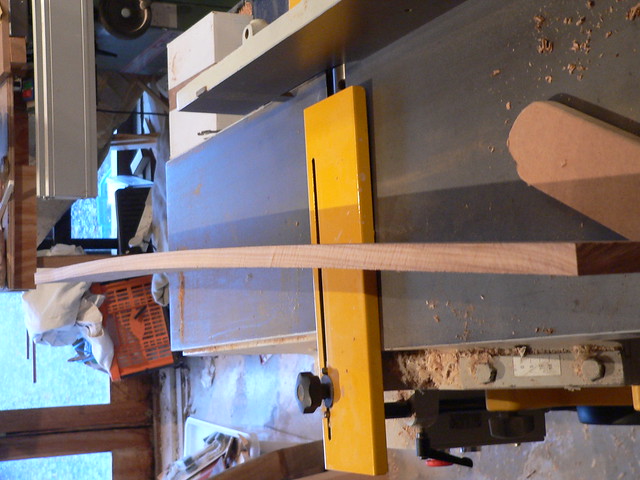
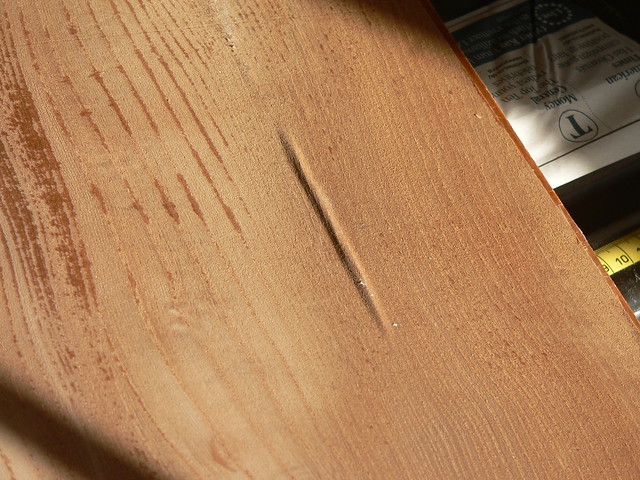
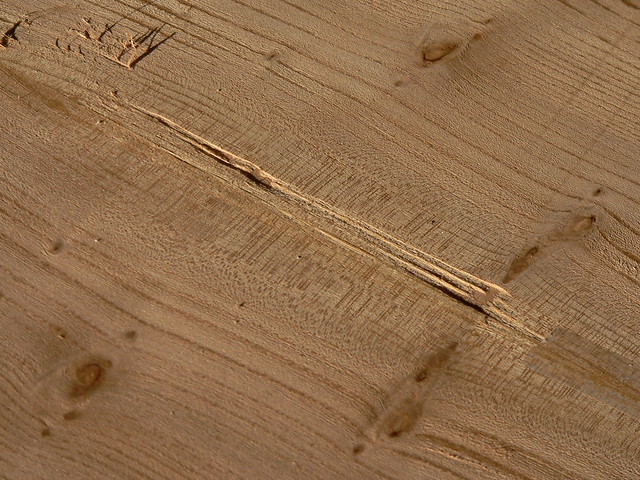
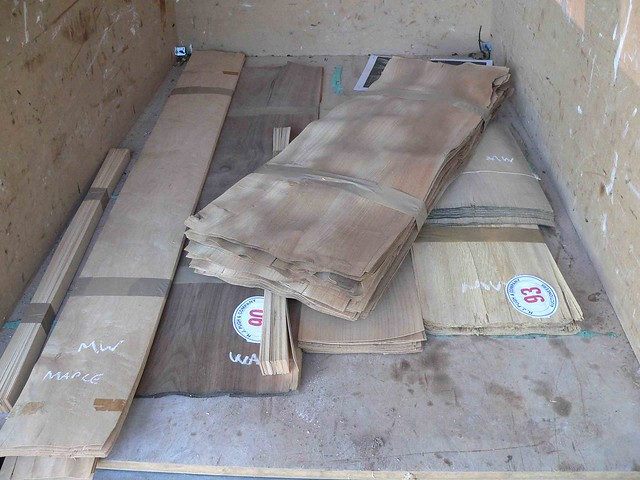
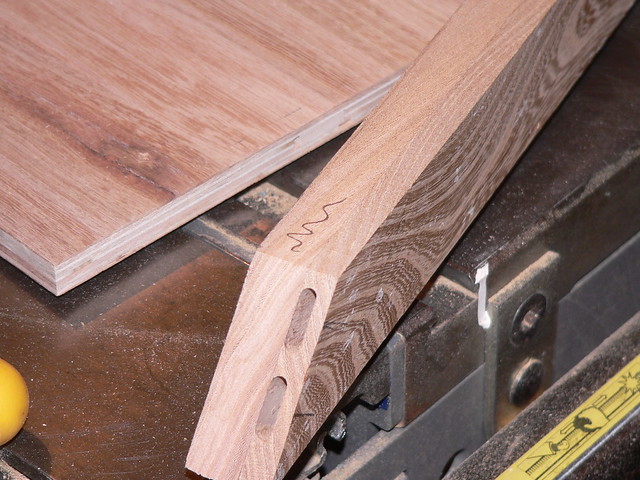
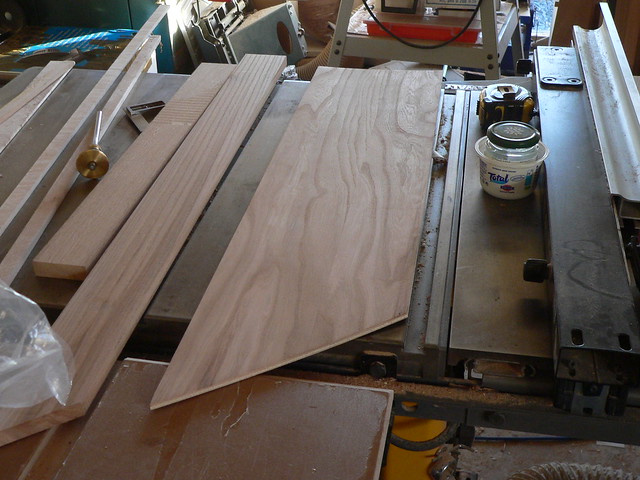
Meanwhile I bit the bullet and ripped down those long bowed pieces to get the veneer that I need for the panels and door. Some went OK but others, as you can see, wandered offline. I cocked up the first one because I fed the board in convex side to the fence...rather a dumb thing to do.

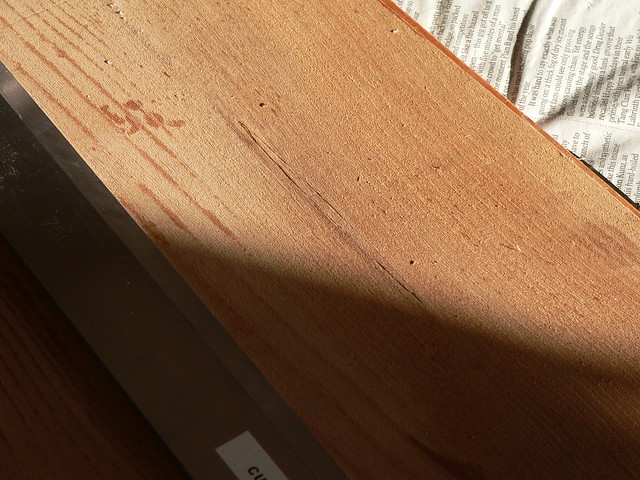
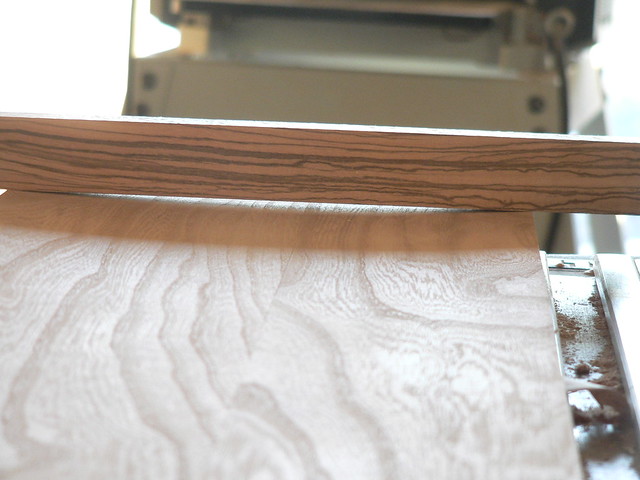
In between veneer cuts, I lightly planed the face before cutting the next veneer. I have enough for the door and longest panel...just.
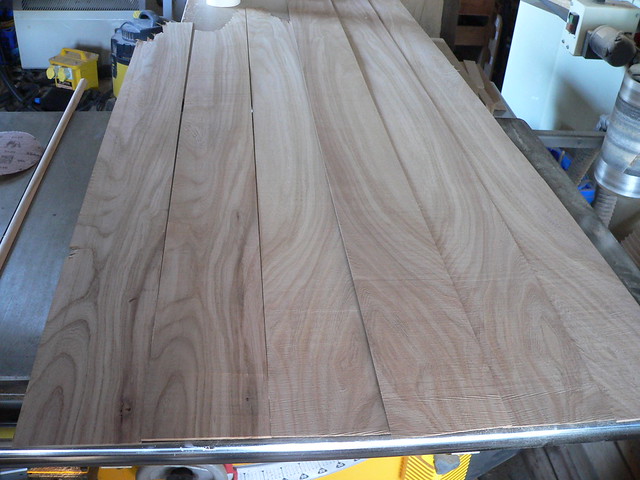
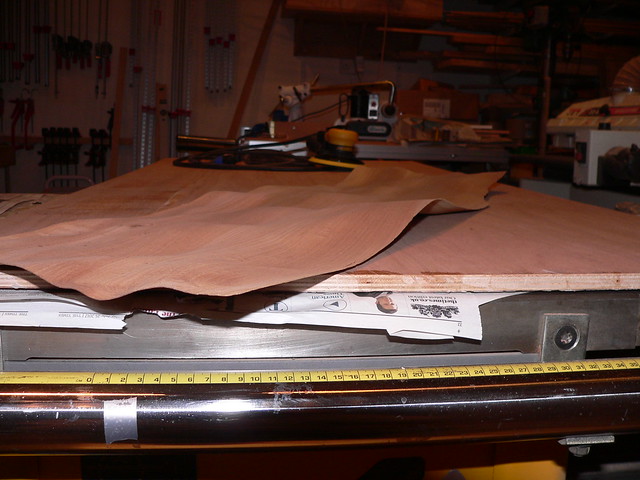
Time to glue the veneer to the longest panel substrate. Being a tight sod and not really doing much sheet work, I rarely have much MDF around but I had a few offcuts and so with a bit of judicious fiddling around with scaled pieces of paper to represent the top and bottom of the veneer platen (to sandwich the veneer and substrate in the vacuum press) I decided I could get away with just getting one sheet. I cut all my sheet stuff into manageable 'table-saw-able' pieces by using the TS55 on top of a sheet of Kingspan.
My last sheet lasted me about four years but as it was on its last legs, decided to treat myself to a new sheet. Last time I used the 25mm sheet but decided this time to go for a thicker 50mm sheet. Big mistake. While it is light, it is bloody slippy to hold and damn awkward compared to the 25mm sheet.
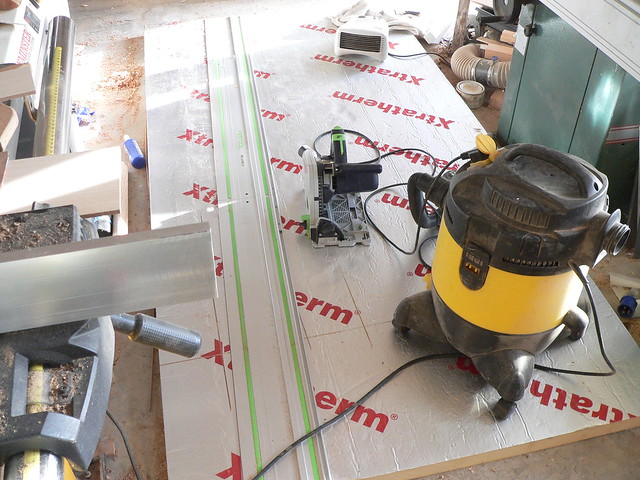
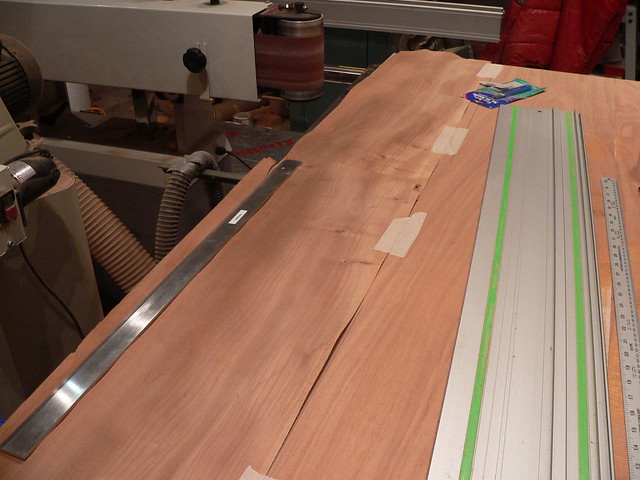
While the sheet was on the floor, I thought I'd try a technique I'd seen on the web for trimming the veneer down its length and getting a straight edge. These pieces are 1.6m long....too long for a shooting board. The idea is quite simple. Just use the Festool guide rail, stick the two pieces on top of each other and run the saw (carefully) backwards rather than in the normal forwards direction. Worked a treat although the veneer is still frisky and keeps wanting to become a banana.
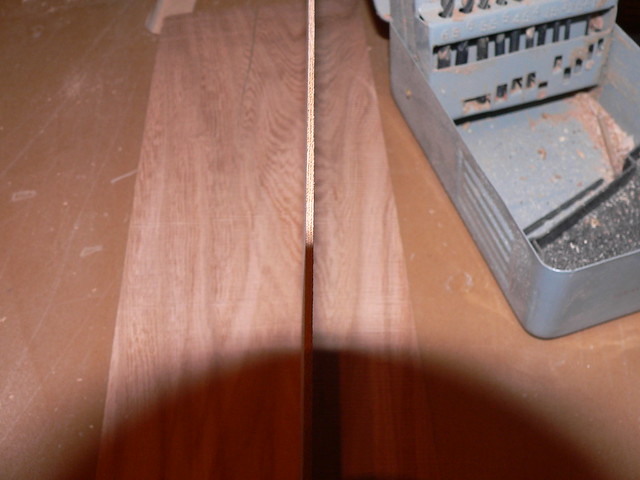
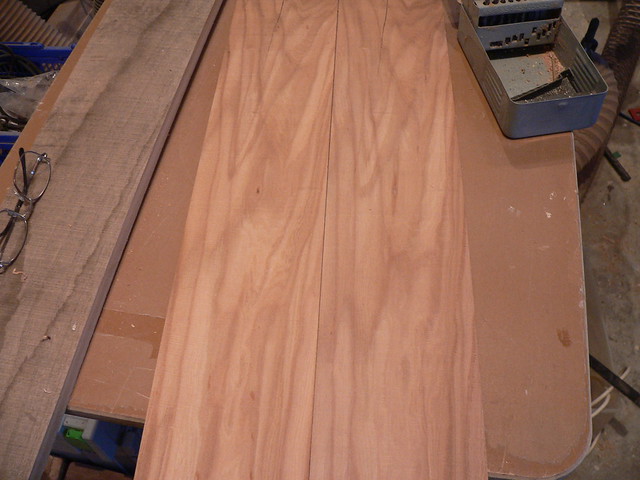
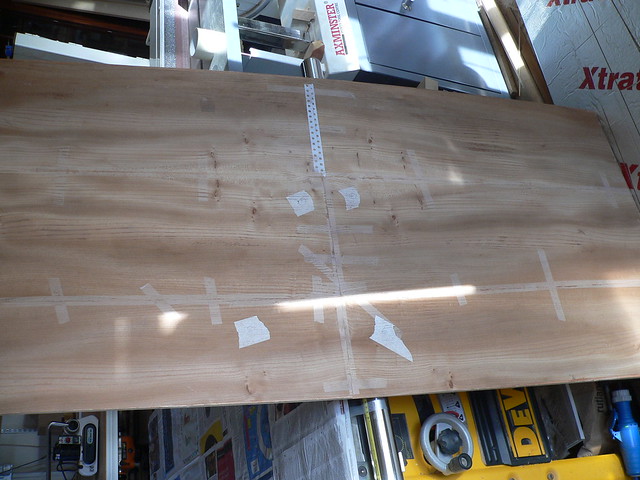
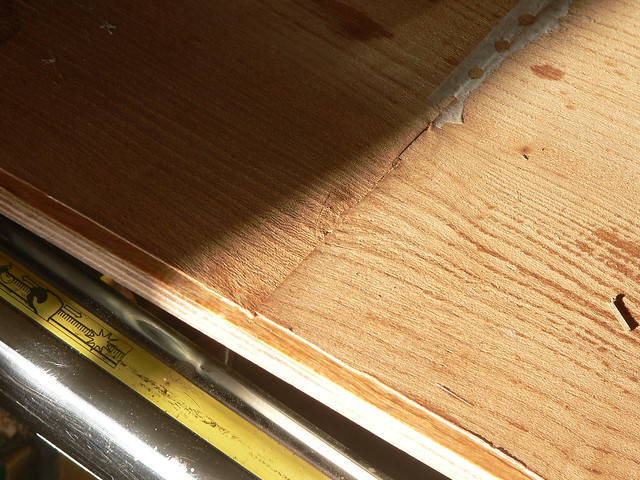
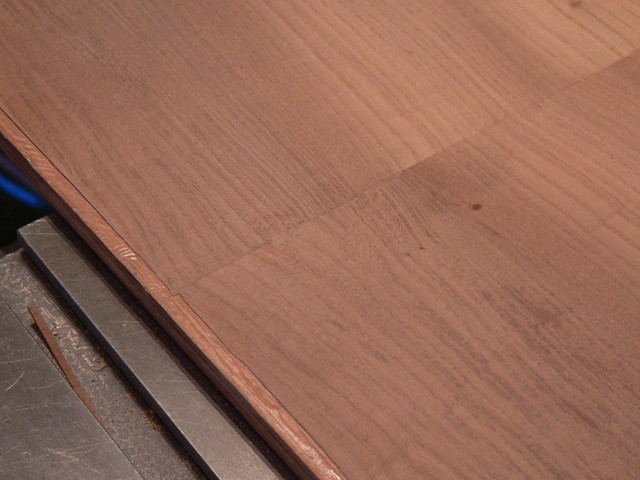
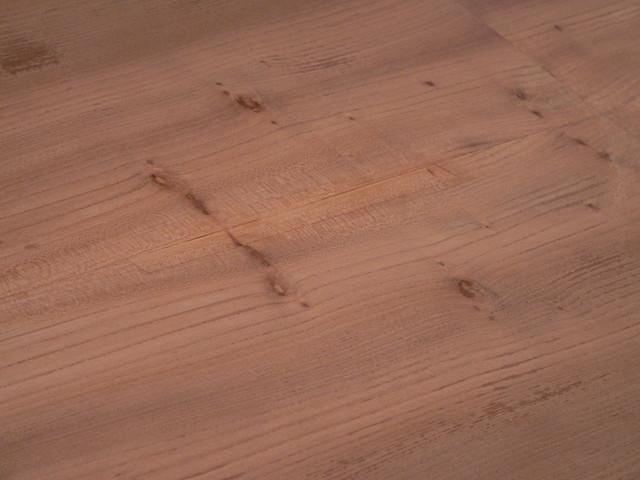
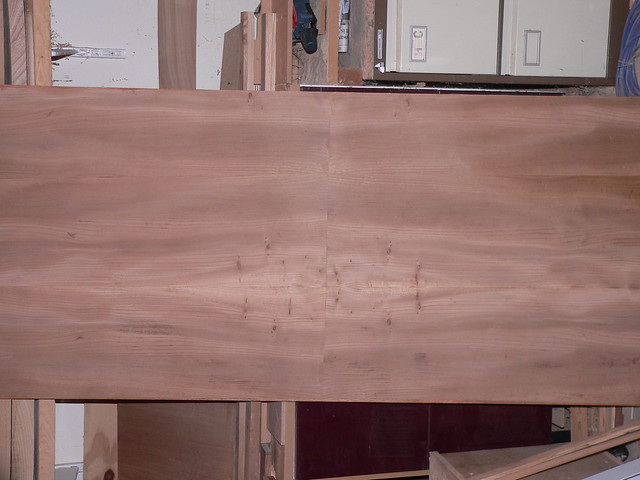
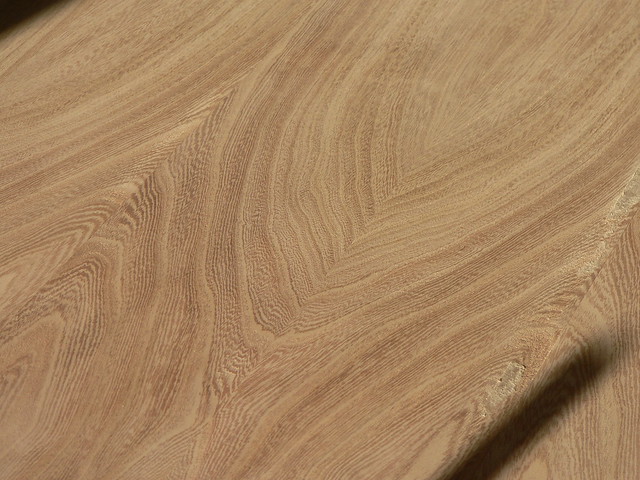
Check for fit ...sort of bookmatched.
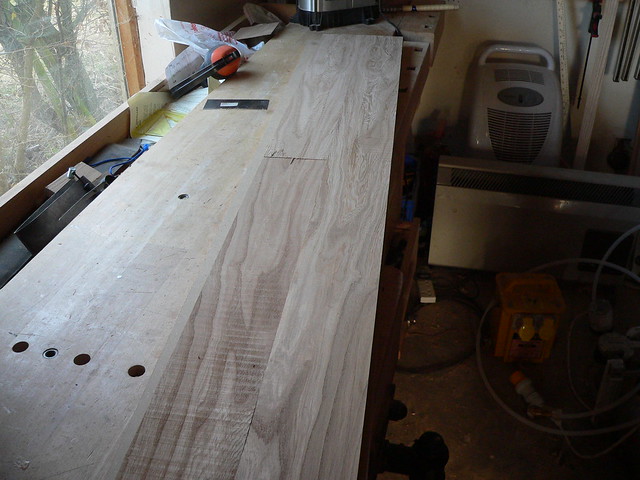
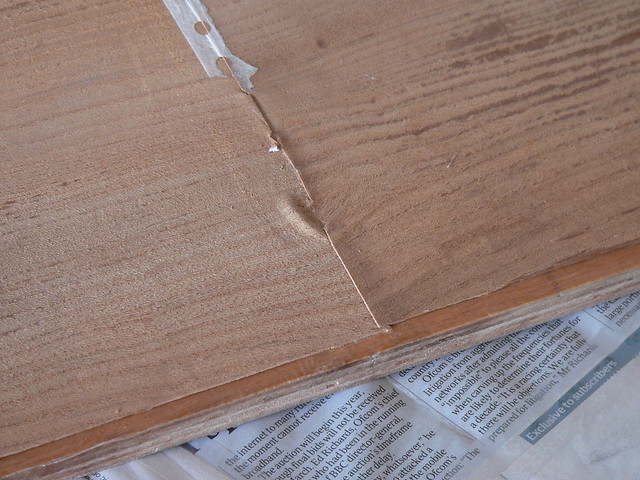
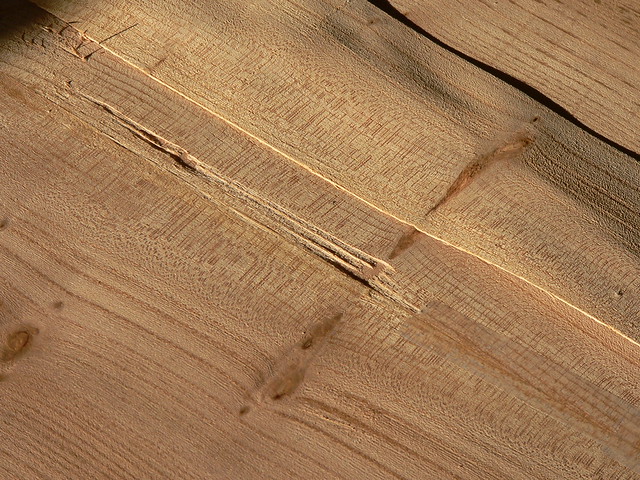
That ridge part way down one of the pieces is where the bandsaw ripping started to go pear-shaped.
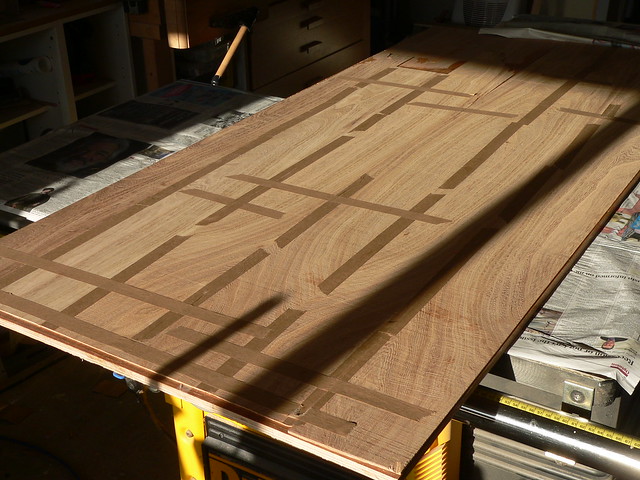
Coax the boards into line and tape up. Normally I'd use veneer tape but because these boards needing serious coaxing to stay straight, I had to resort to using duck tape. Normally I'd run a mile from using this on veneer but as the veneer is 2mm thick, any gunk from the tape will come off in the scraping/sanding. The glue side of the veneer pieces were lightly sanded with the Mirka to get a smooth surface.
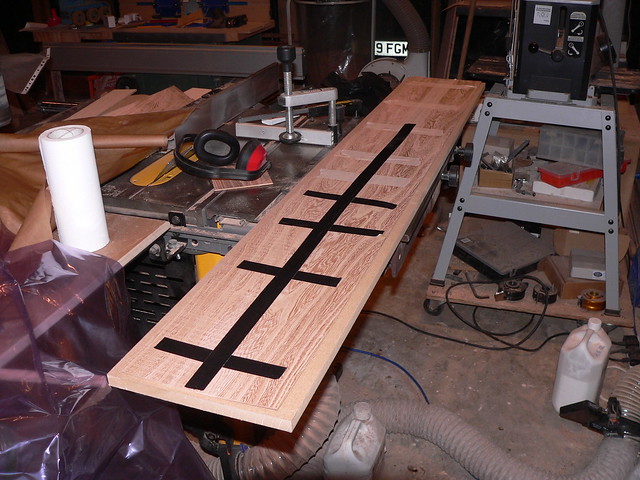
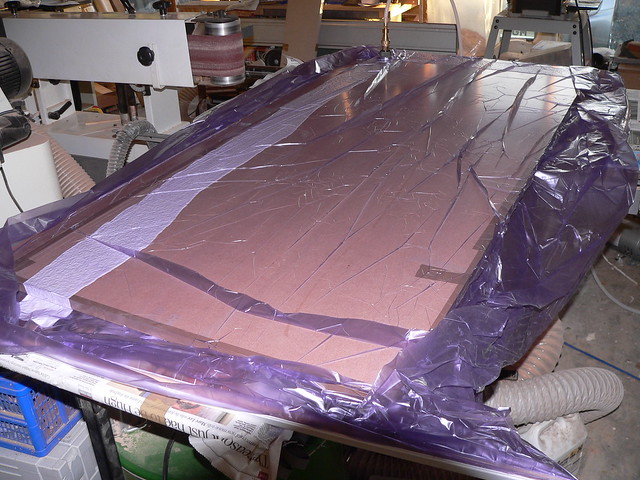
Try the new bag for size...left over from an other project, I just had enough. Mind you sliding in the veneer platen single-handed was tricky. Then had to get it back out again as I;'d forgottem to knock off the corners (I do this to minimise any chance of the bag puncturing).
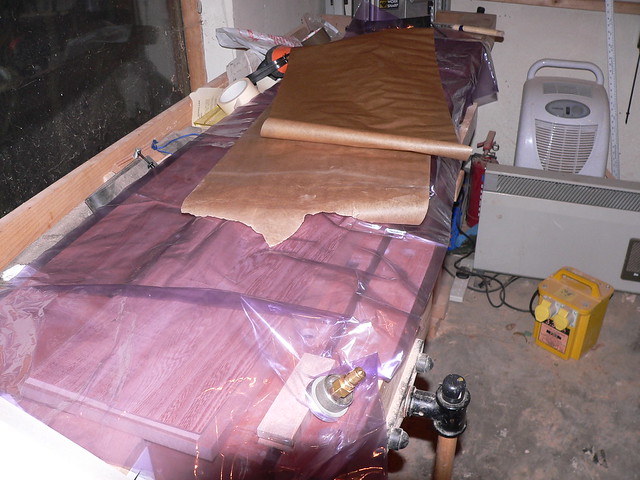
Hunt (and fail) looking for the veneer glue roller so resort to Plan B which in retrospect was a pretty dumb decision - see later.
Get out the trusty 'home-made' vacuum pump. It's an air-particle sampler that has an automatic control mechanism so i can quite happily leave it on all night if need be. A very, very cheap vacuum pump.
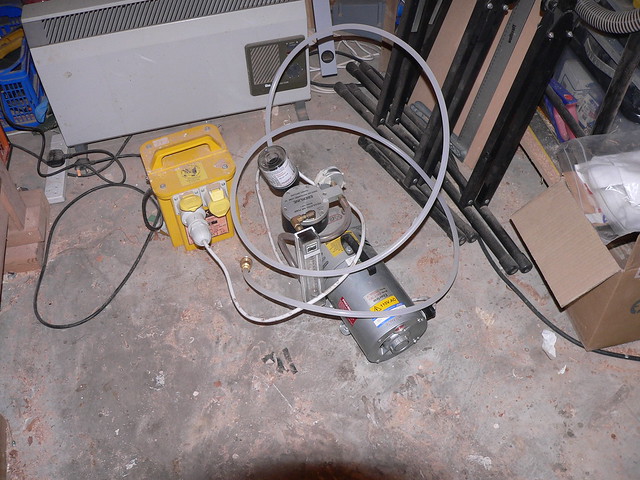
And we're good to go. Momentary panic when the bag didn't seem to have any air sucked out of it. I waited and waited as I thought maybe it was because the bag was a bit large but still no signs of evacuation. Unplugged the connector and felt for some suck...none..then remembered that the connector was one of those that was self-sealing and needed its mating companion to open up. So reconnected it....properly this time...and rewarded with a quick suck.
I left the pump on all night as my last bag seemed to leak slightly and lose its vacuum. As it turned out, I needn't have worried as in the morning I disconnected the pump and left the bag for an hour or so and there was no visible loss of vacuum.
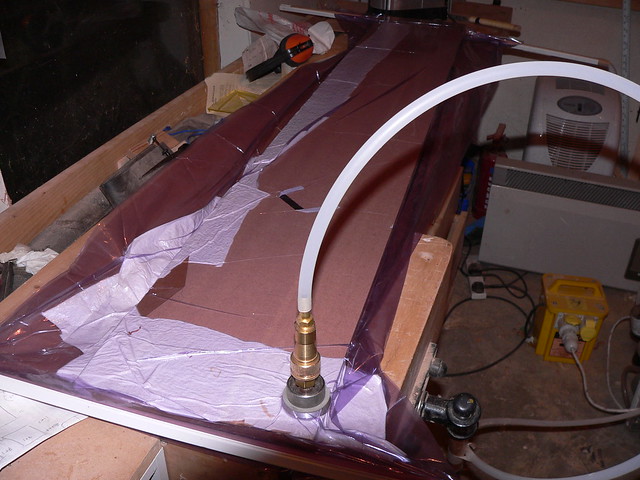
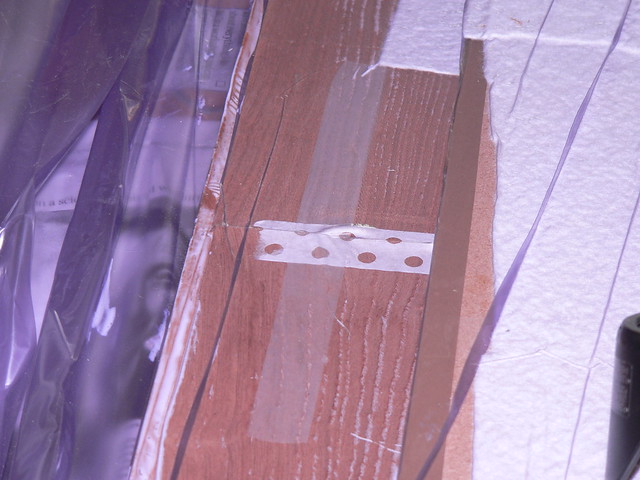
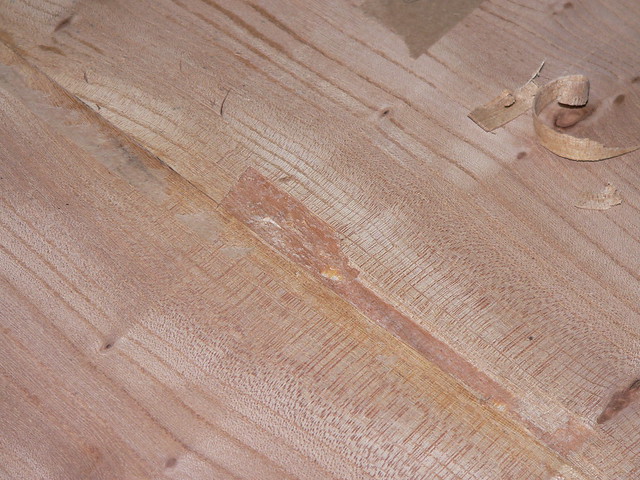
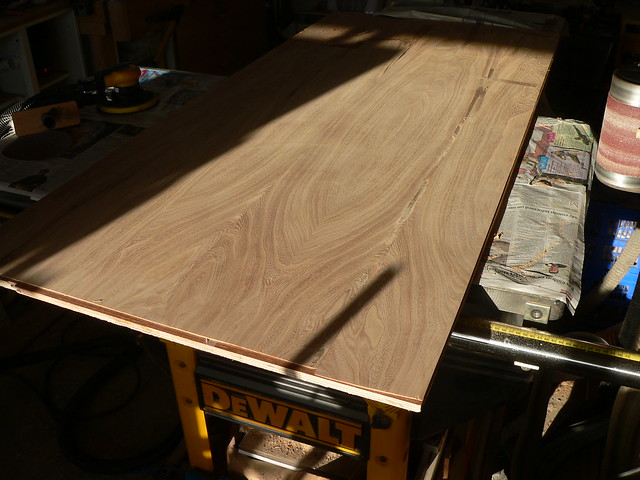
OK..time to check the results. Unfortunately, while being beautifully tight, some of the joint line failed to glue properly.
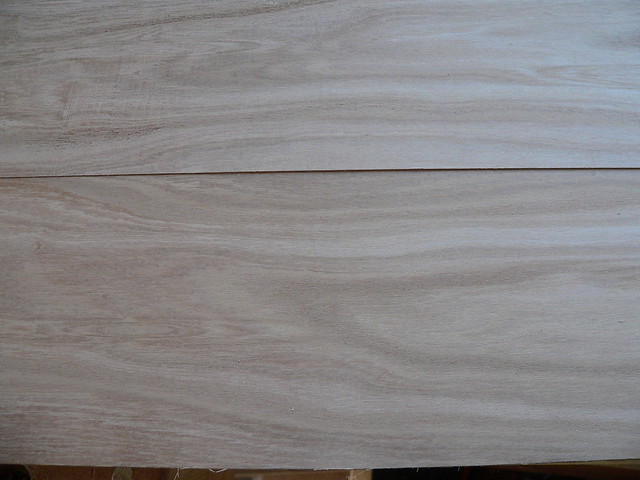
So I had to resort to using a syringe and then clamping it back. I use greaseproof paper as a barrier to stop the glue sticking to the clamping piece. It was tricky getting the veneer up as the joint line was so tight.
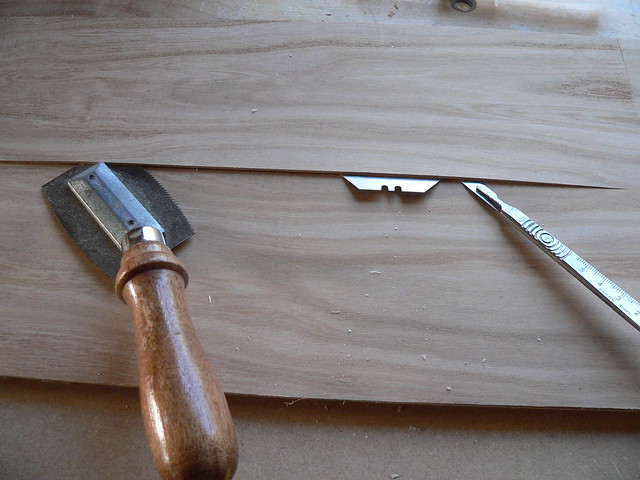
Next time I might try using mitre mate as it's less viscous then the glue I'd used for the veneering plus it would go off quicker.
I have various theories as to why it didn't stick very well down some of the joint line.
1) Not enough glue (I have now found my roller )
2) The glue side of the veneer might have had some hollows which was compounded by insufficient glue.
3) Because the veneer isn't of uniform thickness, it means that in some places where one side of the joint line is proud relative to the other side then when the MDF board is laid on to and the bag evacuated, the MDF is going to be held away from the shallower piece and so not press down on it. Given that the door panel has a lot of pieces of veneer I am thinking that I will dispense with the top piece of MDF so that the bag will press down all over.
Comments always welcome
