The Turning Quest 2012

UKworkshop.co.uk

Help Support UKworkshop.co.uk:

This site may earn a commission from merchant affiliate links, including eBay, Amazon, and others.

CHJ

Established Member
Joined
31 Dec 2004
Messages
20,132
Reaction score
80
Location
Cotswolds UK
Made a start on this years collection, going to be a considerable number of items based on past themes it would appear from the requests so far.

Personal aim for the year is to avoid the rogue pieces of wood that have seemed a good idea in the past, too much time and frustration accrued on that score, and concentrate more time on simplifying construction methods when using up the bits and pieces.

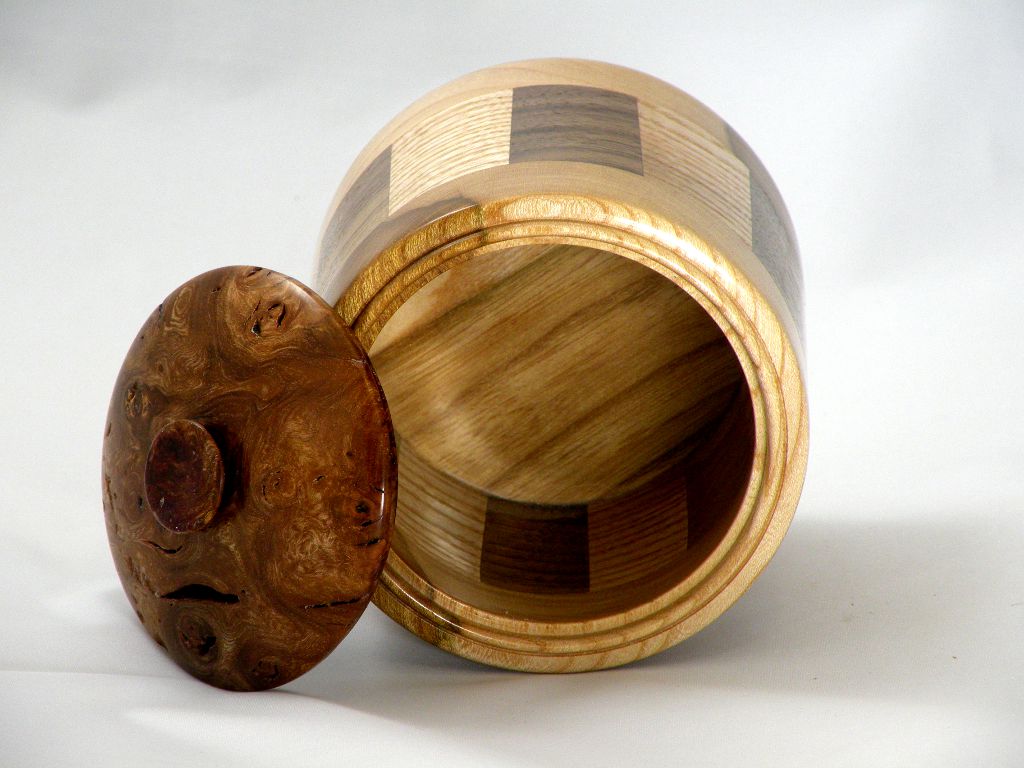
Elm, Ash & Walnut Body, Burr Elm Lid. (100mm dia.)
DSCN3072.JPG
DSCN3073.JPG
DSCN3074.JPG
DSCN3075.JPG
 

Attachments

  • DSCN3072.JPG
    DSCN3072.JPG
    104.8 KB
  • DSCN3073.JPG
    DSCN3073.JPG
    122 KB
  • DSCN3074.JPG
    DSCN3074.JPG
    98.3 KB
  • DSCN3075.JPG
    DSCN3075.JPG
    103.3 KB
The woods complement each other very well.

How long does the 'blank' construction take, would you use just a pva adhesive or something special?
 
Bemused":3qy3pixn said:
.... would you use just a pva adhesive or something special?
You can use PVA but I find that you can get joint creep after time with wood movement, not enough to be a problem in cabinet work but enough to be felt across the joint boundaries in work such as above.
The bulk of my pieces are now assembled with Cascamite which does not show this problem.
Bemused":3qy3pixn said:
How long does the 'blank' construction take
Job to be specific, in order to avoid constant changing of setups I try to do my preparation in batches, usually spend 2-3 hours in any one session.
Cutting enough segments for 4-6 rings and glueing up.
Sorting and preparing base and top blanks to suit.
True up a couple or more of rings and machine top and bottom pieces and glue up immediately before wood moves.

Example, the piece above was trued and glued 2 days ago with another set, both finished turned yesterday and 2 other sets trued and glued.
The second set was finished turned today and the lid for the above made.
Hopefully the next session will complete the other 3 lids but that's dependant on lifes other duties.
DSCN3076m.JPG
 

Attachments

  • DSCN3076m.JPG
    DSCN3076m.JPG
    99.8 KB
Thanks for taking the time to explain, I will look forward to giving this technique a try, just had a browse of the site in your signature which is also helpfull.

Tony
 
What a great start to the year Chas. looking fwd. to many more of your Bits and Bobs.
Always an inspiration thank you .
 
Just time for a lid to finish another today:
DSCN3077.JPG
DSCN3078.JPG
Walnut, Elm, Ash 100mm dia.
 

Attachments

  • DSCN3077.JPG
    DSCN3077.JPG
    105.5 KB
  • DSCN3078.JPG
    DSCN3078.JPG
    111.4 KB
An hour to spare before lunch and another one bites the dust.
DSCN3079.JPG
DSCN3080.JPG

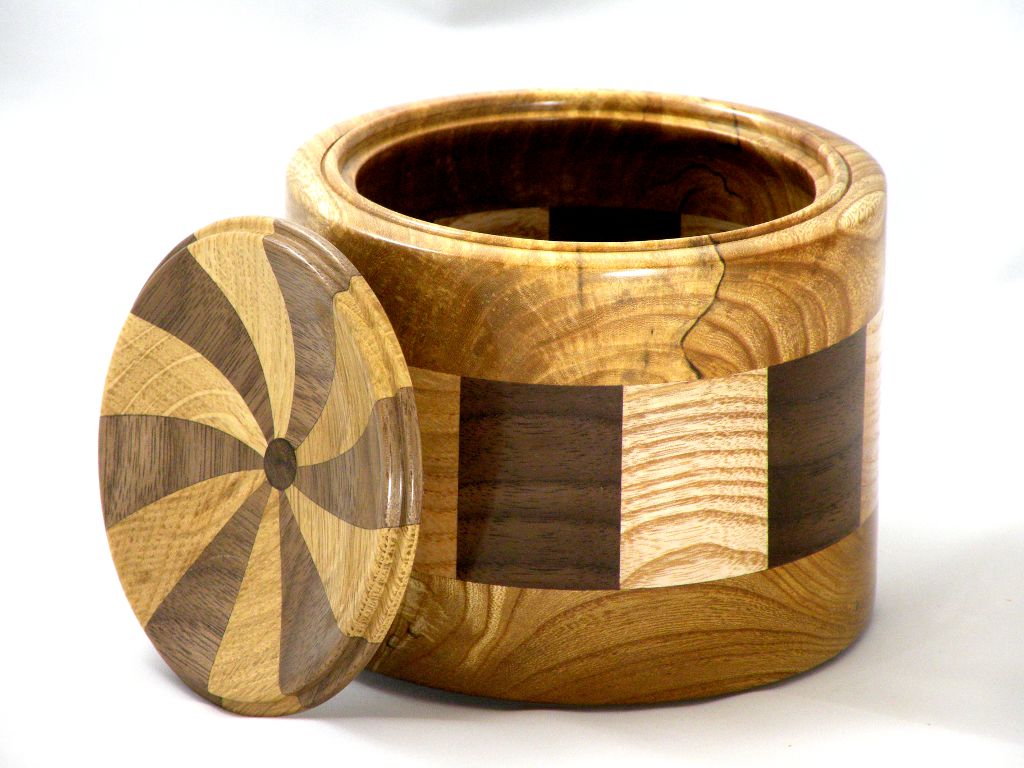
Walnut, Elm (spalted) & Ash body & Walnut & Oak lid (120mm dia.)
 

Attachments

  • DSCN3079.JPG
    DSCN3079.JPG
    111.2 KB
  • DSCN3080.JPG
    DSCN3080.JPG
    114.8 KB
Topped off another.

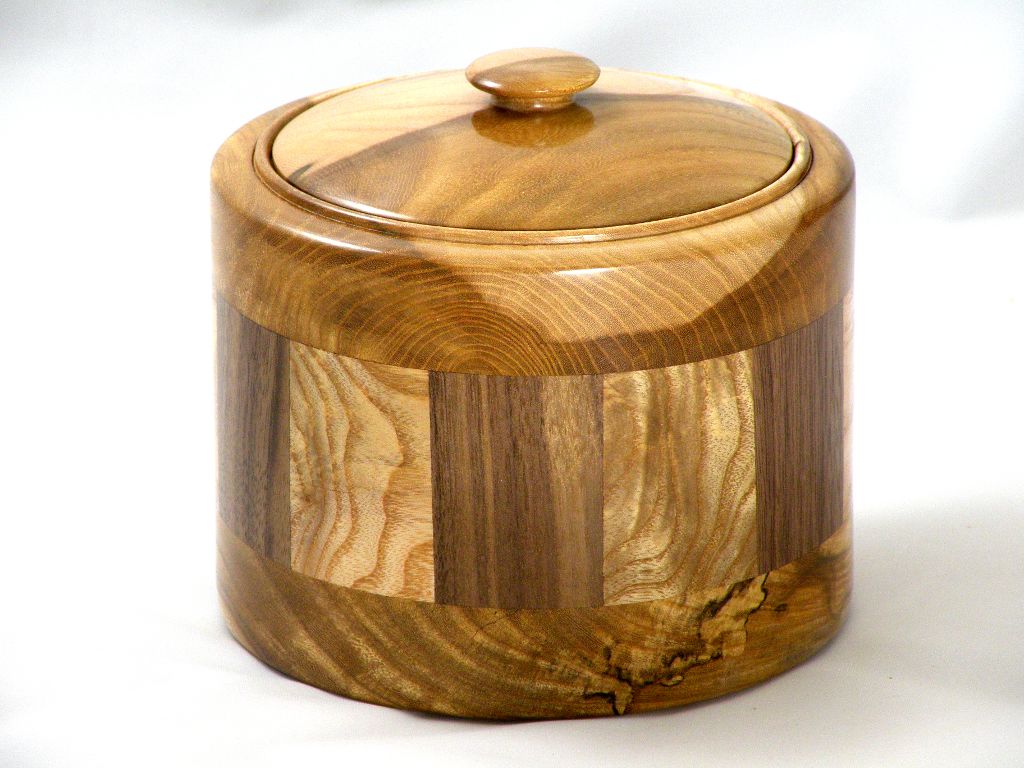
Elm, Ash & Walnut. 124mm dia.
DSCN3087.JPG
DSCN3088.JPG
DSCN3089.JPG
 

Attachments

  • DSCN3087.JPG
    DSCN3087.JPG
    117.7 KB
  • DSCN3088.JPG
    DSCN3088.JPG
    117.4 KB
  • DSCN3089.JPG
    DSCN3089.JPG
    122.1 KB
Stirring up a bit more wood, resulted in a Rotten Apple & Walnut compote, 115mm dia.
DSCN3090.JPG
DSCN3091.JPG
 

Attachments

  • DSCN3090.JPG
    DSCN3090.JPG
    93.5 KB
  • DSCN3091.JPG
    DSCN3091.JPG
    90.5 KB
Yes Eugene, Thin CA before final cuts and any areas that show softness in finishing, if there is a risk of CA migration staining surrounding wood I seal surrounds with cellulose sealer to stop CA penetrating.

With well figured wood if you get a bad run of CA on a near enough finished piece a rapid wipe over the surrounding area with a cloth can blend the stain in and not look out of place with natural colour differences.

Don't have fingers in contact with cloth rear though, gets a little warm.
 
Thanks Chas, have a piece of Elm that sell by date looks to be just around corner,

It's a plank of 22"x 3"x 4' long, guess I'll have to order C/A by the 5lt can.
 
Alternate Eugene is to soak it in thinned PVA, not as hard a result and obviously not an instant drying solution, have done it in the past but now resign anything looking like needing that level of support to the firewood sack. Get enough day to day aggro. without looking for it.
 
If it is only mild you can harden the wood with neat sanding sealer but Chas's method is more certain.

I wish I had your skill with all those little pieces you cut Chas especially the ones with the curves sections i the lids. I have access to so much walnut and poplar offcuts that I don't even bother collecting a lot of it which galls me a bit but there is a limit to how much I can keep. All kiln dried as well LOL. Ideal for little boxes such as you make. If you want any let me know and I can get some to you probably.
pete
 
Thanks for the comments and offer Pete, the curved pieces do give me a measure of satisfaction, not a problem if you have CNC etc. but a bit more of a challenge with my limited kit.

On the wood front it is frustrating that so much good wood goes to waste but thanks all the same, I'm currently up to the gills in furniture manufacturers off-cuts myself.

This little lot got delivered a couple of days ago just in case I needed some more, if the source ever dries up I'll keep your offer in mind.
What I don't take gets fed to a woodburner. The company where it comes from has had a wood fired boiler fitted in the last 12 months to make better use of their waste.
DSCN3093L.JPG
DSCN3094L.JPG
 

Attachments

  • DSCN3093L.JPG
    DSCN3093L.JPG
    120 KB
  • DSCN3094L.JPG
    DSCN3094L.JPG
    114 KB
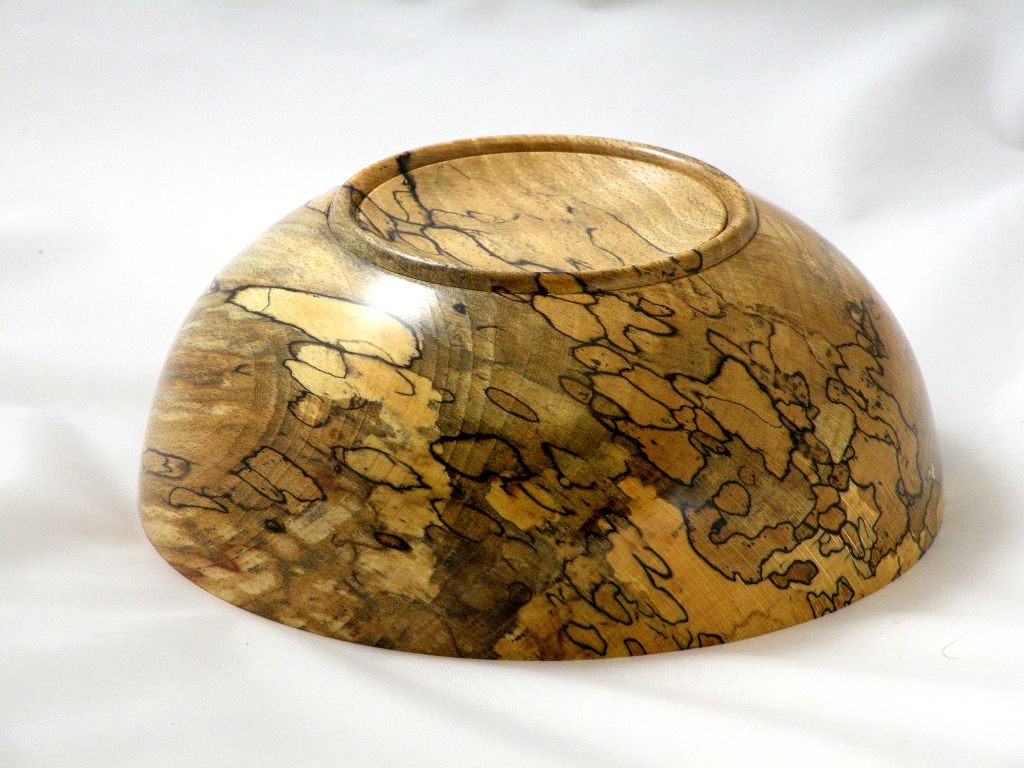
An hours worth of playing with yet more rotten wood.
DSCN3096.JPG
DSCN3097.JPG
DSCN3098.JPG


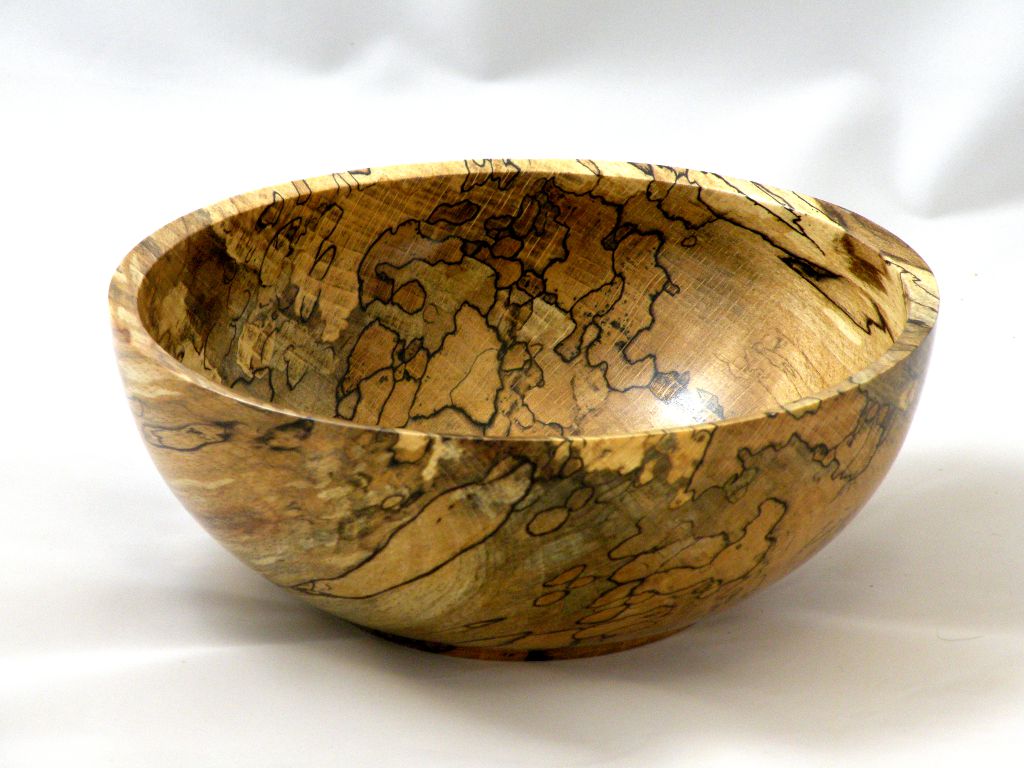
Spalted Beech, 195mm dia.
 

Attachments

  • DSCN3096.JPG
    DSCN3096.JPG
    111.5 KB
  • DSCN3097.JPG
    DSCN3097.JPG
    111.4 KB
  • DSCN3098.JPG
    DSCN3098.JPG
    124.7 KB
A bit more rescued Rot.
DSCN3099.JPG
DSCN3100.JPG
DSCN3101.JPG
DSCN3102.JPG

Spalted Beech 215mm dia.
 

Attachments

  • DSCN3099.JPG
    DSCN3099.JPG
    113.9 KB
  • DSCN3100.JPG
    DSCN3100.JPG
    113 KB
  • DSCN3101.JPG
    DSCN3101.JPG
    124.1 KB
  • DSCN3102.JPG
    DSCN3102.JPG
    106.1 KB
Back
Top