Tablesaw box joint jig

UKworkshop.co.uk

Help Support UKworkshop.co.uk:

This site may earn a commission from merchant affiliate links, including eBay, Amazon, and others.

Fishandchips

Established Member
Joined
30 Dec 2012
Messages
254
Reaction score
2
Location
West Yorkshire
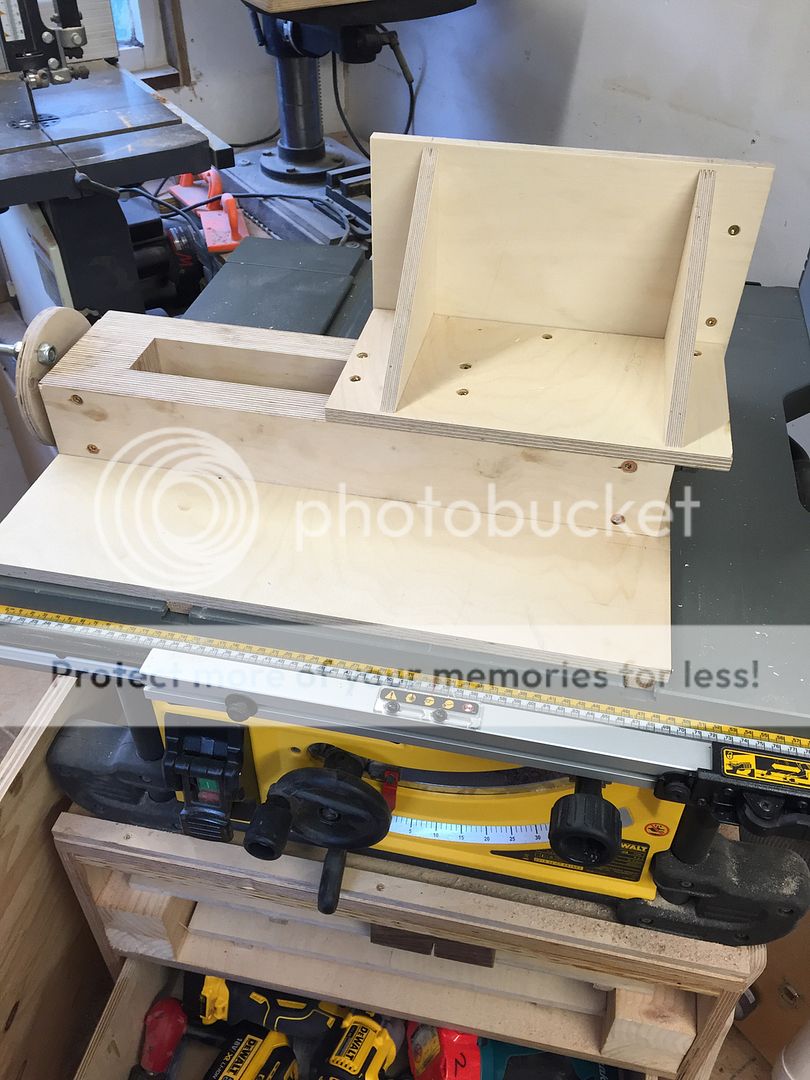
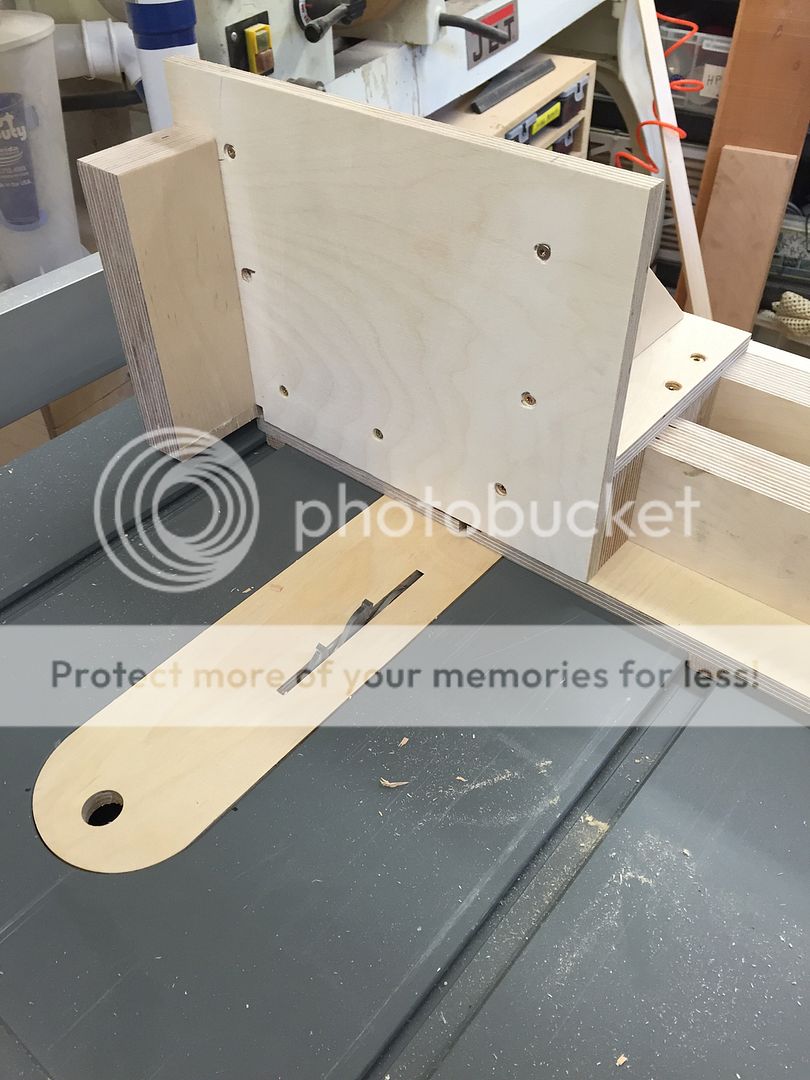
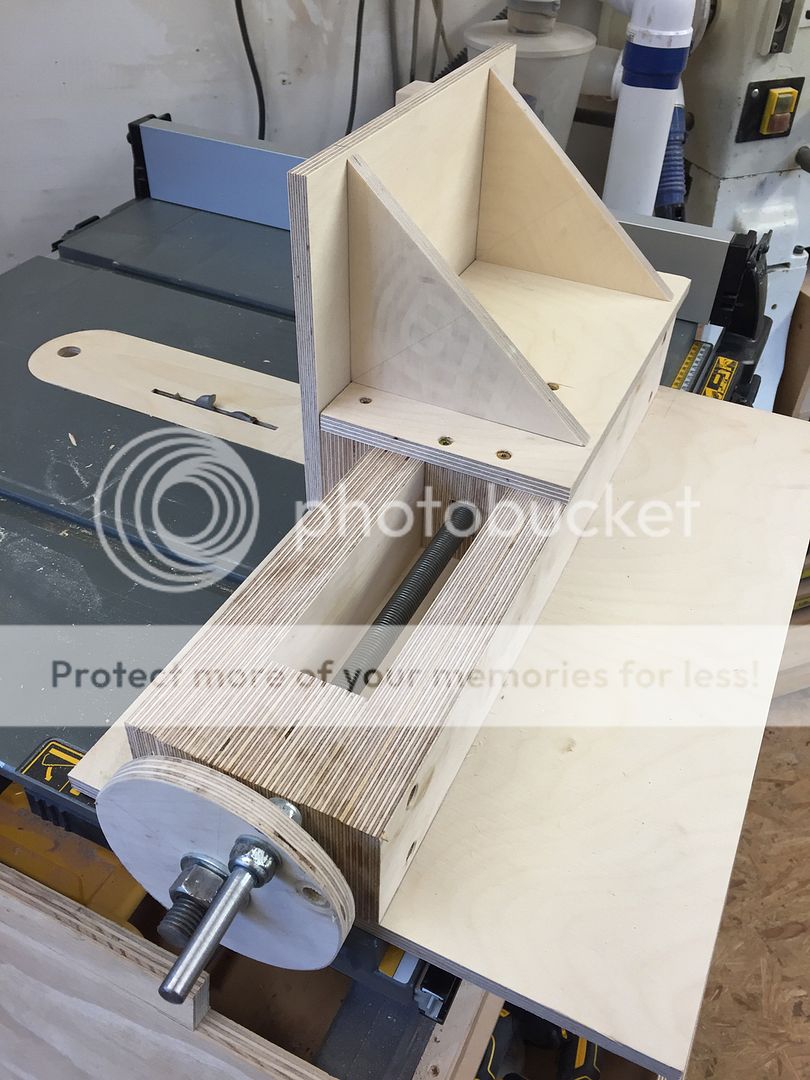
I have been planning to make this jig since I bought the threaded rod over a year ago.

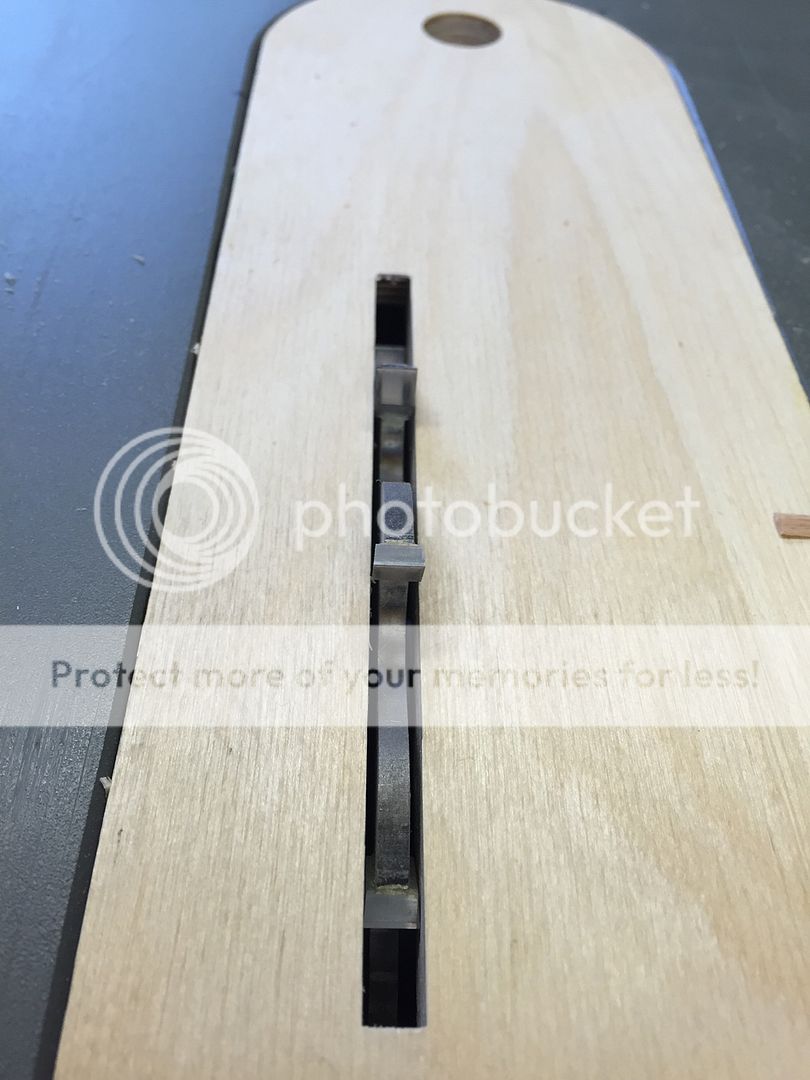
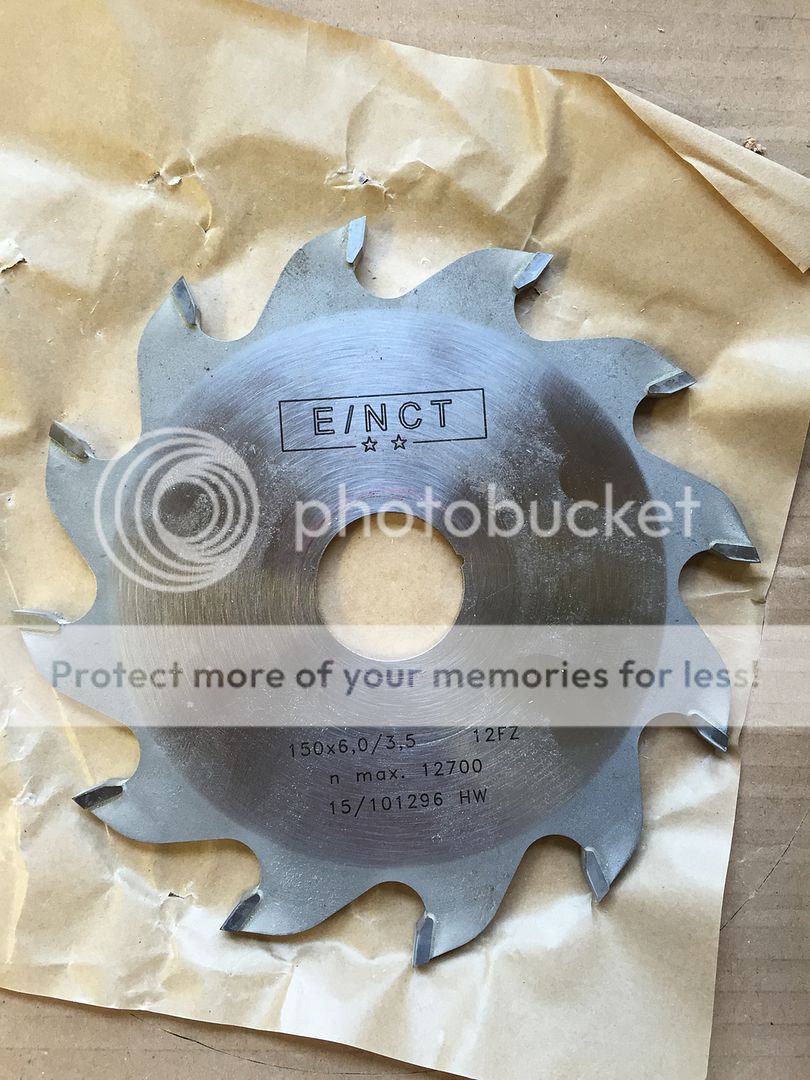
The threaded bar is m16 and one complete revolution = exactly 2mm, I was originally going to buy a dado set for the saw but my new saw does not support one so I opted for a 6mm grooving saw blade which fits very well for this purpose (also works really well for drawer bottoms), I was looking for a solution that devided by 2mm easily and the blade is exact 6mm.

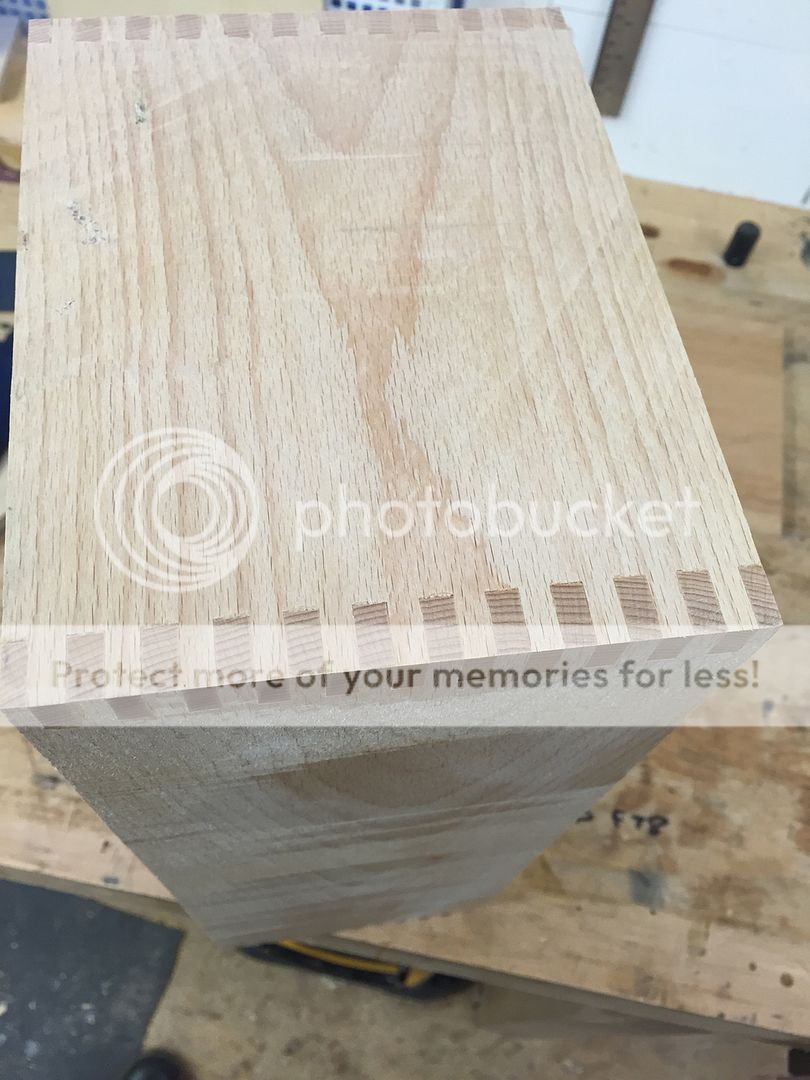
See the last pic is the first box joint I made

Cheers for looking.
bba64137afff0d4cc3066cb2a5be643f_zpsdmprf3qy.jpg


3c8b94dcd4f29c4860223b06fa01c4d1_zpsigslinax.jpg


ea8c0d522be775a70ffffe3319da2790_zpsyujrpdui.jpg


a98a10f6d4661ea6652e35e6820d60ad_zpszcpr5mzh.jpg


c25d365216155370dcec4bc00c5b945a_zpsu15u5iex.jpg


6890dc48ea5cbdff6389d03c64e37228_zps0evl0a5g.jpg
 
Cheers marcros,

To be very honest I wasn't expecting it to work first cut and I did screw up, the second finger was 4mm so I miscounted.
 
That's a splendid looking box joint jig, very sturdy! How is the M16 threaded bar held in place at the handle end please?

I have the devil's own job understanding these things, I take it 3 turns of the handle = 6mm, so cut, 3 turns, cut again, and so on? also what indexes the handle to the same place each time? Oh and last question, where did you get the 6mm grooving blade?

Think I need to make one of these bad boys, verrry nice :D
 
Flipping heck! For a first effort that's a very tidy job. In fact, for a tenth or twentieth effort that would be a very tidy job as really neat finger joints are far from easy!

You've clearly got the patience and precision for great things. Very well done!

=D>
 
Excellent looking joints.

I have not cut any finger joints, so I assume you have a sequence something like :-

Set cutter to edge.
Move cutter 6mm.
Cut each end of box sides 1 & 3.
Move cutter 6mm.
Cut each end of box sides 2 & 4.
Repeat.

Is that the case or have I missed something?
Thanks for posting.
 
My rickety jig, which is need of rebuilding, is essentially the same as yours, however I was unaware of grooving blades so I have a graduated wheel [pencil marks] which I rotate ~6.4 times between cuts [M6 rod] I like yours much more!
I also like the way the moving carriage/work holder only extends down to the top of the cut [roughly] and work support at the cut is provided by the main 'bed' so that full tearout support is provided and the jig doesn't get slowly eaten away with each use, again better than mine.
So thanks for completing this before I get around to remaking mine, and showing it of course!
 
There was a lot of luck involved in this jig. They key components are the 16mm threaded bar that gives exactly 2mm each full turn (I checked this by measuring the length of the bar and counted the threads just to be sure) and the blade is exactly 6mm but when you cut with it you get a kerf of 6.1mm. So every cut is 6.1mm and every finger is 5.9mm, just right for a nice fitting joint and room for the glue (Lucky).

JSW - Every Cut + finger = 12mm so 6 turns every cut.

I got the blade from here = http://www.gerrymet.co.uk/acatalog/Groovers.html

The handle has a nut chiseled into it.
 
Galleywood, Blade is first aligned with the edge of wood and first cut. advance 6 full turns and cut again, 6 turns and cut again until the end of the piece. Flip piece and do same again. I cut 2 sides at same time.

For the box sides I would align blade with edge of wood and advance 3 full turns to set the first finger then follow the same procedure.

The jig has a travel of 300mm so thats the maximum size I can cut but the length of the cut could be endless because the pitch of the finger never runs out like it could on a standard move it on peg jig.
 
Thanks for posting that. I have ordered one of the 6mm grooving saw blades and shall be building a copy of your jig when I get a spare weekend.

Cheers,
Chris
 
At the weekend I found time to knock up a box joint jig of my own to go with my new 6mm grooving blade. My jig is based on the more common, simple design with an offset indexing pin. After fine tuning the offset of the index pin I was able to quickly make the joints for what will become a box when I get round to finishing it.

finger_joints.jpg


My jig is simple and produces very good results but I think it needs a bit of a redesign because currently my fingers are out of view and a bit too close to the blade for my liking while I am holding the work piece and pushing the jig forward. As I am fond of my fingers I will either modify my jig somehow or build one similar to yours.

Thanks again for you post which resulted in a new joint being added to my arsenal!

Cheers,
 

Attachments

  • finger_joints.jpg
    finger_joints.jpg
    66.9 KB
Nice joints, That 6mm blade makes easy work of a jig.

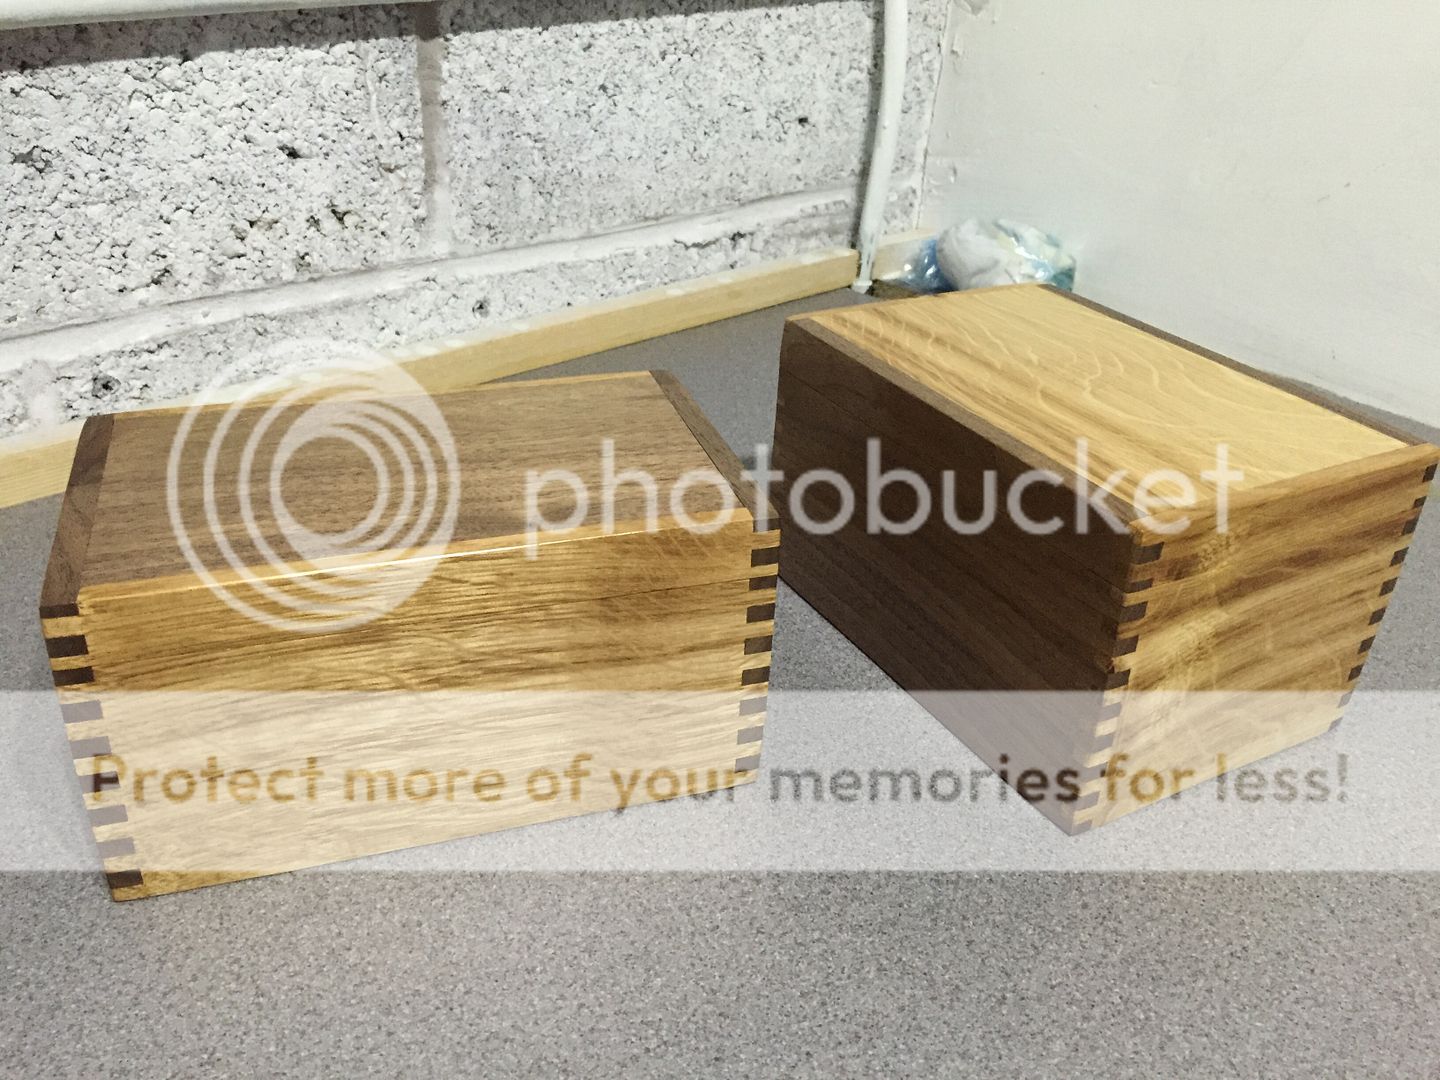
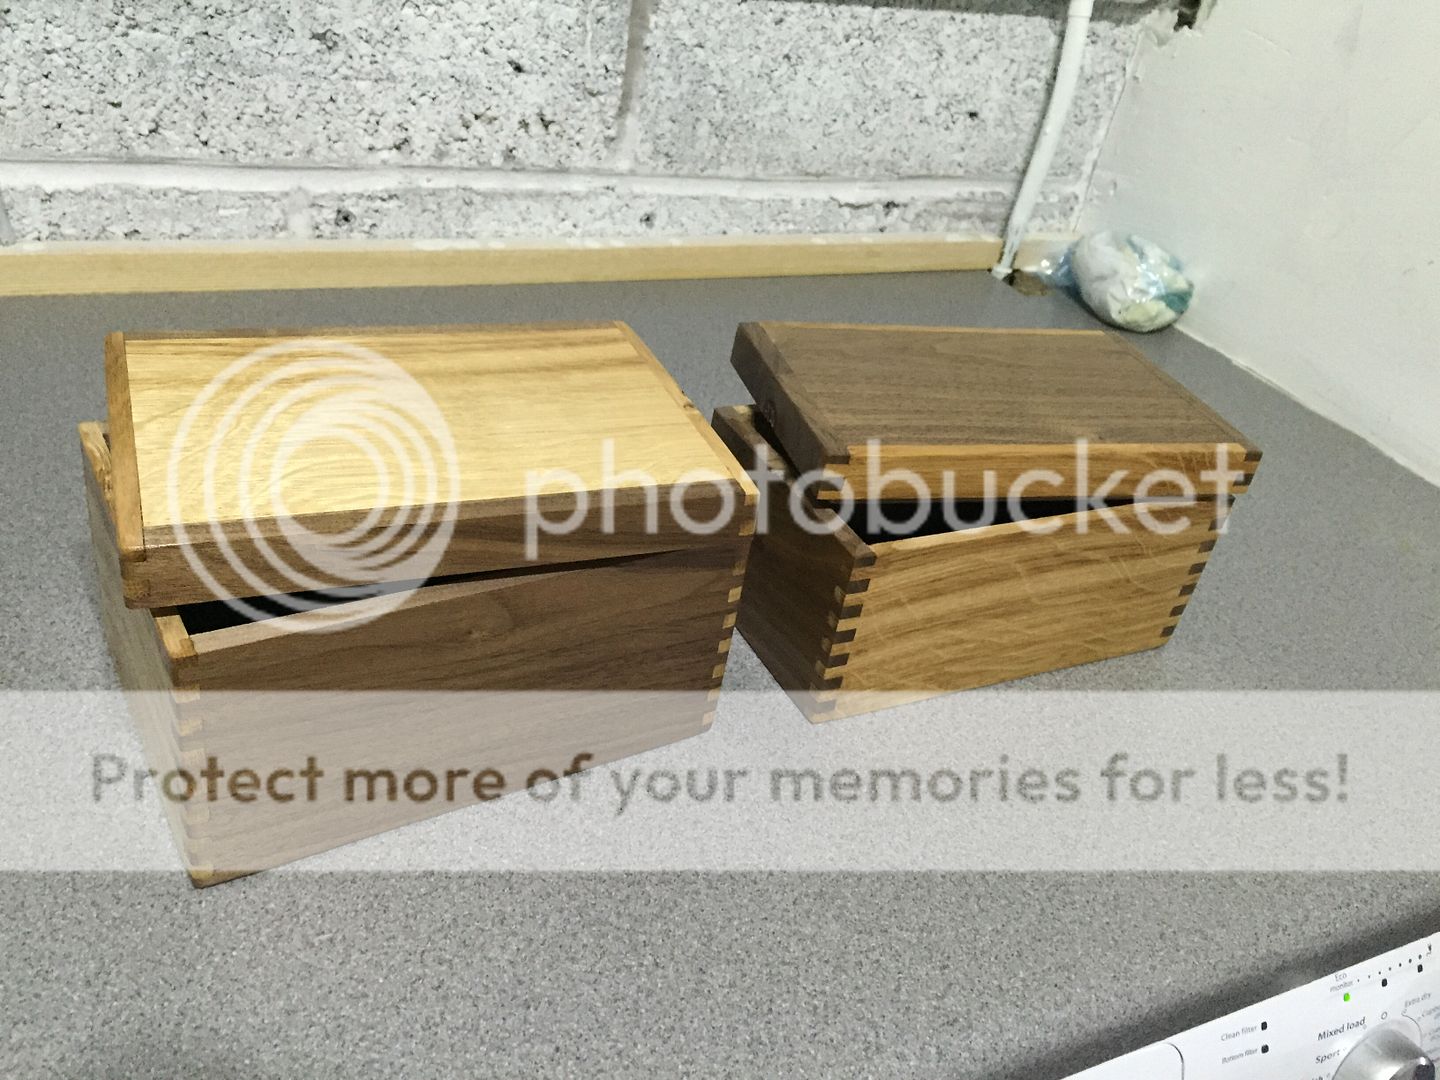
I've made a couple of boxes with tiger oak and walnut. Will post a couple of pics when they have been finished.

How you fitting the top and bottom?

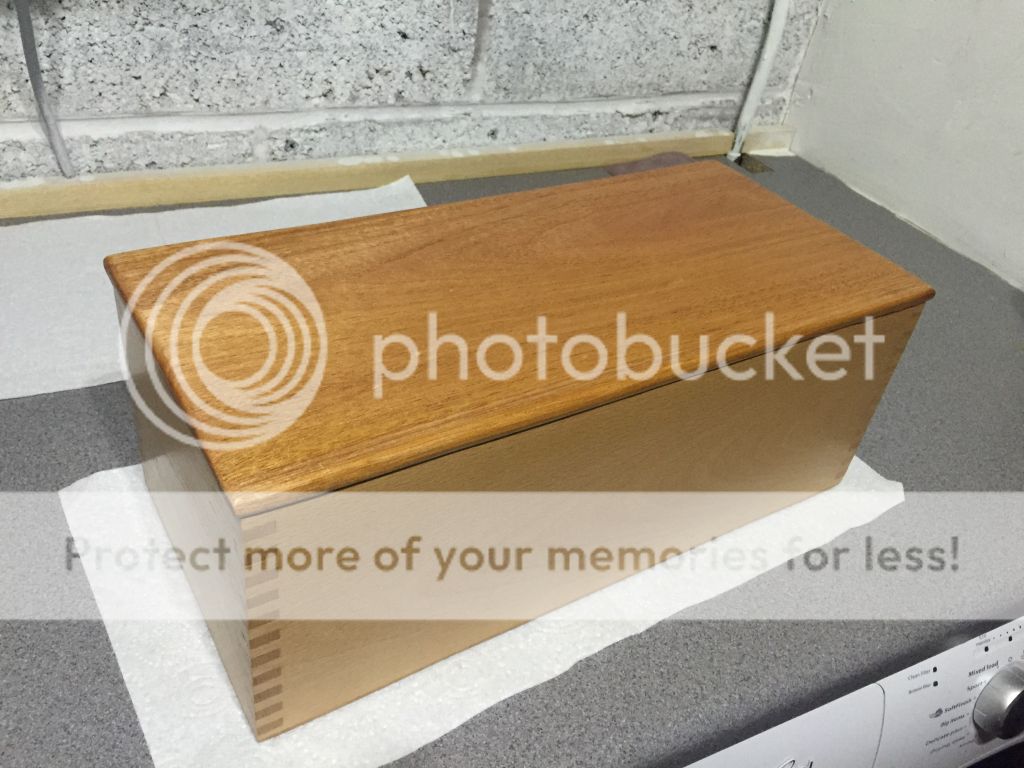
Below is the first box I made. Sapele and beech, bit plain as it was just a trial.

f5e6501c41a1f09bbd1564c2044b1275_zpswfaf2gii.jpg
 
Your box looks great, I bet the tiger oak and walnut combination will look great. Do you think your jig would be able to make joints with different sized fingers? That could look nice if it worked, but I guess counting the number of turns would get a little complicated.

My box is white oak (I think ) and walnut. I am pleased with the grain and the contrast already and am looking forward to the result after a finish has been applied.

For the bottom I plan to cat a small rabbet with a router and glue in a thin piece of ply. If I had thought it through I would have cut groves and fitted the bottom when I was gluing the sides but I was too busy being impressed as how well the finger joints fitted to think that far ahead!

For the lid I want to get a little more creative than I have in the past and make a frame and panel based lid, with glass or clear perspex being used for the panel. Then I need to locate some good quality small hinges as the sides of the box are only 11mm as it is with more sanding still needed.

Cheers,
 
Some very impressive work there Fish & Chips and CGarry. That all takes meticulous setting out, painstakingly precise jig making, and superbly executed cutting.

=D>
 
Cgarry,

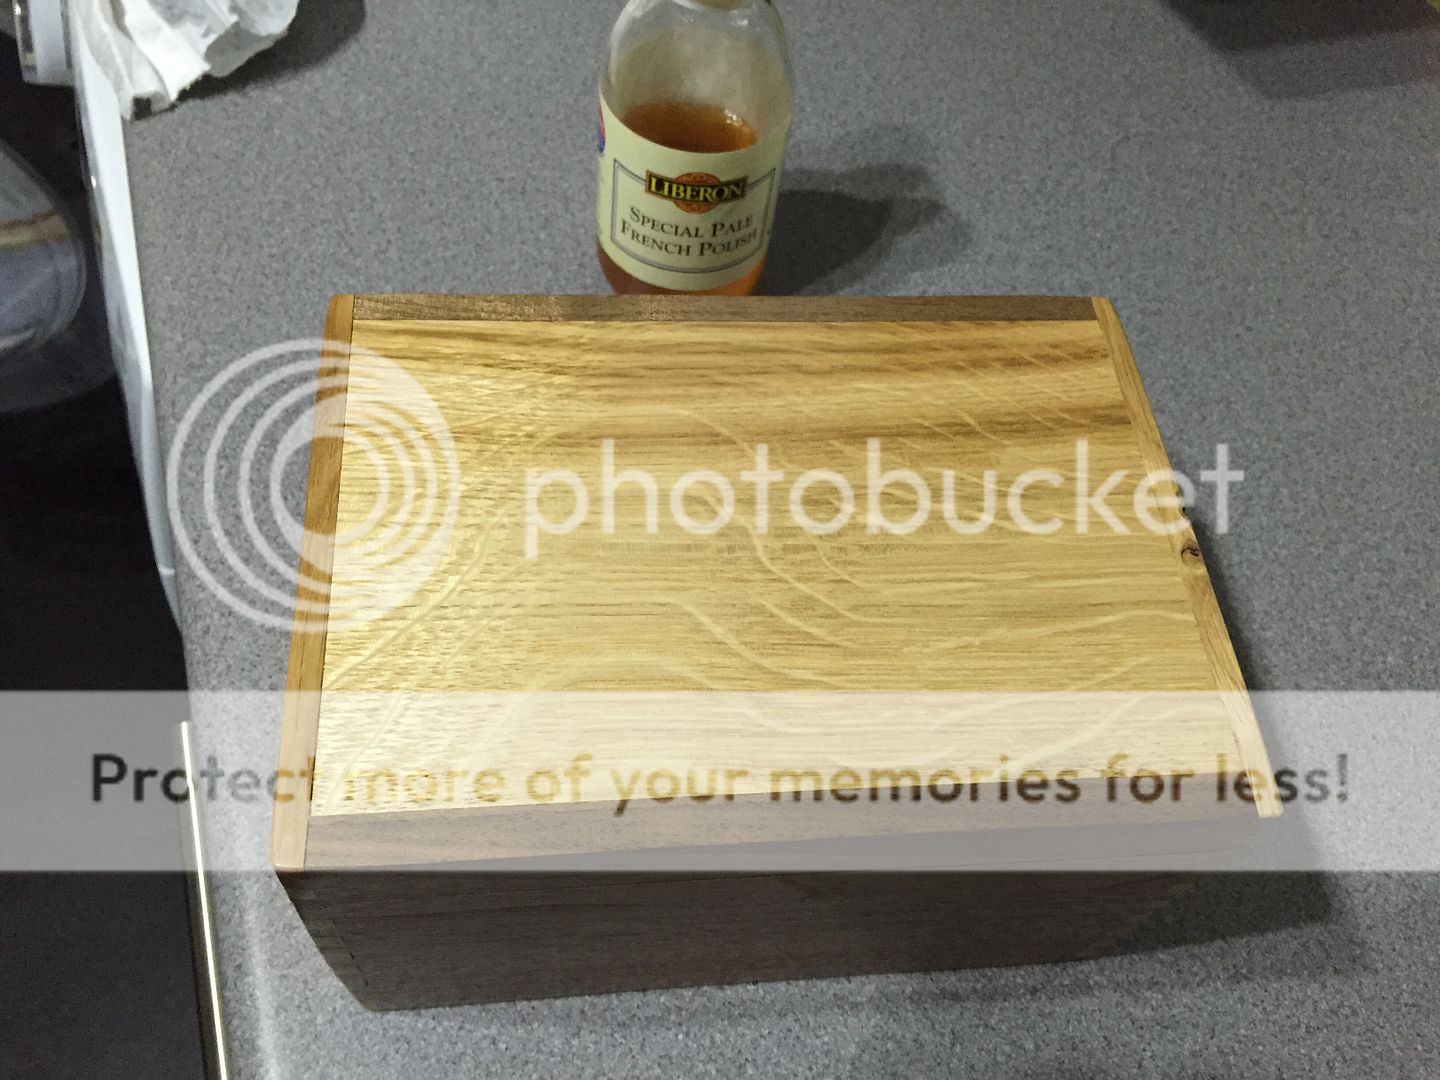
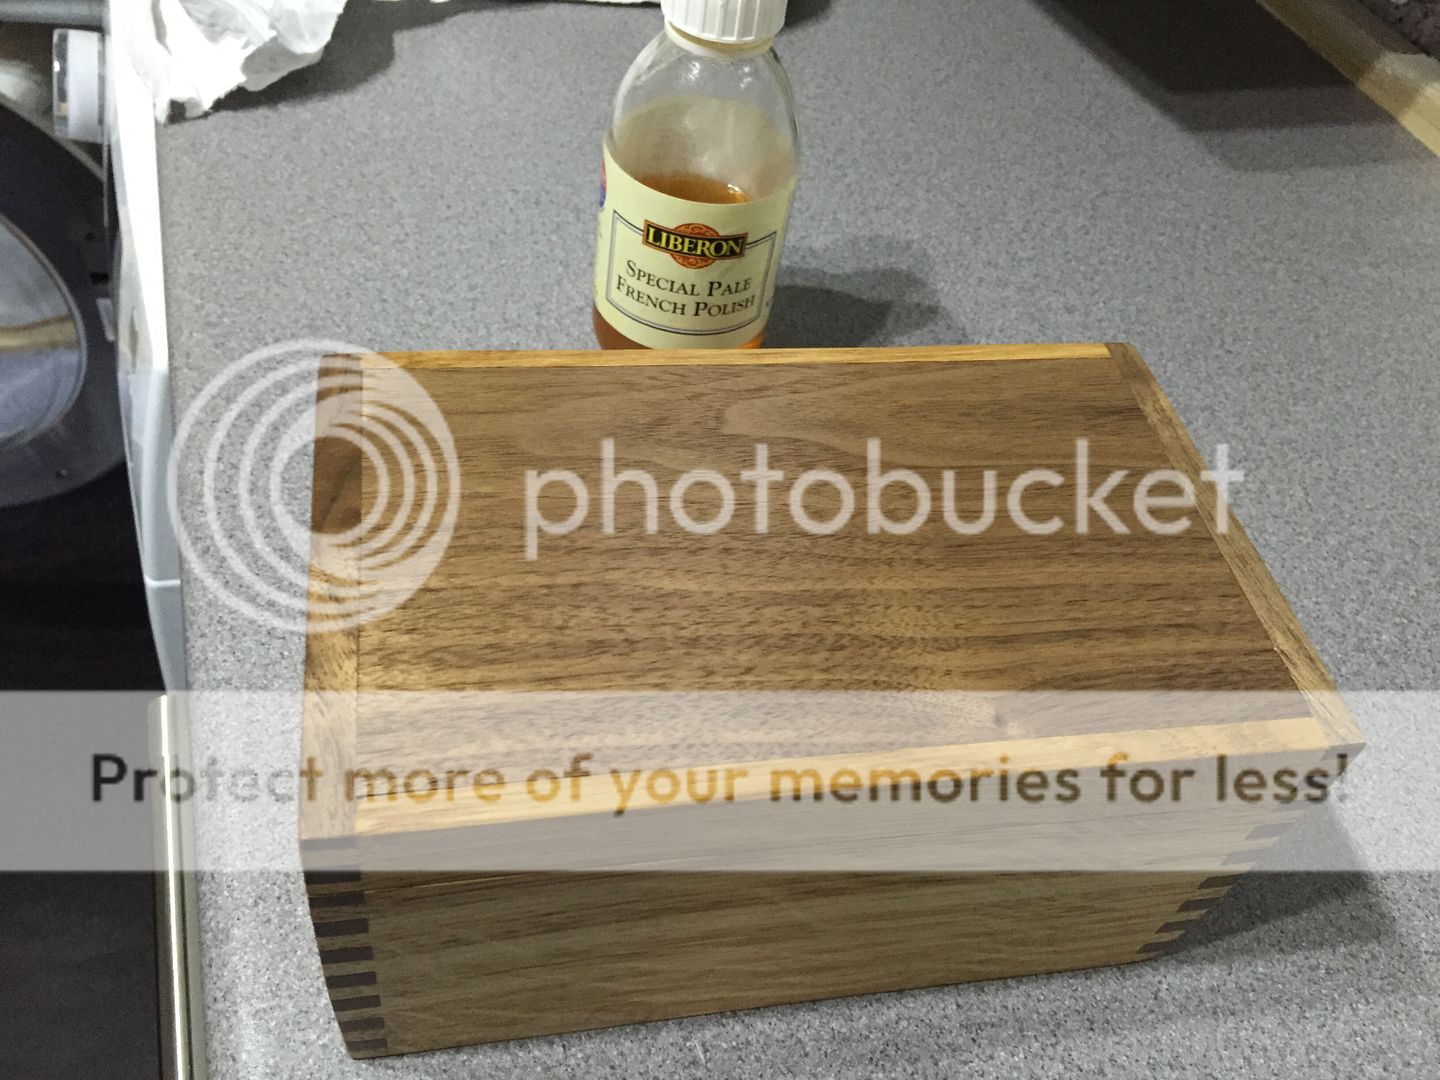
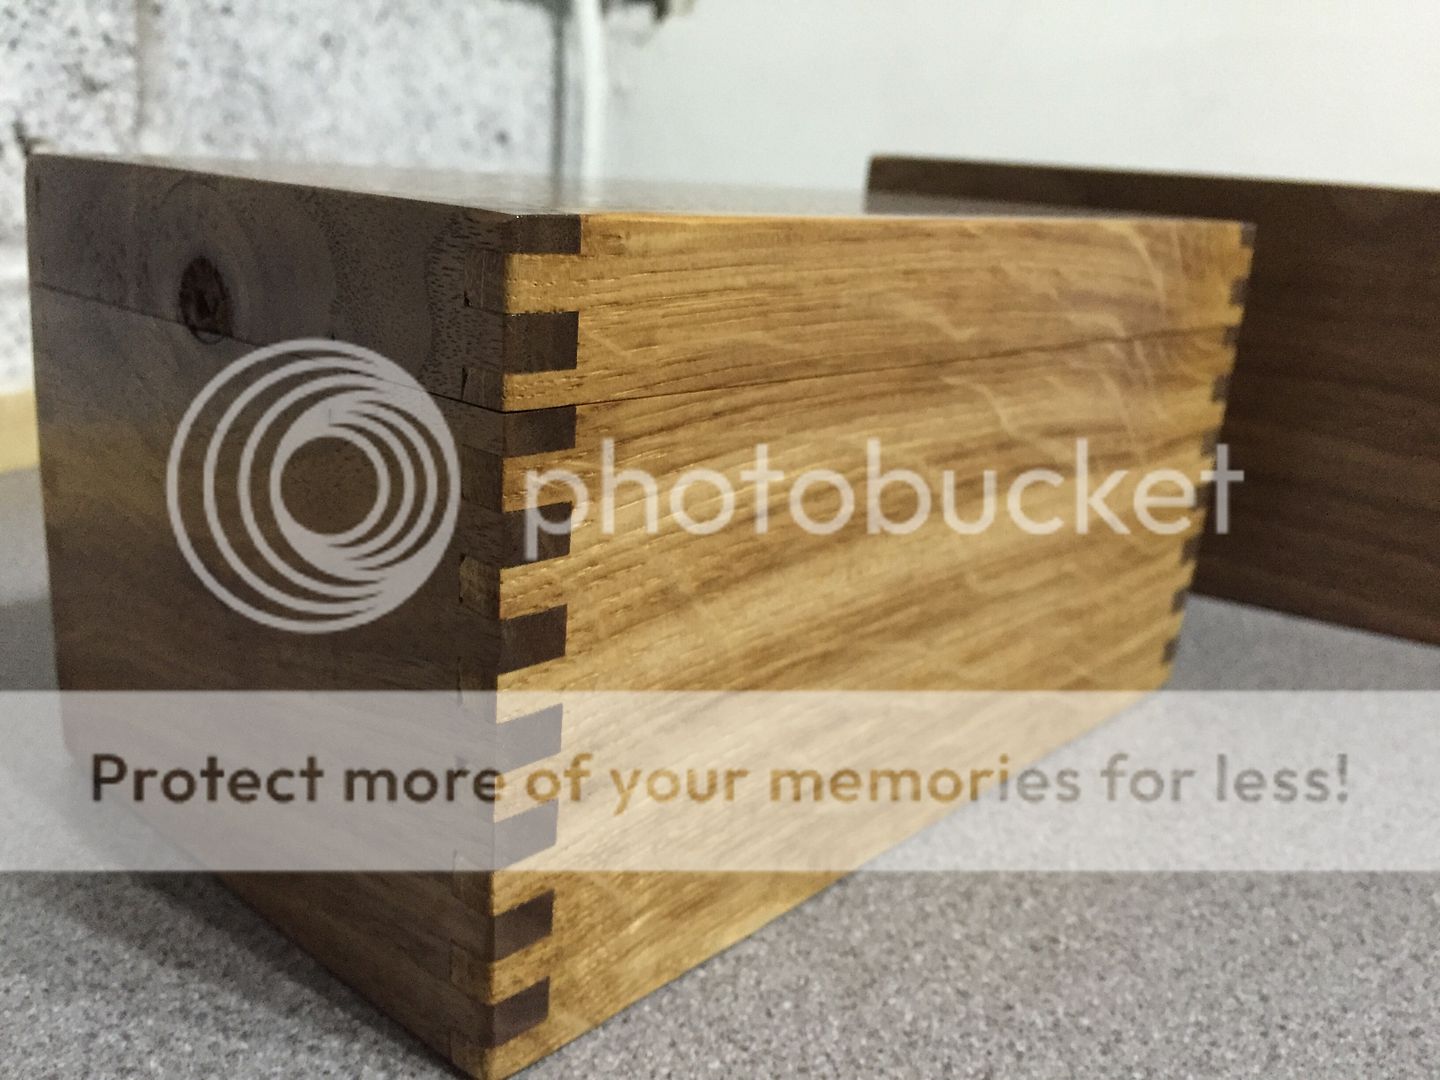
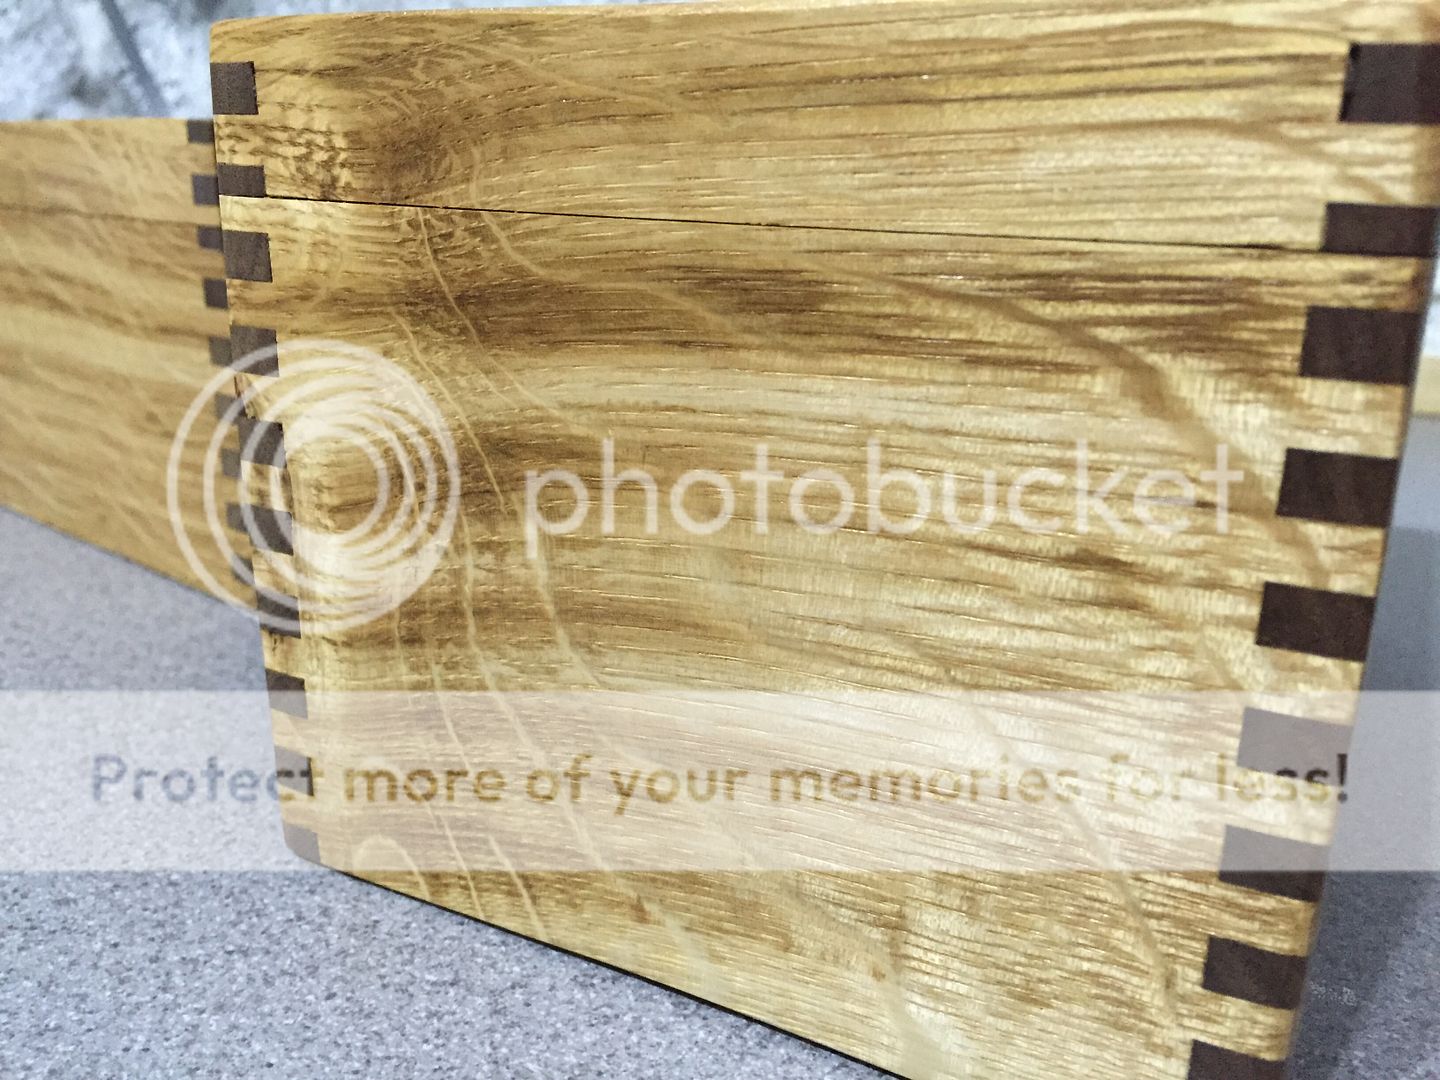
you could make different sized fingers but it takes all my brain power to count to six, I keep forgetting that. I was thinking for larger fingers just doubling up. I have finished the next couple of boxes below, seems the tiger oak wants to tear out a bit more than the beech and walnut. Your box looks ace btw..... Next time I make a box I am just going to glue bottoms and lids on as I think that would look nicer than the ones below.

84bc6639dcfde4583ae14785685a38ee_zps1mmm4chr.jpg


d2a3c3105a02c1bc75cbe1dc7684f188_zpsm6zaigkh.jpg


d66058c361b744add5cfd4ecc942b709_zpsr2kdef4a.jpg


0b967cb756adef658168e3c4d1443956_zps0zp81xhd.jpg


aa73b88893de9c16365638ce6a64bc0a_zpsqzquqrkz.jpg


5ccab0596b97fe6fbe22e1434e193c44_zpshpicskuu.jpg
 

Latest posts

Back
Top