hunggaur
Established Member
Its taken a lot of work but finally I have made my own vacuum bag press on the cheap (well relatively cheep) including building my own bags
First I would like to say thank you for all those on the site who have offer advice during the process.
I have also included the links that I found for the items I have used
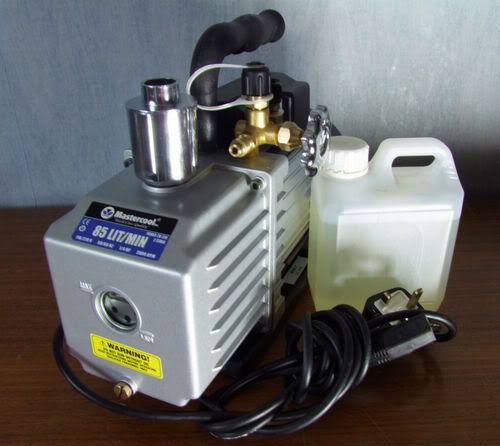
First the pump I got It is a Mastercool, 2 Stage Vacuum pump. 3 CFM. Model 90063-2V-220 they currently retail for about £250.00 from there web site http://www.mastercooltools.com/mast...-50_52.html?osCsid=1ouut40nmhqaoj0bi7qg9dea35
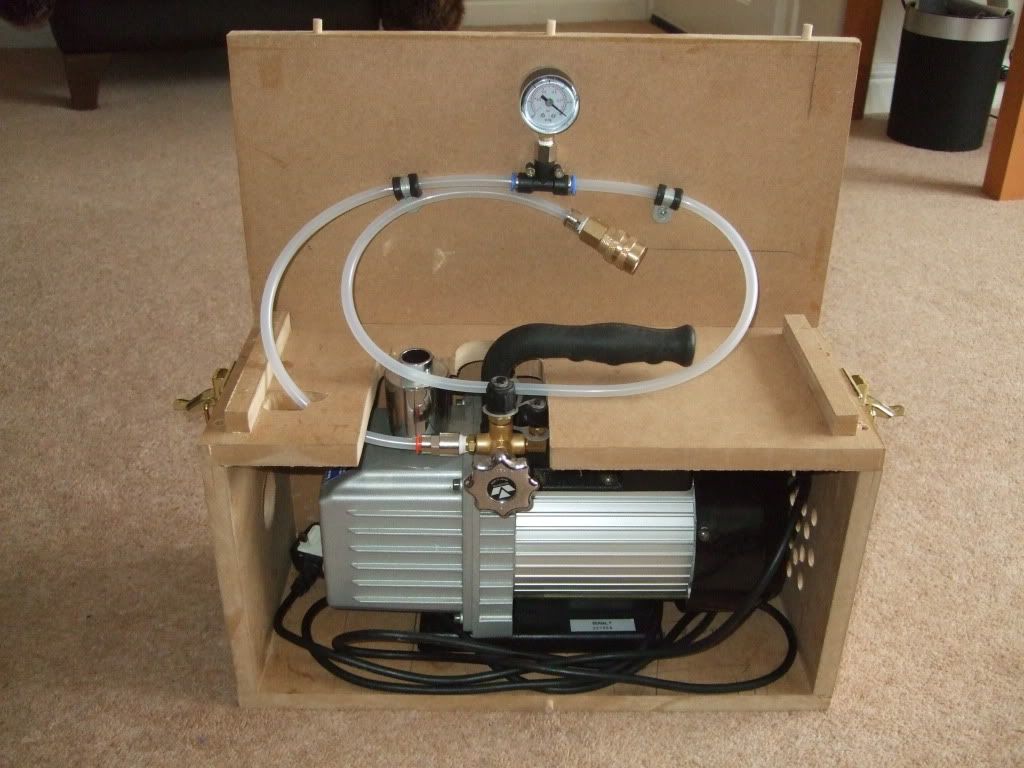
I built a box to house the pump just rough and ready out of some old mdf I had lying around. This gave me somewhere to attach all the pipes and connectors.
Ok this where it started to get fun how to connect the pump to bags as cheep as possible
From the pump outlet I attached an Air-Pro 8mm 1/4" bsp Female Stud Plastic Push-in Fitting (ebay £1.47 each)
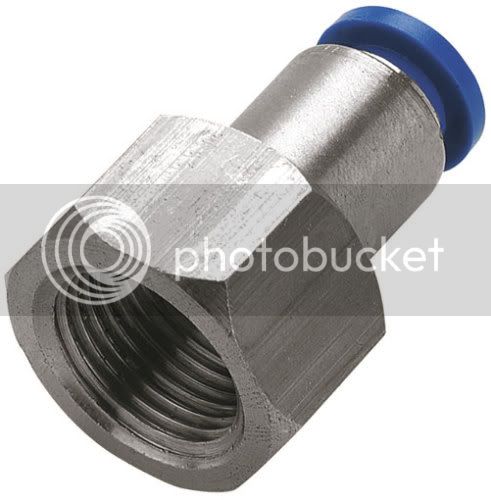
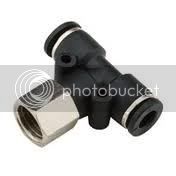
This is then connected to a length of 8mm pipe (8mm outer 6 mm inner nylon pipe (ebay £1.49 a meter)) leading to a Pneumatic Push-In Female Branch Tee 8mm x 1/8" Fem bsp fitting (ebay £2.15) for the gauge to attach to
The gauge is a 40MM dry vacuum pressure guage 0 to – 1 bar bottom entry 1/8" bsp dual scale (ebay £6.89)
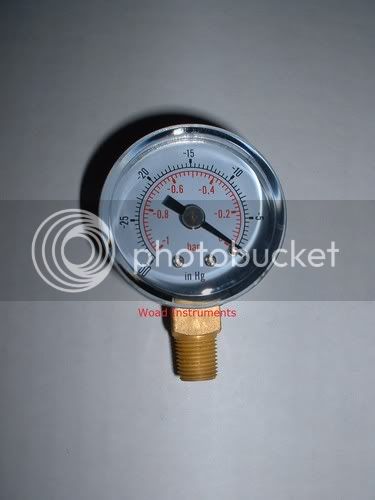
Coming off the other side of the tee I again have standard 8mm pipe ( 500mm approx) leading to 1/4 Bsp Male -8MM Metal Push in Fittings (ebay £1.99 for 2) which then leads to a 1/4" Bsp Female Quick compressor Coupler (I brought a 10 back containing 2 quick couplers, 2 female ¼ plus and 4 male ¼ plugs off ebay for £4.99)
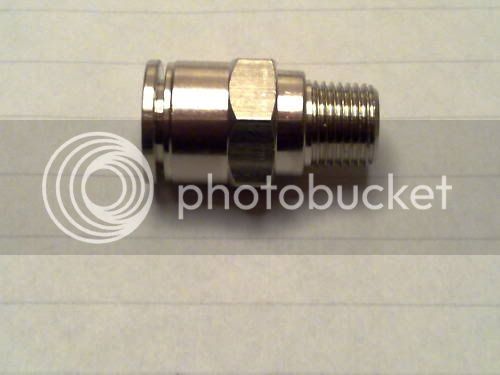
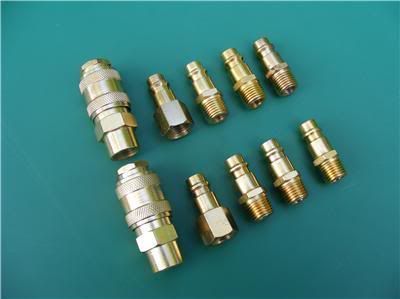
This with a longer pipe could be fitted directly to the bag. However for me this was not practical as I wanted to be able to the pack all the pipe away and on occasions I thought I may need to run more than bag at a time.
I decided to make a 3 part connection. Part one is from the pump to the first female quick compressor coupler. As detailed above.
Part 2
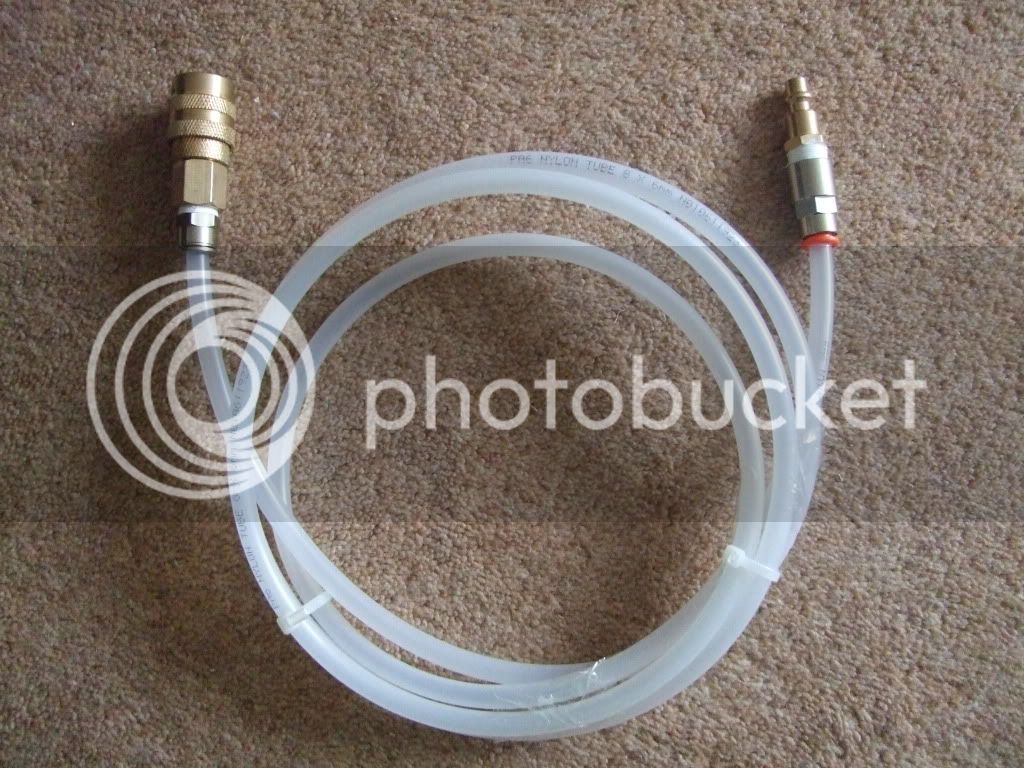
From here I made a pipe extension which consists of a male 1/4" Bsp Male Plug connected to Air-Pro 8mm 1/4" bsp Female Stud Plastic Push-in Fitting then 1.5m of 8mm piping connected to a 1/4 Bsp Male -8MM Metal Push in Fittings and a 1/4" Bsp Female Quick compressor Coupler.
Part 3
The final part of getting from the pump to the bag I made 2 of the following:
1/4" Bsp female Plug connected to 1/4 Bsp Male -8MM Metal Push in Fittings 250mm of 8mm piping connected to 8mm Pneumatic Manual Shut Off Valve, 250mm 8mm piping to a Air-Pro 8mm 1/4" bsp Female Stud Plastic Push-in Fitting
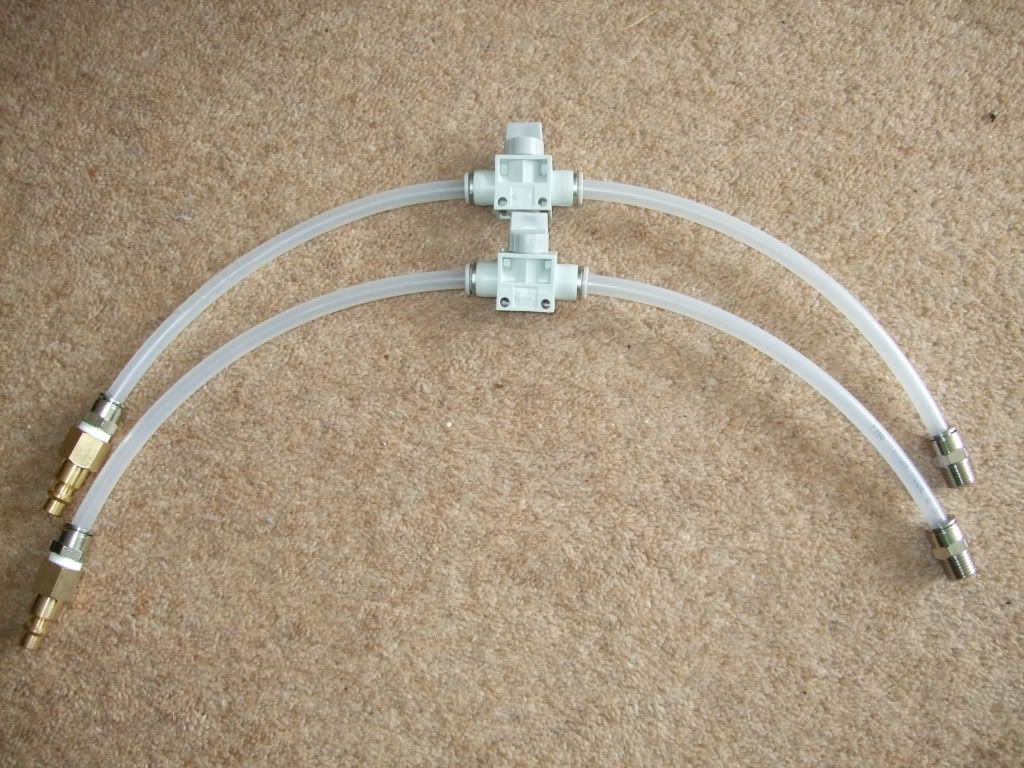
This setup allows me to evacuate the bag shut off the valve and then disconnect the pump and the extension pipe and put it all in the box packed away safe and sound.
It is important to point out that I made all the bsp connections using Teflon (plumber tape) to ensure an air tight seal.
From what I can make out it is not necessary to have a vacuum gauge on the system however I put one on so I can see if there is a leak for some reason it will show up on the gauge. My only regret is that I did not get a higher value valve as when I fired up the pump the gauge went off the scale.
Based on this the pump is pulling down over one bar of pressure and I would say it is between 1 and 1.5 bar which in psi terms equates to between 14.5 and 20 psi.
Making the bags
I could have just brought on but when I saw the prices I picked my self a up off the floor and decide to build them myself
This took the most research and was the hardest to source and do as I wanted a thick flexible bag that would be strong and last a long time.
I found clear vinyl sheeting from here if you ask nicely they will send you samples of all the different thickness.
http://www.allplas.co.uk/acatalog/Clear_Coloured_Flexible_PVC.html
I went for the 20 thou (0.50mm) at £7.80 a meter
The biggest slumbering block was glue as most of the vinyl contact adhesives just melt through the sheeting or leave a brittle joint that just cracks
In the end I went for VYNA Bond at £14.00 a tin from here
http://www.plastidip.co.uk/eStore/i...Bond&stage=1&gclid=CPXbmrnUs64CFecmtAodrX9uQA
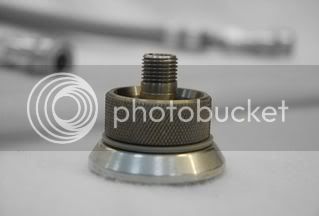
Bag connectors or vacuum breach this was fun there are several places you can get them from but they are expensive I was quoted £25.00 each for a metal one and £3.00 for a cheap plastic one. DON’T GET THE PLASTIC ONES THE ARE RUBBISH.
In the end I found these people I got 2 metal vacuum breaches for £27.00 inc vat and postage.
http://www.vacinnovation.co.uk/page/1qxal/Vacuum_Connectors_Hoses_and_Gauges/Vacuum_Connectors.html
you do not need any additional fitting from these as the vac connector will screw directly on to the Air-Pro 8mm 1/4" bsp Female Stud Plastic Push-in Fitting
Making the bag
To make the bags I first laid out the Vinly sheet and cut off 2 X 75mm strips off the length of the sheet reducing the width from 1300 to 1150 approx.
I then folded the sheeting in half length ways in my case 5 meters length folded in half to make 2.5m bag.
I then placed a 2 pieces of 2.5m by 75mm timber next the edge to be sealed.
Where the edges meet and are to be glued make sure you give them a good clean with meths before applying the glue.
i spread a good coating of glue along the inside of the long edge of the bag about 20mm deep then placed the bag it between the timber and firmly clamped in place with as many clamps as I could get my hands on. When applying the glue make sure that there is plenty at the folded end to make a good bond.
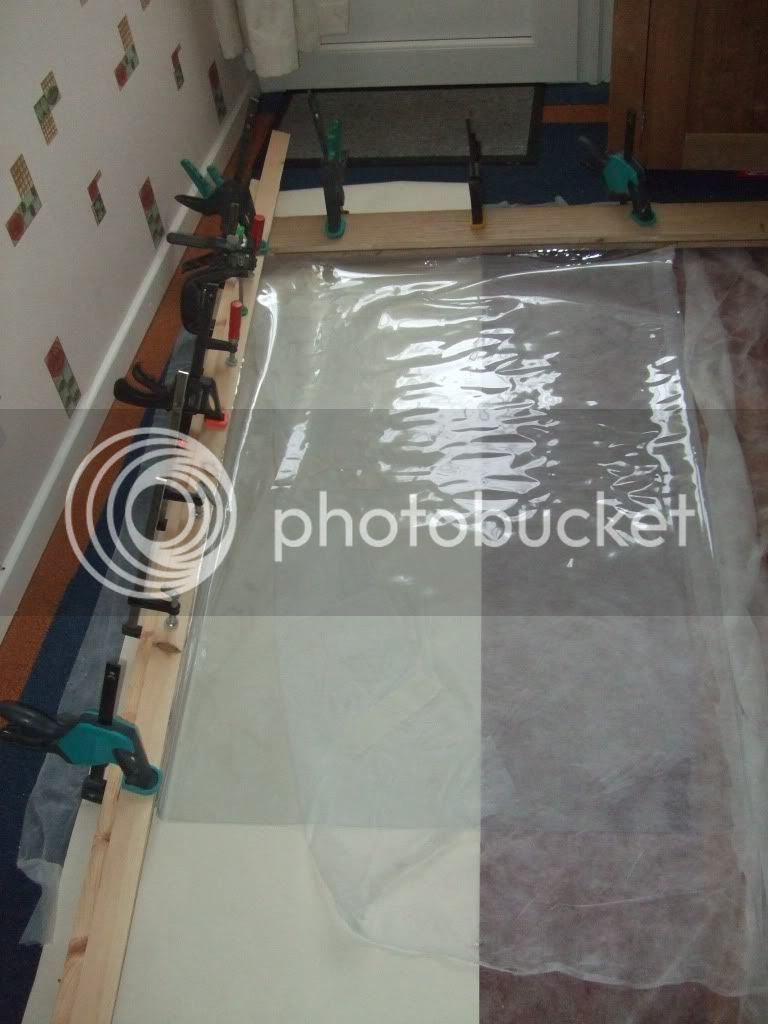
Once the glue has dried and you have done the same to the other side I then glued on the 75 mm strips to each side of the glued seams as reinforcement. This I had to do in 2 parts first I glued and clamped to the bottom of the glued edge leaving an equal over hang and then once I folded it over and glued and clamped to the top.
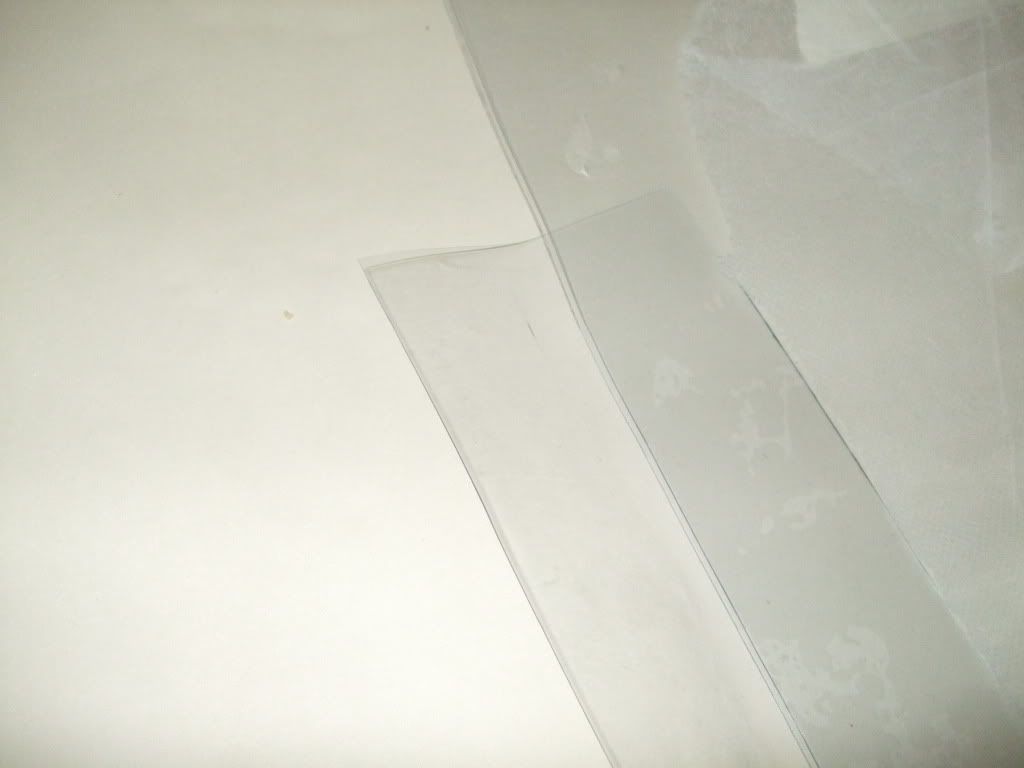
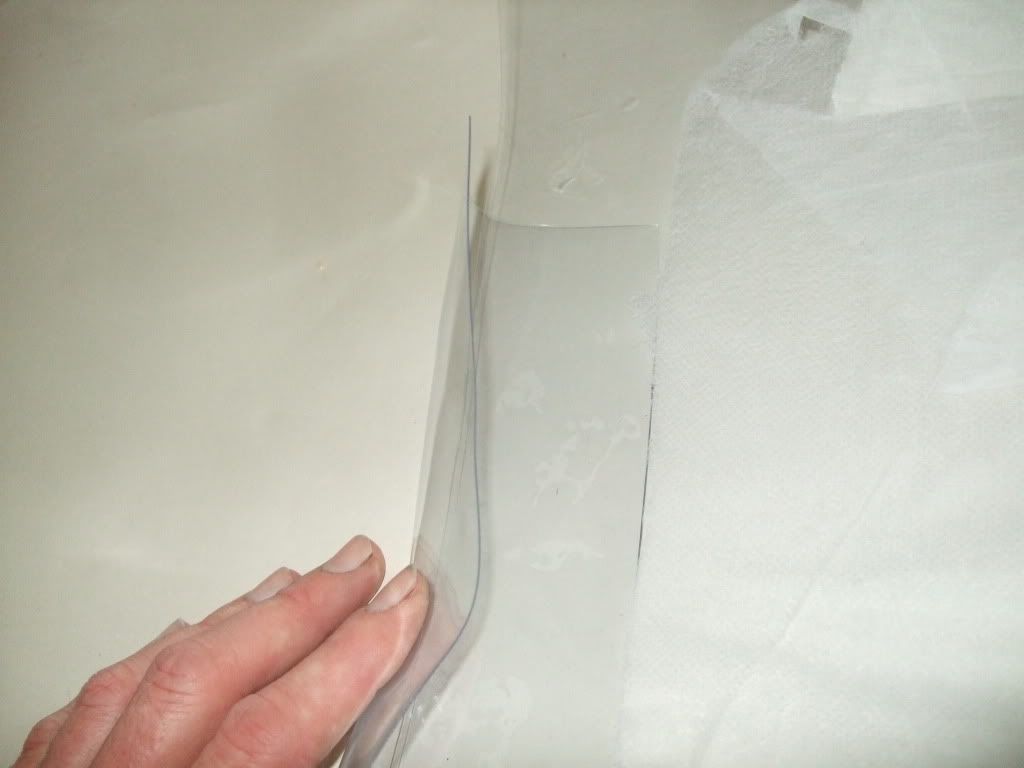
It is then just a case of fitting the vacuum breach I punch my hole using a piece of old pipe placed it on the bag and hit with a hammer to punch a round hole. (REMEMBER TO PLACE A PIECE OF WOOD INSIDE THE BAG FIRST or you will punch a hole straight through the bag.
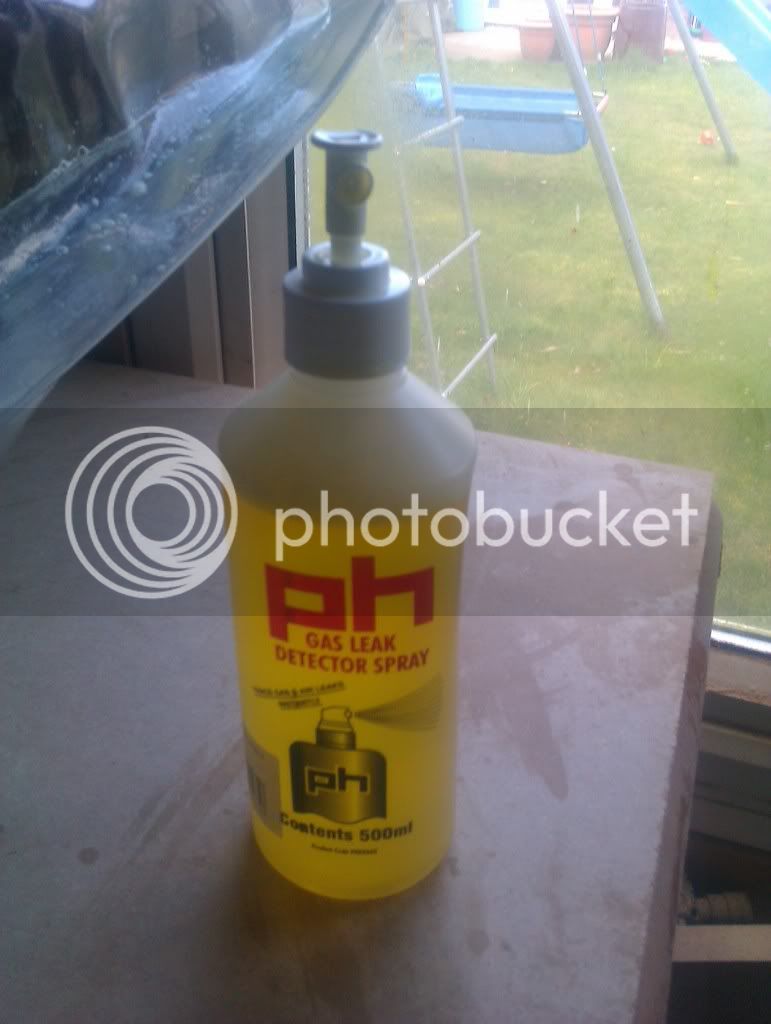
Once the bag was completed I pressure tested the bag for leaks by inflating the bag and using gas leak spray I got from screw fix which cost £4.00
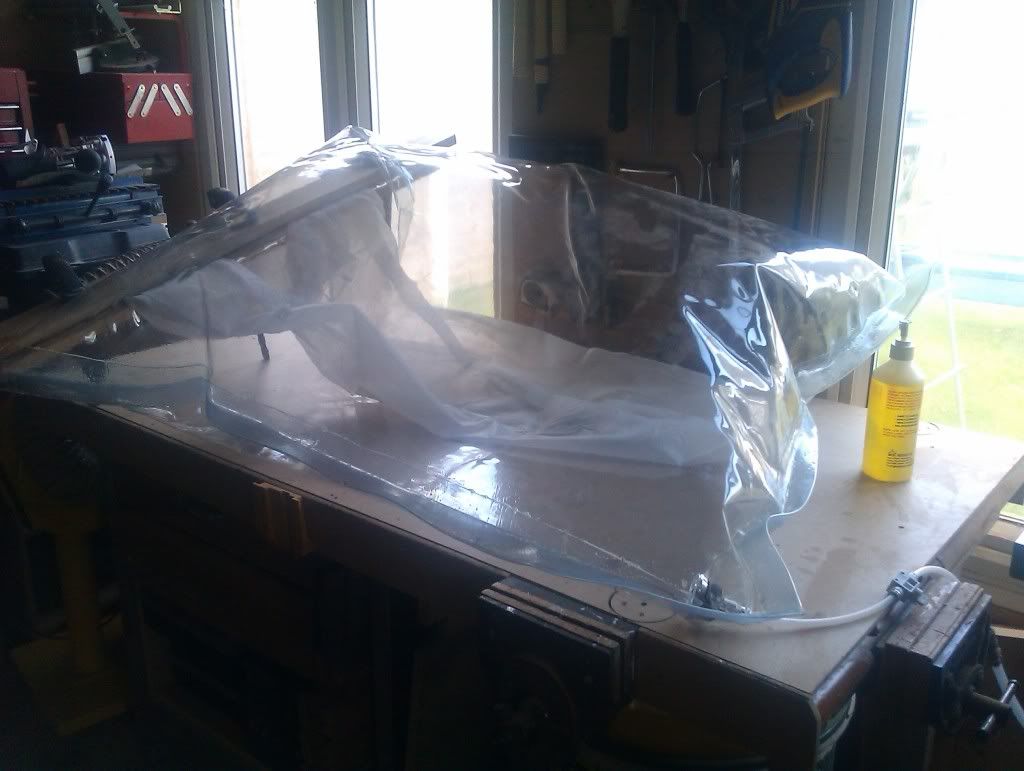
To close the open end of the bag I made a closing system out of 2 pieces of waste pipe one 30mm one 40 mm 1.2m long. I cut approx 1/3 of the off the 40mm pipe all the way down its length. To seal the bag wrap the open end round the 30mm pipe once and then clip the open 40mm over the top of the 30mm pipe to make the seal.
The system seems to work well and I did the first test on a set of kitchen rolls which got well and truly squished.
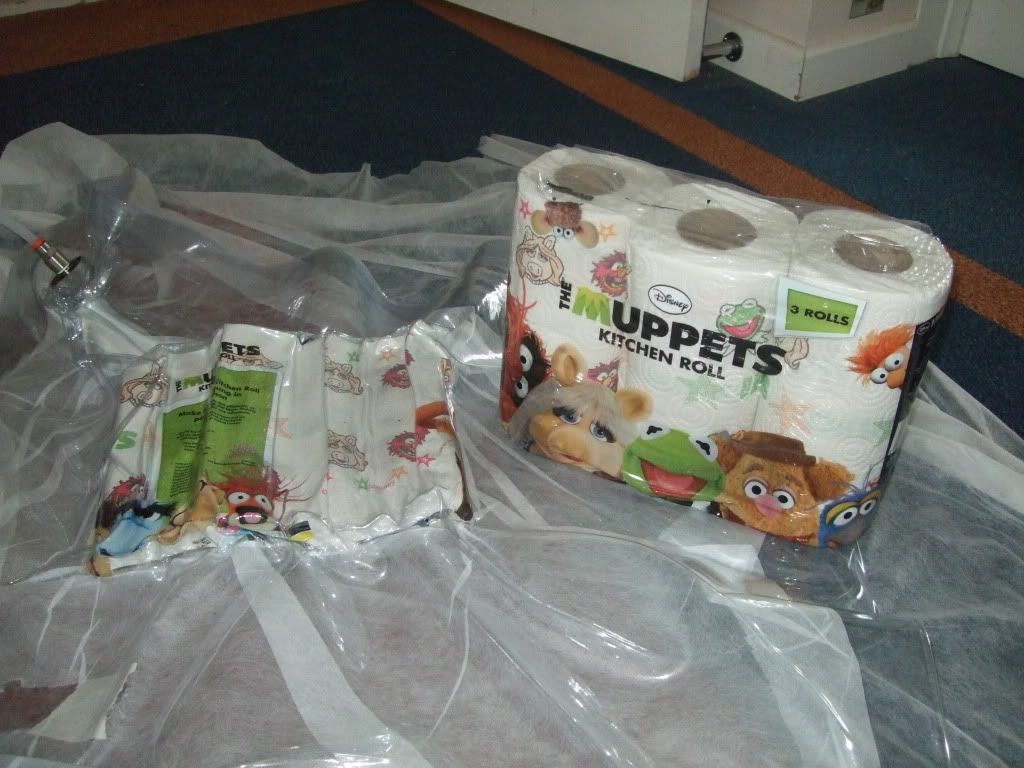
Total cost of press is about £170.00 with 2 bags on 1m by 1.2m and the other 2.5m by 1.2m but when you consider to buy a full system with just one 1.3 m square bag will cost around £500.00 I think I did quite well
https://vault1.secured-url.com/getonit/airpress_shop/product-details.php?id=236&catid=68
I hope you find this useful and I welcome your comments.
Jon
First I would like to say thank you for all those on the site who have offer advice during the process.
I have also included the links that I found for the items I have used
First the pump I got It is a Mastercool, 2 Stage Vacuum pump. 3 CFM. Model 90063-2V-220 they currently retail for about £250.00 from there web site http://www.mastercooltools.com/mast...-50_52.html?osCsid=1ouut40nmhqaoj0bi7qg9dea35

I built a box to house the pump just rough and ready out of some old mdf I had lying around. This gave me somewhere to attach all the pipes and connectors.

Ok this where it started to get fun how to connect the pump to bags as cheep as possible
From the pump outlet I attached an Air-Pro 8mm 1/4" bsp Female Stud Plastic Push-in Fitting (ebay £1.47 each)

This is then connected to a length of 8mm pipe (8mm outer 6 mm inner nylon pipe (ebay £1.49 a meter)) leading to a Pneumatic Push-In Female Branch Tee 8mm x 1/8" Fem bsp fitting (ebay £2.15) for the gauge to attach to

The gauge is a 40MM dry vacuum pressure guage 0 to – 1 bar bottom entry 1/8" bsp dual scale (ebay £6.89)

Coming off the other side of the tee I again have standard 8mm pipe ( 500mm approx) leading to 1/4 Bsp Male -8MM Metal Push in Fittings (ebay £1.99 for 2) which then leads to a 1/4" Bsp Female Quick compressor Coupler (I brought a 10 back containing 2 quick couplers, 2 female ¼ plus and 4 male ¼ plugs off ebay for £4.99)


This with a longer pipe could be fitted directly to the bag. However for me this was not practical as I wanted to be able to the pack all the pipe away and on occasions I thought I may need to run more than bag at a time.
I decided to make a 3 part connection. Part one is from the pump to the first female quick compressor coupler. As detailed above.
Part 2
From here I made a pipe extension which consists of a male 1/4" Bsp Male Plug connected to Air-Pro 8mm 1/4" bsp Female Stud Plastic Push-in Fitting then 1.5m of 8mm piping connected to a 1/4 Bsp Male -8MM Metal Push in Fittings and a 1/4" Bsp Female Quick compressor Coupler.

Part 3
The final part of getting from the pump to the bag I made 2 of the following:
1/4" Bsp female Plug connected to 1/4 Bsp Male -8MM Metal Push in Fittings 250mm of 8mm piping connected to 8mm Pneumatic Manual Shut Off Valve, 250mm 8mm piping to a Air-Pro 8mm 1/4" bsp Female Stud Plastic Push-in Fitting

This setup allows me to evacuate the bag shut off the valve and then disconnect the pump and the extension pipe and put it all in the box packed away safe and sound.
It is important to point out that I made all the bsp connections using Teflon (plumber tape) to ensure an air tight seal.
From what I can make out it is not necessary to have a vacuum gauge on the system however I put one on so I can see if there is a leak for some reason it will show up on the gauge. My only regret is that I did not get a higher value valve as when I fired up the pump the gauge went off the scale.
Based on this the pump is pulling down over one bar of pressure and I would say it is between 1 and 1.5 bar which in psi terms equates to between 14.5 and 20 psi.
Making the bags
I could have just brought on but when I saw the prices I picked my self a up off the floor and decide to build them myself
This took the most research and was the hardest to source and do as I wanted a thick flexible bag that would be strong and last a long time.
I found clear vinyl sheeting from here if you ask nicely they will send you samples of all the different thickness.
http://www.allplas.co.uk/acatalog/Clear_Coloured_Flexible_PVC.html
I went for the 20 thou (0.50mm) at £7.80 a meter
The biggest slumbering block was glue as most of the vinyl contact adhesives just melt through the sheeting or leave a brittle joint that just cracks
In the end I went for VYNA Bond at £14.00 a tin from here
http://www.plastidip.co.uk/eStore/i...Bond&stage=1&gclid=CPXbmrnUs64CFecmtAodrX9uQA
Bag connectors or vacuum breach this was fun there are several places you can get them from but they are expensive I was quoted £25.00 each for a metal one and £3.00 for a cheap plastic one. DON’T GET THE PLASTIC ONES THE ARE RUBBISH.
In the end I found these people I got 2 metal vacuum breaches for £27.00 inc vat and postage.
http://www.vacinnovation.co.uk/page/1qxal/Vacuum_Connectors_Hoses_and_Gauges/Vacuum_Connectors.html
you do not need any additional fitting from these as the vac connector will screw directly on to the Air-Pro 8mm 1/4" bsp Female Stud Plastic Push-in Fitting

Making the bag
To make the bags I first laid out the Vinly sheet and cut off 2 X 75mm strips off the length of the sheet reducing the width from 1300 to 1150 approx.
I then folded the sheeting in half length ways in my case 5 meters length folded in half to make 2.5m bag.
I then placed a 2 pieces of 2.5m by 75mm timber next the edge to be sealed.
Where the edges meet and are to be glued make sure you give them a good clean with meths before applying the glue.
i spread a good coating of glue along the inside of the long edge of the bag about 20mm deep then placed the bag it between the timber and firmly clamped in place with as many clamps as I could get my hands on. When applying the glue make sure that there is plenty at the folded end to make a good bond.

Once the glue has dried and you have done the same to the other side I then glued on the 75 mm strips to each side of the glued seams as reinforcement. This I had to do in 2 parts first I glued and clamped to the bottom of the glued edge leaving an equal over hang and then once I folded it over and glued and clamped to the top.


It is then just a case of fitting the vacuum breach I punch my hole using a piece of old pipe placed it on the bag and hit with a hammer to punch a round hole. (REMEMBER TO PLACE A PIECE OF WOOD INSIDE THE BAG FIRST or you will punch a hole straight through the bag.
Once the bag was completed I pressure tested the bag for leaks by inflating the bag and using gas leak spray I got from screw fix which cost £4.00


To close the open end of the bag I made a closing system out of 2 pieces of waste pipe one 30mm one 40 mm 1.2m long. I cut approx 1/3 of the off the 40mm pipe all the way down its length. To seal the bag wrap the open end round the 30mm pipe once and then clip the open 40mm over the top of the 30mm pipe to make the seal.
The system seems to work well and I did the first test on a set of kitchen rolls which got well and truly squished.

Total cost of press is about £170.00 with 2 bags on 1m by 1.2m and the other 2.5m by 1.2m but when you consider to buy a full system with just one 1.3 m square bag will cost around £500.00 I think I did quite well
https://vault1.secured-url.com/getonit/airpress_shop/product-details.php?id=236&catid=68
I hope you find this useful and I welcome your comments.
Jon


