oddsocks
Established Member
Yesterday I took advantage of a show offer and bought the record BS350 S, with the promo dvd and pedal wheel kit. I haven't yet got the pedal kit as the dealer had none (Record posting that direct to me).
EDIT -now fitted, photos later in the thread
It's too early to really review the saw (i have only cut 3 bits of wood!) so this post is about the build and photos......
First of all it all comes in one box that weighs 106kg and is approx 458x16x21"....It just fitted on the back seat of a rover 75 saloon (but heavy and awkward). The box includes the standard wheel kit and stand.
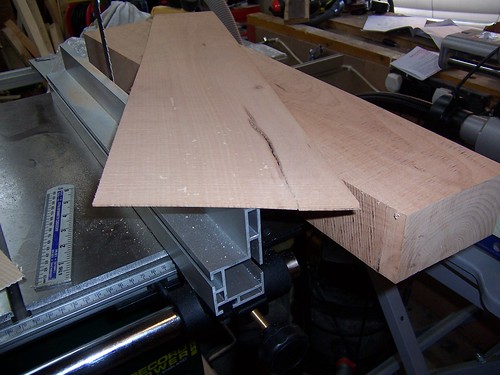
For some reason there was no manual in the box, the dealer provided a photocopied manual that looked like a first draft. it had a form to request the 'proper' one. I suspect there had been changes to the spec - it made for some interesting assembly. In all it took me 3-4 hours to get it assembled, set up and the first test cut done. I fitted a dragon saws supplied 3/4" x 3tpi blade (see my post last week on what blades to buy) and tested 'at the deep end' by cutting a 2mm veneer slice off of a 180mm think beech block ....very impressed both with the blade and the saw- the motor never even hinted at being loaded. I had hooked the saw up to a record RPDE2 extractor (the other new toy i bought yesterday) and when I finished ripping the veneer there was lot of dust on the lower guide assemble - but far more in the extractor drum
First activity was to assemble the stand with the basic wheel set. The frame is rigid and was set up stable on the floor, however when I added the bandsaw it came out of square and took a lot of coaxing to get firm again. The saw weighs 100kg and has a large table so using the handle and these wheels it is difficult to move -definitely only for occasional use.
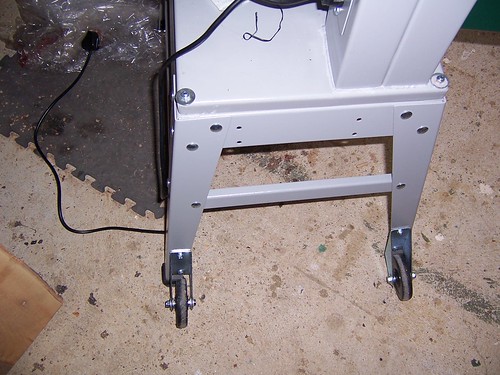
The saw is fixed to the stand by four nuts. next came the fitting of the table which was a different design to that in the manual. its held on with 4 allen bolts - fit the two outside ones first then tilt the table to easily get to the other two. The manual showed the front slot held by a bolt - the supplied table didn't have this but did have a solid bar that is held in with allen bolts... you can see it open in this image
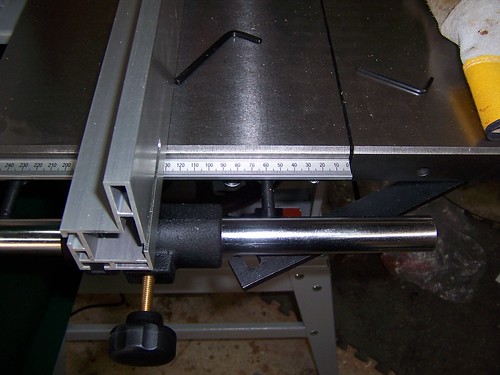
the above image also shows the fence, fence bar and tape measure. The fence bar is a different design to that in the manual as is the fence (both appear to be upgraded). The fence rod is attached by two bolts to the table. With the fence fitted and locked (it grips the bar for about 3/4 of the circumference and is solid) adjust the nuts on the two rod fixing s to get the fence aligned with the blade. Each nut also moves enough to set the fence 90 degrees vertical. There was a bit of test and adjust but overall done in about 5 mins.
First moan.....the fence cannot be fitted or removed from the rod without taking the blade off - It think the older rod had a shorter left hand fixing, but with this rod and fence there's not enough space to the left, all you can do is 'drop' the fence to the left of the table. I've got a call arranged with Record on Monday and will raise this.
EDIT (info later in the thread) - tilt the table to give enough space to remove the fence. if you need to use it on the RHS then there are holes to reposition the fence rod - so about 5-10mins work.
The ruler is not mentioned at all in the manual and for a while I thought it was for the depth of cut (there isn't a depth scale even though on the frame there is an etched mark).
so - more photos....
the table tilt is good quality. the middle knob is the adjuster for the lower thrust bearing
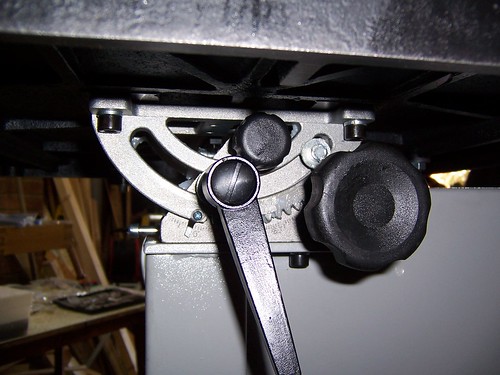
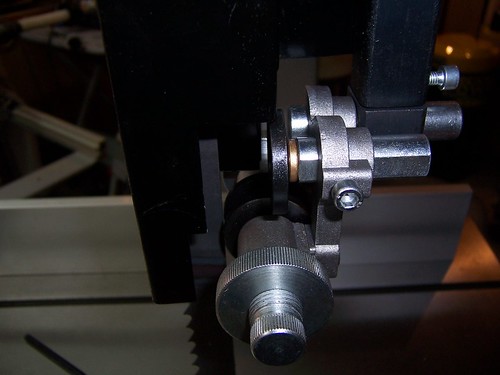
The lower guides - easy to setup, side guides are roller discs
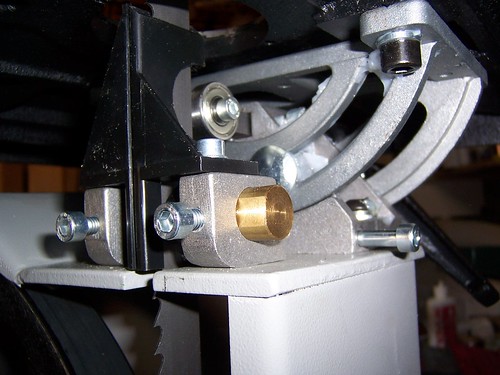
Upper guides - again easy to setup (this was taken before they were set!)
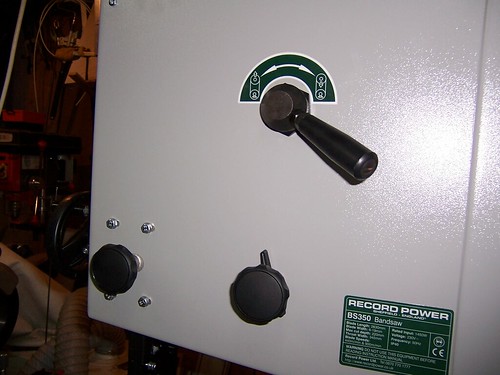
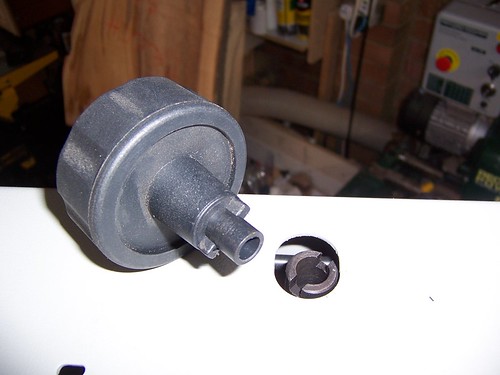
Band tension adjuster knob - in my opinion it's too small and just a plastic push fit - it was hard to tension the 3/4" blade with this. Maybe better to release the quick release tension lever, then adjust this?
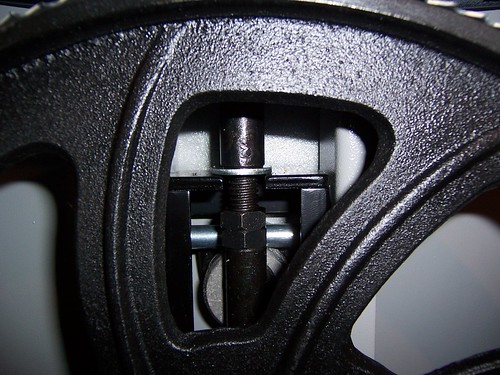
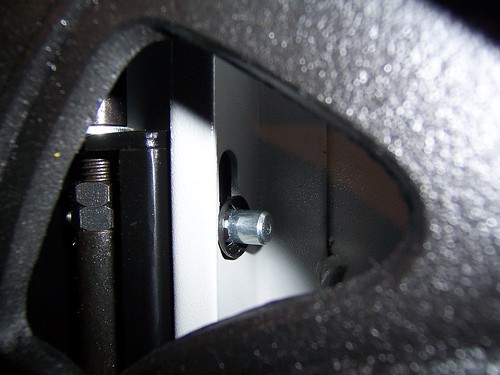
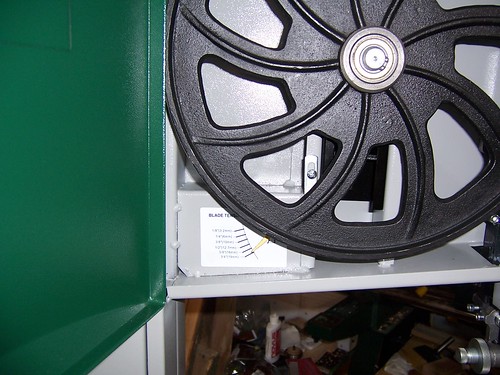
good wheels - notice the blade tension indicator bottom left
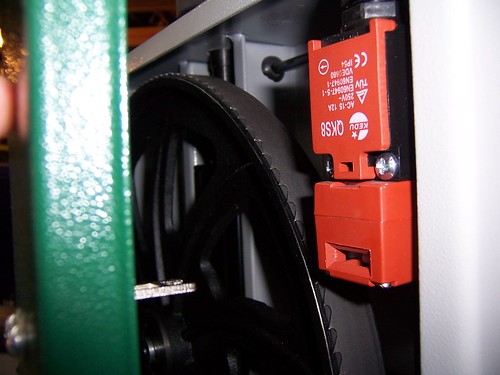
top and bottom doors open without tools and are safety switched - see the metal tongue on the door that fits in the slot.
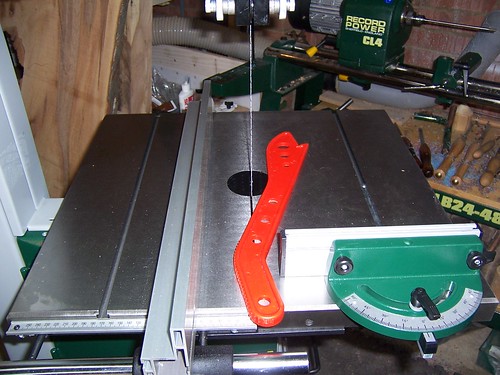
Final photo -the assembled top with both fences and the supplied push stick. A good size table. The mitre fence will run in the guide either side of the blade- which may prove useful.
no photo, but the depth of cut adjustment is by a handwheel on the side of the upper frame that drives a good gear assembly with no play - guides stay correctly adjusted.
EDIT -now fitted, photos later in the thread
It's too early to really review the saw (i have only cut 3 bits of wood!) so this post is about the build and photos......
First of all it all comes in one box that weighs 106kg and is approx 458x16x21"....It just fitted on the back seat of a rover 75 saloon (but heavy and awkward). The box includes the standard wheel kit and stand.
For some reason there was no manual in the box, the dealer provided a photocopied manual that looked like a first draft. it had a form to request the 'proper' one. I suspect there had been changes to the spec - it made for some interesting assembly. In all it took me 3-4 hours to get it assembled, set up and the first test cut done. I fitted a dragon saws supplied 3/4" x 3tpi blade (see my post last week on what blades to buy) and tested 'at the deep end' by cutting a 2mm veneer slice off of a 180mm think beech block ....very impressed both with the blade and the saw- the motor never even hinted at being loaded. I had hooked the saw up to a record RPDE2 extractor (the other new toy i bought yesterday) and when I finished ripping the veneer there was lot of dust on the lower guide assemble - but far more in the extractor drum

First activity was to assemble the stand with the basic wheel set. The frame is rigid and was set up stable on the floor, however when I added the bandsaw it came out of square and took a lot of coaxing to get firm again. The saw weighs 100kg and has a large table so using the handle and these wheels it is difficult to move -definitely only for occasional use.

The saw is fixed to the stand by four nuts. next came the fitting of the table which was a different design to that in the manual. its held on with 4 allen bolts - fit the two outside ones first then tilt the table to easily get to the other two. The manual showed the front slot held by a bolt - the supplied table didn't have this but did have a solid bar that is held in with allen bolts... you can see it open in this image

the above image also shows the fence, fence bar and tape measure. The fence bar is a different design to that in the manual as is the fence (both appear to be upgraded). The fence rod is attached by two bolts to the table. With the fence fitted and locked (it grips the bar for about 3/4 of the circumference and is solid) adjust the nuts on the two rod fixing s to get the fence aligned with the blade. Each nut also moves enough to set the fence 90 degrees vertical. There was a bit of test and adjust but overall done in about 5 mins.
First moan.....the fence cannot be fitted or removed from the rod without taking the blade off - It think the older rod had a shorter left hand fixing, but with this rod and fence there's not enough space to the left, all you can do is 'drop' the fence to the left of the table. I've got a call arranged with Record on Monday and will raise this.
EDIT (info later in the thread) - tilt the table to give enough space to remove the fence. if you need to use it on the RHS then there are holes to reposition the fence rod - so about 5-10mins work.
The ruler is not mentioned at all in the manual and for a while I thought it was for the depth of cut (there isn't a depth scale even though on the frame there is an etched mark).
so - more photos....
the table tilt is good quality. the middle knob is the adjuster for the lower thrust bearing

The lower guides - easy to setup, side guides are roller discs

Upper guides - again easy to setup (this was taken before they were set!)

Band tension adjuster knob - in my opinion it's too small and just a plastic push fit - it was hard to tension the 3/4" blade with this. Maybe better to release the quick release tension lever, then adjust this?

good wheels - notice the blade tension indicator bottom left

top and bottom doors open without tools and are safety switched - see the metal tongue on the door that fits in the slot.

Final photo -the assembled top with both fences and the supplied push stick. A good size table. The mitre fence will run in the guide either side of the blade- which may prove useful.

no photo, but the depth of cut adjustment is by a handwheel on the side of the upper frame that drives a good gear assembly with no play - guides stay correctly adjusted.


