2012 May Challenge ( Post your Entries Here)

UKworkshop.co.uk

Help Support UKworkshop.co.uk:

This site may earn a commission from merchant affiliate links, including eBay, Amazon, and others.
Status
Not open for further replies.

Blister

Established Member
UKW Supporter
Joined
10 Nov 2006
Messages
7,748
Reaction score
538
Location
Boston Lincs
Hi everyone, out project for the 2012 May Challenge is a Platter ( for the presentation of food )


Our Judge for May will be Paul

Must be New work for this Challenge

The Platter can be made from wood Type ( wood choice will be considered in the Judging )

Can be any diameter

Must be lathe turned

Colouring / textured / burning / piercing / carving not allowed

Must be fit for purpose and hygienic as it is intended for the presentation of food

No multiple segmented turning

Any entry's that are outside the rules and requirements will not be judged


The Judges decision is final ( Any negative comments re judging must be via PM only and not on the open forum )

NO Critique or comments on any work until June Please, After the Judging and results.

Please state wood type if known, dimensions and a little about how you made it and what tools and finish you used ( this helps the judge )

Please post 3 images of your work / entry ( optional if you want to include food in the photos )

1 showing a profile image
1 showing your entry looking down from above
1 showing the bottom ( I said bottom :mrgreen: ) underneath of your entry

Image size please use image size 640 x 480 0.3 mp, same previous months

When your entry is ready please go to our new scoreboard http://ukwturningcomp.co.uk/

Log in to your account and mark yourself as ready by 10 pm on the 27th May after this time the scoreboard will be locked

Entry’s to be uploaded from 10pm on 27th May up until 10pm on the 29th May . after this time the thread will be locked for Judging

Results will be given on or before 31st May

Good luck everyone :D


Roundup of Entries
 
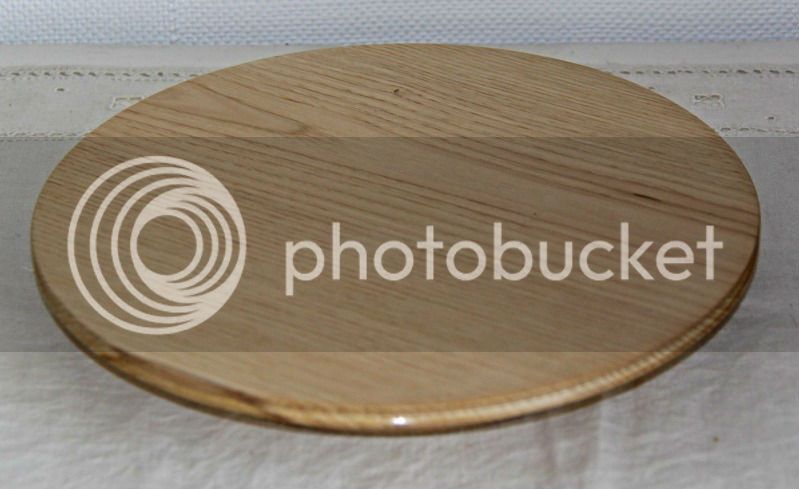
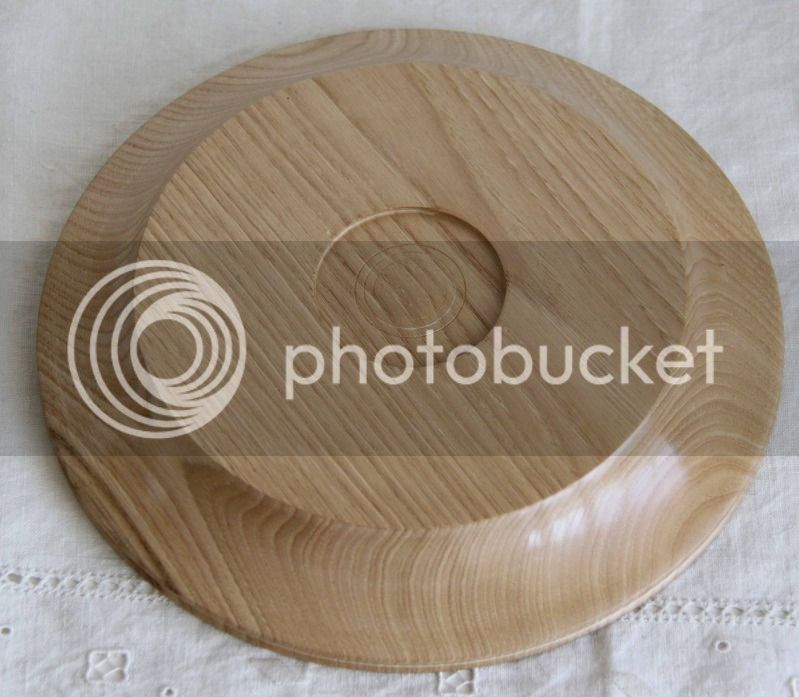
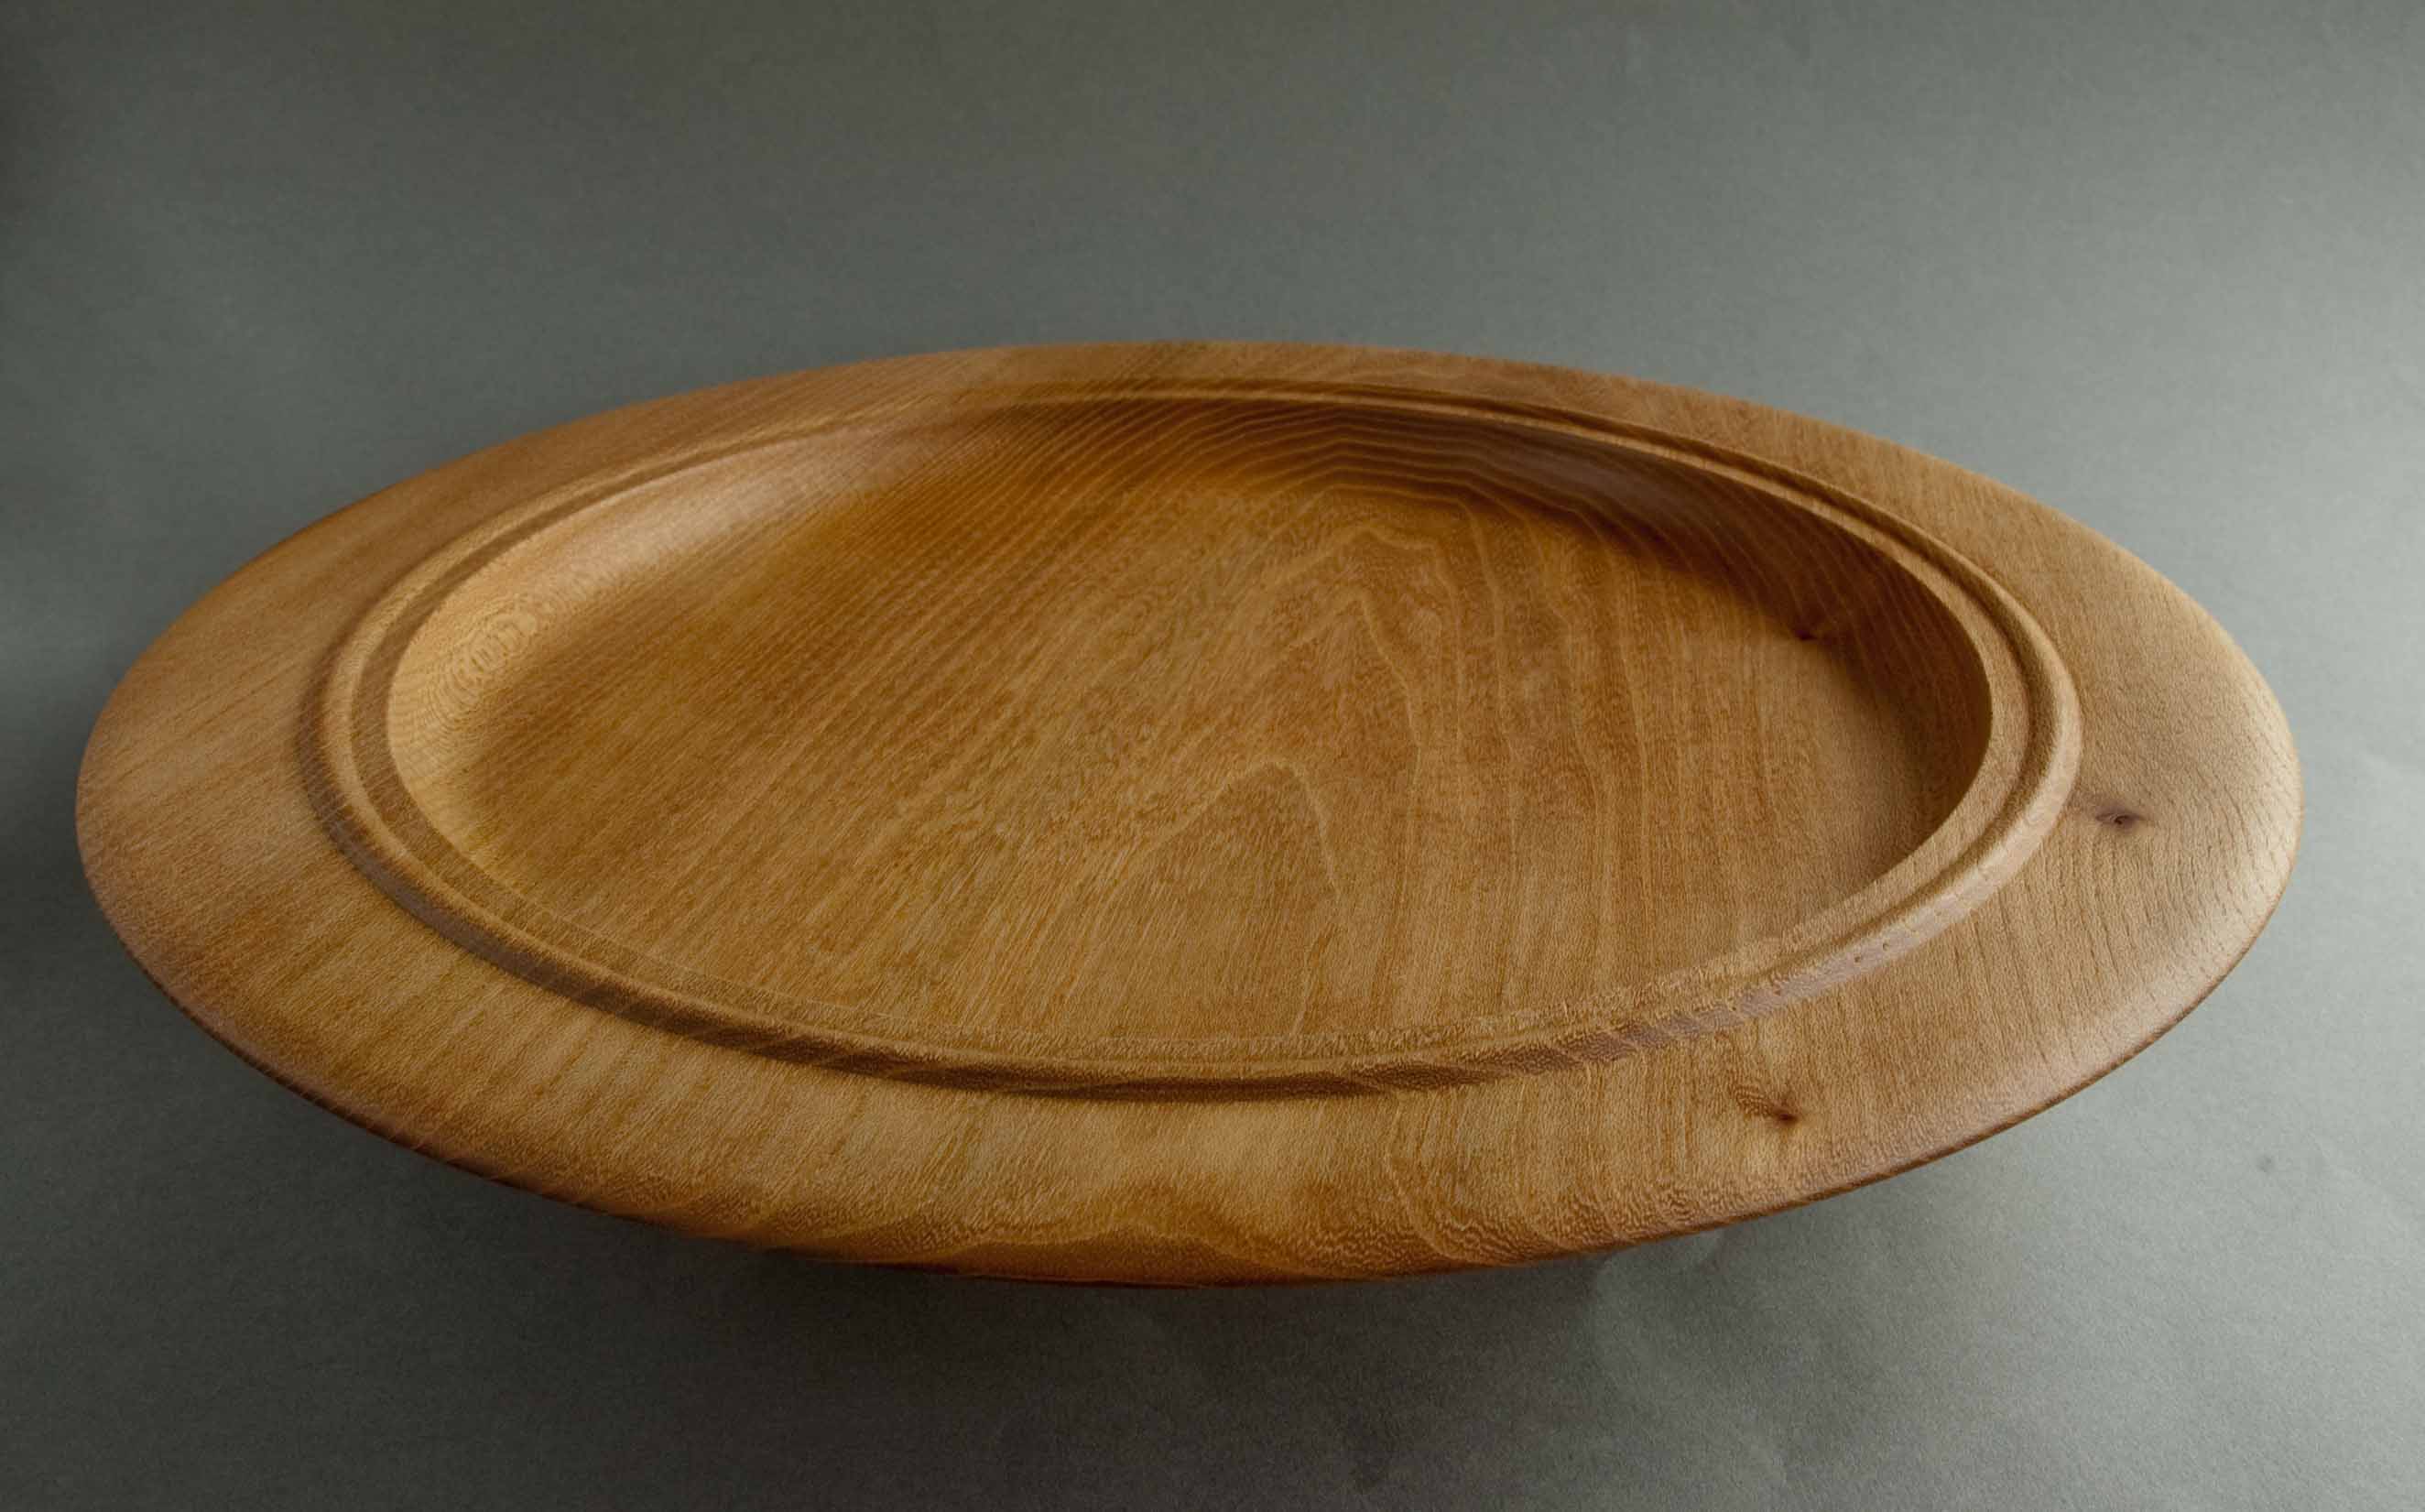
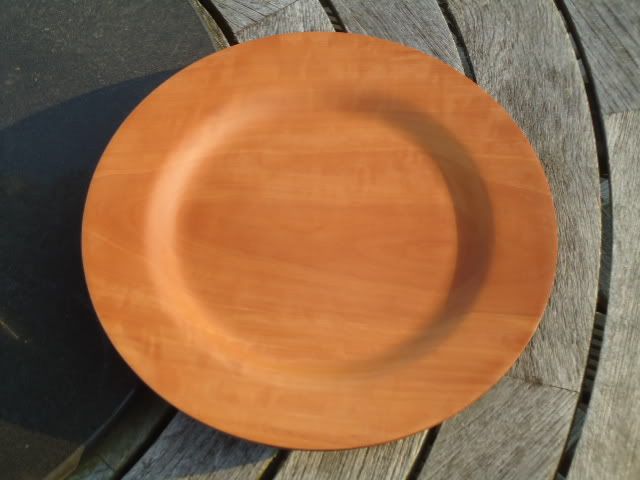
My entry for May is turned from a piece of Rippled Ash . There is a bit of inclusion which I think adds to the piece without having any artifical highlights. I turned toa shape I like ,sanded to 400 grit .two coats of Liqued Parrifin, cut back with wire wool after each appication, allow 4/6 hours in between coats . I then finished with Danish Oil two coats with 12 hrs between.
The tools I used were 12mm bowl gouge ,10mm bowl gouge ,6mm detail gouge ,teardrop scraper .
The base is concave and is about 1/3 rd. size of Platter.
P1010827.JPG

P1010837.JPG
P1010839.JPG


I think these are posted , Best of luck to all

Forgot size = 260mm x 50mm
 

Attachments

  • P1010827.JPG
    P1010827.JPG
    91.7 KB
  • P1010837.JPG
    P1010837.JPG
    83.1 KB
  • P1010839.JPG
    P1010839.JPG
    74.2 KB
Here is my first entry for this year. Finally have some lathe time available, hopefully I can do all the rest of the year too.

This platter is made from pear. I was given a whole trees worth but like so many donations, it had been left out in all weathers and has cracks and a bit of rot.

Nice wood though and I never object to the odd bit of 'character'

I have left it quite thick, the added weight makes it very stable and although its technically a platter, I can see it being used as a cakestand. Do I get an extra point for entering two months at once??
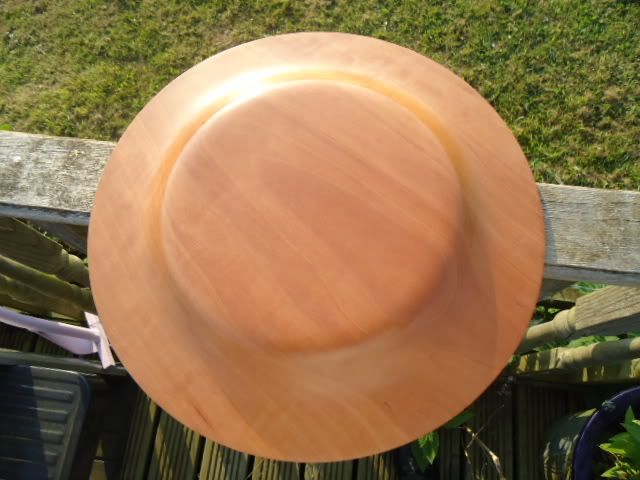
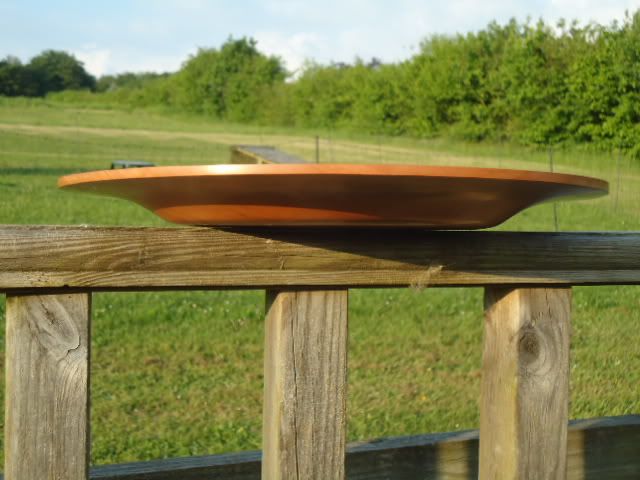
Unlike some, I always leave the mounting socket on my work. I see it as part of the feel of the thing to show how it was held on the lathe and can't see how it devalues the work in any way (although I draw the line at screw holes!). If it marks me down, so be it. I already have an good offer for the platter so I'm quite happy ta very much.

Quite pleased with the finish as its straight off the tool. I've completely run out of abrasive apart from some cheap sandpaper, so couldn't sand properly. (Hopefully it will arrive soon Richard!!)

Its finished in ACL brushed on as I don't have a spray booth at the mo and its lethal without extraction. Five coats all over in two hours in the morning then wet and dry, 400 through 2000 grit in the afternoon, then cut back with Tcut.. Quick coat of wax to finish. Takes me back to guitar making.

Totally food safe, in fact it would probably stand the dishwasher but I don't wish to be the one to test it. It had a good wash in hot water to get rid of the Tcut before waxing anyway.

Look forward to the pic fest once again.

Oops, forgot the sizes. Its 255mm diameter and 60mm high!!
AND.... tools used were - roughing gouge for basic shape. skew for the indents and flats and a homemade scraper for the curve on the bottom.
 

Attachments

  • 100_3320.jpg
    100_3320.jpg
    20.8 KB
  • 100_3319.jpg
    100_3319.jpg
    33.5 KB
  • 100_3318.jpg
    100_3318.jpg
    33.8 KB
For my entry I had a nice piece of elm. As I had been occupied for most of the month I decided to keep it simple ans not get it confused with a bowl. It has a totally flat top and has already been claimed by SWMBO as her new cheese board.

10” diameter by 1 1/2” high. Turned almost completely with a 3/8” spindle gouge and the toe of my home made 3/8” round skew to form the chuck recess. The recess was left for 2 reasons, 1. I quite like it and like Gordon I don't think that it detracts from the finnished item, and 2. I have nothing large enough to take it out anyway.. The underside is sanded down to 400 grit and the grey 'washing up' (?) scouring pad and Liberon hard wax stick. The top was sanded to the same and finished with 2 coats of hard wax oil. I has yet to be buffed.

I appologise if my phoyos are not quite the correct size, but at the mo photobucket decided to update their web site and I am on some hefty pain killers after my hand op last Friday and haven't fathomed out their new system through the haze!

Maychall20121.jpg


Maychallenge2.jpg


Maychallenge3.jpg
 
Here is my entry for the May Challenge – a platter.

This was made from a sycamore blank cut from a 28mm thick plank and mounted on a glue chuck to turn the underside; a holding spigot was turned for reversing the blank. Once the underside was complete it was sanded from 120 to 600 and acrylic sanding sealer applied and sanded back with the finer grits.
The platter was then reversed onto the spigot and the top surface turned. This was sanded as for the underside and then two coats of Chestnut Food Safe finish applied.
The platter was then reversed onto a jam chuck with the tailstock helping to stabilise the platter. The spigot on the underside was removed. The remaining “nib” and the newly turned area from the spigot were hand sanded off the lathe. Two coats of acrylic gloss lacquer were applied to the underside which was then finished by buffing with the Chestnut buffing system. Two further coats of Food Safe Finish were applied to the top surface and allowed to dry for 24 hours.
The platter is 310mm in diameter and overall height is 16mm. The platter is 7mm thick across the base. Tools used were a ½” bowl gouge, a 2” square ended scraper and a pointy tool for the defining V-grooves.
 

Attachments

  • P1020623.JPG
    P1020623.JPG
    97.4 KB
  • P1020611.JPG
    P1020611.JPG
    99 KB
  • P1020618.JPG
    P1020618.JPG
    105.1 KB
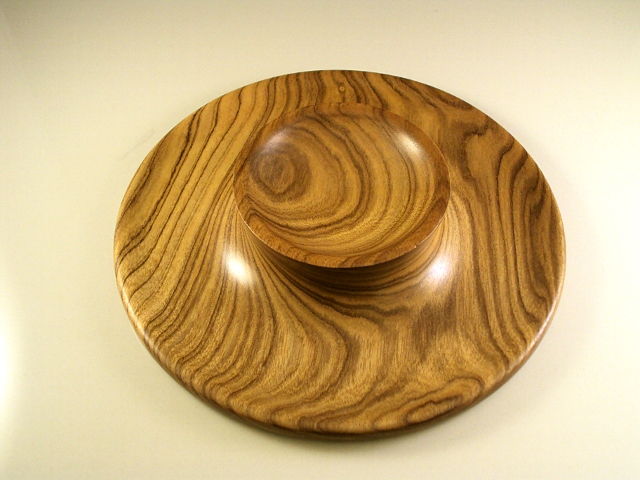
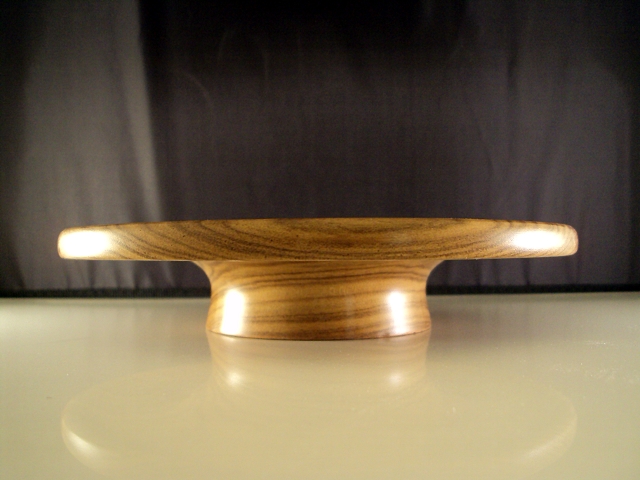
Platter(ette) :wink: about 8 inches in diameter, and made from a ??? blank thats been sitting around for ages because it didnt look that interesting a wood, and what a grain i found inside :shock: which sort of dictated the eventual shape of the foot, I liked the swirl.
Used bowl gouge and a small round scraper, fished in multiple coats of sanding sealer. I hope thats considered food safe, my thinking is if its suitable for toys (that may well be chewed etc) it should be ok for a sandwich to sit on.
For the life of me i cannot remember the name of the timber - and no its not zebrano.
EDIT. Got it! it was labelled Syringa.

plattersbottom.JPG


platter.JPG


platter profile.jpg
 

Attachments

  • platter.JPG
    platter.JPG
    224.6 KB
  • plattersbottom.JPG
    plattersbottom.JPG
    248.7 KB
  • platter profile.jpg
    platter profile.jpg
    204.2 KB
Here is my entry for this month. It's made from a piece of English Walnut which is 9 1/2" square and stands 1" high. It was first cut square on the table saw before being mounted on a glue chuck to turn the underside. The base which is aproximately half the width for extra stability includes a recess for holding purposes when reversed. The top is dished slightly which is difficult to see in the photo's and the groove is purely to frame the dish. The wings have been lightened for asthetic reasons and the tools used were a bowl gouge, a shear scraper and a point tool. It was sanded to 600 grit and has had 4-5 coats of Chestnut food safe oil which has left a smooth satin finish.
I found this quite difficult to photogragh as there are quite a few different planes which you dont see with the three shots but once again enjoyed the challange and am looking forward to next months already.

Regards

Steve
 

Attachments

  • DSCN0684.JPG
    DSCN0684.JPG
    206.2 KB
  • DSCN0696.JPG
    DSCN0696.JPG
    178.5 KB
  • DSCN0675.JPG
    DSCN0675.JPG
    191.3 KB
Hi all,
Here's my entry for this month,a platter in Ash. It's 250mm (9 3/4") in diameter and 37mm (1 1/2") high. The rim is approx 25mm (1") wide. Mounted on a screw chuck for initial shaping of the underside, leaving a small recess in the base for the chuck. The face side was then shaped using the same tools, bowl gouge & small scraper (in shear cutting mode). The toe of a skew was used for the small detail to the rim. It was then reverse mounted in home made cole jaws to finish of the base area. A bit of sanding with appropriate grits, 3 coats of Walnut Oil, which brought out the grain, and Bob's your uncle.

Good luck to everyone,

Dave
IMG_1264.jpg
IMG_1268.jpg
IMG_1273.jpg
 

Attachments

  • IMG_1264.jpg
    IMG_1264.jpg
    29.5 KB
  • IMG_1268.jpg
    IMG_1268.jpg
    41.1 KB
  • IMG_1273.jpg
    IMG_1273.jpg
    39.5 KB
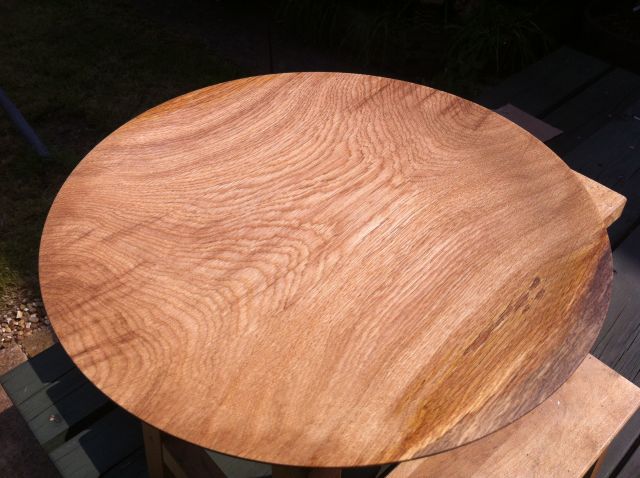
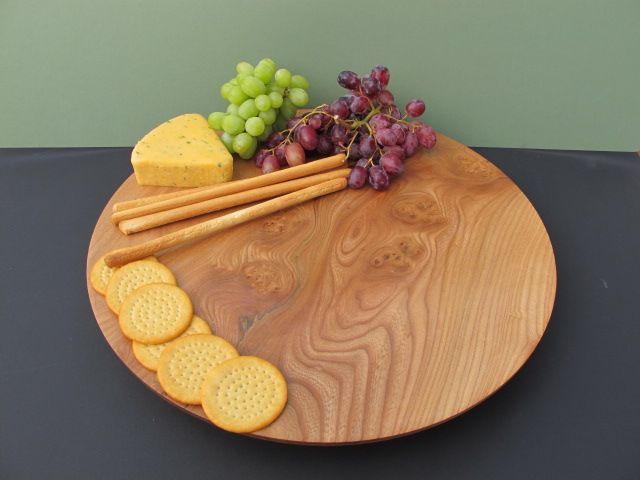
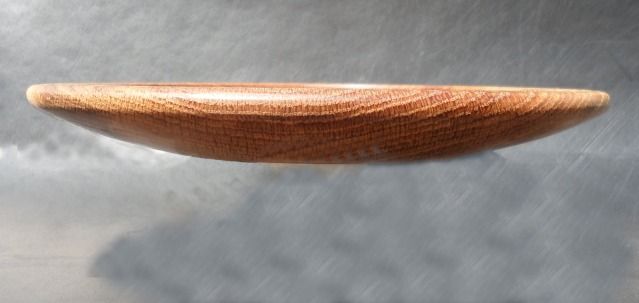
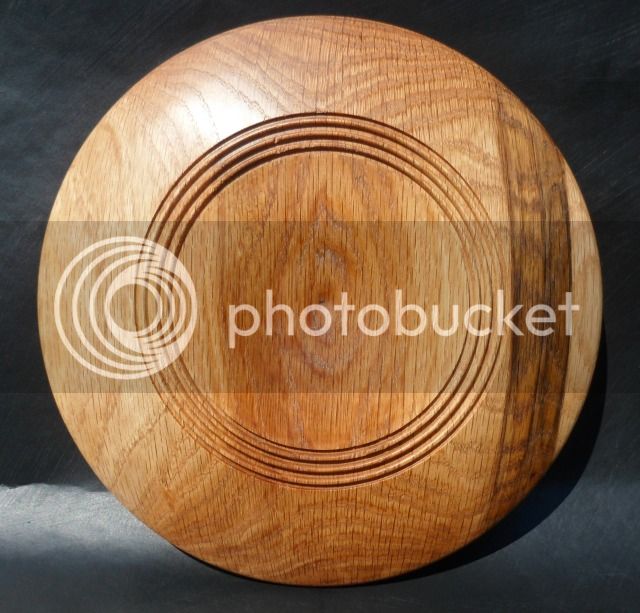
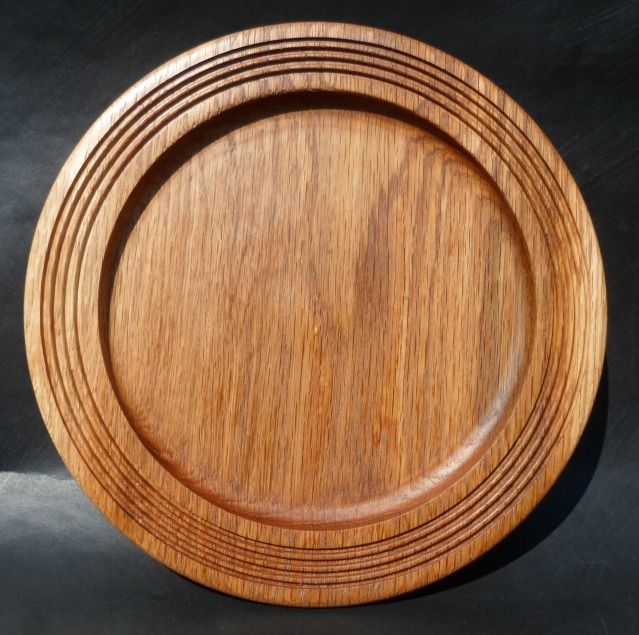
This is from a large plank of oak I've had in the garage for several years.

It's 16" diameter and a bit under 1.5" thick. The foot is approx 10" across so the platter is stable and about 3/16" high.
The platter is approx 1/4" thick (slightly thinner at the edge), so surprisingly light for its size.
It was turned using a couple of Crown bowl gouges, one with a standard and one with an Ellsworth grind. Tear-out was fixed with a scraper and it was all sanded to 600 grit and finished with Chestnut food-safe oil, well it's supposed to be suitable for purpose...
I started with the blank on a face-plate and turned a spigot for reversing it to do the top and shaped the outside part of the bottom (I should have finished that properly as well, I'll try to remember for next time). Before removing from the faceplate I made sure I marked the centre so that I could reverse it again to finished the bottom. I then mounted it in a chuck to turn the top, finished that and then reversed it again against a large round flat board mounted on a faceplate, holding it in place with the point of a live centre in the mark I'd previously made, to turn off the spigot,which I reduced to less than 1/4" before trimming off with a carving chisel, sanding and finishing.

Anyway that's enough words, here's the pictures, which I've found hard to take this month as it's really not easy to show the gentle shallow curve of the platter:
top.jpg

side.jpg

bottom.jpg
 

Attachments

  • top.jpg
    top.jpg
    65.2 KB
  • side.jpg
    side.jpg
    33.4 KB
  • bottom.jpg
    bottom.jpg
    62 KB
Hard maple 14-1/2" in diameter. I wanted to turn an oval with two slight depressions and got part way there with two sets of centres and the blank hot glued to a 20" diameter plywood disc on the outboard end of the BL150 but it just didn't want to cooperate so back to the bandsaw and this is how it turned out. Danish oil and the oneway buffing wheels. Standard bowl gouge, ellsworth bowl gouge, and several scrapers, sanded to 350.
 

Attachments

  • P1010958.JPG
    P1010958.JPG
    154.7 KB
  • P1010957.JPG
    P1010957.JPG
    151 KB
  • P1010963.JPG
    P1010963.JPG
    173.9 KB
Hi all,

Here is my entry, it is made from purple heart I think! Sanded to 400 and sealed with sanding sealer, a couple coats of food safe polish and a couple of coats of wax. It measures 210mm wide by 15mm high. I don't think my photo defines the edge with has a curve to the top edge and a matching curve underneath (How do you photograph wood #-o )

Another very enjoyable project.
Cheers David

Side Profile.jpg


Top Profile.jpg


Bottom Profile.jpg
 

Attachments

  • Side Profile.jpg
    Side Profile.jpg
    63.6 KB
  • Top Profile.jpg
    Top Profile.jpg
    76.4 KB
  • Bottom Profile.jpg
    Bottom Profile.jpg
    75.9 KB
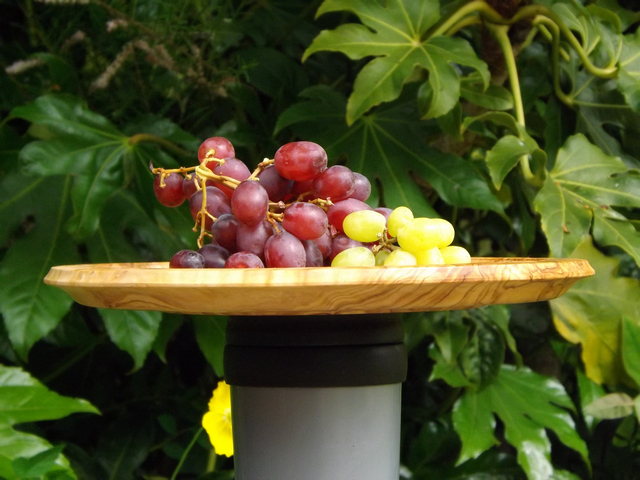
Here's my entry, a very enjoyable experience all round for me, the wood is Olive that I hand picked [a rough chopping board from a souvenir stall :roll: ] on the banks of the Tiber, in sight of the Vatican while on holiday. I've wanted to turn some Olive for a long time, but have been put off by the price, I love the look and feel and wasn't dissapointed, a joy to turn, even some lovely ripple in evidence.
I used a 3/8" spindle, 1" skew, 5/8" square scraper. Chuck spiggot turned off and the base sanded with a rotary pad held in the pillar drill. I found sanding fairly difficult with this wood due to rapid clogging/blinding so was forced to make extra effort and avoid tool marks in the first place, but that was easier than expected due to the wood.
Enough blabber;
DSCF0054k.jpg


DSCF0059k.jpg


DSCF0066k.jpg
 

Attachments

  • DSCF0054k.jpg
    DSCF0054k.jpg
    219.7 KB
  • DSCF0059k.jpg
    DSCF0059k.jpg
    214.1 KB
  • DSCF0066k.jpg
    DSCF0066k.jpg
    237.7 KB
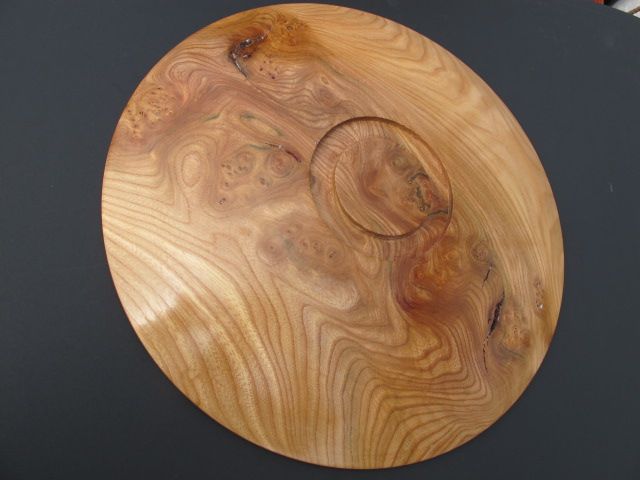
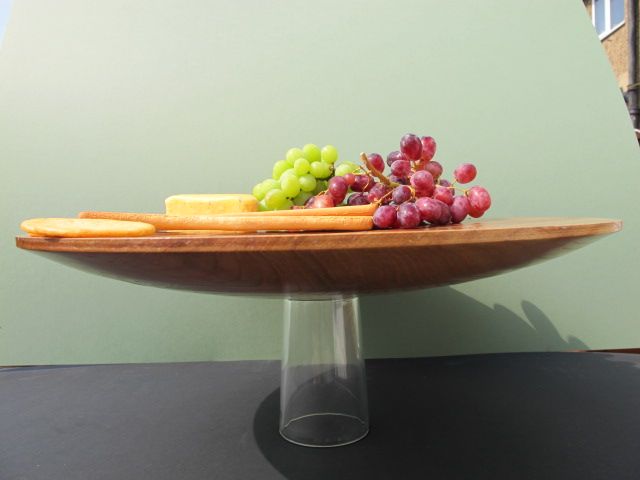
This is my entry for May 2012

The blank was marked B-B-K not sure what it is but maybe Beech ? and the K = kiln dried as it was very dry and dusty , has some lovely Pippy inclusions and mild spalting .

The finished size is 17" ( not sure what that is in metric )

Decided to leave the foot on this one although I normally remove the mount

Turned , shear scraped , and sanded to 400 grit

Sanding sealer de nibbed in both directions

1 Coat of food safe oil

2 coats of pure bees wax


The underside :-

IMG_1632.jpg


Side profile

IMG_1629.jpg


and the top with a selection of food :mrgreen:

IMG_1627.jpg


Good luck to one and all :wink:
 
For this month’s entry, an Oak platter 9.25” X .75”. The base is 5.5” so very stable.
Tools used bowl gouge, scraper, skew and a thin homemade scraper for inside the small details.
Board made as round as poss with bandsaw then held against a flat disc with tailstock while making the recess for completing the top, it was then turned and another recess turned in the top so that the outside bottom could be finished. The top was then completed .
As my lathe will only turn a 10” max, I taped the platter to a disc to remove the recess (to a slight hollow). Sanded to 320 three coats of walnut oil then buffed with the ultimate buffing system from Turners Retreat.
Side view
Platterside-1.jpg

Bottom View
Platterbase-1.jpg

Top view
Plattertop-1.jpg
 
Hi, here is my entry for the platter challenge:

Turned from a piece of very dry, tough elm.
Wet sanded/finished with Organoil food safe oil.
Size: 12 1/4" diameter and 1 1/8" height.

Ian
platter1.jpg

platter2.jpg

platter3.jpg
 

Attachments

  • platter1.jpg
    platter1.jpg
    209.5 KB
  • platter2.jpg
    platter2.jpg
    168.1 KB
  • platter3.jpg
    platter3.jpg
    117 KB
not a lot went right with this challenge - right up until I put a stone through the patio door earlier with a strimmer when I should have been doing this!

wood is tulipwood

290mm diameter

finish is melamine

my wife resolved the issue of what constitutes a platter - "I want something to serve a small meze on in the garden"; who was I to argue...

7296635052_b1067f0529_o.jpg


7296634854_ff0c1bb020_o.jpg


7296635336_6454ac8671_o.jpg
 
Hi all

All a bit last gasp, I have had a bout of the turners friend, a bad back and not been doing much.

In reading up the main consensus of a platter is a large serving plate so figured that was what I would go for

Determined to get one in though so went for a simple serving plate of Steamed Pear. When making things for food I always seem to latch on to fruit woods. This one has come up lovely in a rich colour.

310mm x 23mm

The thin profile makes for difficulty in getting a good side photo but hey ho. Having a vacuum chuck comes into its own on things like this as can get a lovely flat bottom and achieve really thin profile.

Finished on Beale buffing system with food safe wax finish

DSC02228.jpg


DSC02223.jpg


DSC02225.jpg
 
Status
Not open for further replies.
Back
Top