Hi Graeme
It is just a case of how far you want to go with the finishing/fettling.
The majority school of thought is that originality is the key and I wholeheartedly support this. As I said...if you get a good but dirty example...leaving it original but functional is the preferred way.
What I enjoy is restoration and as long as the example is fundamentally sound but it is beyond "collectable"...then I like to have something restored in full.
On the subject of stain to beech handles...you will have to remove all of the original shellac. This is what allows stain from acting on some areas and prevents it in others.
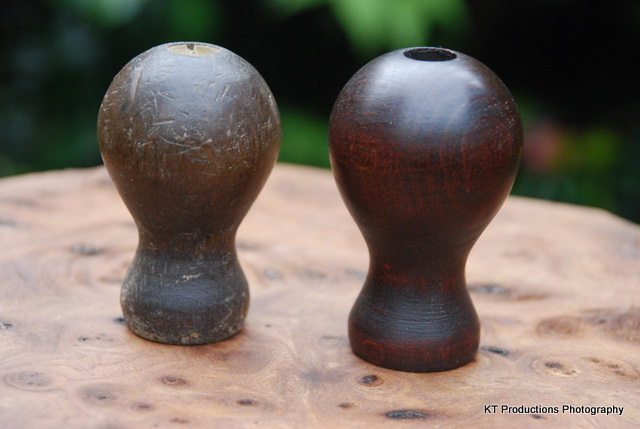
I start with 40 grit and go down the grits...which removes all the dead shellac and allows uniform staining:
The old example on the left is a very good one. The shellac is almost all intact. For this one I would just use burnishing cream on a lathe followed by beeswax. I will do this in a minute to compare.
The one from the No. 4 1/2 is on the right. This is after three coats of CHWO. The first was brushed on with a very large but soft brush with hardly any drag. This sealed the stain. I then used two wipe coats on a rag rotating as I went to try to be consistent. Later, when this has hardened, I will burnish and wax to a gloss.
The reason I like meths stain is that each coat darkens the wood progressively to almost dark brown whilst leaving the grain exposed. Using opaque finish is bland IMHO...like the Chinese do with the QS.
Moving along to sole/frog fettling....
In order to show that I am not just a wire wool and Brasso nut...I want to explain that it doesn't matter how shiny I want the end product, I still want it to work at its best.
Straight out of the factory and through the rigours of time and rust...the two key points that need attention are where the iron rests on the frog, and where the frog rests on the sole.
Each stage of the tuning adds a small but vital benefit to the proper seating of the iron. I am assuming stock iron at this stage as obviously that could be improved greatly by using a thicker iron and modifying the mouth.
So...first we need to lap the seats where the frog meets the sole:
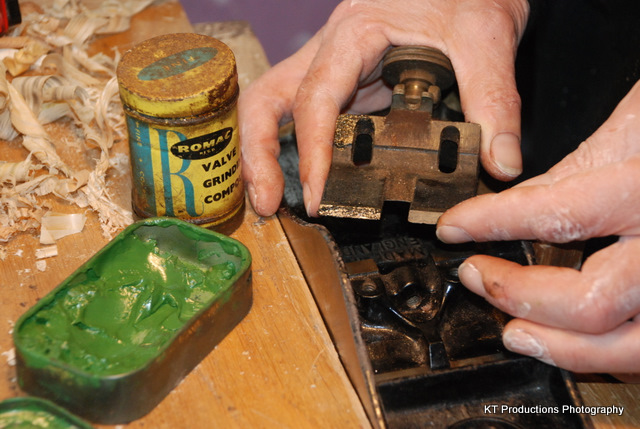
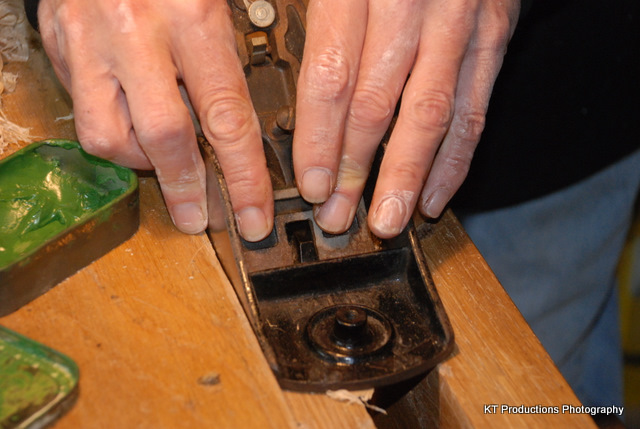
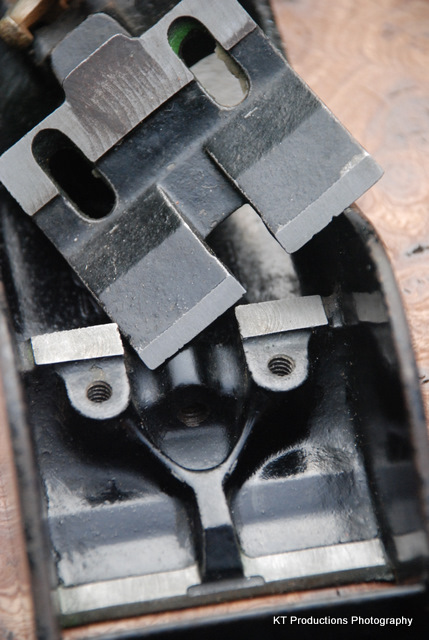
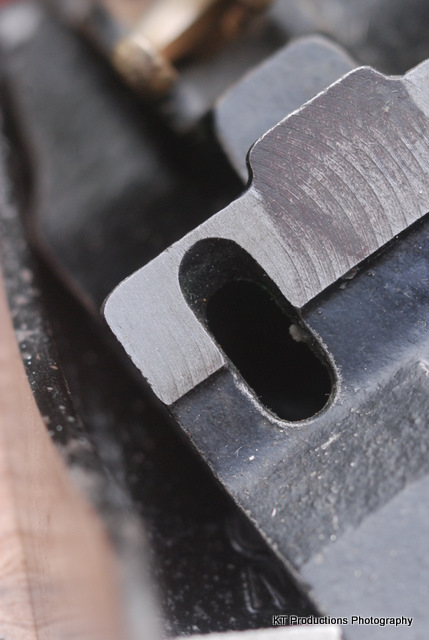
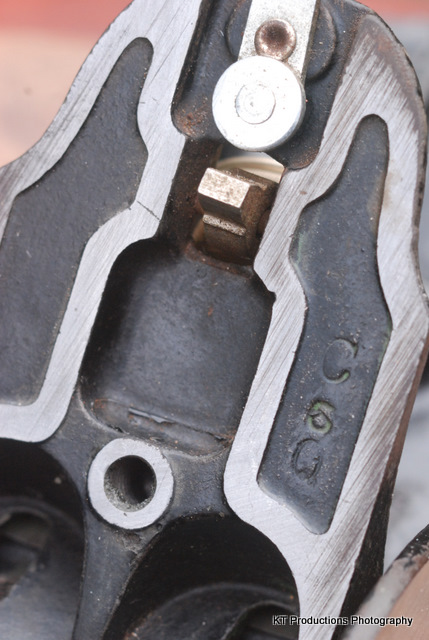
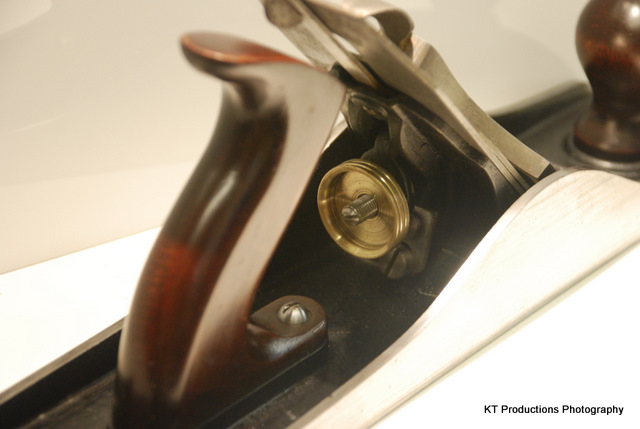
The four seat points on the frog are as shown here. First I use valve lapping compound from that lovely old double sided tin. Here I am applying COURSE grit to the first corner seat and I will apply this to each seat in turn then lap:
A gentle but firm and even back and forth movement will lap both the frog and the sole seats so that they mate perfectly. The closer they mate, the firmer the bed. This one was only mating at four high points...that was out of the factory, so this will be quite an improvement!
I then move down the grades of compound finishing with engineer's blue to see if the lapping has been complete.
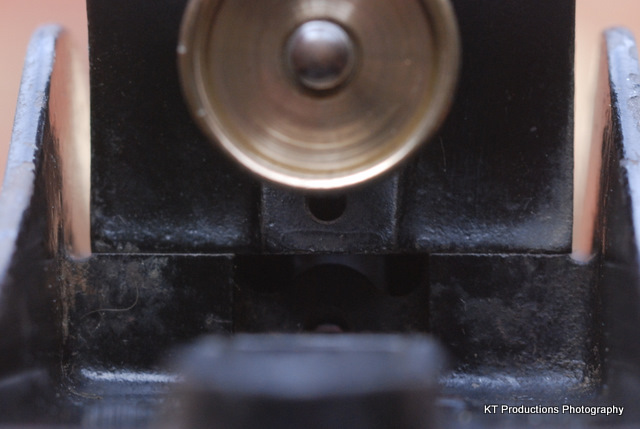
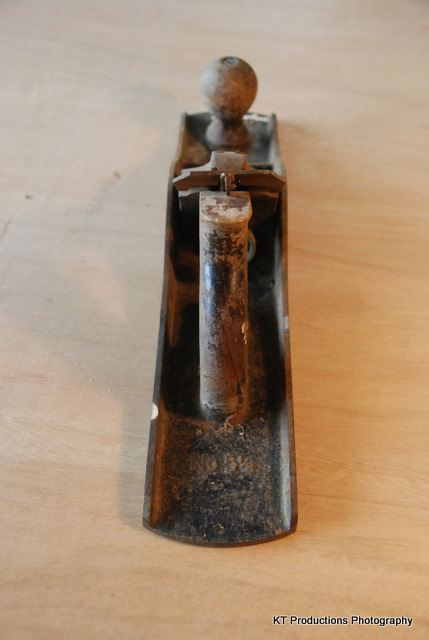
I am keeping the sole inside original. The Japanning is all but there and just needed a clean...more on that later.
Jim


