CroppyBoy1798
Established Member
Ok, so I recieved an old 'Warranted Superior' handsaw (26" blade, approx 7tpi) off a rahter elderly neighbour of mine some years back. The saw belonged to her father who died many many years back, meaning that this saw is at least a good 80 year old, at least!
The saw had been hanging in the shop for years purely as an ornament, I'd never considered doing anything with it, only on the odd occassion, but just one look at it; the badly cut and shaped teeth, the small crack in the blade, the rust and the woodworm infested handle were enough to ensure the saw went back up on the wall fairly promptly!
Recently however with my new found interest in old handsaws and sharpening I began to look at this saw in a different light, and instead of thinking why, I thought 'why not!!' .
.
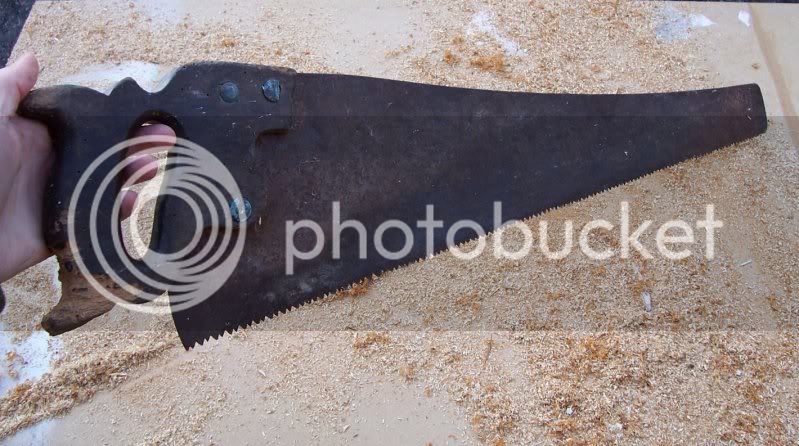
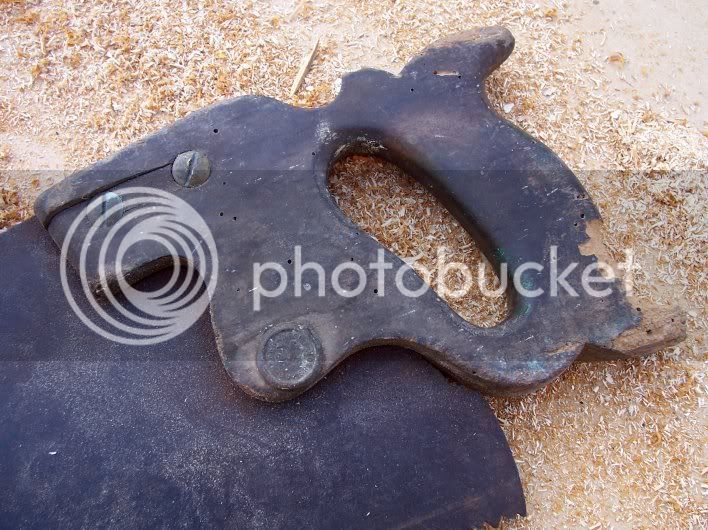
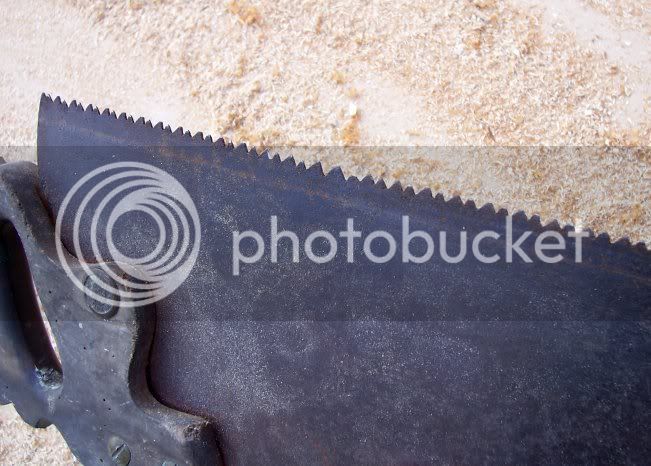
As mentioned the teeth were in a fair ol' state from years of poor sharpening. They were different sizes, different angles, different height.....this, combined with a small crack in the blade meant that they'd have to go! 'Go' as in, clean off, right back to a blank blade!
Having taken the handle off (for the last time ever!) the blade was given a good clean down to remove the surface rust, going down through the grades of paper on a wood block, I got it back to a fairly resonable level, there was some light pitting however, but it cleaned up nice enough.

Then, I had the brainwave of making the below contraption to grind the teeth down, but, as you can read in the below thread this caused a big problem! The solution, a stainless steel cutting disc and in a flast I'd taken a nice clean, straight cut off the blade removing the teeth and going beyond the small crack! Time to cut the teeth!
https://www.ukworkshop.co.uk/forums/made ... 40051.html
I decided to try make this one an 8TPI crosscut saw as I have a couple of rippers, so I had no use for another.
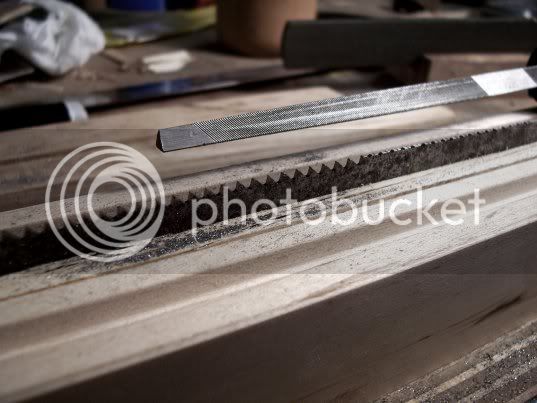
With the teeth cut I then focused on cutting and shaping a new handle. I didnt go crazy with this step, just kept the same profile and curves basically as the original, just making the grip section a little smaller for my hand and adding a recessed area for my right index finger. The grip was made from a piece of walnut.
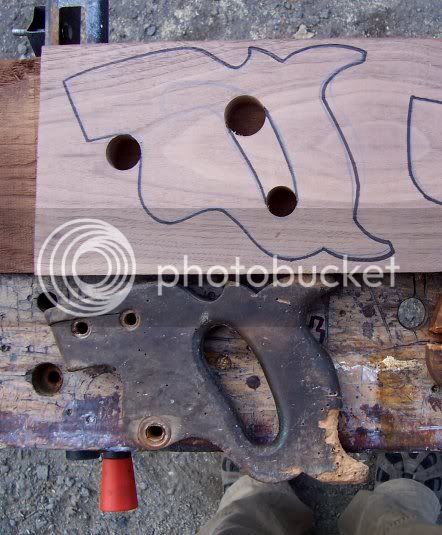
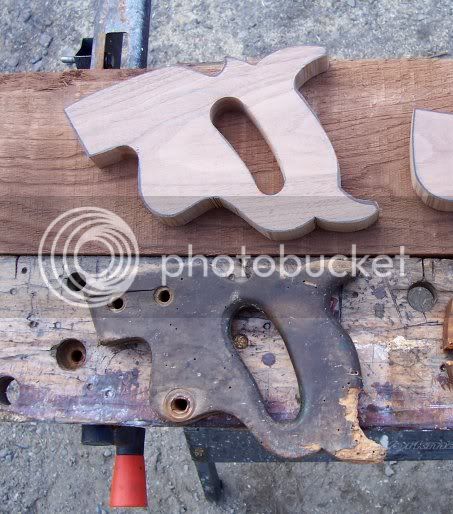
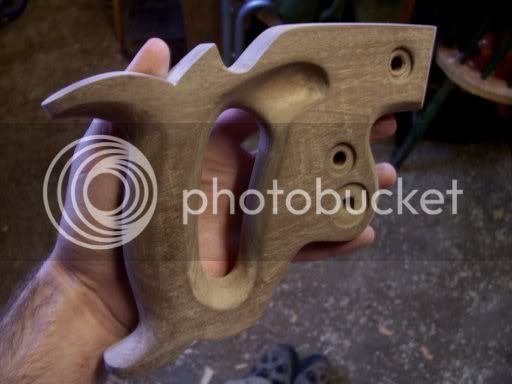
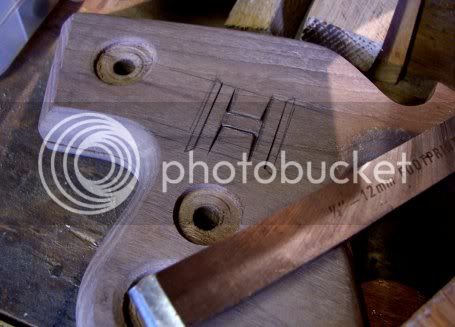
The grip was shaped using only a set of rough shaping files and then sanded down, through the grades. Then, time to add my mark!
When she was fully sanded she recieved several coats of shellac and was matched up to the blade and securely fitted!
Was it worth all the bother?! You decide!
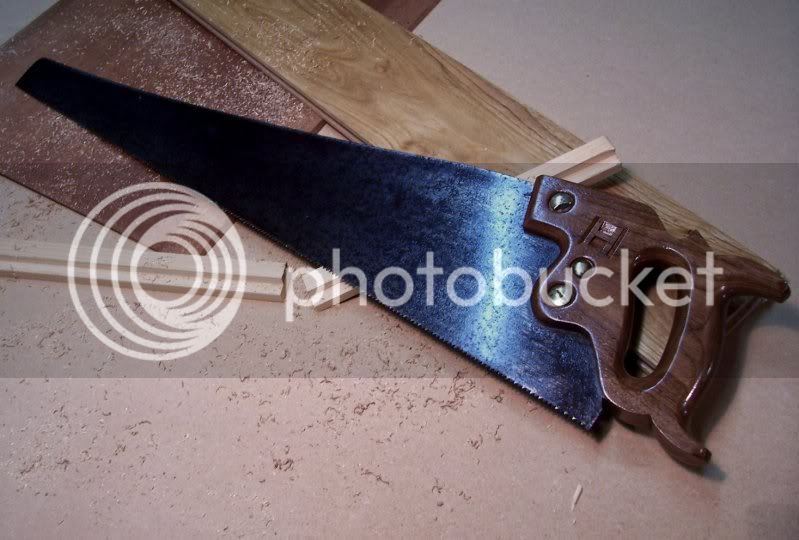
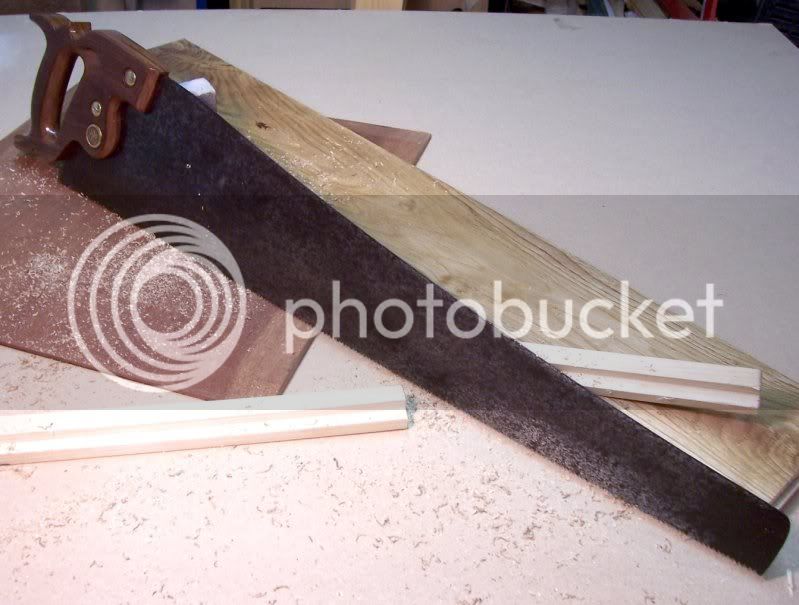
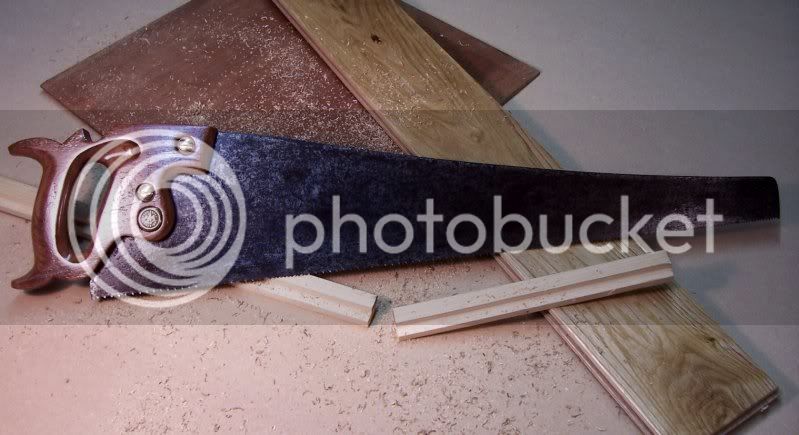
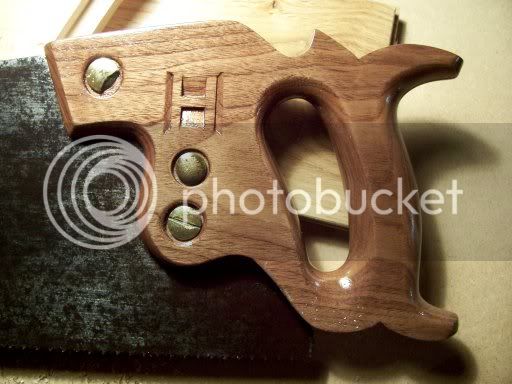
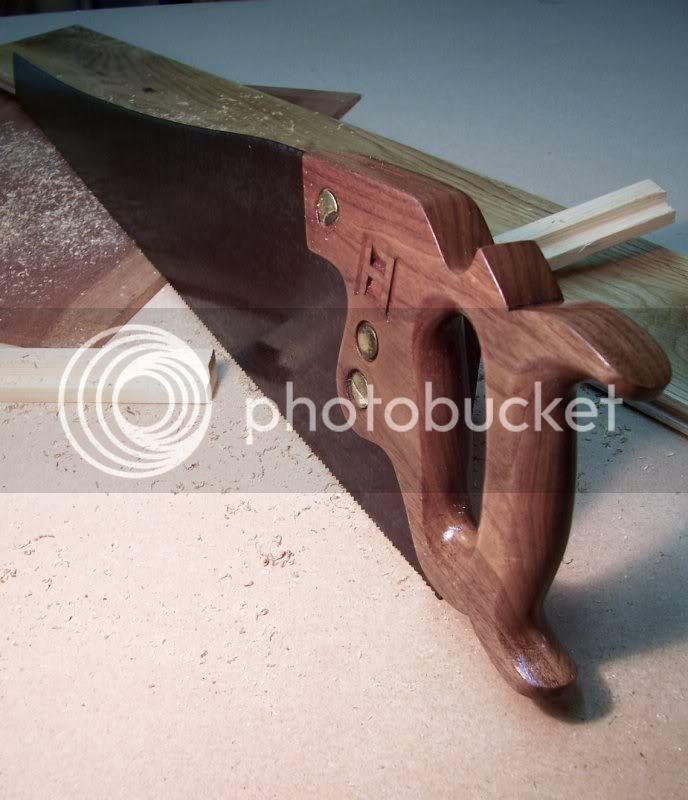
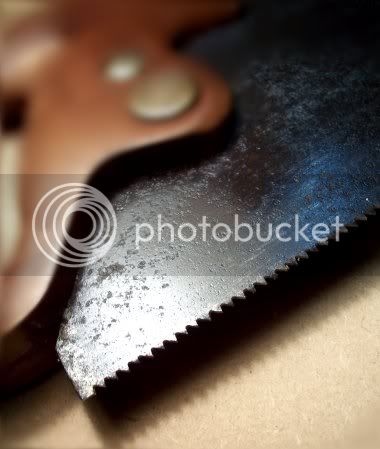
(The teeth need to be finished off, thus far they are only shaped and set)
Me, personally, I think it was! I was smiling like a chesire cat when I fitted that handle and tried her out on a piece of wood!! I had brough this saw back into useable condition again! And back to such a state that hopefully it can be used in my lifetime and still be around long after I've kicked the bucket! . I know I could have picked one up for a few quid, a decent one and saved myself some bother, but wheres the satisfaction in that?! I'm damn happy with myself!
The saw had been hanging in the shop for years purely as an ornament, I'd never considered doing anything with it, only on the odd occassion, but just one look at it; the badly cut and shaped teeth, the small crack in the blade, the rust and the woodworm infested handle were enough to ensure the saw went back up on the wall fairly promptly!
Recently however with my new found interest in old handsaws and sharpening I began to look at this saw in a different light, and instead of thinking why, I thought 'why not!!'


As mentioned the teeth were in a fair ol' state from years of poor sharpening. They were different sizes, different angles, different height.....this, combined with a small crack in the blade meant that they'd have to go! 'Go' as in, clean off, right back to a blank blade!

Having taken the handle off (for the last time ever!) the blade was given a good clean down to remove the surface rust, going down through the grades of paper on a wood block, I got it back to a fairly resonable level, there was some light pitting however, but it cleaned up nice enough.

Then, I had the brainwave of making the below contraption to grind the teeth down, but, as you can read in the below thread this caused a big problem! The solution, a stainless steel cutting disc and in a flast I'd taken a nice clean, straight cut off the blade removing the teeth and going beyond the small crack! Time to cut the teeth!
https://www.ukworkshop.co.uk/forums/made ... 40051.html
I decided to try make this one an 8TPI crosscut saw as I have a couple of rippers, so I had no use for another.

With the teeth cut I then focused on cutting and shaping a new handle. I didnt go crazy with this step, just kept the same profile and curves basically as the original, just making the grip section a little smaller for my hand and adding a recessed area for my right index finger. The grip was made from a piece of walnut.


The grip was shaped using only a set of rough shaping files and then sanded down, through the grades. Then, time to add my mark!

When she was fully sanded she recieved several coats of shellac and was matched up to the blade and securely fitted!
Was it worth all the bother?! You decide!


(The teeth need to be finished off, thus far they are only shaped and set)
Me, personally, I think it was! I was smiling like a chesire cat when I fitted that handle and tried her out on a piece of wood!! I had brough this saw back into useable condition again! And back to such a state that hopefully it can be used in my lifetime and still be around long after I've kicked the bucket!


