CHJ
Established Member
__________
__________Tall Vase without specialist hollowing tools.______click on images for larger view
_________ ___
___
 ___
___
 ___
___
__________
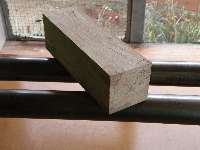
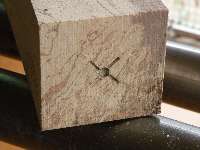
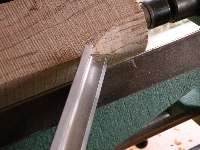
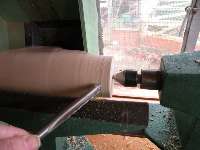
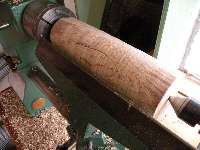
__________Prepare Blank, locate centres, hammer drive centre indent.
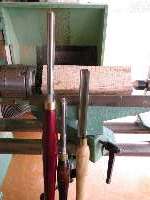
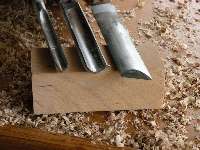
__________Select stout tool to rough round blank, spindle roughing gouge or bowl gouge.
_________ ___
___
 ___
___
 ___
___
__________
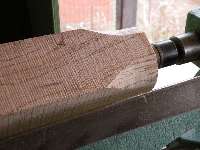
__________Remove corners by working Towards Edge from centre,
__________to avoid catches and splitting of wood, re-adjust rest closer as you work
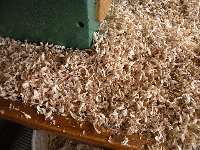
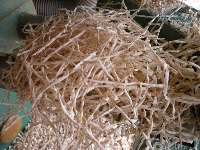
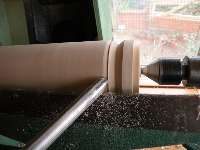
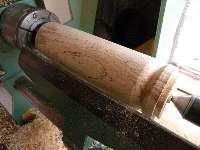
__________As soon as you have a cylinder, select a spindle gouge or skew to obtain improved finish
__________and achieve basic shaping, you may find a better finish is achieved
__________dependant on direction of cut, especially with the skew.
__________notice the improved long shavings using the skew.
_________ ___
___
 ___
___
 ___
___
__________
__________Shape spigot on end to suit chuck jaws & define base limit, leave a good shoulder
__________to rest up tight to jaw face to aid sideways pressure stability.
__________Turn piece around and using tail centre to align, locate spigot in chuck jaws.
__________Finish shaping and final rounding do not undercut base too much at this time.
_________ ___
___
 ___
___
 ___
___
__________
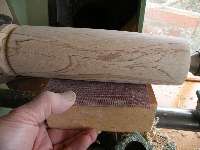
__________Use a Flat sanding block to blend any tool marks you may have.
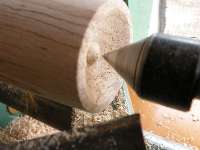
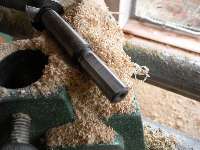
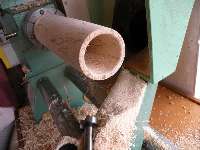
__________Form a cone in tail-stock end, removing centre at last minute.
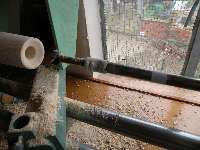
__________This will aid natural alignment of forstener drill bits that will not have centre location.
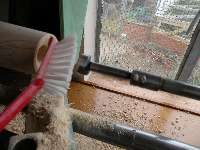
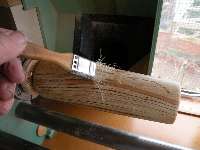
__________Use a brush to remove debris they get hot, a small flat ground on the side of the shaft aids spin prevention.
_________ ___
___
 ___
___
 ___
___
__________
__________Use masking tape to mark drill depth on shank.
__________Open up the bore by working through the drill sizes.
__________Work drill in and out of bore several times after reaching full depth,
__________to remove trapped shavings.
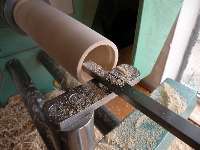
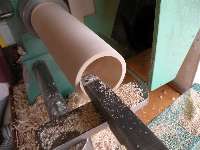
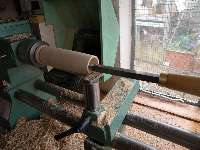
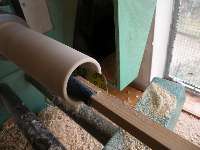
__________Now comes the dilemma if you don't have any specialist hollowing tools.
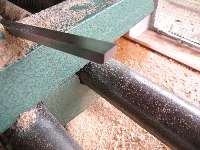
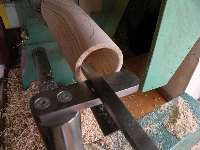
__________I use narrow but thick (stiff) scraper or for the deeper items a home made tool with a Ci1 tip.
__________Set the tool rest height (flat is good) so that the cutting corner is above centre and giving clearance for lower edge.
__________Plung cut, small cuts at a time, angling tool to follow outer shape as necessary.
_________ ___
___
 ___
___
 ___
___
__________
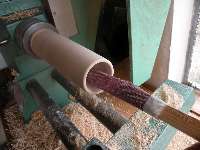
__________Using a split stick or taped abrasives sand inside bore.
_________ ___
___
 ___
___
 ___
___
__________
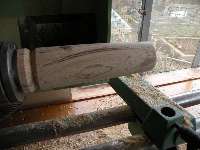
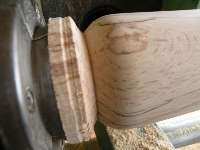
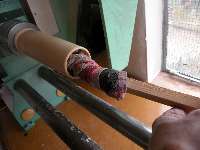
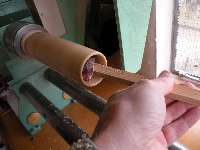
__________Finish off base definition, finish sand in line with grain by hand.
__________Seal inside & out & burnish with split stick in bore
__________Denib & remove those scratches you missed.
_________ ___
___
 ___
___
 ___
___
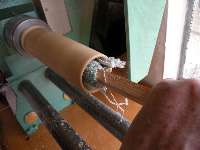
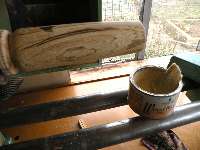
__________Apply wax finish and buff.
_________ ___
___
 ___
___
__________
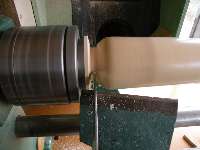
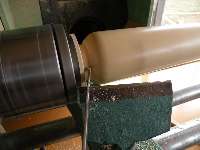
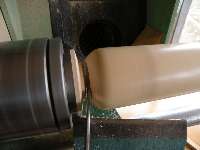
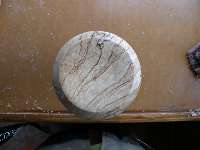
__________Using slim parting tool remove piece from chuck spigot.
__________Once past base outer rim angle tool to form a hollow base on piece.
__________Steady end of piece with right hand and catch it as you complete parting.
__________If not confident parting fully finish cut with narrow pull saw with lathe stationary.
_________ ___
___
 ___
___
__________
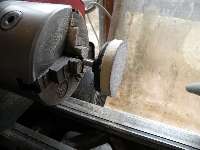
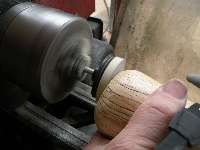
__________Using a sanding disc mounted in the lathe (I use my metal lathe for convenience.)
__________Sand the base, seal, wax and buff.
__________
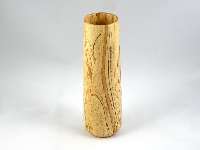
__________Hopefully all being well you will end up with something like this.
_________
__________
__________Notes:
__________With tall vases remember to leave sufficient wood mass in base area to avoid tipping.
__________On wider vases I use a stiff curved scraper to clean the bottom of the bore sides.
__________I have a long reach flat rests to act as support down the bore.
__________Safety Note Link:
__________On Deeper or less secure Vases I use a Lathe Steady.
__________Tall Vase without specialist hollowing tools.______click on images for larger view
_________
 ___
___
 ___
___
 ___
___

__________
__________Prepare Blank, locate centres, hammer drive centre indent.
__________Select stout tool to rough round blank, spindle roughing gouge or bowl gouge.
_________
 ___
___
 ___
___
 ___
___

__________
__________Remove corners by working Towards Edge from centre,
__________to avoid catches and splitting of wood, re-adjust rest closer as you work
__________As soon as you have a cylinder, select a spindle gouge or skew to obtain improved finish
__________and achieve basic shaping, you may find a better finish is achieved
__________dependant on direction of cut, especially with the skew.
__________notice the improved long shavings using the skew.
_________
 ___
___
 ___
___
 ___
___

__________
__________Shape spigot on end to suit chuck jaws & define base limit, leave a good shoulder
__________to rest up tight to jaw face to aid sideways pressure stability.
__________Turn piece around and using tail centre to align, locate spigot in chuck jaws.
__________Finish shaping and final rounding do not undercut base too much at this time.
_________
 ___
___
 ___
___
 ___
___

__________
__________Use a Flat sanding block to blend any tool marks you may have.
__________Form a cone in tail-stock end, removing centre at last minute.
__________This will aid natural alignment of forstener drill bits that will not have centre location.
__________Use a brush to remove debris they get hot, a small flat ground on the side of the shaft aids spin prevention.
_________
 ___
___
 ___
___
 ___
___

__________
__________Use masking tape to mark drill depth on shank.
__________Open up the bore by working through the drill sizes.
__________Work drill in and out of bore several times after reaching full depth,
__________to remove trapped shavings.
__________Now comes the dilemma if you don't have any specialist hollowing tools.
__________I use narrow but thick (stiff) scraper or for the deeper items a home made tool with a Ci1 tip.
__________Set the tool rest height (flat is good) so that the cutting corner is above centre and giving clearance for lower edge.
__________Plung cut, small cuts at a time, angling tool to follow outer shape as necessary.
_________
 ___
___
 ___
___
 ___
___

__________
__________Using a split stick or taped abrasives sand inside bore.
_________
 ___
___
 ___
___
 ___
___

__________
__________Finish off base definition, finish sand in line with grain by hand.
__________Seal inside & out & burnish with split stick in bore
__________Denib & remove those scratches you missed.
_________
 ___
___
 ___
___
 ___
___

__________Apply wax finish and buff.
_________
 ___
___
 ___
___

__________
__________Using slim parting tool remove piece from chuck spigot.
__________Once past base outer rim angle tool to form a hollow base on piece.
__________Steady end of piece with right hand and catch it as you complete parting.
__________If not confident parting fully finish cut with narrow pull saw with lathe stationary.
_________
 ___
___
 ___
___

__________
__________Using a sanding disc mounted in the lathe (I use my metal lathe for convenience.)
__________Sand the base, seal, wax and buff.
__________
__________Hopefully all being well you will end up with something like this.
_________

__________
__________Notes:
__________With tall vases remember to leave sufficient wood mass in base area to avoid tipping.
__________On wider vases I use a stiff curved scraper to clean the bottom of the bore sides.
__________I have a long reach flat rests to act as support down the bore.
__________Safety Note Link:
__________On Deeper or less secure Vases I use a Lathe Steady.


