sploo
Somewhat extinguished member
After recently picking up a Metabo DH330 thickness planer, I wanted to try to create an end grain chopping board, similar to those made by MTMWood.
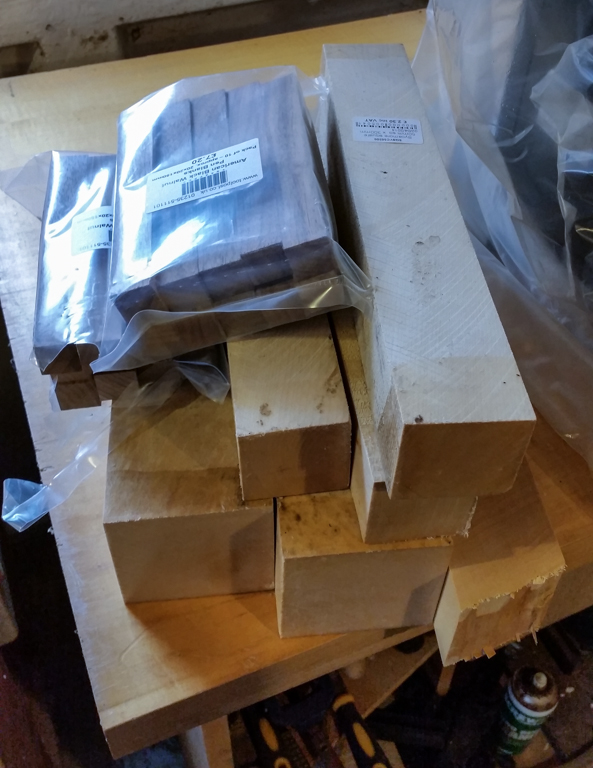
Originally I wanted to use American Black Walnut and Maple, but my local turning supplier didn't have any Maple. A bit of searching told me that sycamore would be an acceptable substitute:
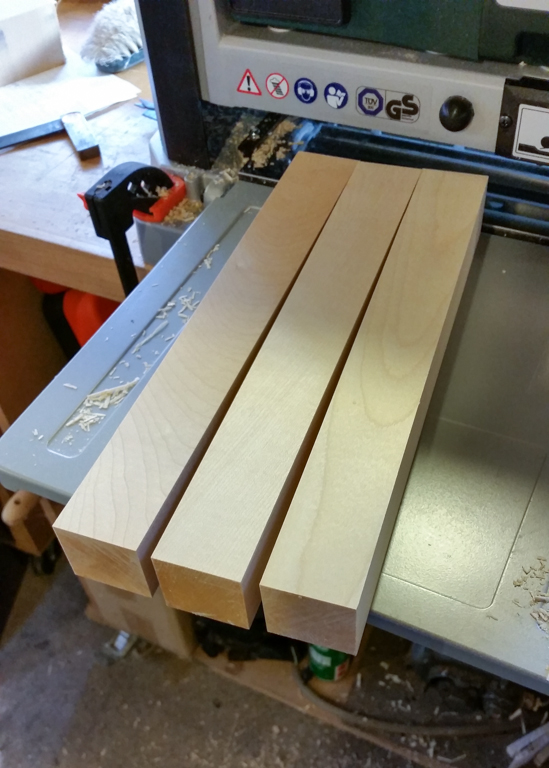
I planed the Sycamore down to 40x40mm, and lightly planed the walnut to 20x20mm (it was purchased as pen blanks, so was pretty close already). My plan was to have a grid of 6x4 of the 40mm Sycamore blocks, edged with 20mm walnut.
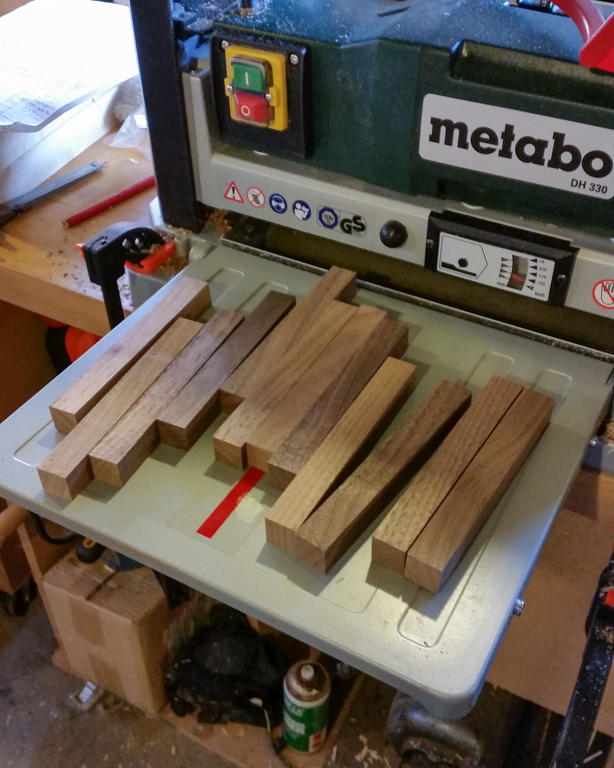
My old bandsaw blade was a lot more blunt than I realised (it was still cutting 3/4" MDF boards OK), so it rather died on its backside cutting hardwood; or more specifically, cut using heat . A new blade for the later cuts solved that problem.
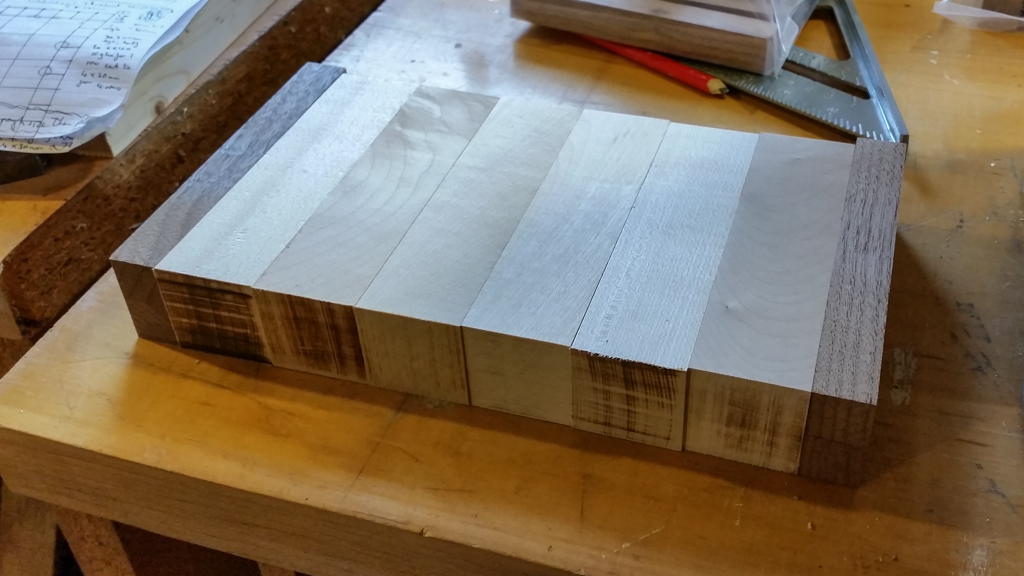
This was a dry fit of one row of the blocks:
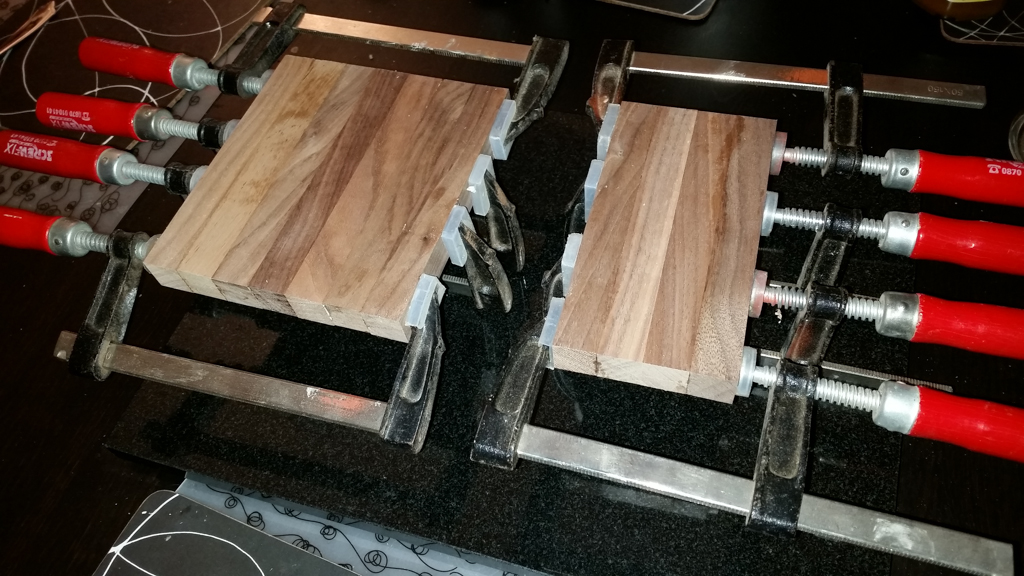
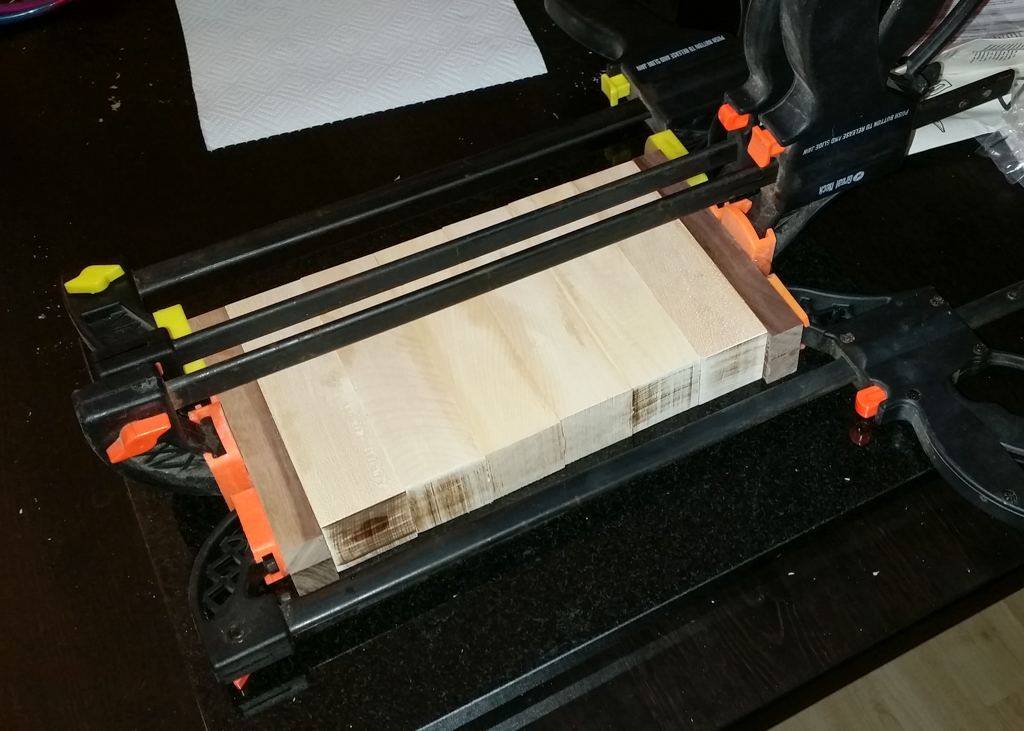
I glued the walnut as a set of 7 (there would be two columns of 7 blocks on the top and bottom) and two sets of 2 (for the edges). Then the sycamore and sets of 2 walnut were glued together:
I realised that the planer had left a little snipe on the material - almost impossible to feel, but obvious in the right light (see the walnut shot below). I made some sleds from pine offcuts to hold the parts; such that the snipe should happen on the ends of the sled.
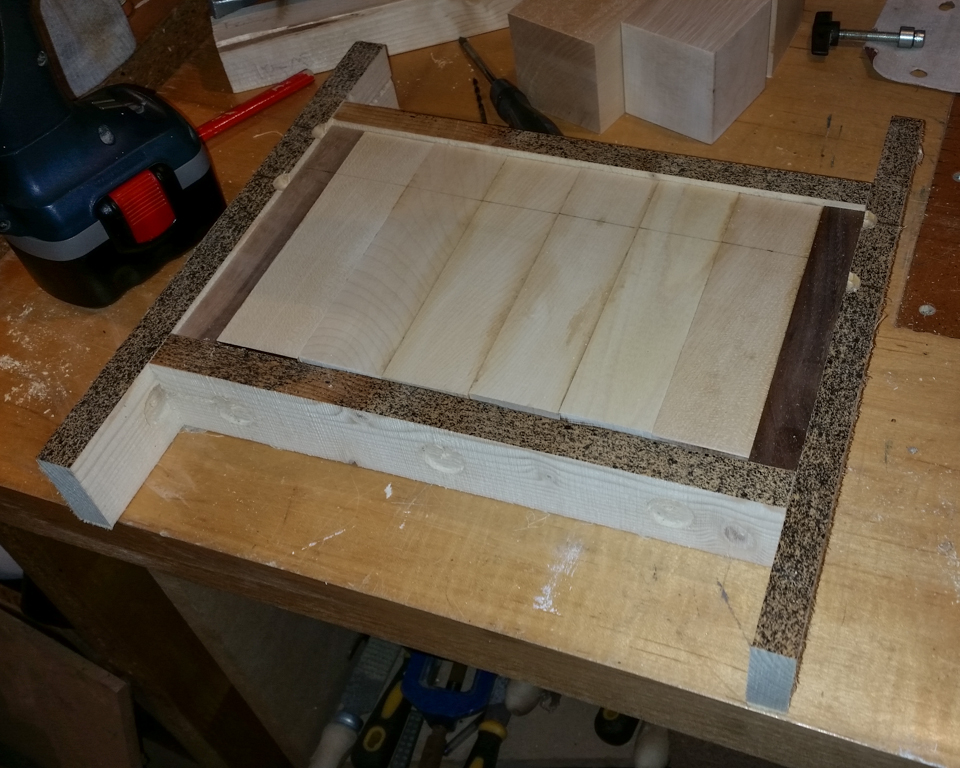
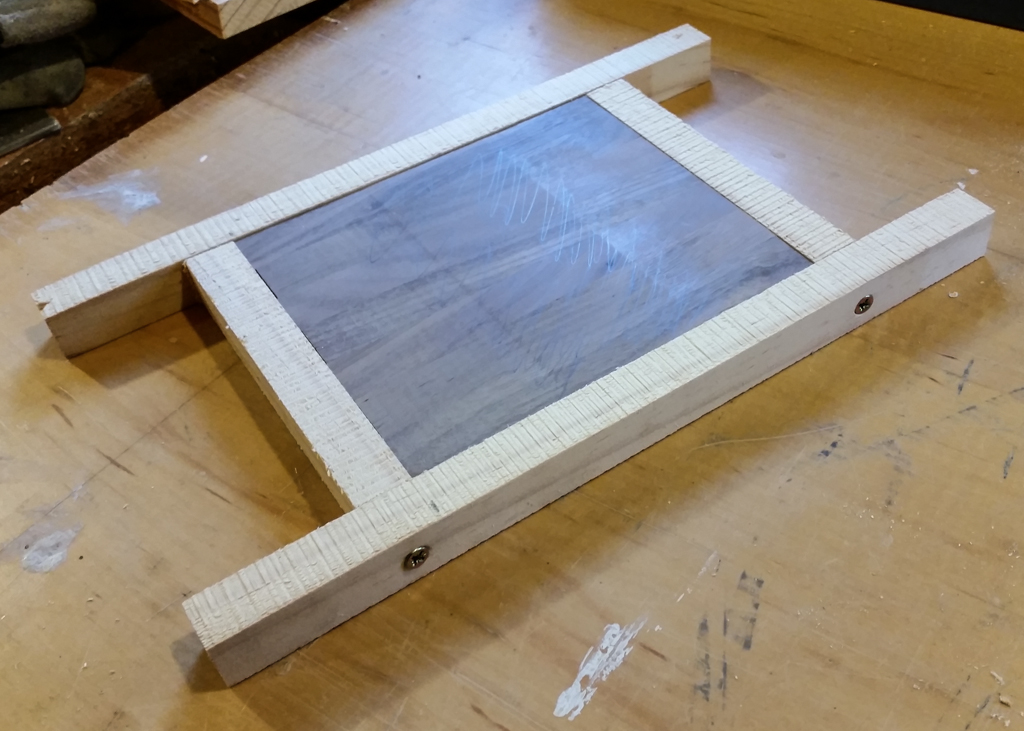
The results after planing:
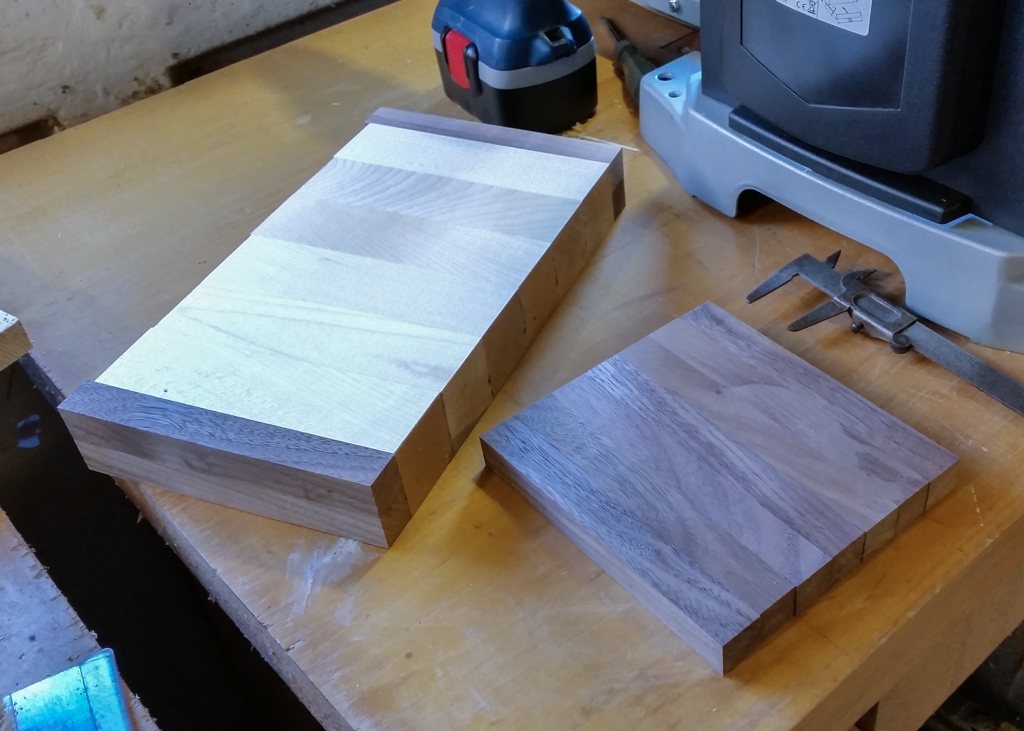
I then sliced the slabs into sections of roughly the thickness of the final board, and did a quick "dry fit":
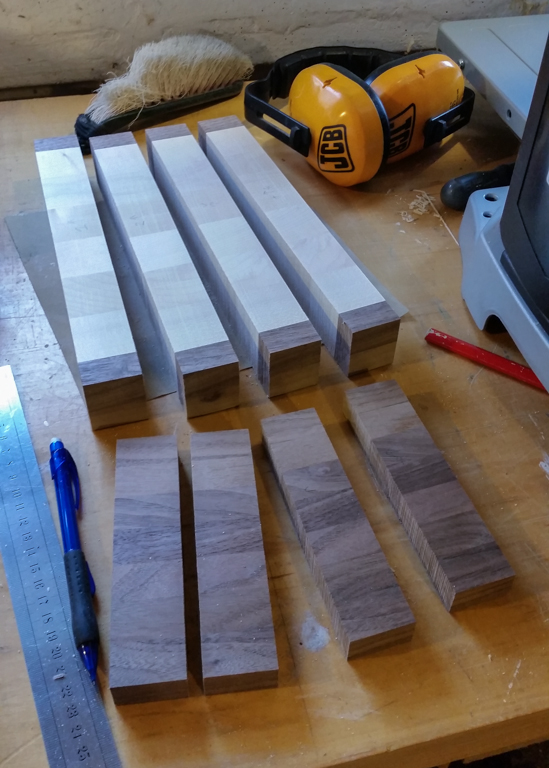
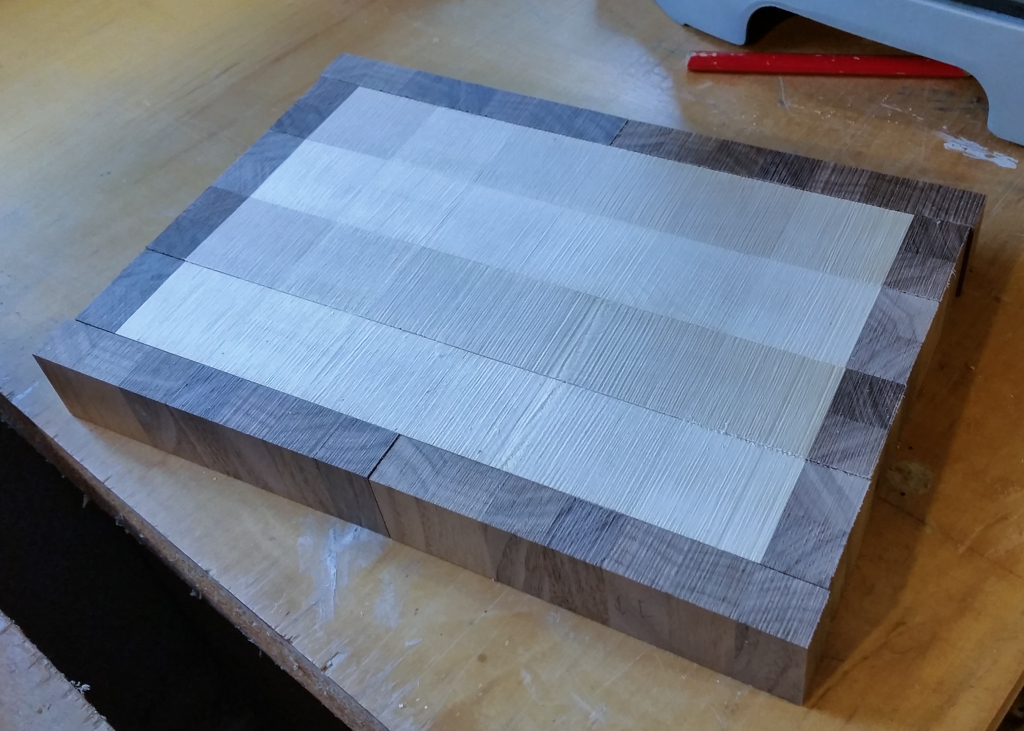
I did the final gluing in stages, to try to avoid slipping due to the glue (Titebond III used for the whole project).
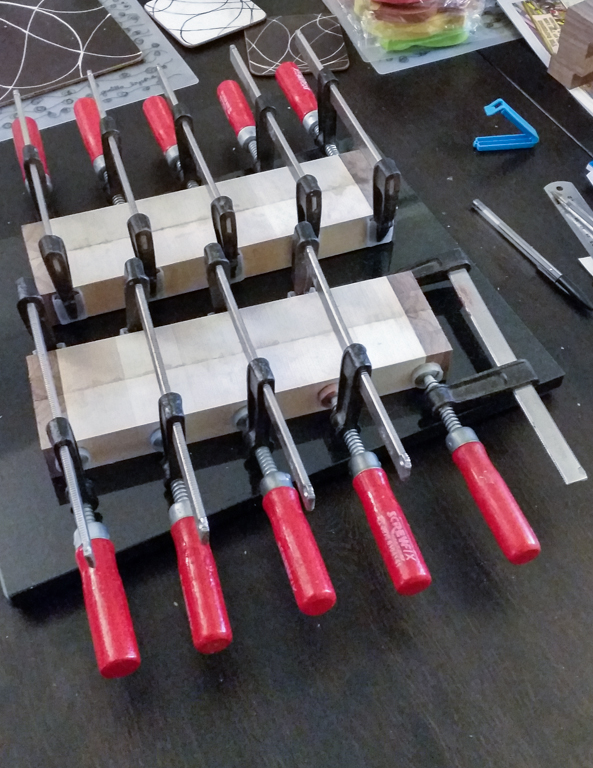
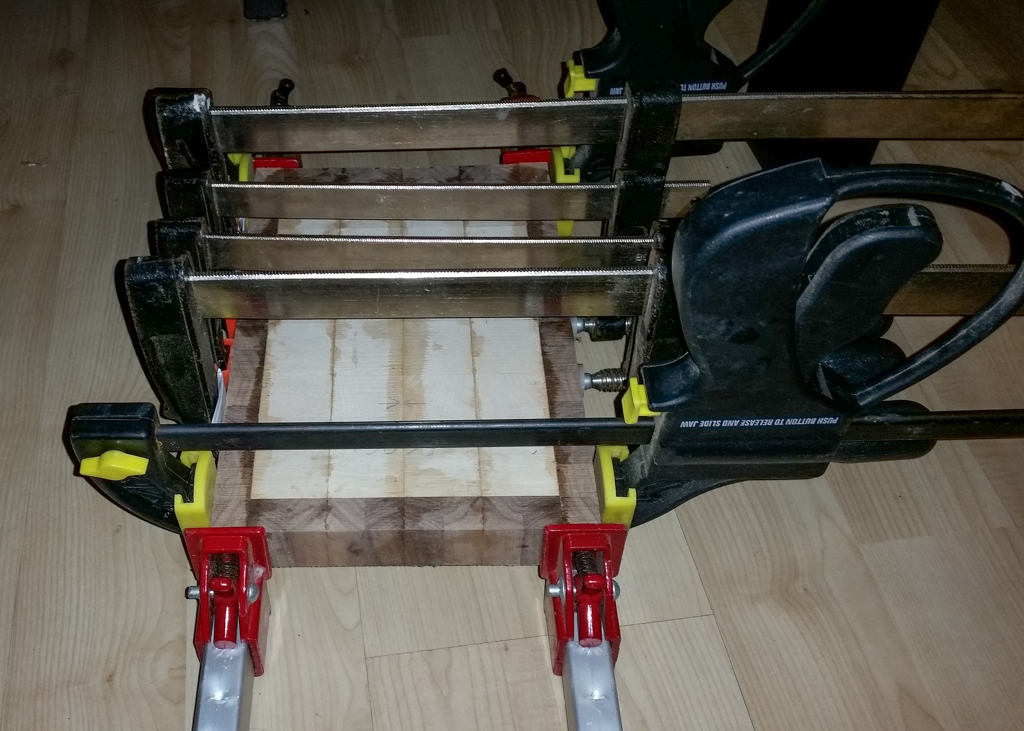
The edges of the board weren't perfect, so needed to be trimmed. I did that on a router table jig I made specifically for the job (see edge-trimming-jig-for-the-router-table-t86197.html).
With the edges smooth and square, the board went into another sled (this time both to prevent snipe on the board, and also tearout of the end grain), then had its final planning:
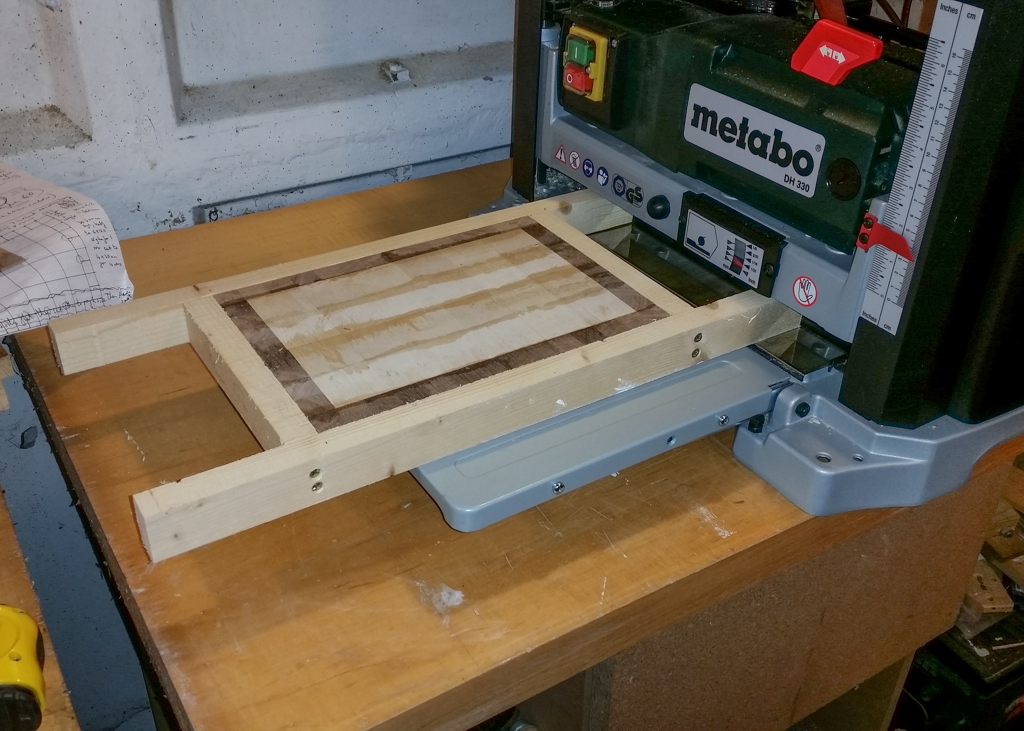
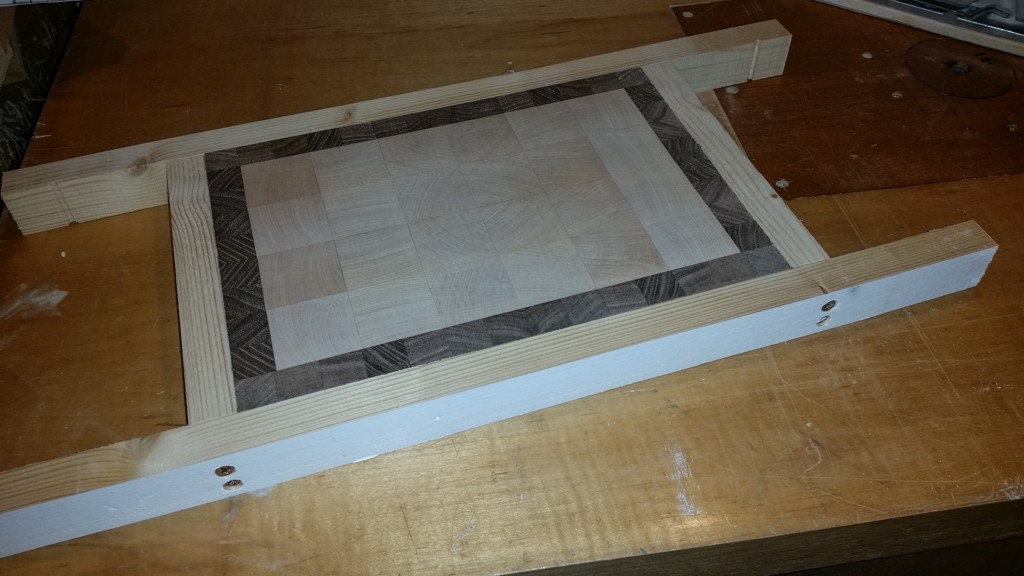
I then rounded it over on the router table, and followed that with plenty of sanding:
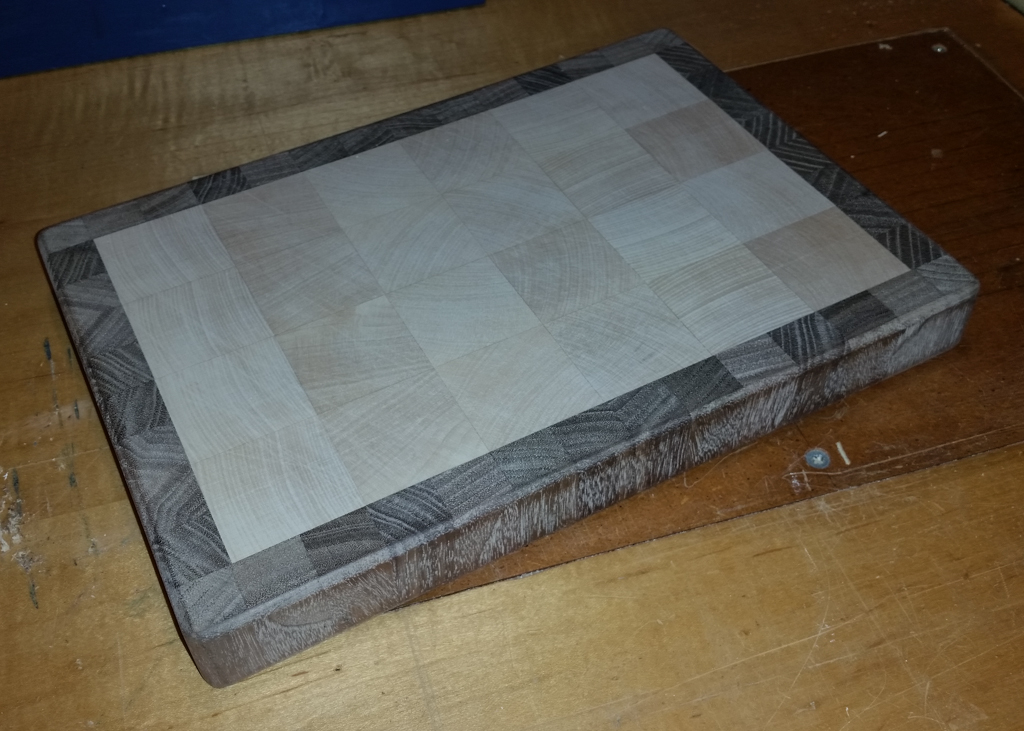
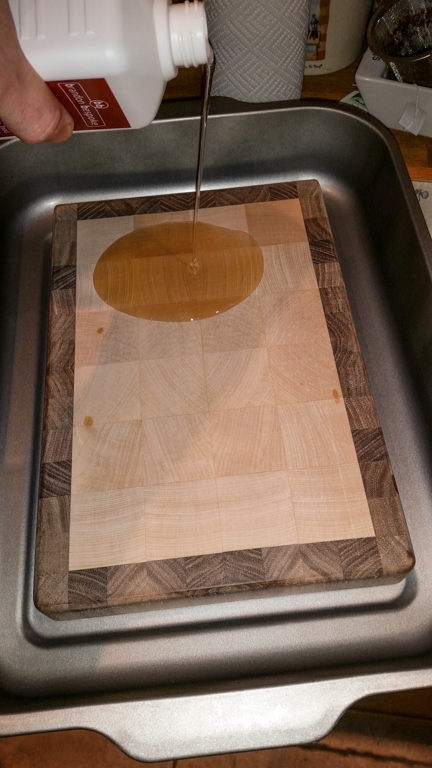
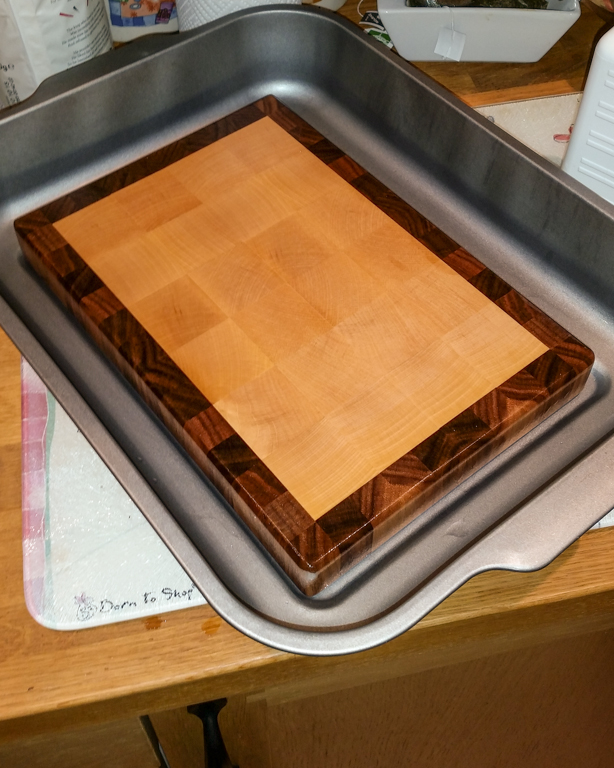
Then a liberal drowning in mineral oil:
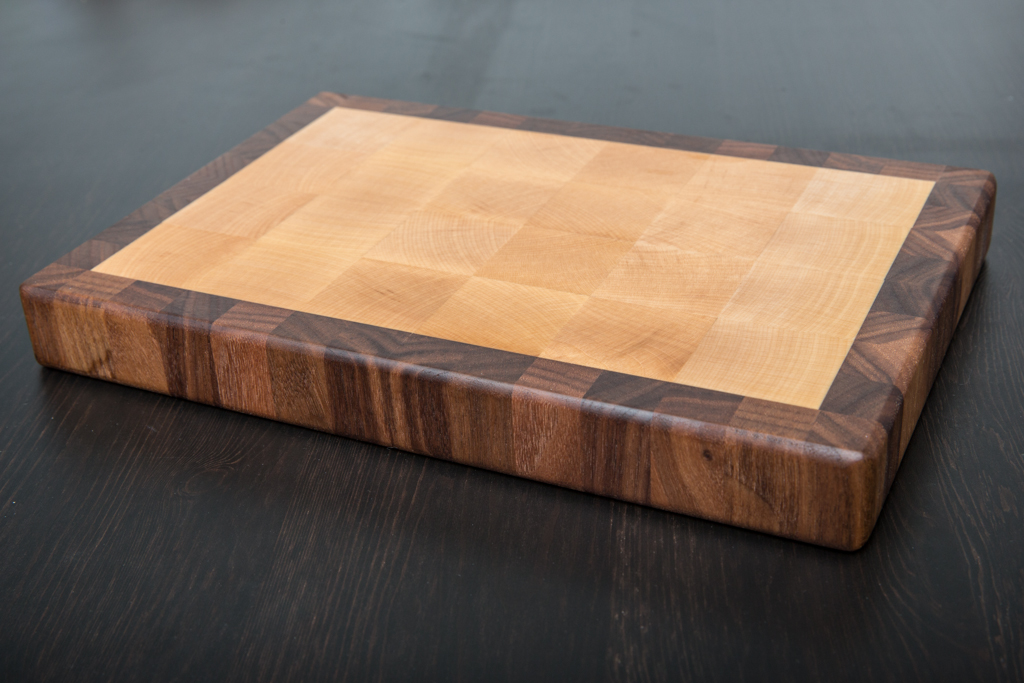
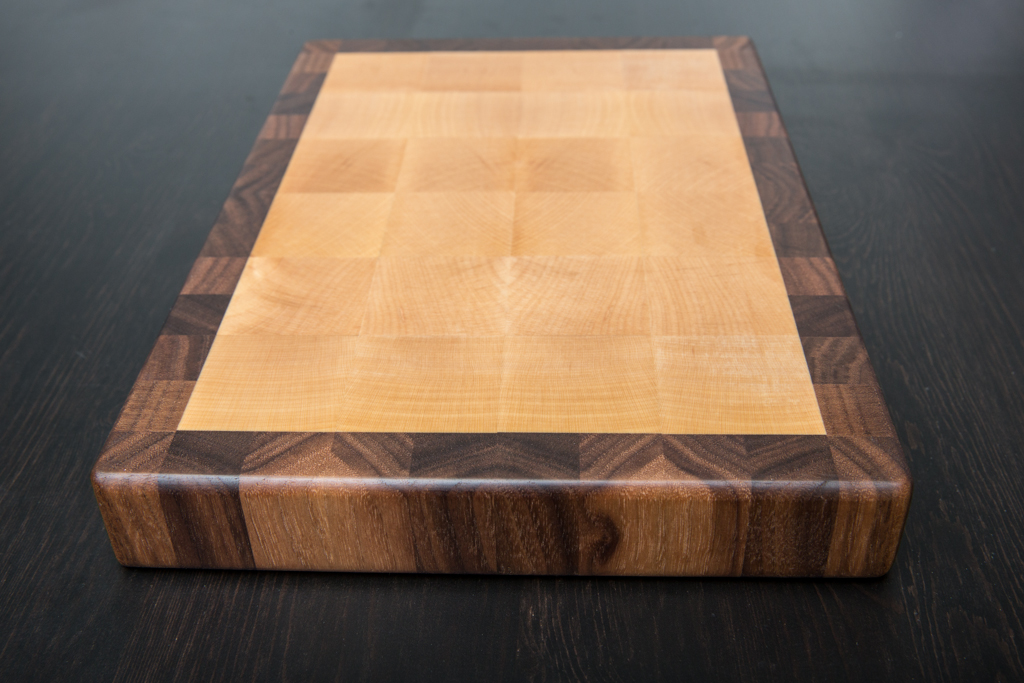
Finally, some shots on a "proper" camera:
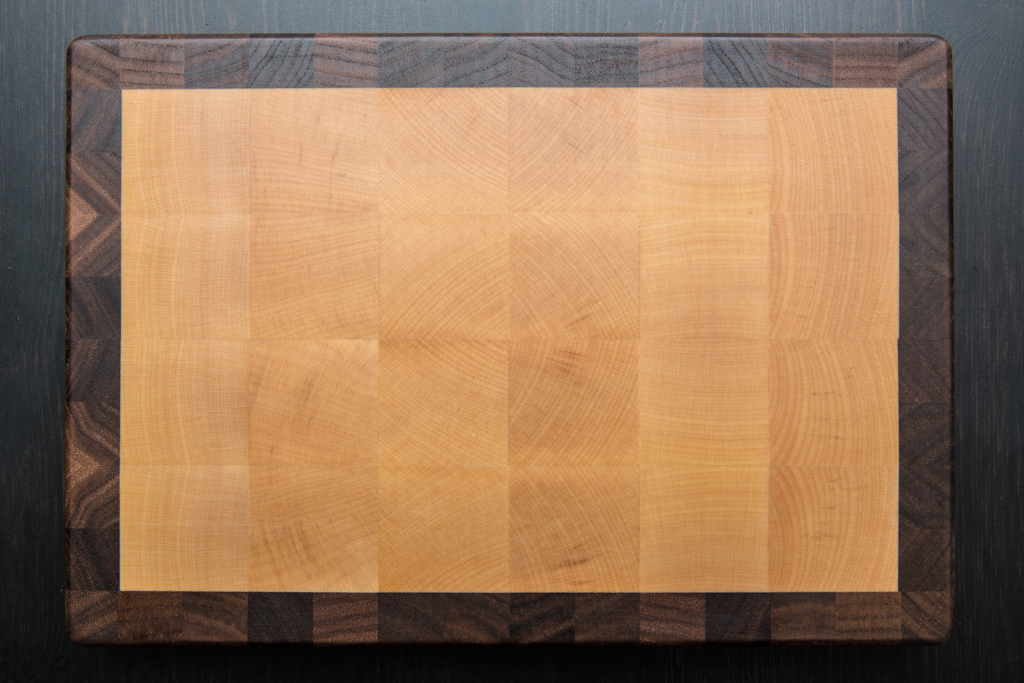
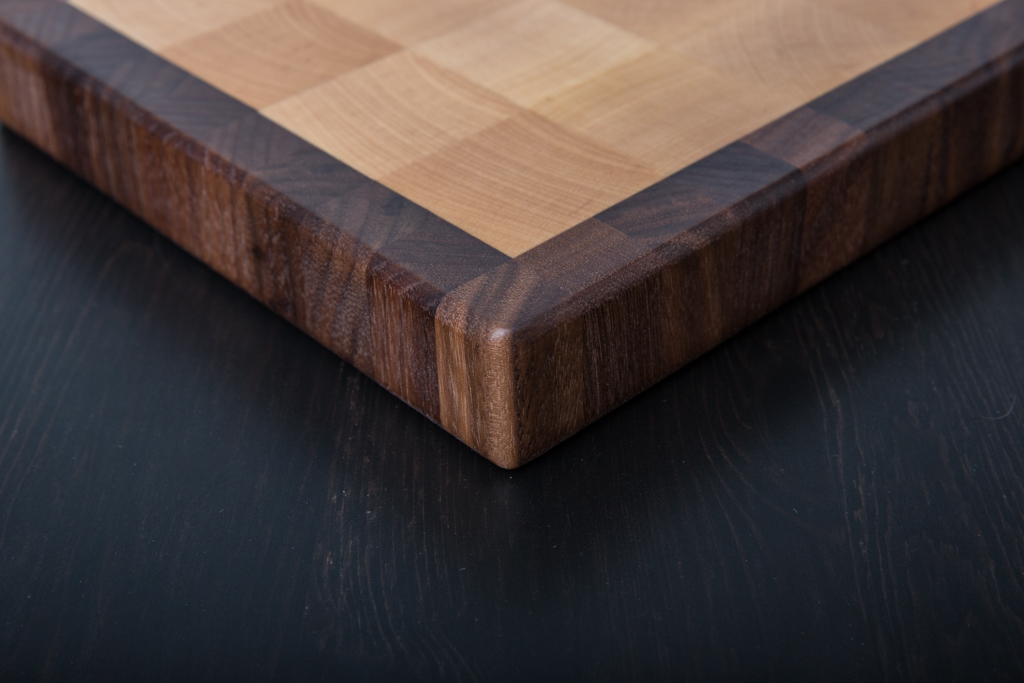
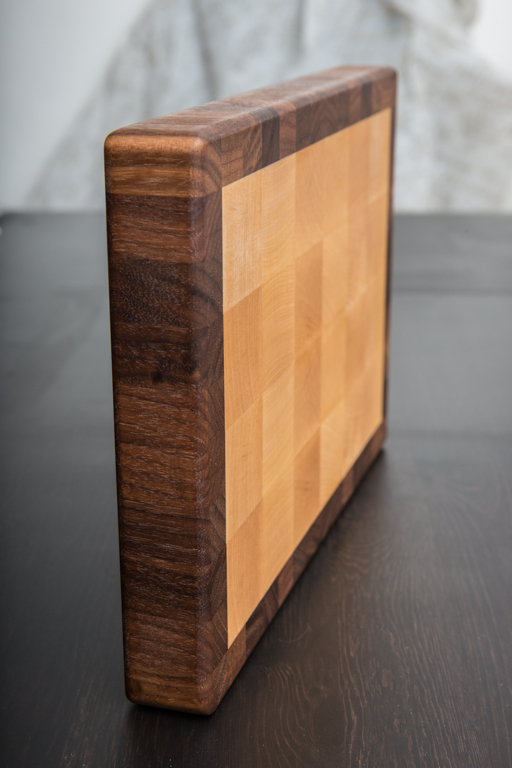
It's not perfect. I don't have a jointer, so the blocks weren't actually perfectly square (which becomes obvious when you try to glue many of them together). Fortunately I managed to close any gaps - but this meant the board wasn't totally square once glued, and thus needed the edges planed on my jig.
The planning of the board (before it was sliced) also affected the size of the resulting blocks, so it doesn't quite line up with the walnut, but it's not that obvious "in the flesh".
The planer coped quite well, but I'm very conservative; cuts on end grain were never more than 0.25mm; usually less. Obviously this requires a lot of passes, but it was a small board (approx. 280x200x30mm finished) so that didn't take long.
Without interruptions (you know, family, job, blunt bandsaw blades, that sort of thing :wink you could probably do this in ~3 days (mostly the time waiting for the glue stages to dry). As evidenced by the image timestamps, it took me more than a month!
Originally I wanted to use American Black Walnut and Maple, but my local turning supplier didn't have any Maple. A bit of searching told me that sycamore would be an acceptable substitute:

I planed the Sycamore down to 40x40mm, and lightly planed the walnut to 20x20mm (it was purchased as pen blanks, so was pretty close already). My plan was to have a grid of 6x4 of the 40mm Sycamore blocks, edged with 20mm walnut.


My old bandsaw blade was a lot more blunt than I realised (it was still cutting 3/4" MDF boards OK), so it rather died on its backside cutting hardwood; or more specifically, cut using heat
This was a dry fit of one row of the blocks:

I glued the walnut as a set of 7 (there would be two columns of 7 blocks on the top and bottom) and two sets of 2 (for the edges). Then the sycamore and sets of 2 walnut were glued together:


I realised that the planer had left a little snipe on the material - almost impossible to feel, but obvious in the right light (see the walnut shot below). I made some sleds from pine offcuts to hold the parts; such that the snipe should happen on the ends of the sled.


The results after planing:

I then sliced the slabs into sections of roughly the thickness of the final board, and did a quick "dry fit":


I did the final gluing in stages, to try to avoid slipping due to the glue (Titebond III used for the whole project).


The edges of the board weren't perfect, so needed to be trimmed. I did that on a router table jig I made specifically for the job (see edge-trimming-jig-for-the-router-table-t86197.html).
With the edges smooth and square, the board went into another sled (this time both to prevent snipe on the board, and also tearout of the end grain), then had its final planning:


I then rounded it over on the router table, and followed that with plenty of sanding:

Then a liberal drowning in mineral oil:


Finally, some shots on a "proper" camera:


It's not perfect. I don't have a jointer, so the blocks weren't actually perfectly square (which becomes obvious when you try to glue many of them together). Fortunately I managed to close any gaps - but this meant the board wasn't totally square once glued, and thus needed the edges planed on my jig.
The planning of the board (before it was sliced) also affected the size of the resulting blocks, so it doesn't quite line up with the walnut, but it's not that obvious "in the flesh".
The planer coped quite well, but I'm very conservative; cuts on end grain were never more than 0.25mm; usually less. Obviously this requires a lot of passes, but it was a small board (approx. 280x200x30mm finished) so that didn't take long.
Without interruptions (you know, family, job, blunt bandsaw blades, that sort of thing :wink


