***** March Round Platter Challenge *****

UKworkshop.co.uk

Help Support UKworkshop.co.uk:

This site may earn a commission from merchant affiliate links, including eBay, Amazon, and others.
Status
Not open for further replies.

Blister

Established Member
UKW Supporter
Joined
10 Nov 2006
Messages
7,756
Reaction score
540
Location
Boston Lincs
March 2011 Round Platter Challenge

Platter as defined by the Oxford English Dictionary

1 A large flat dish or plate for serving food.
2 A meal or selection of food placed on a platter,

Rules for this Challenge

A round Platter Any diameter ( some forum members have smaller lathes )

Must be flat across ¾ - 75% of the top surface
¼ - 25% outer rim can have a radius or have a retaining lip and be enhanced with beards coves or V groves

The underside can be enhanced visually with beads coves or V cuts

No Texturing / piercing / colouring / carving / burning / engraving

The Platter can sit directly on a table or on a ( up to ) 2” - 50mm high single foot

No segmented work ( foot can be a separate piece )
.
Any wood type, / natural edge, bark, inclusions ALL allowed
.
NO Critique or comments on any work until April Please, After the Judging and results.
.
Completed entry's ( 3 photos ) to be uploaded from midnight on 25th March. Up until 10pm on the 27th March, after this time the forum thread will be locked for Judging.
Results will be posted by 31st March

The Judge for March will be Barry Cook ( cookie777 )
.
The Judges decision is final
.
Please state item size, width and height and wood type if known and a little about how you made it and what finish you used ( this helps the judge )
.
Please post 3 images of your work
1 side profile
1 showing the top face detail
1 showing the underneath
.
Image size please use image size 640 x 480 0.3 mp, same as January and February
.
Can you PM me when you have your project ready so I can mark you off the list of entrants?

Have fun and be safe !!
 
I found it very hard to get inspiration but did what I did in unsuitable wood to get my 1 point :)

Made from Sereya this measures 135mm by about 60mm tall (including foot).

I turned this by gluing up the blank then gluing that to a chuck i screwed some wood to. Shape made with a small gouge as big one just ripped chucks off. Skew for final shape. Turned flat using a parting tool and skew. The coves was done with a bowl gouge. Sanded to 240grit then danish oil.
 

Attachments

  • plater2.jpg
    plater2.jpg
    133.1 KB
  • plater3.jpg
    plater3.jpg
    138.7 KB
  • plater1.jpg
    plater1.jpg
    144.8 KB
Hi,

Here is my March platter entry:

180mmx22mm, Oak, sanded to 400 grit and then treated with boiled linseed oil.

Began by truing and turning the foot between centres to give me enough depth in the platter area. Created a bead around the edge higher than the platter, and a few accent lines.

DSC01963.JPG


DSC01967.JPG


DSC01970.JPG


Aw the best to everyone,

Lee.
 

Attachments

  • DSC01963.JPG
    DSC01963.JPG
    163.5 KB
  • DSC01967.JPG
    DSC01967.JPG
    125.1 KB
  • DSC01970.JPG
    DSC01970.JPG
    34 KB
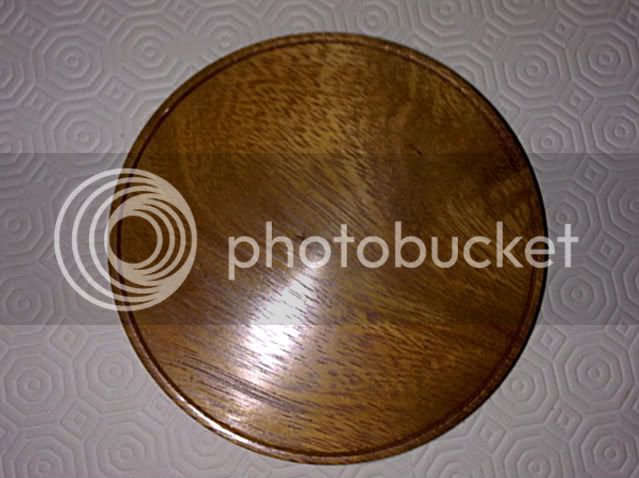
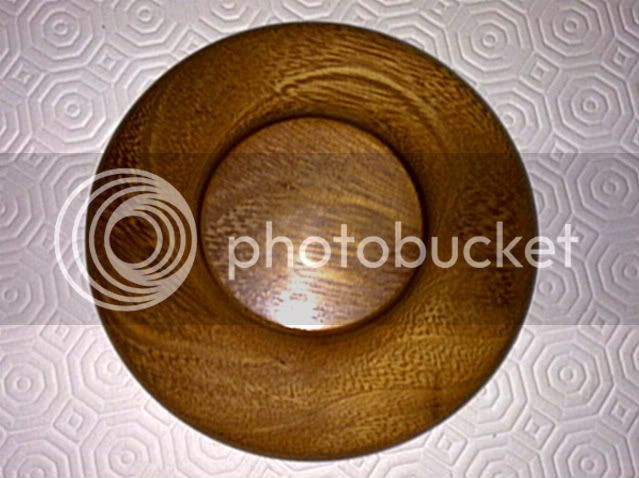
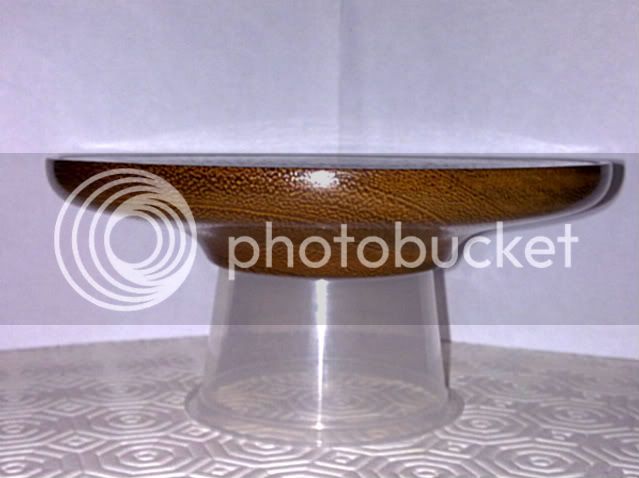
Hi All, this is my March platter entry.

Not sure what the wood is, possibly teak? Size is 5.5in diameter by 1in high. Blank held on the 3in faceplate with double sided sticky tape, and the base and foot shaped and finished same as the top. Peeled of and reversed to true up and flatten the top. Used 3/8in DFG, 3/4in skew, and 3/4in rounded scraper. Then sanded to 340 grit, coat of Rustins Button Polish, allowed to dry, then 000 wire wool lightly with the lathe running at 750 revs. Another coat of Rustins, allowed to dry, then polished with soft cloth, then two coats of Black Bison wax paste, polished with a soft cloth with lathe running. Peeled off the faceplate and another coat of polish on the base to remove traces of sticky tape.
Good luck to all.

Doug

25032011251-1.jpg


25032011252-1.jpg


25032011253-1.jpg
 
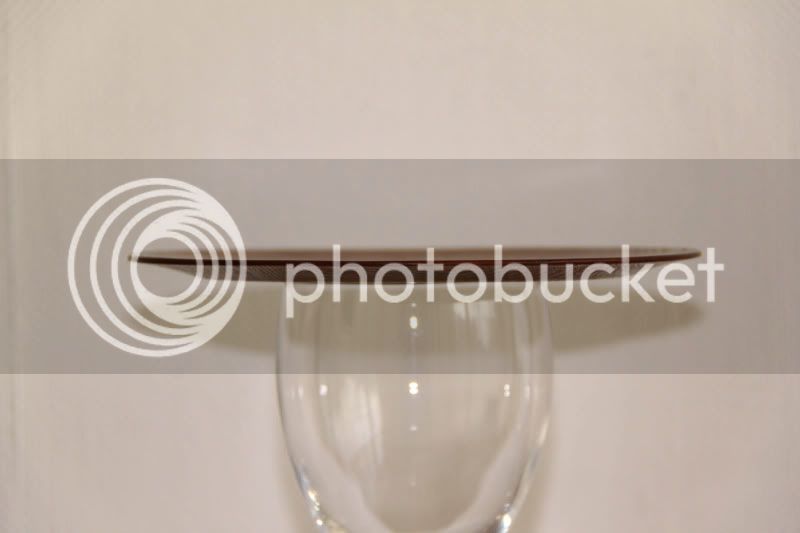
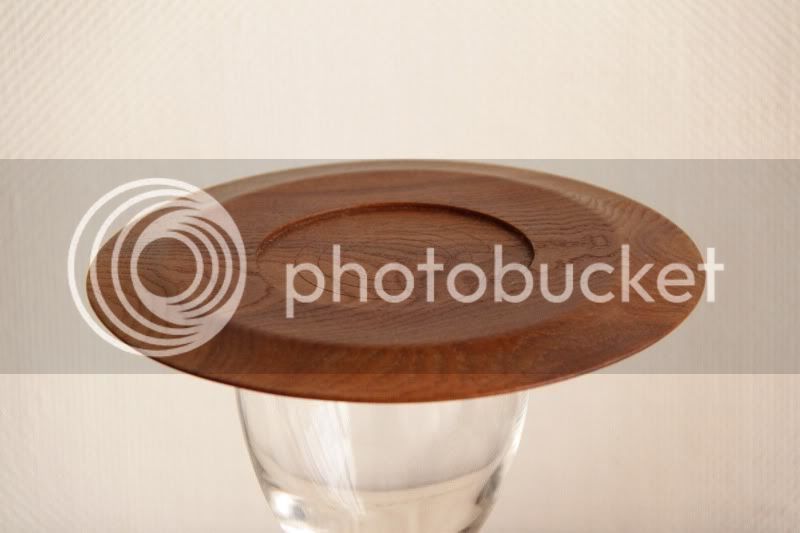
I have no idea as to what the wood is. Quite hard with a slightly open grain. 6 1/2" diameter X 1/4" high and 3/64th (1mm) thick in the middle. Weight 25 grammes so not a heavy wieght. It was an exercise in how fine I could get it. The blank was glued to a wooden faced face plate and the bottom and dovetail turned. Then mounted on my K8 chuck with the expanding jaws. The K8 used to come with a set of jaws and these were used. All done with a 3/8" spindle gouge.

Friction polished and buffed with my Beal system.

1Marchcompplaque1a.jpg

1Marchcompplaque2a.jpg

1Marchcompplaque3a.jpg
 
This is my March entry :D
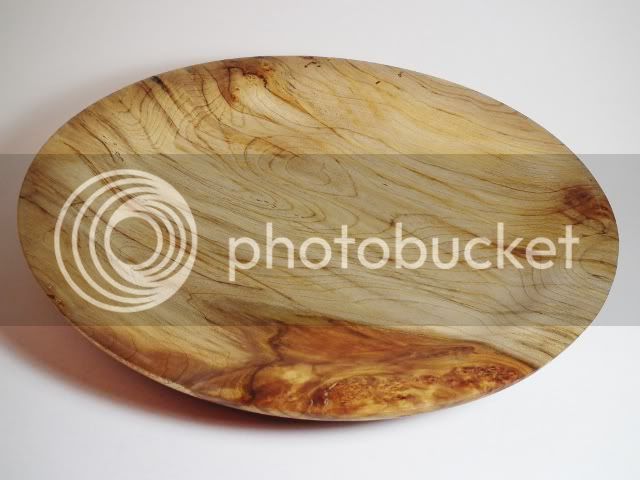
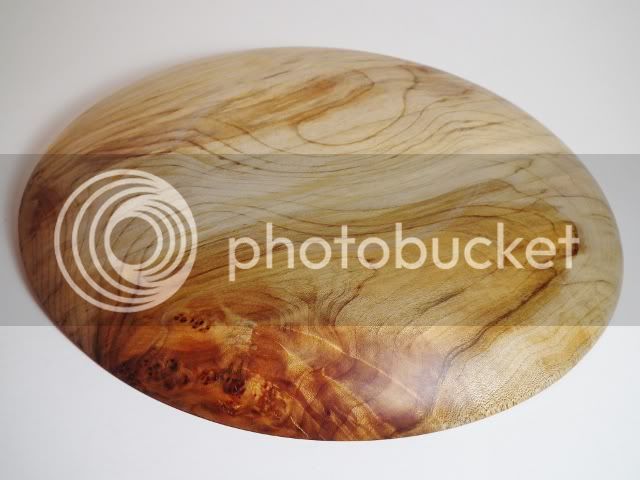
It is a piece of either Sycamore or Maple with Burr patches on,and slightly spalted.
The overall dia is 12" and is 1-1/4 high.
The outer rim i left plain and blended it into the inner flat area,which is about 5/8" deep.
The rim is 1-1/2" wide,which makes up the 25% required,i hope :lol:
The bottom was finished off using my home made vac chuck and again was all blended in to give a nice concave finish,leaving a rim of 6" for the platter to sit on.
Finished with Lemon Oil.

plattertop.jpg


platterbot.jpg


platterprof.jpg
 
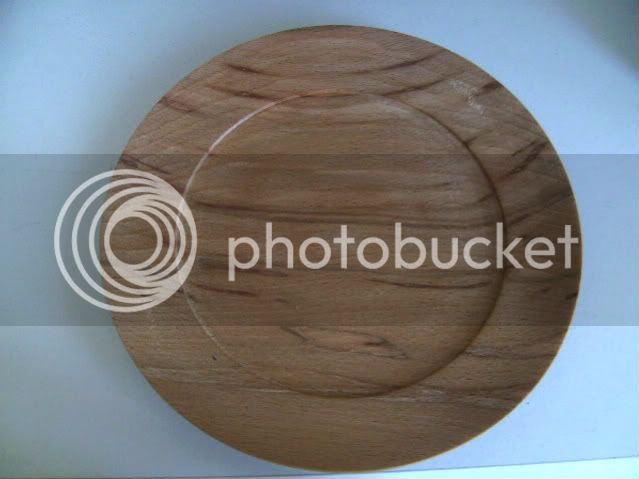
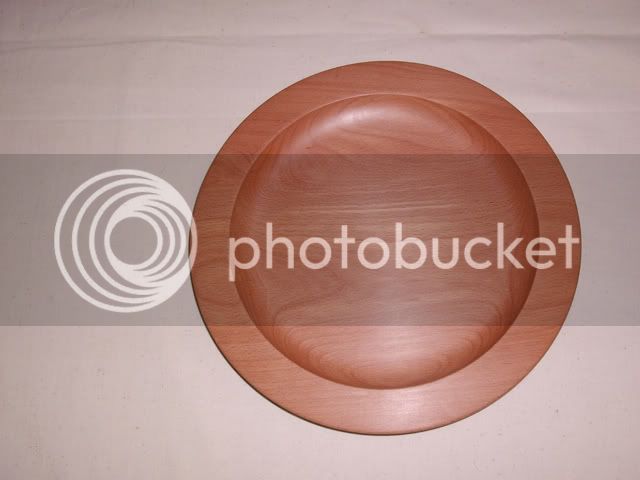
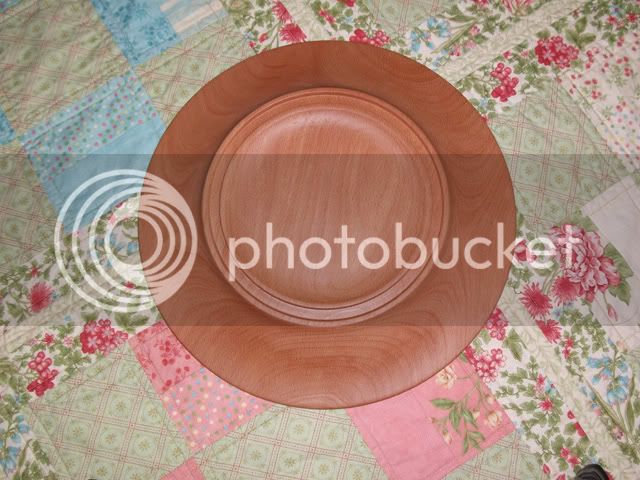
Here is my attempt. Beech 10 3/4" diameter by 3/4".

Never done a platter before so was quite interesting. Original timber was 3" thick, screw chuck to round it off and a tenon cut on face to re-chuck the platter blank. I then used a thin parting tool to make two thin blanks. Platter blank re-mounted and face and outer edge of back turned - then I used Duct tape to remount it to the other blank to turn the base!

Finished with wax.

Dave
 

Attachments

  • FebCompTop.JPG
    FebCompTop.JPG
    46.8 KB
  • FebCompSide.JPG
    FebCompSide.JPG
    24.5 KB
  • FebCompBot.JPG
    FebCompBot.JPG
    41 KB
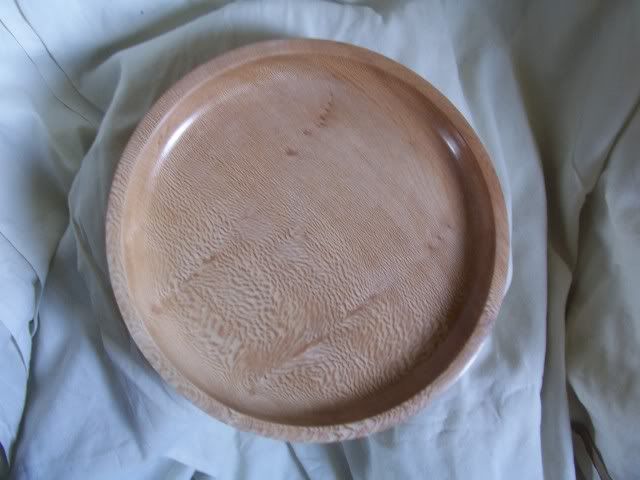
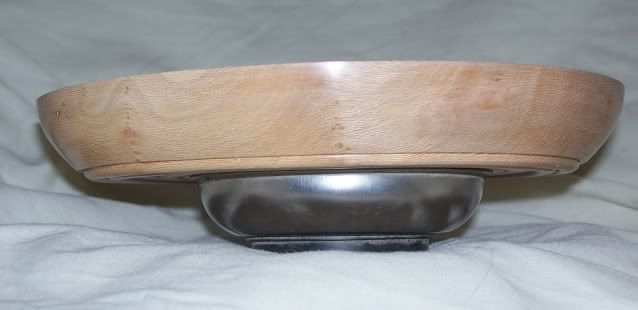
Here is my "inspiration" mk II

I went to my friendly local woodturning shop and asked John of John Davis Woodturning for a blank to make a nice platter out of for our competition. Having looked all through his stock he concluded that he had nothing special - so we went through to his workshop where he raided his private stash!

He had this blank, a rippled sycamore, which I have not come across before. I was really pleased with it. If you look at the picture you can see the rippling running at 90 degrees to the grain. With such a lovely piece of wood I thought simplicity was the key. I love the "flame" effect on the side profile.

Not sure my photography does it any favours but hey ho

The bead runs into the undercut cove to join the bottom 75% flat of the platter.

Made between centres to turn spigot and underside, face turned on the spigot and then reversed to remove the foot

Dimensions: 375 mm x 45 mm

Side

IMG_0421.jpg


Top

DSC00917.jpg


Bottom

DSC00943.jpg
 
Hi everyone,

Here's my March platter, made from a zebrano blank I bought at Ally Pally especially for this task.

It's 4 cm high, 24 cm in diameter with a centre flat section of 18cm and rim of 3cm, give or take a smidgen :-$ .

The blank started out at 25cm X 5cm, mounted on a chuck-held faceplate to shape the side and bottom.
This was done using bowl gouges, skew and shear-scraper.
Sanded down to 600, cleaned with a tack-cloth then sanding sealer applied, sanded with 600 again and polished with microcrystalline wax. No sealer applied to the base of the foot as I next glued on a wooden block and turned a tenon on the bottom of that to fit the chuck.

Then reversed to mount the wooden block in the chuck and the top side attacked. I first shaped the rim to determine where it would end then hollowed out the middle, again with bowl gouges but also a large flat scraper to make the bottom nice and flat. The top got the same sanding treatment and finish as applied to the bottom.

Next I parted off from the sanding block to leave a very thin piece of the block on the platter's foot. This was removed by hand with a head-gasket scraper as that gets under the hot-melt glue nicely but doesnt marr the wood.

To finish the bottom I then reverse mounted it on cole jaws, used as a friction drive as they would not have anything to clamp on to. Tailstock brought up with a home-made nylon centre in my revolving centre and a spindle gouge used to tart up the bottom with a groove.

Sanded as per usual then removed from the lathe and the slight mark left by the nylon centre cleaned up, the bottom sealed then polished.

This was the first time I have used hot-melt glue, apart from 1 practice run just to see if it actually owrked, and I was amazed at how strong it holds.

Mick

platter top.jpg

platter bottom.jpg

platter side.jpg
 

Attachments

  • platter top.jpg
    platter top.jpg
    230.2 KB
  • platter bottom.jpg
    platter bottom.jpg
    206.8 KB
  • platter side.jpg
    platter side.jpg
    121.3 KB
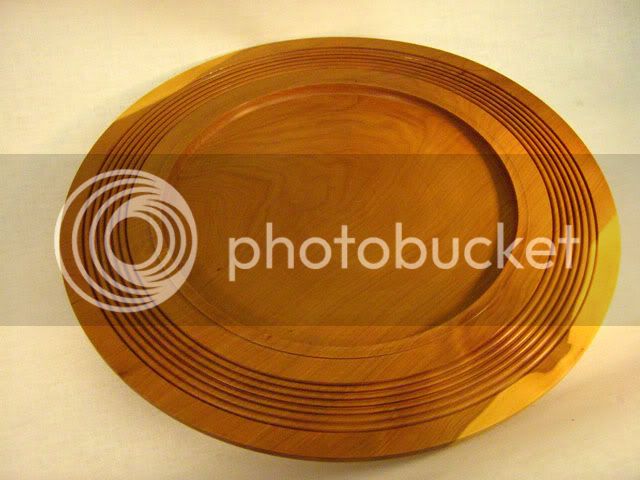
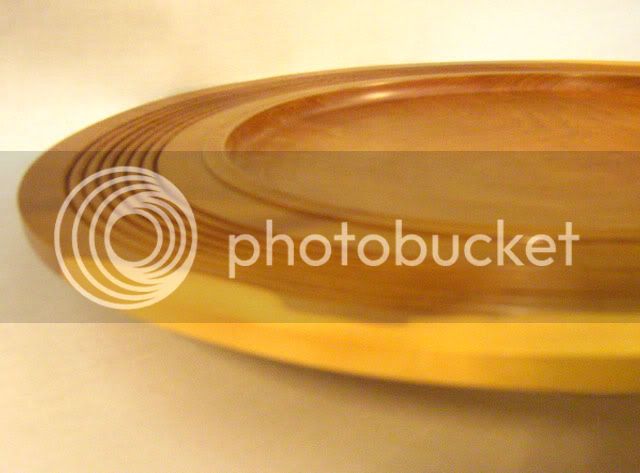
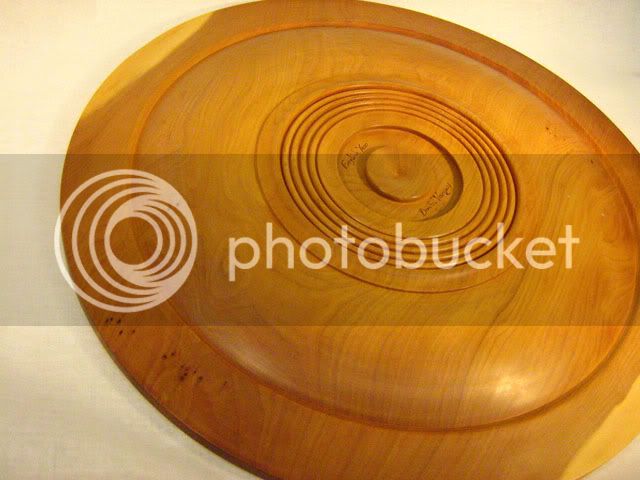
This is my entry for March.

As I didn't have a lathe until a few days before closing day, I am having to use one made for a client. The design is as agreed with them and it was made in a bit of a hurry!!

The top is flat across the 75% with a three surface lip. The foot (which I anticipate may be criticised) is 'single' in that there is only one of them but it's not a 'simple' profile. Not sure that was specified though.

The foot is exactly 50mm (2"). The overall diameter is 288mm (11.375")and the flat section is 220mm. (8.75") Overall height is 75mm. (3")

The wood is walnut , finished with two sealing coats of catalyst lacquer and then walnut oil - its has four coats at the picture stage and will get another six.
 

Attachments

  • 100_1723.jpg
    100_1723.jpg
    74.5 KB
  • 100_1726.jpg
    100_1726.jpg
    81.5 KB
  • 100_1721.jpg
    100_1721.jpg
    81.8 KB
nevs platter for march :) my first and only platter, Iroko (i think) approx. 18cm across and 3cm high. done almost entirely with 1/2 inch round scraper and 1inch flat scraper, then sanded 100, 180. 240, and 400, cellulose sealer, 400 and finally 0000 wire wool. then a coat of liberon lathe polish and a wipe with a stick of carnuba wax (which i wish i hadnt, a bit tooo shiny, but you live and learn :oops: )
hope it fulfils the criteria for a platter, (tis flat across at least 75% of the top surface, and you could put food on it!)
comments welcome.
have a nice day
 

Attachments

  • platter top.JPG
    platter top.JPG
    128 KB
  • platter bottom.JPG
    platter bottom.JPG
    128.9 KB
  • platter side view.JPG
    platter side view.JPG
    127.7 KB
Think the wood is burr elm?
Overall width is 200mm
edge is 25mm
depth 40mm

Finished with cellulose sealer, friction polish and then a soft wax polish.
 

Attachments

  • platter1.jpg
    platter1.jpg
    48 KB
  • plattera.jpg
    plattera.jpg
    43 KB
  • platterside1.jpg
    platterside1.jpg
    16.7 KB
Here we go !

Oak 6 inch by 1. short foot, finished with Danish Oil. Couldnt seem to get the profile pic in focus.


S7003398.jpg


S7003399.jpg


S7003400.jpg
 
Ok, so here is my 1st attempt at a platter. I will admit, this was not my month! :(

It's 14.5cm diametre, and 1.7cm high... only tiny for a tiny lathe!

It's made from beech... local woodturning shop had nothing really special.
Screwed onto a face plate to true up and turn foot and base profile and finished with a few coats of clear briwax.
Then was reversed and put on my patriot chuck (which I love but on my mini lathe looks like an elephant standing on a thimble!) All was going well

THEN.... disaster struck, I had a huge dig in (as can probably be seen) while I was profiling the front.... it broke the foot and went flying off the lathe (to the back thank god (mask and full face visor was on anyway so I would have been safe))
I didn't have time to start again, so had to finish it. It wasn't true anymore as foot was broke and nothing I did made it any better. So I've accepted defeat and will try again .....one day!

To top it off, being indoors over night, it has now warped like a vinyl left in the sun.... think I went a bit to thin somewhere.
But never mind... another point towards my goal of 12!!

Well done everyone
All advice welcome after thread is unlocked after judging

PICT0839.jpg

PICT0832.jpg

PICT0827.jpg
 
English Yew 13 1/2" dia 3/4" thick at widest point finished with Several Coats of Chesnut Finishing Oil

PlatterTop.jpg


Platterside.jpg


PlatterBack.jpg


Dave
 
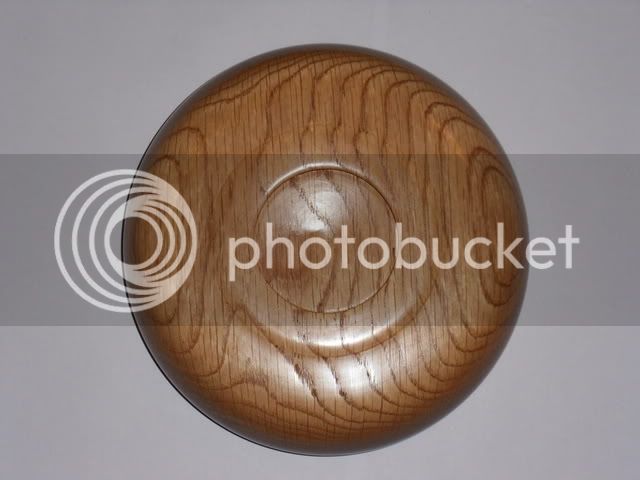
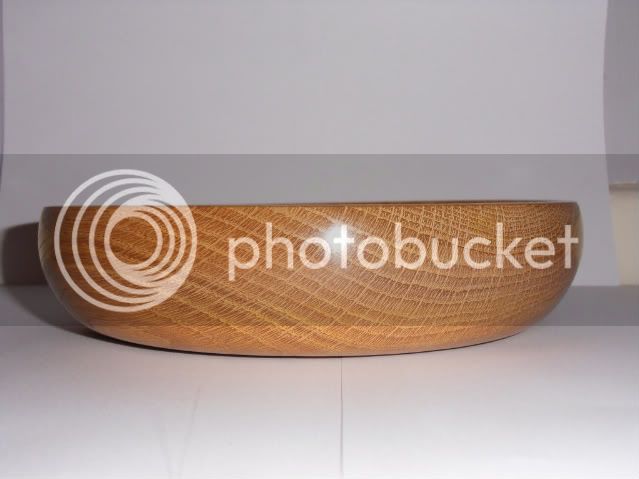
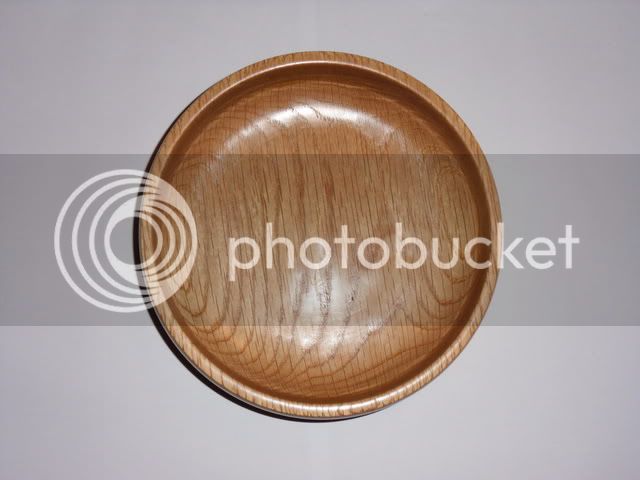
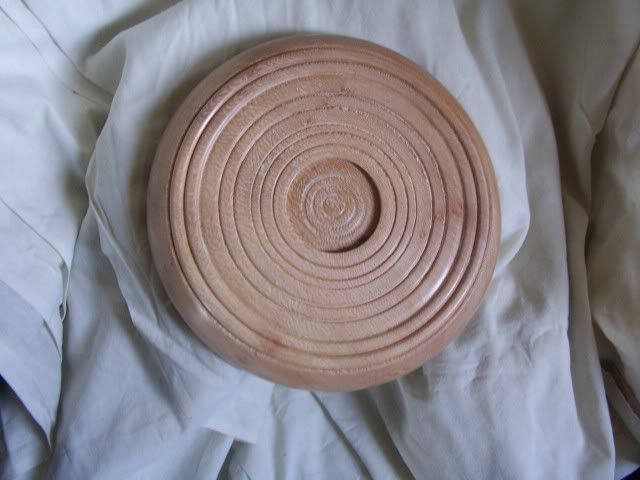
This is my entry for march, it is made from oak and measures 18cm x 4cm.
Sanded up to 400 grit and then finished with one coat of cellulose sanding sealer and then woodwax 22. golden brown colour to help bring out the natural beauty of the wood.
platterbottom.jpg

platterside.jpg

plattertop.jpg
 
Here is my March platter entry

It is a piece of london plane it is 210mm diameter and 30mm high
it was sanded from 180 240 320 400 600 800 1000 1200 then 2 coat's sanding sealer and 2 coat's wax
hope it fulfils the criteria for a platter

100_3219.jpg


100_3218.jpg


100_3232.jpg
 
Here is my platter for the March challenge,

This challenge gave me the ideal opportunity to make a donut chuck been meaning to do it but never got round d to it.
The platter it’s self measures 11.5” x 1.5” tools used 3/8 bowl gouge standard grind parting tool and a half round scraper, and finished with food safe oil
the platter was made out of a nice bit of beach.

top1.jpg


bace1.jpg


side1.jpg


spasm
 
Hi Folks,
This is my entry:
Native ash, diameter 340mm(13 3/8") height 34mm (1 1/4")
First mounted on a screw chuck. As the blank was quite shallow I glued a piece of scrap to the base and turned a spigot for holding in the chuck jaws when turning the top. The platter was later reverse mounted and the spigot turned off.
It sits on a foot 165mm diameter by 4mm deep.
Finished with Organoil and buffed.

Ian
 

Attachments

  • top.jpg
    top.jpg
    176.9 KB
  • side2.jpg
    side2.jpg
    77.1 KB
  • base.jpg
    base.jpg
    170.5 KB
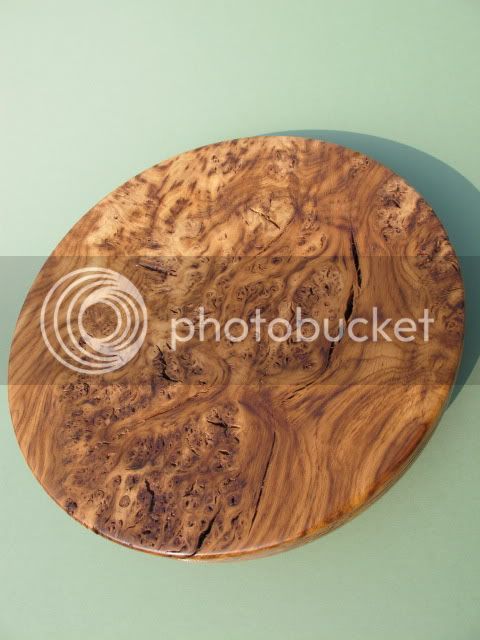
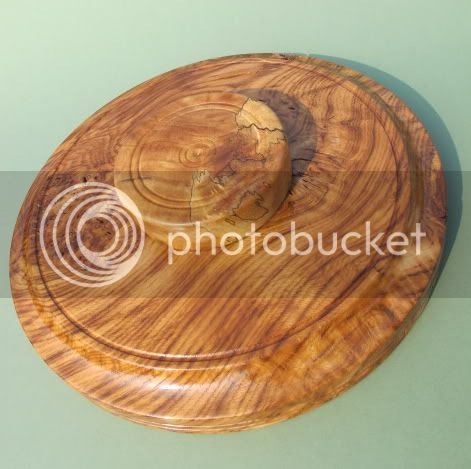
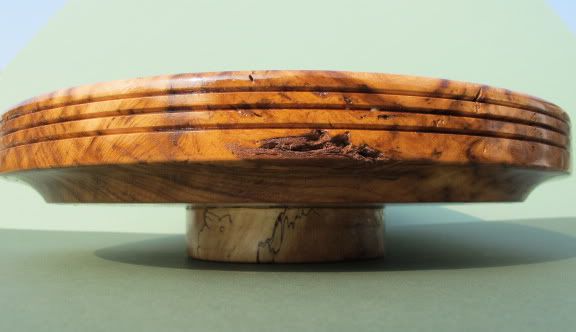
My March Platter Entry

Bur Elm ( Ulmus minor var. vulgaris ) 13" Diameter x 1 3/4" thick

Detailing kept to a minimum ,

Foot made from spalted beach 1" height

Platter blank mounted on a face plate to true up outer edge , shape bottom , detail , sand through 120 to 1600 grit turned using a bowl gouge and a point tool , chuck recess made using a parting tool

Mount blank on chuck true up top face Top outer section of the face is flat 25% , slight radius down to second section 75% flat leading to the center , again sand through 120 to 1600 ,
sanding sealer x2 , wet sand last sand with sanding sealer in forward and reverse direction to make sure no lifted fibers
Treat with food safe finish then woodwax 20

Foot turned from spalted beach to fit inside chucking recess , bottom of foot turned and detailed first then reversed onto Cole jaws to finish

Top photo
IMG_0992.jpg

.
.
.
Bottom photo
IMG_0994.jpg

.
.
.
And a side profile
IMG_0995.jpg
 
Status
Not open for further replies.
Back
Top