rileytoolworks
Established Member
Well, I thought I better start work on the box today.
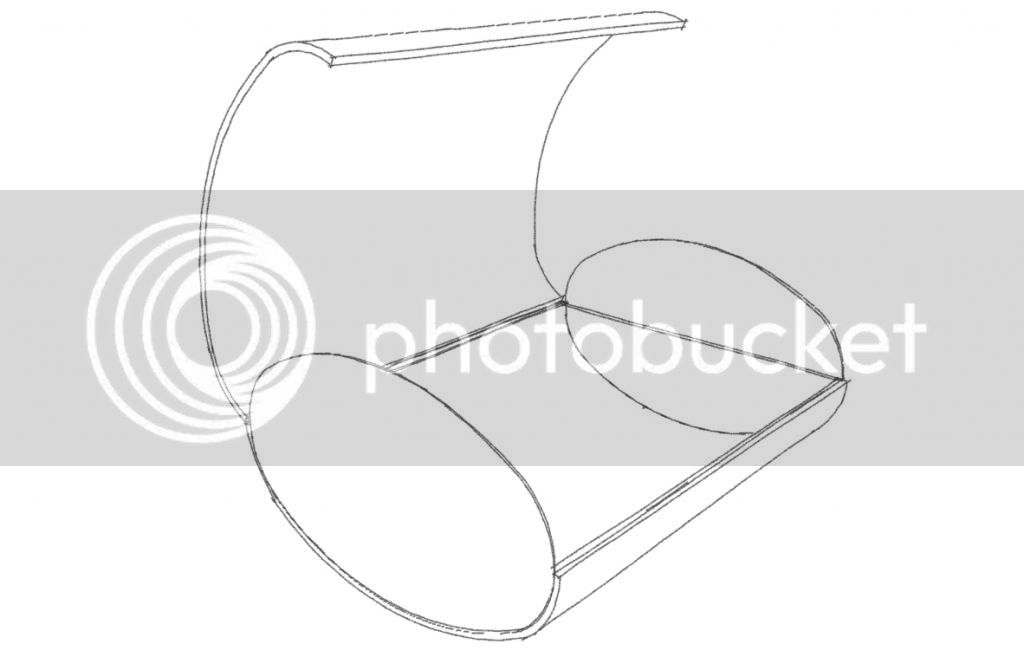
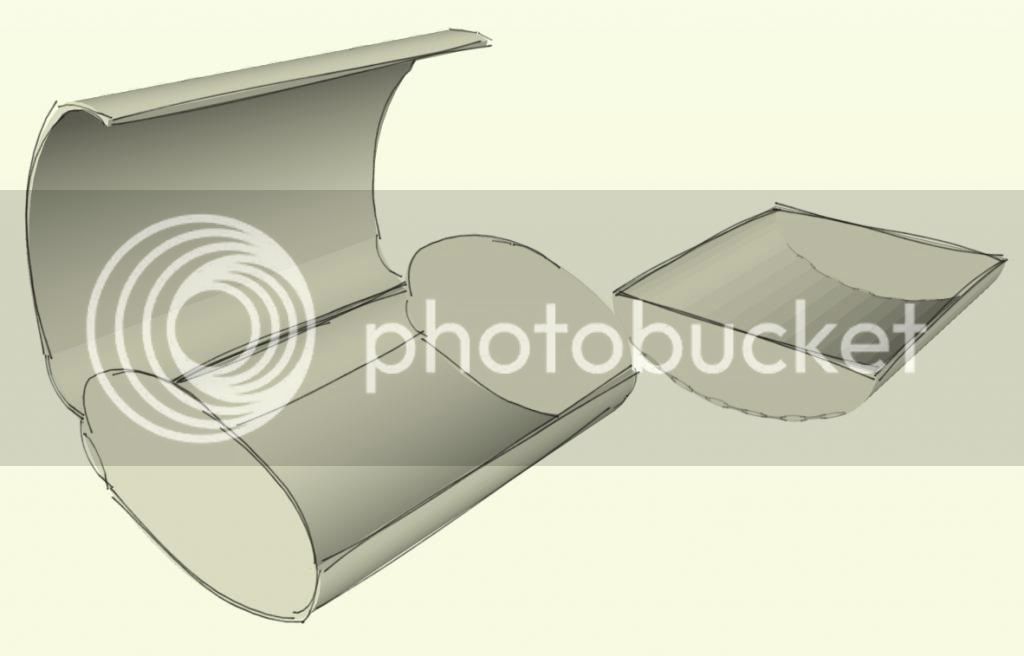
I've been playing around with a few forms in Sketchup, but the design is yet to be finalised so I won't reveal it just yet.
What I can say however is that it will be a laminated, veneered box.
So then, this is the stack of veneer for the outside of the box.
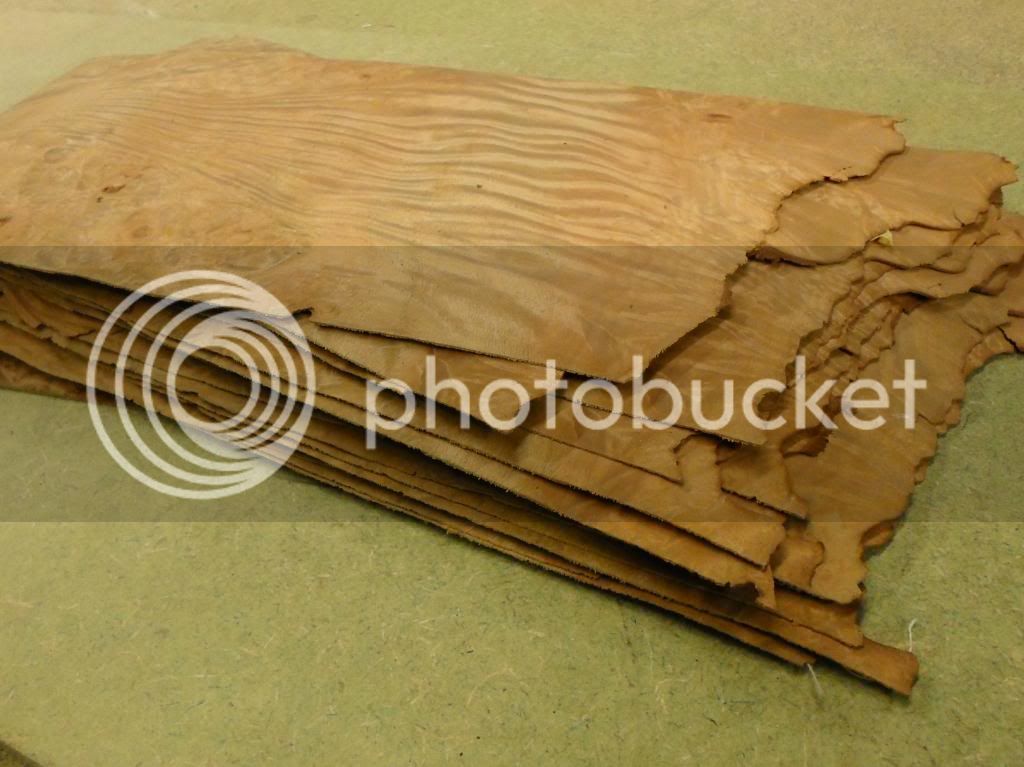
Unfortunately before this stack was purchased it had been mixed up, so I had to play around to see if I could find some sequential pieces, which was easier after trimming a few straight edges
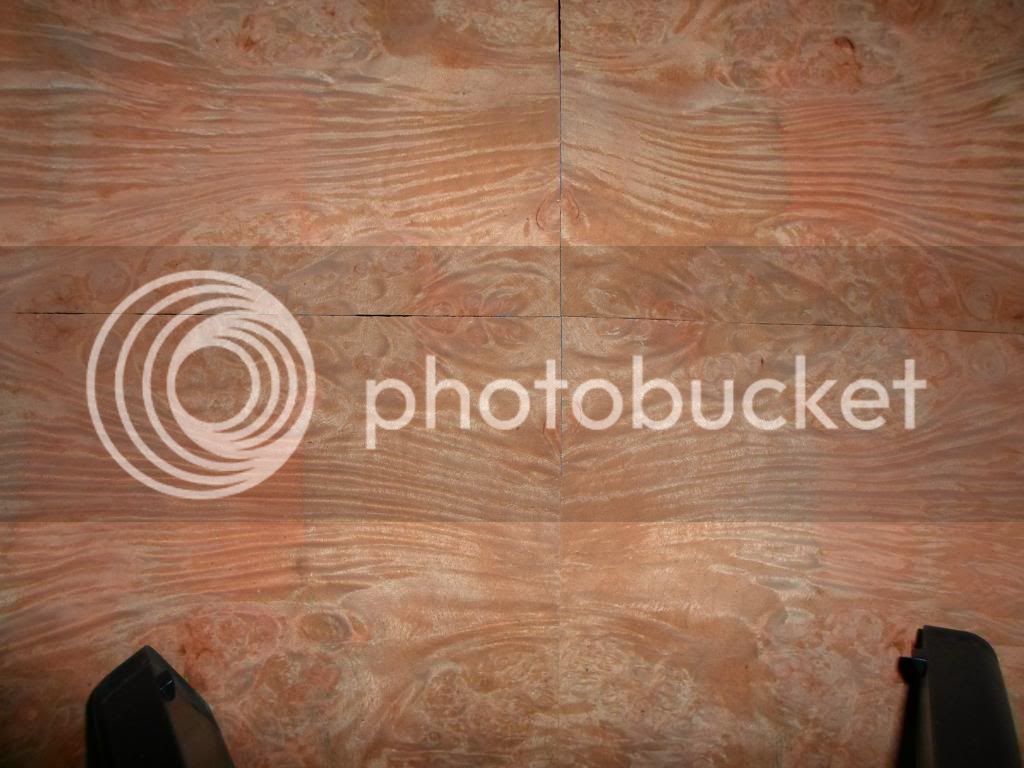
Unfortunately it looks as though these will be the closest, so I'll go with them for the time being.
The four pieces are labelled A,B,C,D, working clockwise. Then A is folded onto B, and D onto C. Then the pair D/C are folded onto A/B and secure with tape ready to have the long edges shot true.
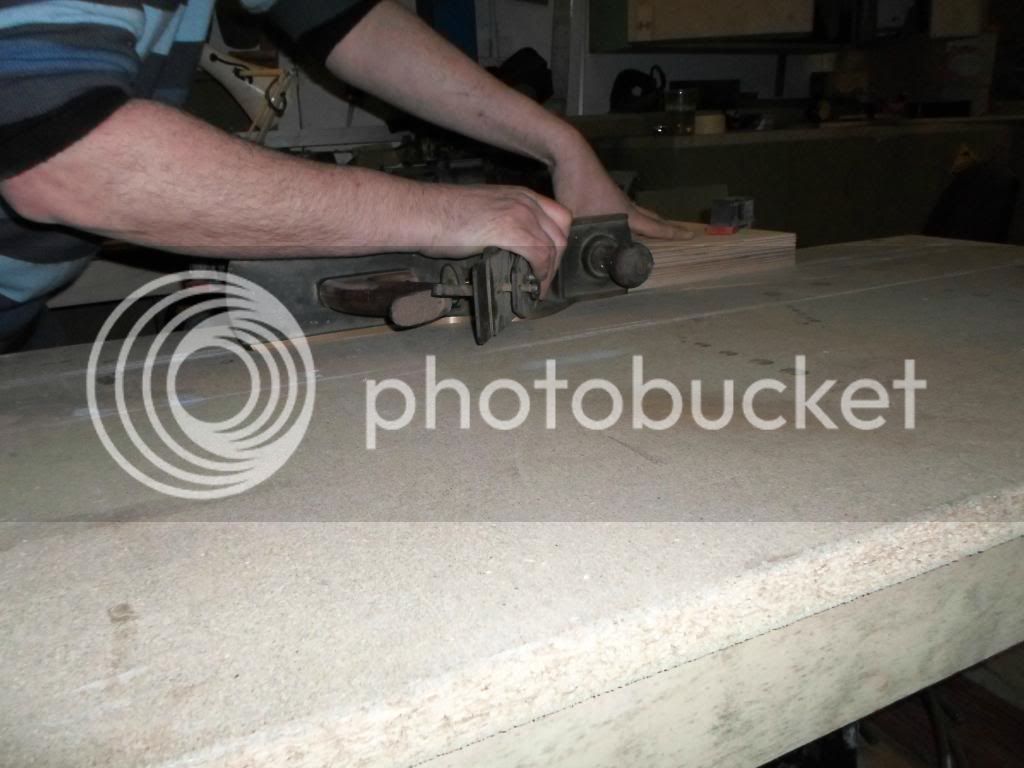
Here I'm using a solid cast brass plane to shoot the edges. (This plane weighs 6KG!) Because this is pretty wild grain I further shoot the edges with sandpaper on a long stick.
Once I'm happy with the long edge joints, I'll shoot the short edge.
Here's a shot almost there.

As you can see, the NE piece needs a little extra trimming. This is a result of the stack being mixed up. NEVER MIX UP YOUR VENEERS!!! :roll: (I forgot to take a photo of it after shooting that last edge.)
Next I do the same for the veneers for the bottom of the box.
Because these veneers are going to end up curved, I'll glue them to a backer veneer with the grain perpendicular to the long edge.
That's all for now.
Thanks.
Adam.
I've been playing around with a few forms in Sketchup, but the design is yet to be finalised so I won't reveal it just yet.
What I can say however is that it will be a laminated, veneered box.
So then, this is the stack of veneer for the outside of the box.

Unfortunately before this stack was purchased it had been mixed up, so I had to play around to see if I could find some sequential pieces, which was easier after trimming a few straight edges

Unfortunately it looks as though these will be the closest, so I'll go with them for the time being.
The four pieces are labelled A,B,C,D, working clockwise. Then A is folded onto B, and D onto C. Then the pair D/C are folded onto A/B and secure with tape ready to have the long edges shot true.
Here I'm using a solid cast brass plane to shoot the edges. (This plane weighs 6KG!) Because this is pretty wild grain I further shoot the edges with sandpaper on a long stick.

Once I'm happy with the long edge joints, I'll shoot the short edge.
Here's a shot almost there.

As you can see, the NE piece needs a little extra trimming. This is a result of the stack being mixed up. NEVER MIX UP YOUR VENEERS!!! :roll: (I forgot to take a photo of it after shooting that last edge.)
Next I do the same for the veneers for the bottom of the box.
Because these veneers are going to end up curved, I'll glue them to a backer veneer with the grain perpendicular to the long edge.
That's all for now.
Thanks.
Adam.


