WIP: wooden violin maker's thumb planes

UKworkshop.co.uk

Help Support UKworkshop.co.uk:

This site may earn a commission from merchant affiliate links, including eBay, Amazon, and others.

JohnPW

Established Member
Joined
5 Jun 2013
Messages
966
Reaction score
70
Location
London
I've made wooden thumb planes before but now I'm trying to make a batch of them more quickly. These are for making violins and other musical instruments, and any other fine and detailed work. I only use hand tools.

I'll add that I don't use the what seems to be ubiquitous glueing-together-several-machine-sawn-pieces-of-wood method! Nothing wrong with it but it's not for me.

So here goes:

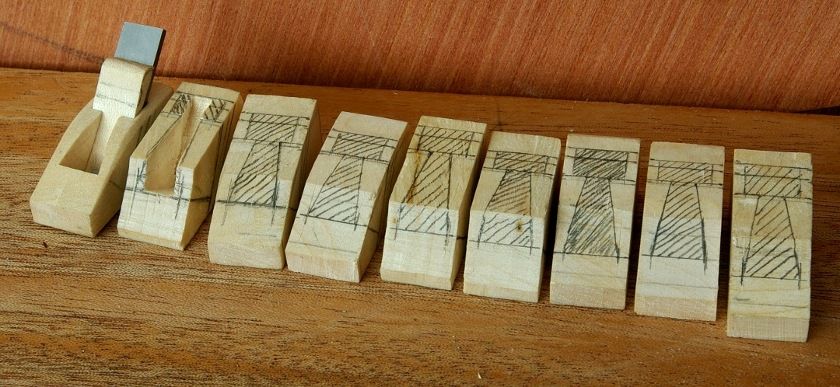
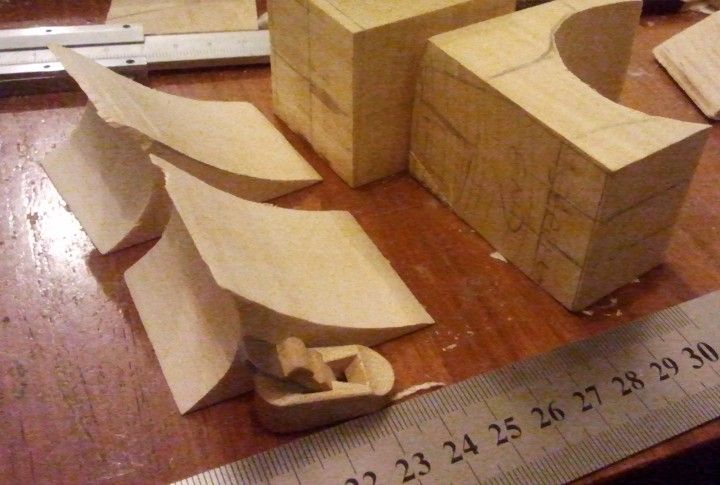
I can get 6 planes out of the 2 triangular maple scraps.


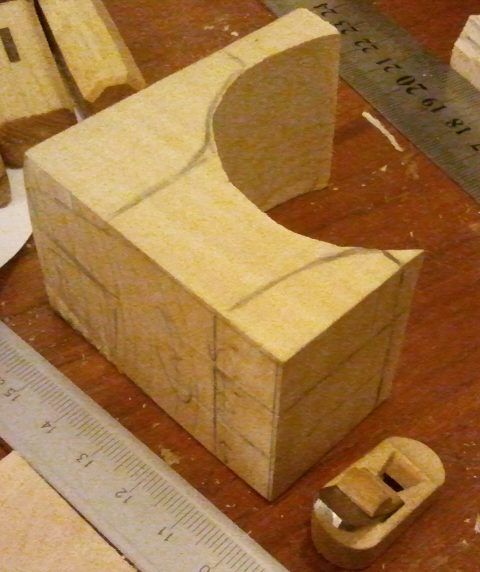
And 3 out of the side of this scrap (left over from violin scroll).

Total of 9 planes:
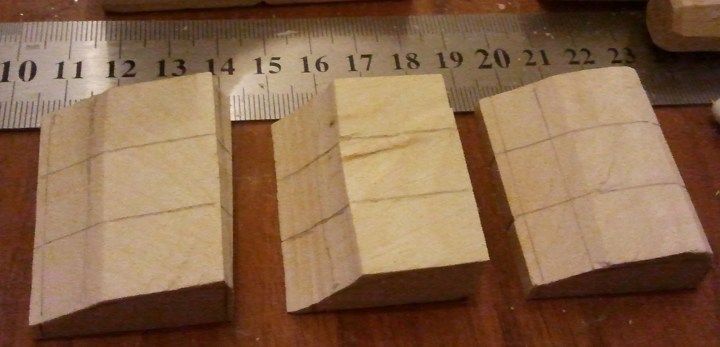

All cut out and sides squared. My sawing technique is crap so it too me quite while to plane the sides square..
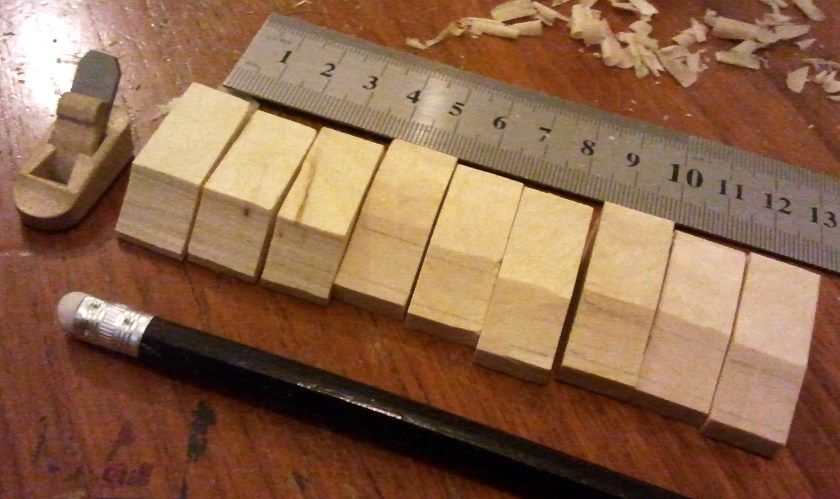

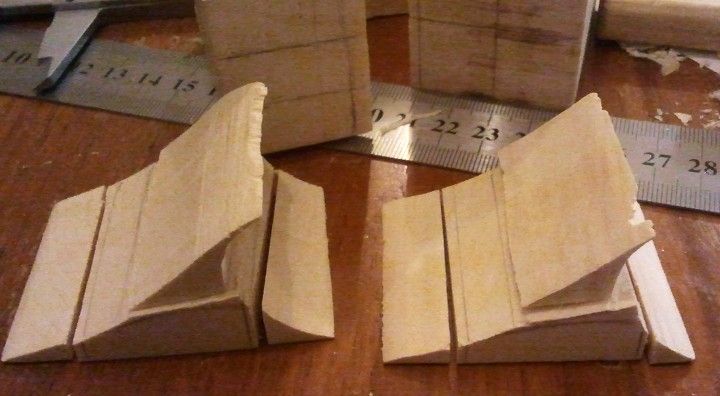
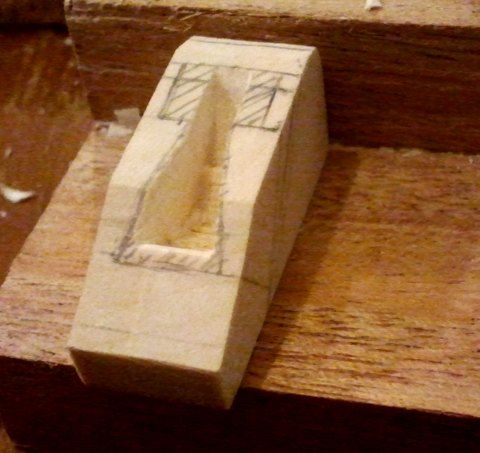
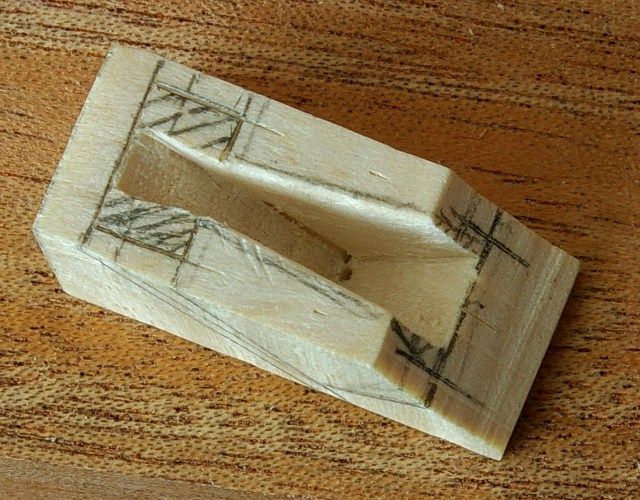
It's been a while since I made my last one (the finished one in the pics), so I'm going to do one at first to make sure it all works then do the rest in a batch. One marked out:
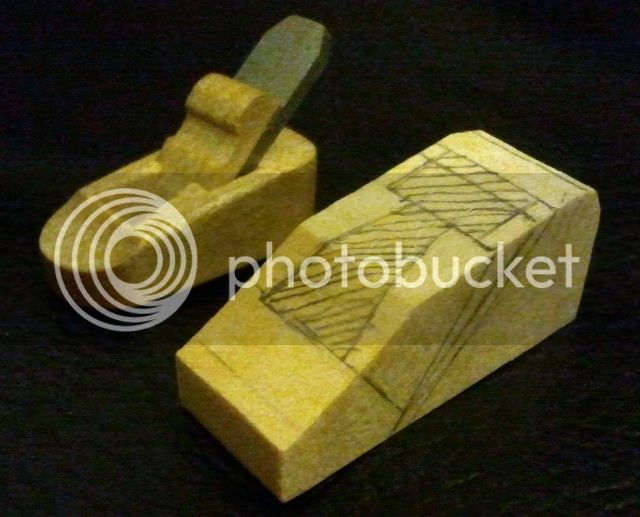
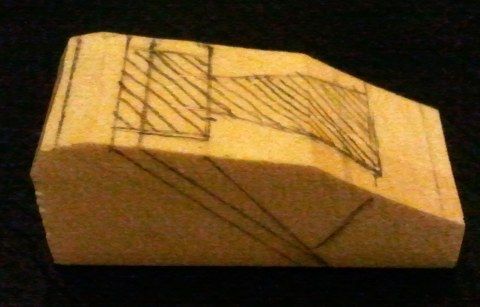


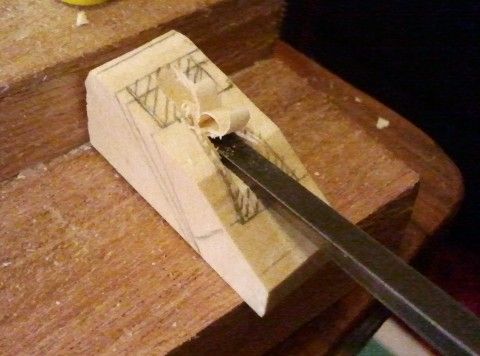
Using a 3mm chisel:


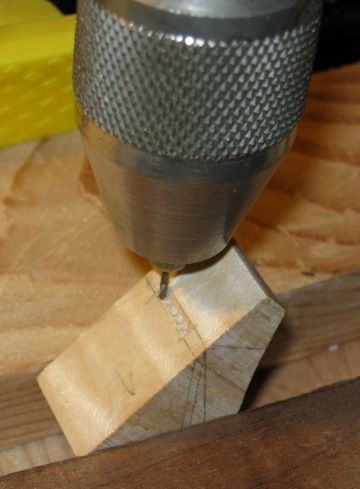
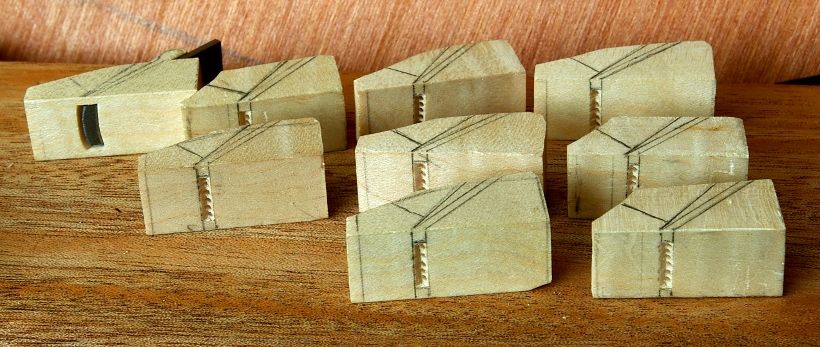
A V notch cut in the sole and 1mm holes drilled:
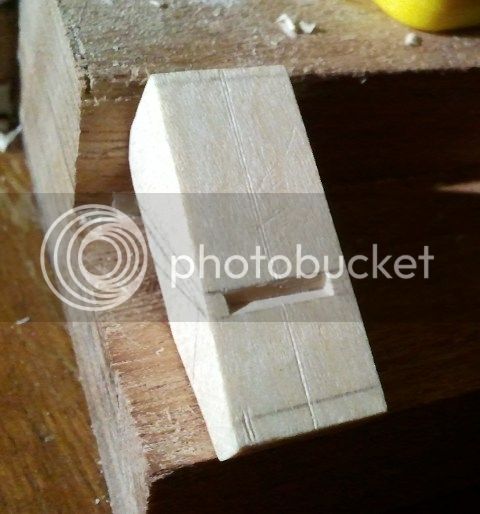


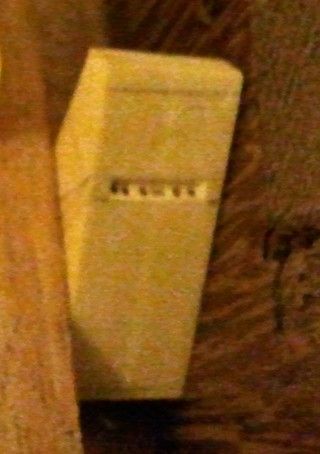
This is actually a previous plane I made but it show the holes more clearly:
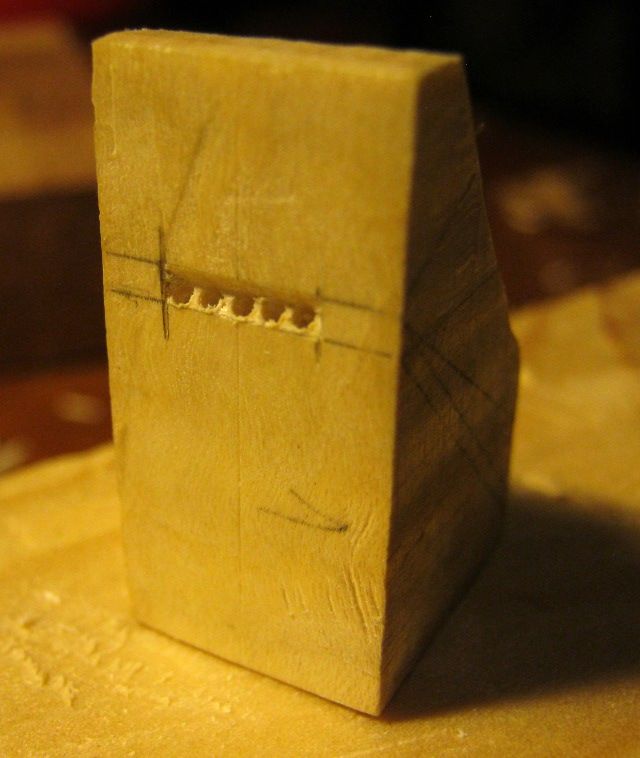

To be continued!
 
I have done a bit more, all marked out and mouths drilled.


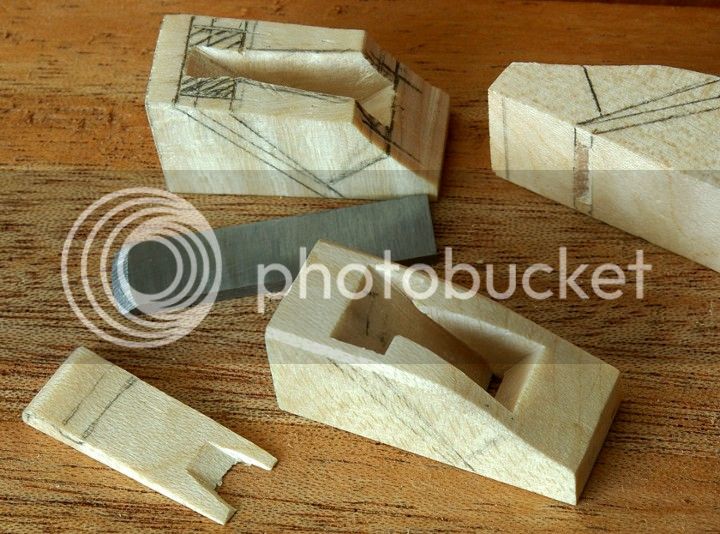
This one I've started to chisel out.


One with the escapement finished.
 
This is looking just brilliant!

I must have a go myself - I think I can find enough wood. :)
 
I feel that I am late to this party but now that I am catching up I would like to say thank you for the detailed WIP.

What timber have you used for these?

Is it a batch of 9 the same or is there such a thing as a set of thumb planes?

Keep up the good work, you make it look so simple.
 
Very nice indeed. Could you give rough dimensions, angles of mortices and suchlike? At some point I shall be making an archtop, and these planes are obviously perfect for that.
Whereabouts do you get the blades from? Or do you make themselves?
Sorry for all the questions, but your planes are a delight.

Cheers,
Adam
 
Thanks for all the comments.

I made the blades from 1.5mm thick ground flat stock (gauge plate).

The wood are all maple off cuts from the back and neck of the wood (quarter sawn) used in violin making but of course other fine grained and hard wood can be used. The planes in this lot are all the same size: 13mm wide, blades is 8mm wide and the plane escapement/throat is 9mm wide. Plane height at the heel is 10-13mm, 5mm high at the toe, length is 28mm. Angle of blade is 45 degrees, and the wedge is 8 degrees which means the angle of the front of the abutment (recess for the wedge) is 53 degrees. I tried 10 degrees before for the wedge but I found I needed to force the wedge in quite hard for the blade to be held, 8 degrees seem to only require a firm push.

I also made 2 slightly bigger planes; 45mm x 18mm with a 12mm blade, one with a flat sole and one with convex, and I found those 2 plus the smaller size plane (in this thread) were enough for violin top and back arching and hollowing. For bigger instruments, a bigger plane could be useful for taking bigger shaving and is probably more comfortable to hold.

Pics of more chiseling done:
 

Attachments

  • IMGP3808.JPG
    IMGP3808.JPG
    133.1 KB
  • IMGP3811.JPG
    IMGP3811.JPG
    191.3 KB
I've essentially finished one plane out of the nine; rounding off the ends, shaping the top, finishing off the wedge, rounding the sole. The blade is unhardened and needs some finishing though.

Sole before being made convex:
sole flat.JPG


Line drawn for the top profile, then chisels and a gouge used to cut away.
ends rounded,shape drawn.jpg


ends rounded .JPG


Chisel, scalpel and gouge to finish off the wedge.
Various views. All off the blade or scraper, no sandpaper used, yet!
no 11 views, small.JPG
 

Attachments

  • sole flat.JPG
    sole flat.JPG
    67.6 KB
  • no 11 views, small.JPG
    no 11 views, small.JPG
    240.4 KB
  • ends rounded,shape drawn.jpg
    ends rounded,shape drawn.jpg
    40.2 KB
  • ends rounded .JPG
    ends rounded .JPG
    182 KB
Some in progress pics:
 

Attachments

  • in progress1.JPG
    in progress1.JPG
    161.8 KB
  • in progress2.JPG
    in progress2.JPG
    160.6 KB
  • in progress3.JPG
    in progress3.JPG
    165.5 KB
  • with thumb for scale.JPG
    with thumb for scale.JPG
    15 KB
These are really very good looking, in a sort of non-bling way. A good WIP as well.
There is however a negative. I now have an excuse not to throw away even smaller bits of wood. Drat.
Seriously I am looking forward to seeing the blade production in this WIP.
Great stuff.

xy
 
Thanks.

Making the blades is just cutting thickish sheet steel using a hacksaw and then filing them to clean up, not much to see!

Here's some pics of sawing the abutments (recesses/mortices for the wedge). Not shown is my thumb holding the workpiece down, I could have and sometimes do use a sort of bench hook.

fret saw cutting.jpg

saw cuts x 2.jpg

saw cut.jpg


I then remove the waste with a narrow chisel.
 

Attachments

  • fret saw cutting.jpg
    fret saw cutting.jpg
    93 KB
  • saw cuts x 2.jpg
    saw cuts x 2.jpg
    42.2 KB
  • saw cut.jpg
    saw cut.jpg
    53.5 KB
Continue from previous post; waste on one side removed:
saw cuts3.JPG


I've finished making a toothed blade, here taking some test shavings, but the blade serrations are a bit too shallow:
toothed blade testing.JPG

toothed blade testing2.JPG
 

Attachments

  • saw cuts3.JPG
    saw cuts3.JPG
    75.2 KB
  • toothed blade testing2.JPG
    toothed blade testing2.JPG
    108.7 KB
  • toothed blade testing.JPG
    toothed blade testing.JPG
    151 KB
I've finished 7 of the batch, although the blades still need hardening and tempering.

7 need blade finishing 2.JPG

7 need blade finishing parts.JPG

7 need blade finishing small.JPG


I've found that using a file for rounding the plane and wedge is a lot easier than using a gouge.
 

Attachments

  • 7 need blade finishing 2.JPG
    7 need blade finishing 2.JPG
    172.7 KB
  • 7 need blade finishing parts.JPG
    7 need blade finishing parts.JPG
    116 KB
  • 7 need blade finishing small.JPG
    7 need blade finishing small.JPG
    158.7 KB
Lovely work!

Did you have any problems holding these tiny things to work on them? I can see that you used short "blanks" because of the shape of the offcuts you had, but I was thinking that if I get round to trying to make one I shall look for a long thin stick, make a plane on the end of it, and only cut it off from the rest when there is no alternative.
 
Thanks!

Most of the time I hold it in my hand or have it on a surface against a stop, like a rebate on a piece of wood. I think the only time when I've used a vice (after the 'blanks' have been cut) is for the hole drilling. I'm not sure using a longer stick would offer any advantages, but I haven't tried it, I would guess the idea is so you can clamp it. The way I do it is to hold the workpiece quite close to my eyes, and need to be able to adjust the viewing angle quickly because it's awkward to you see where you're cutting the abutments with 1.5mm chisel. Actually I need a 1mm chisel!
 

Latest posts

Back
Top