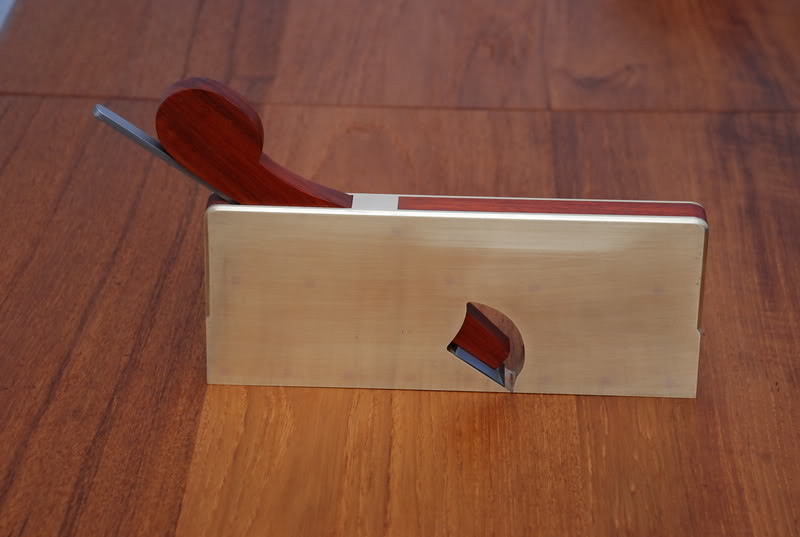
Brass Shoulder plane with up-updated pics

UKworkshop.co.uk

Help Support UKworkshop.co.uk:

This site may earn a commission from merchant affiliate links, including eBay, Amazon, and others.

Racers

Established Member
Joined
22 Apr 2005
Messages
9,172
Reaction score
136
Hi,

I have loads of jobs to do, so I did something compleatly different :wink:
I cut up some 3mm and 1/2 inch square brass on my band saw with a fine blade.
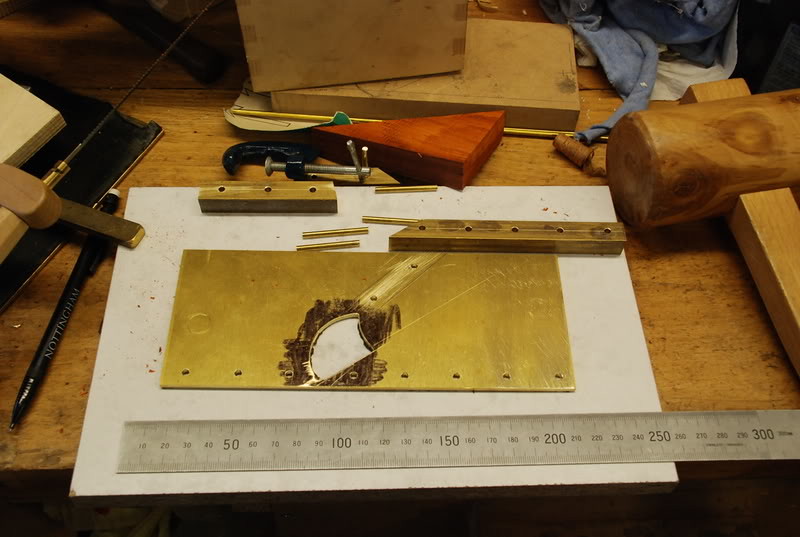
DSC_0047 by Racers, on Flickr
Drilled some holes
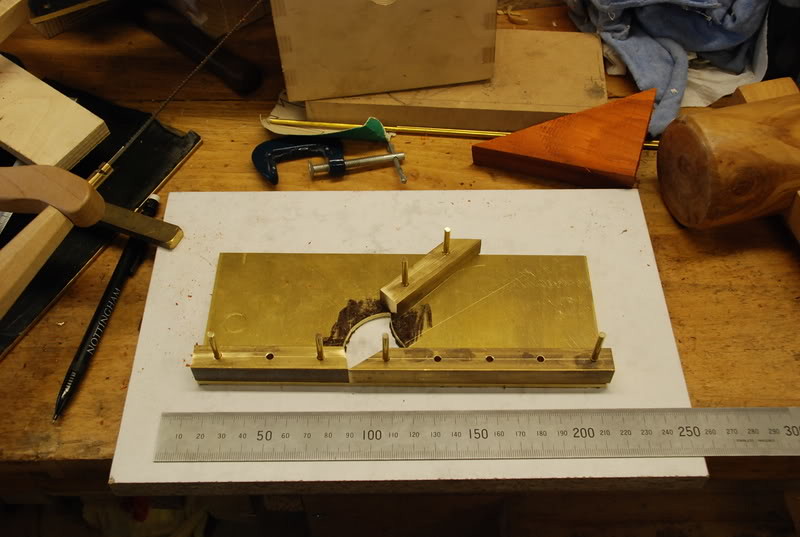
DSC_0048 by Racers, on Flickr

Cut some Padouk.
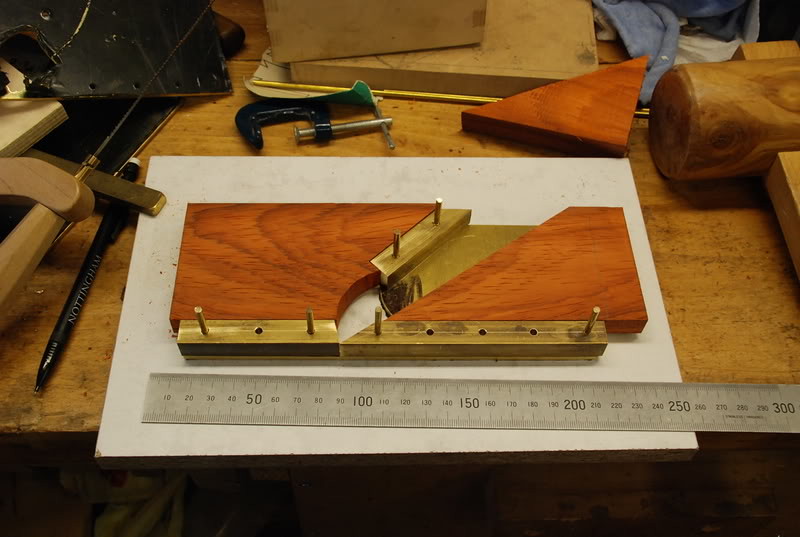
DSC_0049 by Racers, on Flickr

Drilled some more holes.
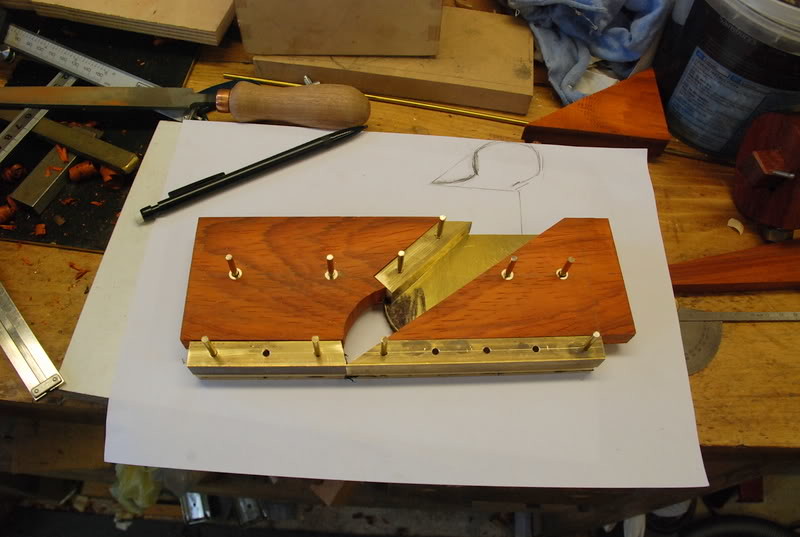
DSC_0051 by Racers, on Flickr

Fitted the bits together.
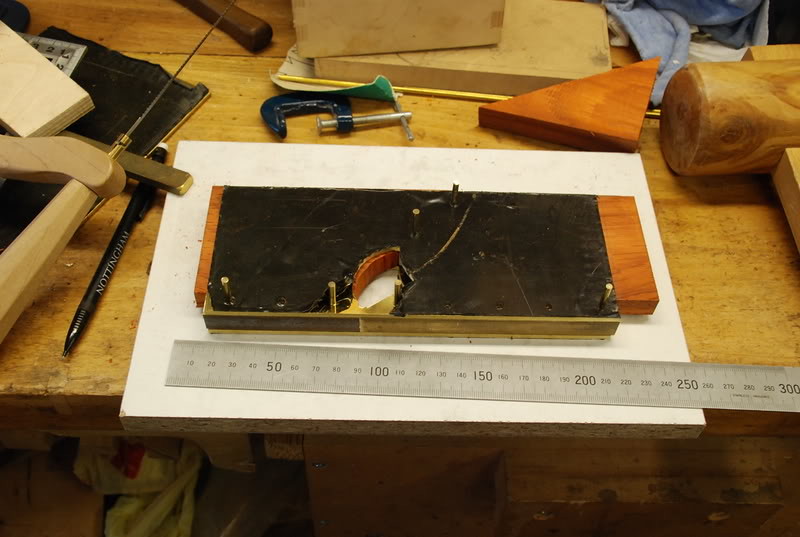
DSC_0050 by Racers, on Flickr

I started to do the rivets but my "mate" came over and got me cutting up his last piece of oak work top, so I will finish it in the week. I will file the mouth last once it it riveted up and I have made the blade.

Padouk makes lovely shavings.
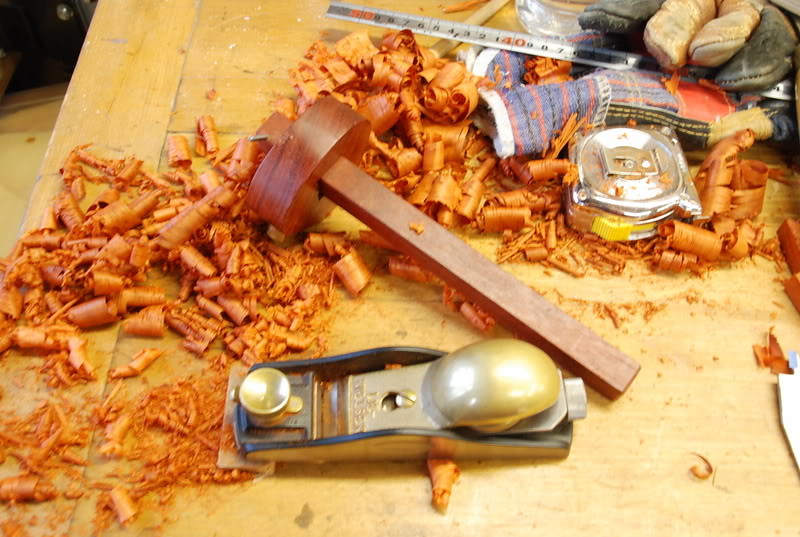
DSC_0046 by Racers, on Flickr
Pete
 
Looks like a real "thing of beauty",Pete - will look forward to seeing the pictures of the finished item :D

Andrew
 
Nice one, Pete!
The bandsaw has no problems with brass - although it does take the edge off the blade :wink:
Look forward to seeing your latest creation,
Philly :D
 
Nice - I have never dared cut metal on my bandsaw!

Are the rivets brass rod and what are those sleeves you have used on the wood pieces (4th photo)?

Rod
 
Hi, Harbo

The Rivets are brass brazing rod and the sleeves are some brass spacers that I have had kicking round for a while, drilled out and cut to lenght.

Pete
 
Very nice Pete!

I'm only saying this because I learnt the hard way... do make sure that your blade will post down into the slot and turn into position when you have the second side riveted on. In my case, the bevels on the sides of the blade proved essential in making the blade able to turn in the rather tight space.

Looking forward to seeing the finished plane.

Andy
 
Hi, Andy

It should clear fed diagonally down the thoat, I have made a couple before so its something I had in mind.


Pete
 
Hi, Chaps

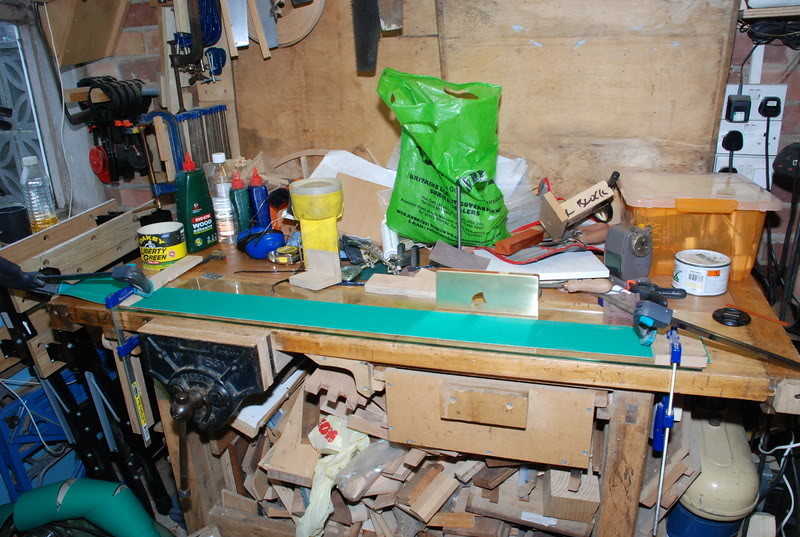
Update I had some spare time last week so I had another go at the plane. I riveted up the body and lapped the sides on my lapping set up.

DSC_0054 by Racers, on Flickr

Its a long piece of glass on the bench with sandpaper clamped on and stretched tight, this stops the paper rippleing and not cutting flat.
I made the blade from O1 3mm ground flat stock hardened with my new MAPP torch and tempered in the oven.
Here it is nearly finished just the mouth to file and the front of the wedge to shape.

DSC_0062 by Racers, on Flickr

You can see the position of the rivets, the brazing rod I used was tough even after aneling it, next time I will use brass rod.

Pete
 
Hi, Eddie

The black stuff is a plastic film used to protect the polished surface, I could have peeled it off as the whole side got lapped.


Pete
 
Absolutely superb Pete.

I think your WIP pictures are making it seem deceptively simple, sufficiently so to lull me into a false sense of security to give one a go... :-k

Lovely looking little plane - you must be delighted with it.

Cheers, Ed
 
Very, very good, looking forward to seeing some shavings come off it. Ed, give it a go, you know you want to
 
Hi, Ed

Have a go! it is easy if you make one the same way I did, you could start with a small steel one first.


Pete
 
Fantastic, I love this plane.
Now to get some metal, maby I should of bid on the bits and pieces at the auction ;)

Thanks for the link Pete
TT
 
Mr Ed":2gy2ryoi said:
Absolutely superb Pete.

I think your WIP pictures are making it seem deceptively simple, sufficiently so to lull me into a false sense of security to give one a go... :-k

Lovely looking little plane - you must be delighted with it.

Cheers, Ed

I agree, I read many of the WIP's when members make tools and it seems as though you knock some of them out in an hour or two!
 
Yea!

An excellent wip thread rescued from the photobucket swamp.

Thanks Pete.
 

Latest posts

Back
Top