What did you do in your workshop today ?

UKworkshop.co.uk

Help Support UKworkshop.co.uk:

This site may earn a commission from merchant affiliate links, including eBay, Amazon, and others.
Status
Not open for further replies.
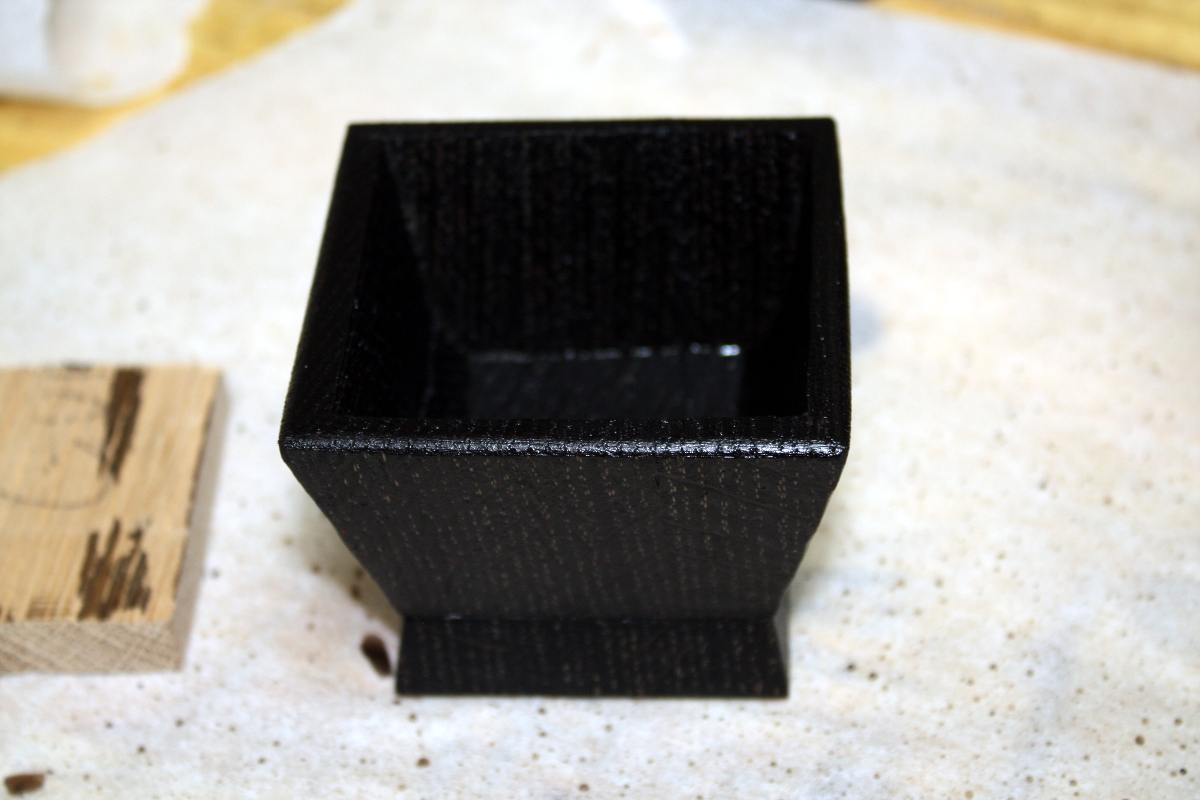
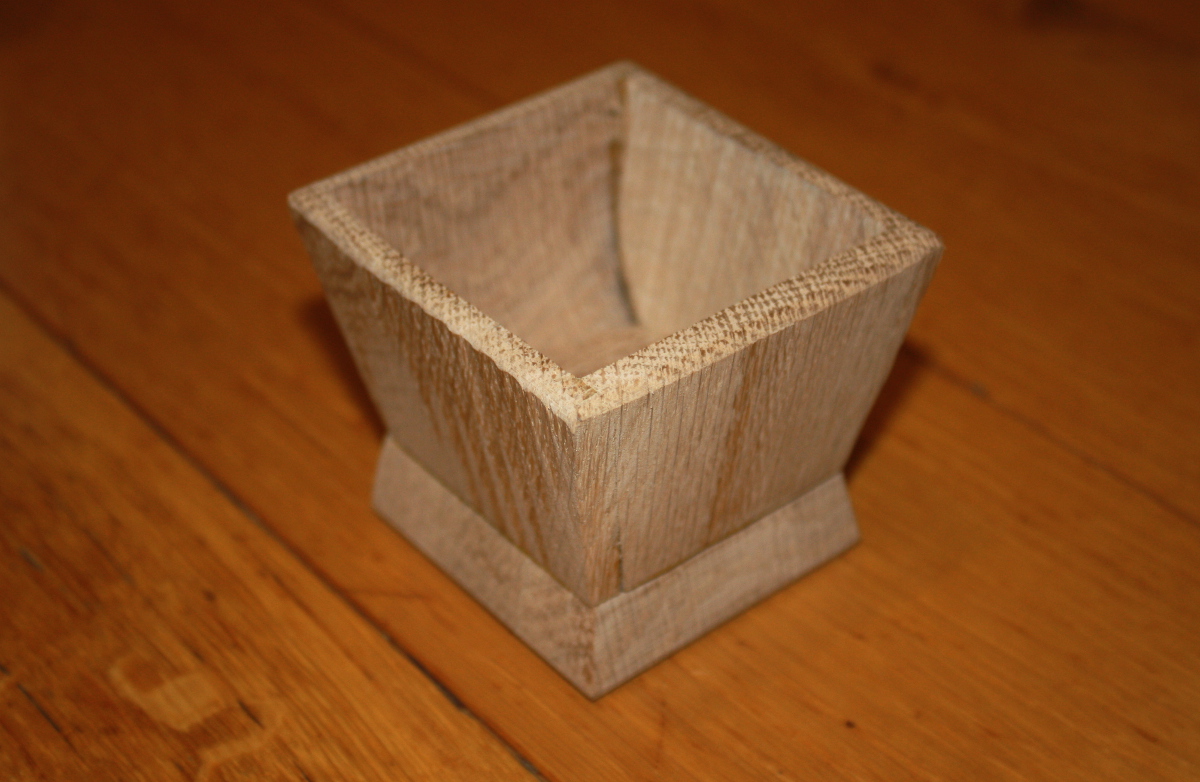
Tried Richard Maguire's ebonising routine - take a handful or two of oak shavings off the floor, boil for ten minutes in a saucepan, paint the resulting tea on the piece, sand down the raised grain, repeat 2-3 times. Then take steel wool, soak in vinegar for a week in a jar with a hole in the lid. Now paint the piece with that solution.

It didn't work too badly even though this was just a small test piece and I didn't give it much sanding and only two coats of the tea.

Before:
IMG_1512a.jpg


After:
IMG_1521a.jpg

IMG_1522a.jpg
 
That finish looks great, I'll have to give that a try!
 
It's not even complete yet, that was after five minutes of reaction time. Tonight I have to clean it down and put on a topcoat (I'll probably just use poly as its a test piece, but on the piece I want to use this on, it'll be a few coats of osmo thin clear wood wax).
 
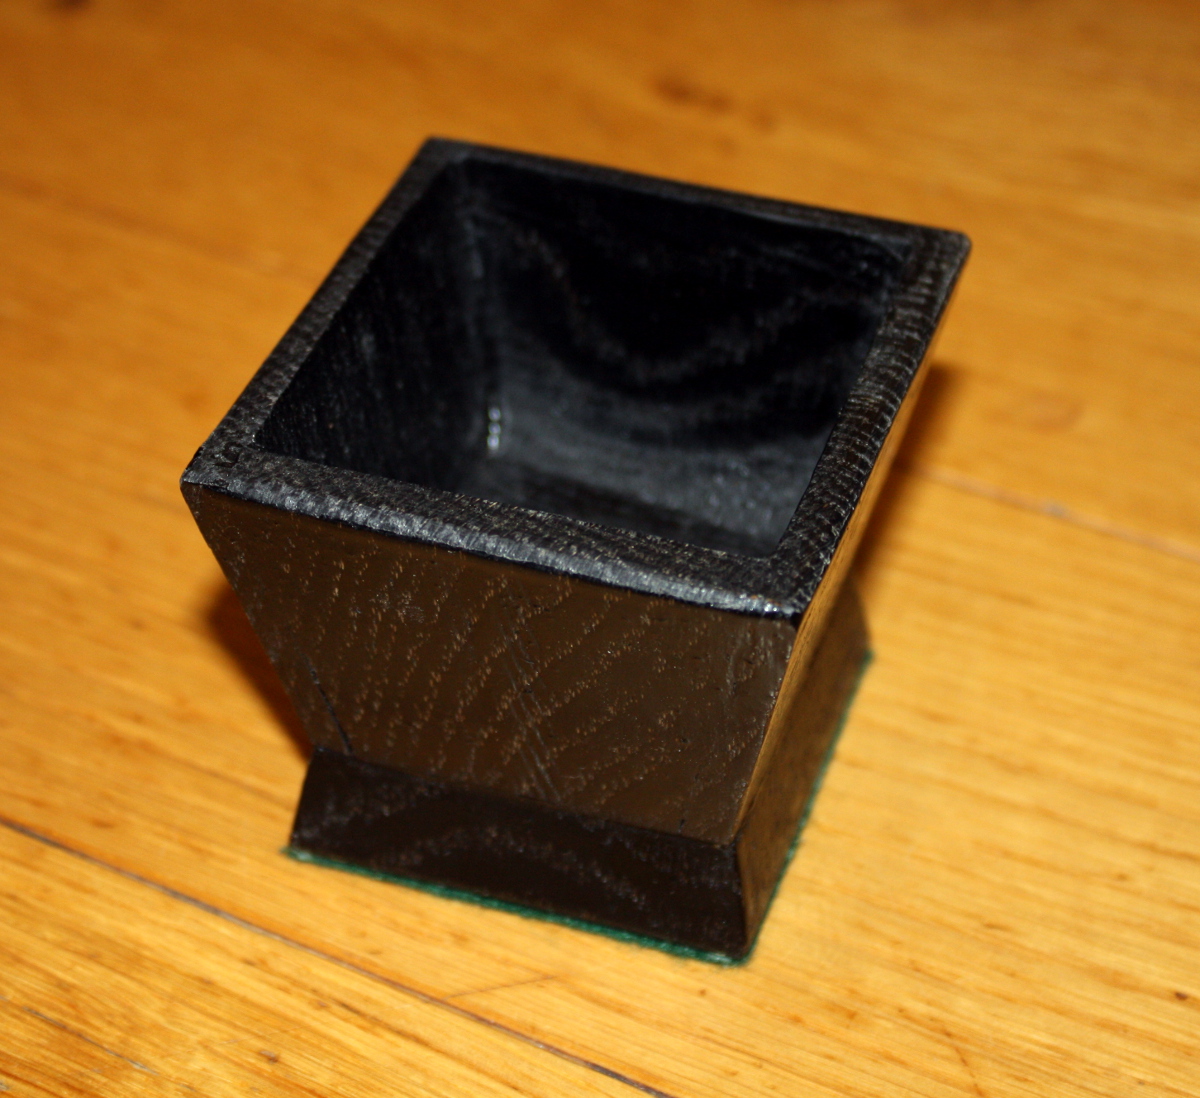
It didn't turn out too bad with the topcoat:

IMG_1548a.jpg


IMG_1540a.jpg


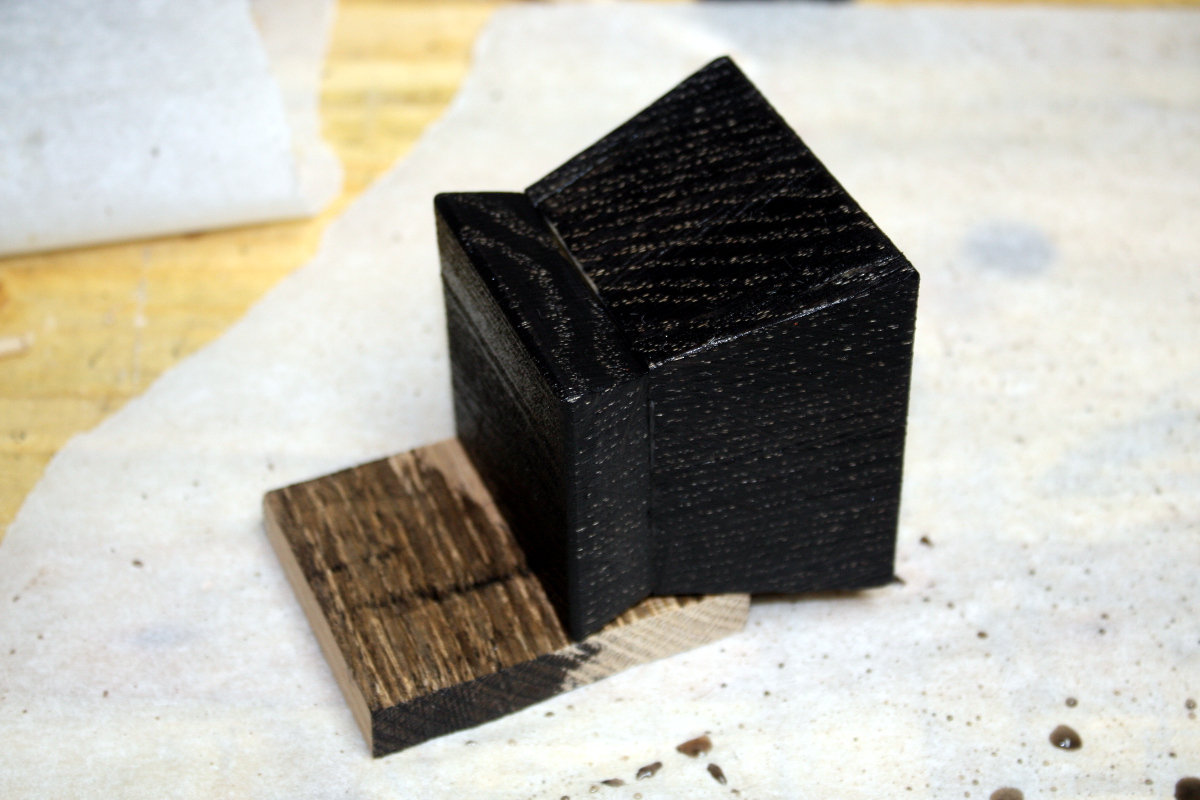
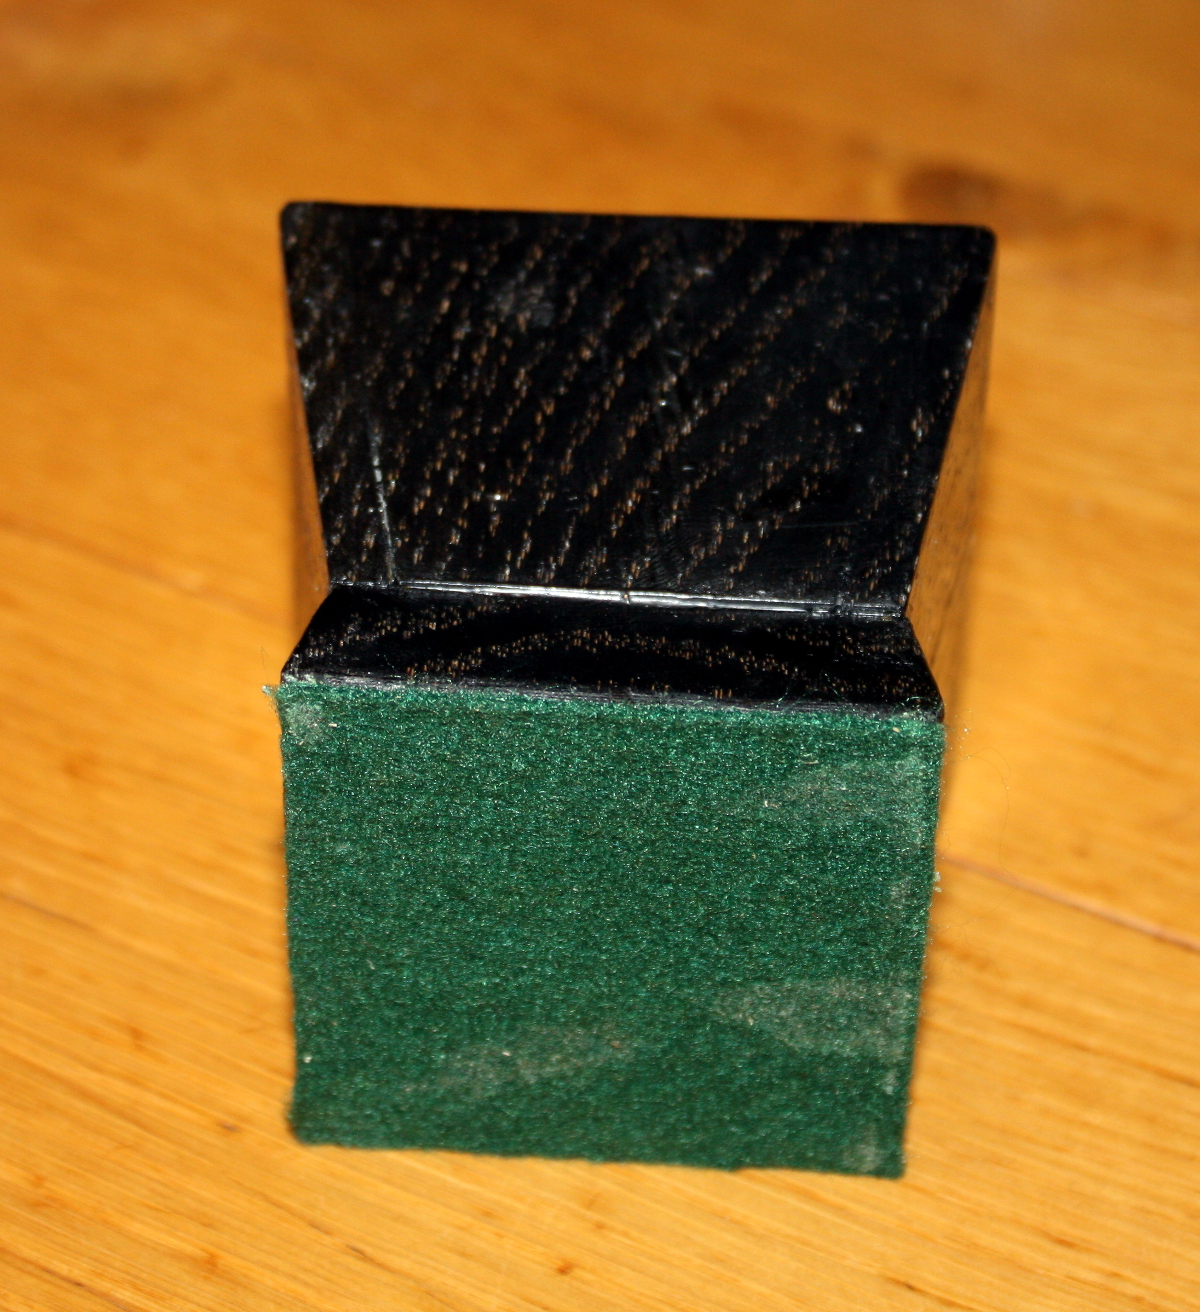
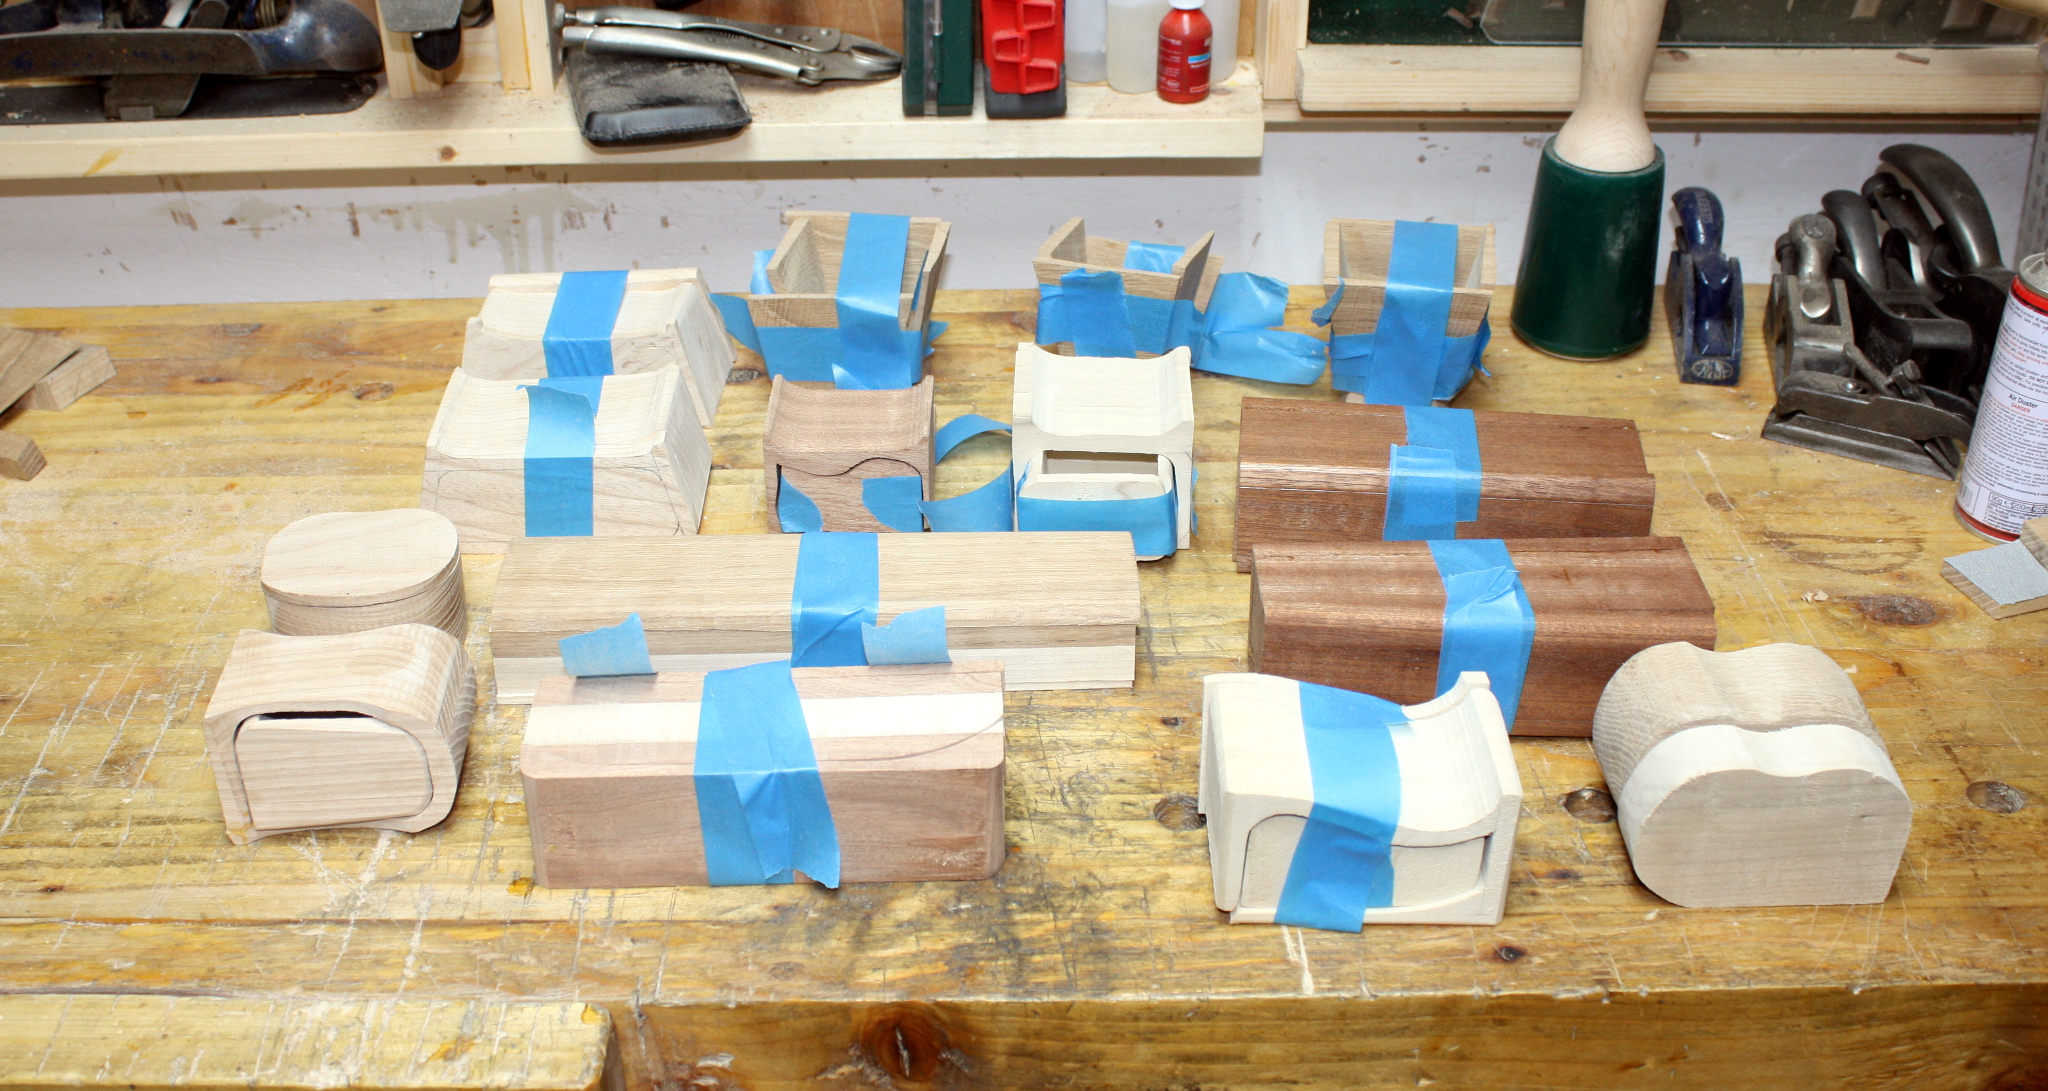
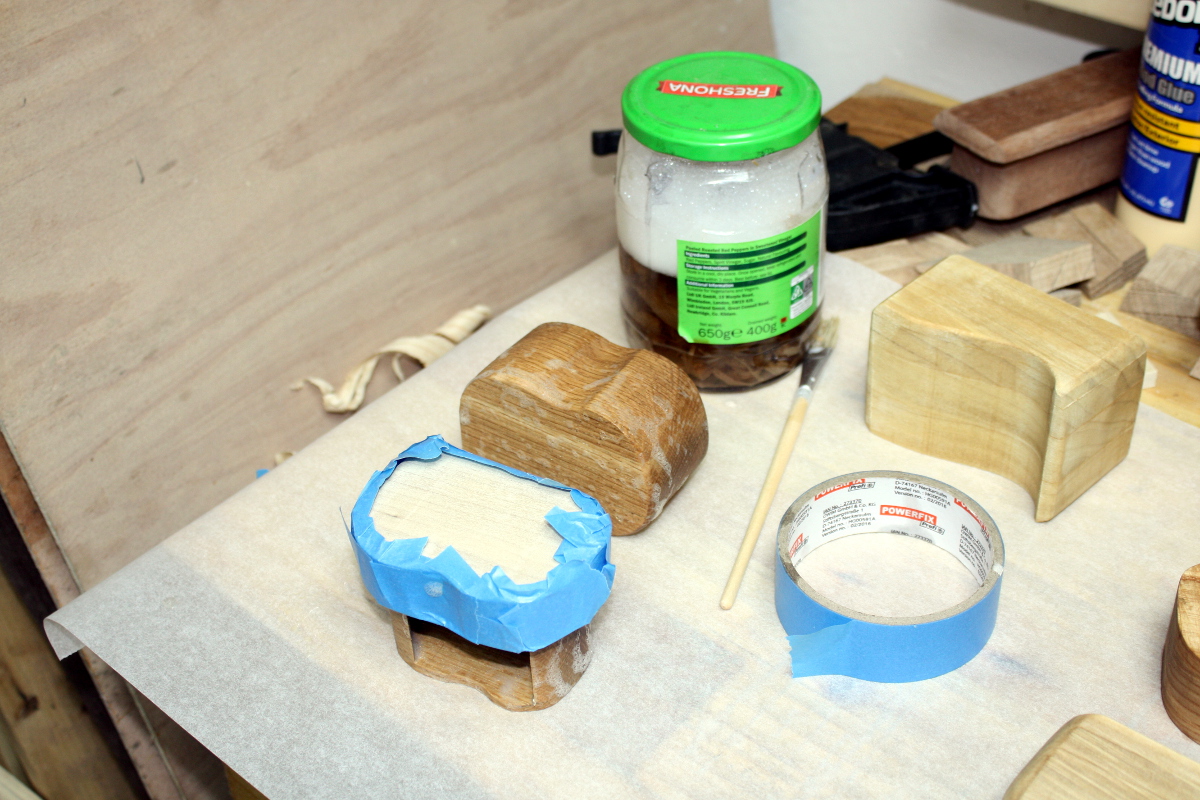
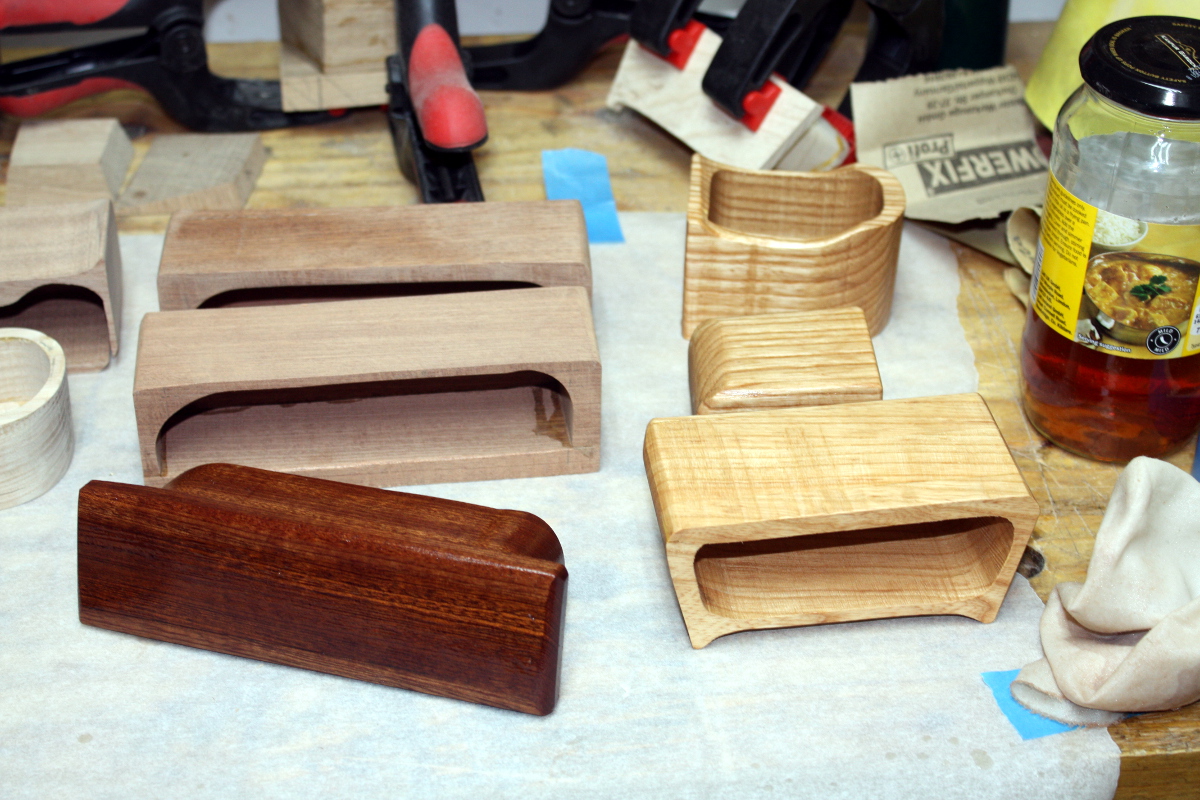
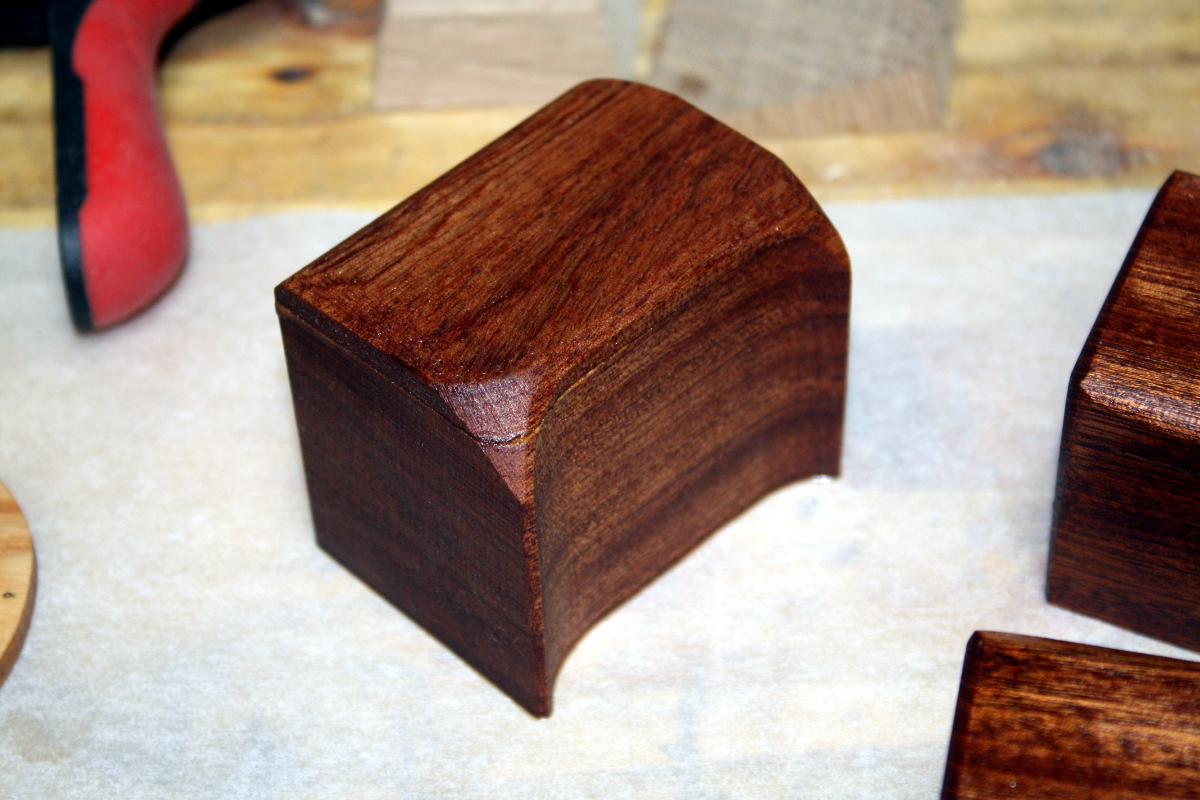
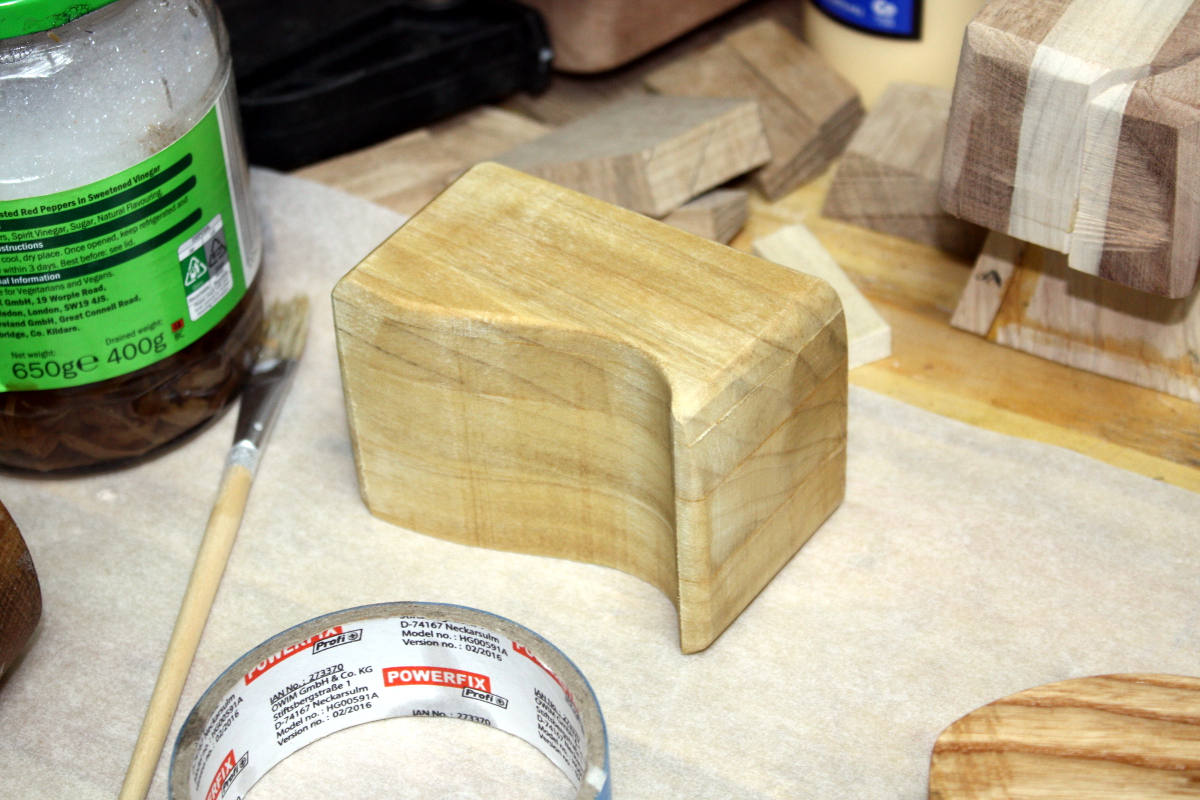
Unfortunately, success bred insanity and I'm in the middle of doing a batch of bandsaw boxes for my son's school -- they do an xmas bazaar thingy, being german and all, in order to raise funds for the school. They were asking for donations so I figured why not. Now I'm learning why not.

IMG_1550a.jpg


It's not good when your entire clamp rack is empty...

IMG_1549a.jpg


And that was just laminating blanks.

IMG_1573a.jpg


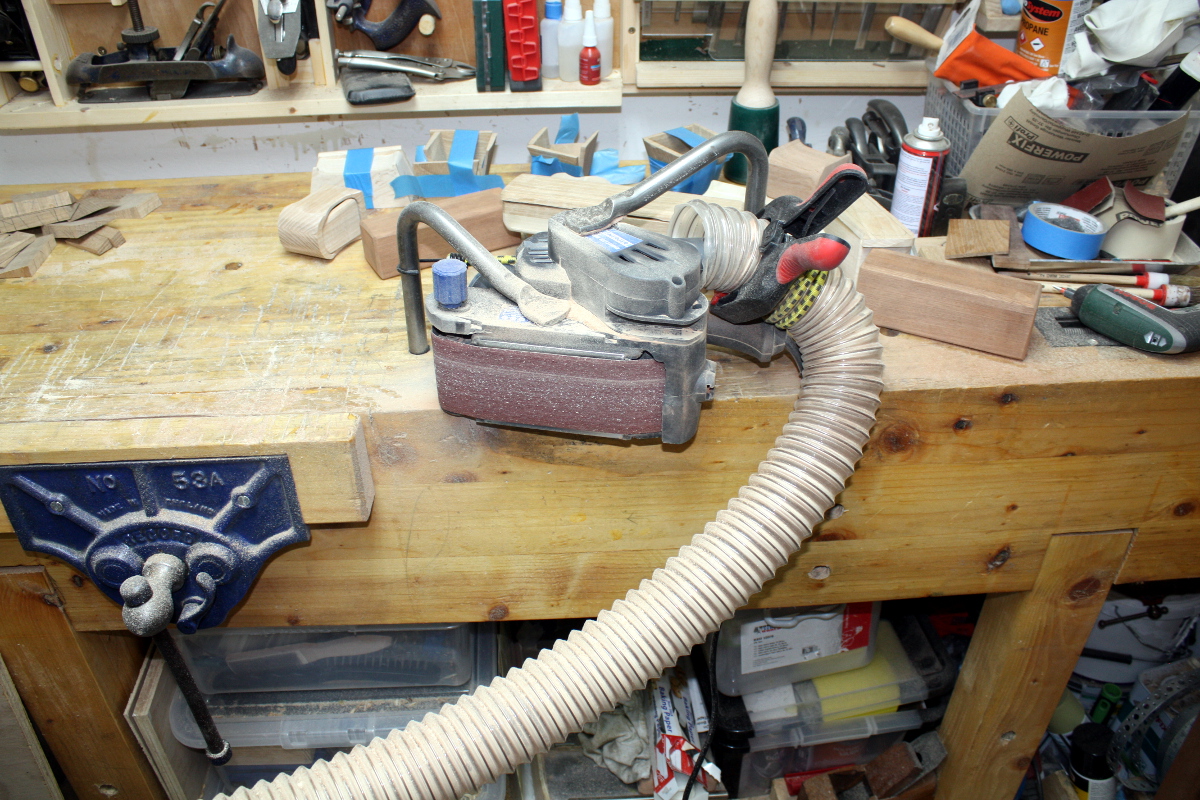
Two straight hours on the bandsaw. Burnt my hand on the motor case at the end. Stupid, stupid, stupid, but at least it's done and it can go rest for a while now while I holdfast a belt sander to the bench and try to remove fingers with it. Should have bought that BDS150 sooner.

After most of an hour sanding, and only nearly breaking several fingers three times (and hey, this time none of the pieces thrown by the belt sander embedded themselves in the wall, so that's an improvement...), I started into the gluing up...

IMG_1582a.jpg


...and ran out of clamps. Yeesh. Tomorrow evening, more sanding, more glueups, hand sanding, and I might get started on finishing (and all this is for the end of this week, yay).

Side question - I'm not getting a penny from this so it's no real odds to me, but what price do you guys normally sell bandsaw boxes (small ones, 3"x3"x4-6" size) at these sort of things? I've a feeling the school won't know how to price these...
 
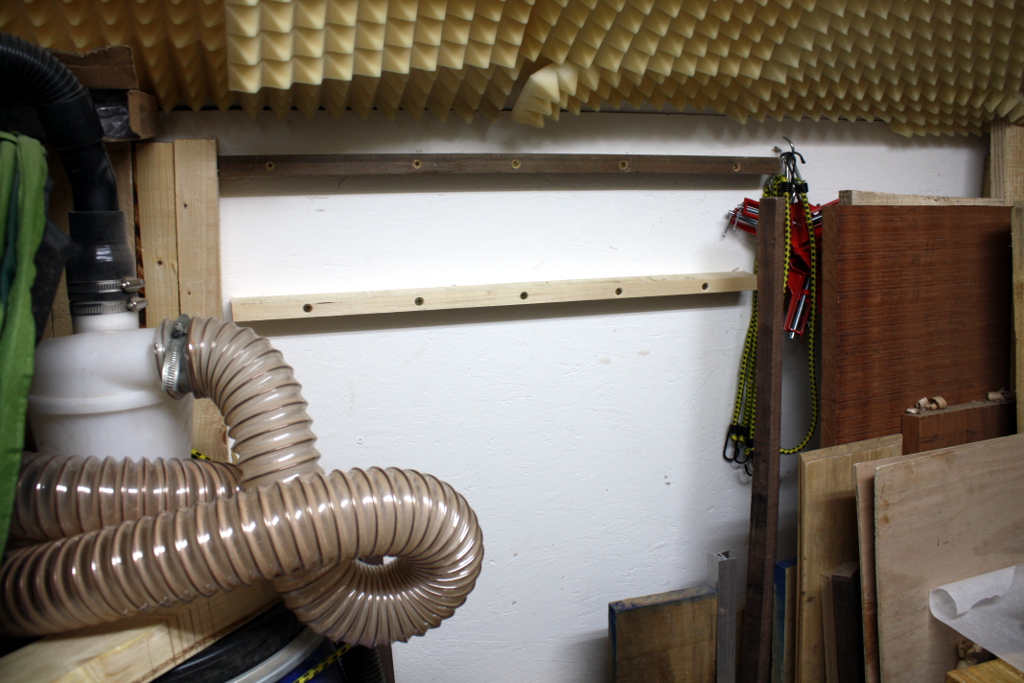
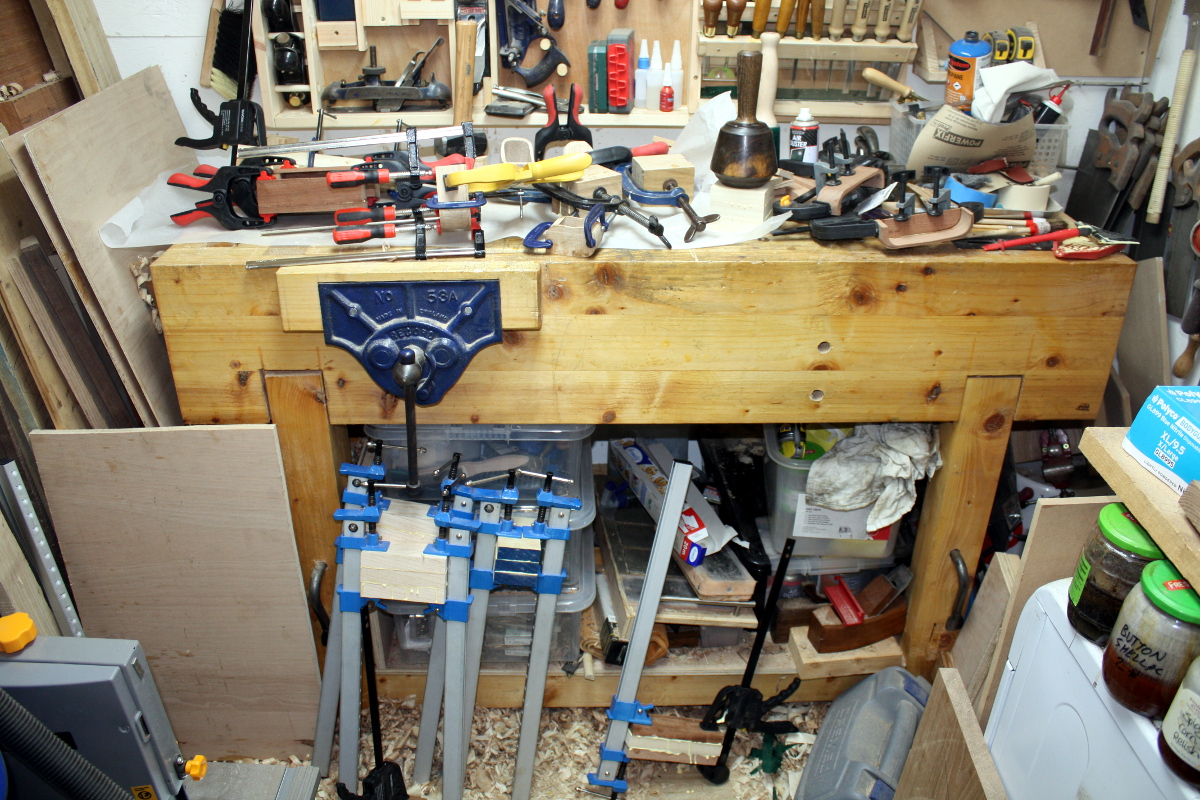
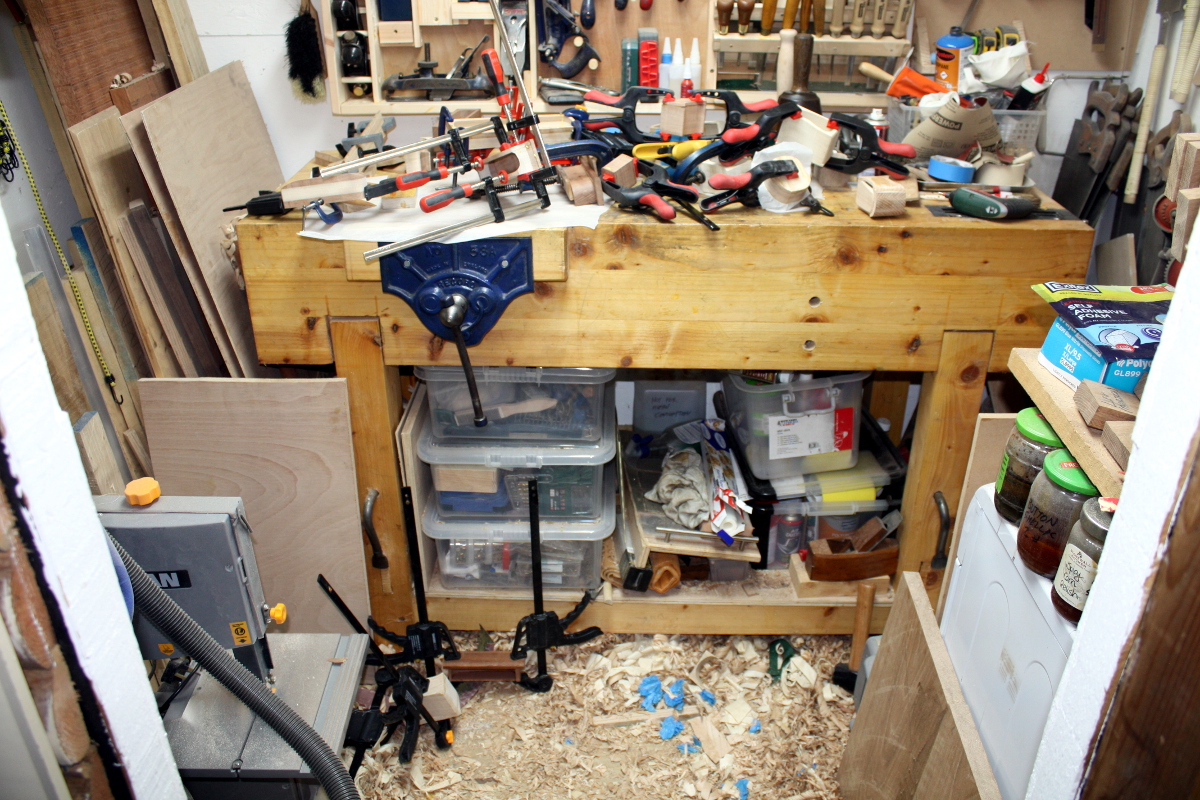
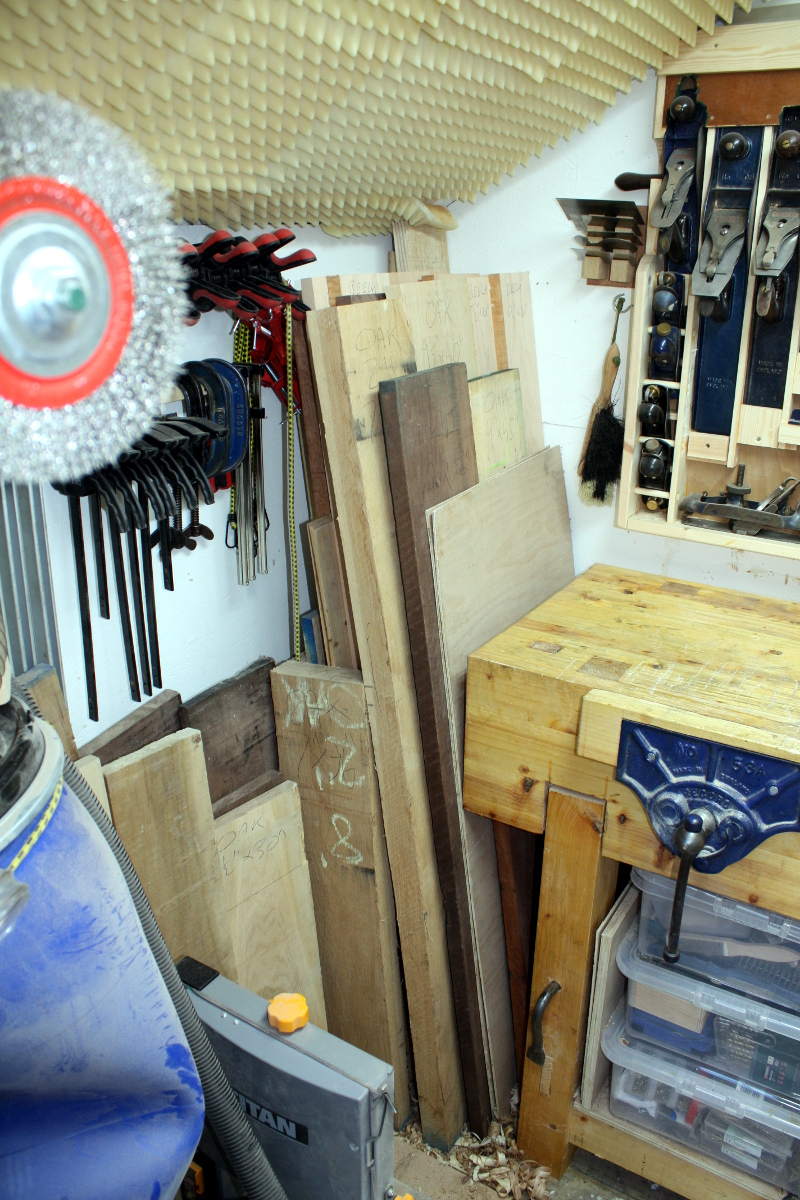
I finally got round to putting up a timber rack in my tiny workshop as part of a big reorganisation and tidy up.

timber_rack.jpg


The reorganisation task is turning out to be much bigger than I thought but hopefully once it is complete I will be actually do get on with some non-shop projects. Plus I have realised that I definitely need to throw scrap wood away rather than hoarding it.

Cheers,
 

Attachments

  • timber_rack.jpg
    timber_rack.jpg
    231.4 KB
Been working on this on and off over the year but have finally finished the router table..

IMG_1518.jpg
IMG_1523.jpg
IMG_1521.jpg


So much storage, it's great!
 

Attachments

  • IMG_1518.jpg
    IMG_1518.jpg
    172.5 KB
  • IMG_1523.jpg
    IMG_1523.jpg
    133.9 KB
  • IMG_1521.jpg
    IMG_1521.jpg
    156 KB
Very nice.

That's one expensive fence for a router table!
Is that the incra router enclosure with the dust extraction too?
 
MarkDennehy":2imiwwo9 said:
It didn't turn out too bad with the topcoat

It turned out very well, but you can do even better. Your photos show a common problem with ebonising Oak, the two solutions aren't getting deep into the pores of the wood, which is why you can still see those brown specks. You need to add a surfactant. If you add just one single drop of washing up liquid to the solutions it will break the surface tension and allow them to penetrate deep into the grain pores, which in turn will give you a more uniform black.
 
Today i made a jig to hold logs while i chainsaw them, got fed up chasing some logs about lol.
 
MattRoberts":23qjp2sr said:
Very nice.

That's one expensive fence for a router table!
Is that the incra router enclosure with the dust extraction too?

Not quite... although I did make my own dc chamber modelled off the same principle, works well.

Yeah they’re expensive bits of kit. I did buy it in the us and brought it back with me one trip, so paid about half the uk price!
Super fence though, can’t fault it.
 
custard":3m69egad said:
MarkDennehy":3m69egad said:
It didn't turn out too bad with the topcoat

It turned out very well, but you can do even better. Your photos show a common problem with ebonising Oak, the two solutions aren't getting deep into the pores of the wood, which is why you can still see those brown specks. You need to add a surfactant. If you add just one single drop of washing up liquid to the solutions it will break the surface tension and allow them to penetrate deep into the grain pores, which in turn will give you a more uniform black.

I'v found that liming does not penetrate to well on oak, is there a knack to that as well, I use a bronze brush to raise the grain, and use Liberon Liming wax.

Mike

Or is this about as good as it gets:

DSC01327.jpg
 

Attachments

  • DSC01327.jpg
    DSC01327.jpg
    127.5 KB
MarkDennehy":2zmc6xk0 said:
Nice idea custard, I have a few more of those lined up, I'll give that a try...

IMG_1599a.jpg


Oak tea + washing-up liquid going on last night.

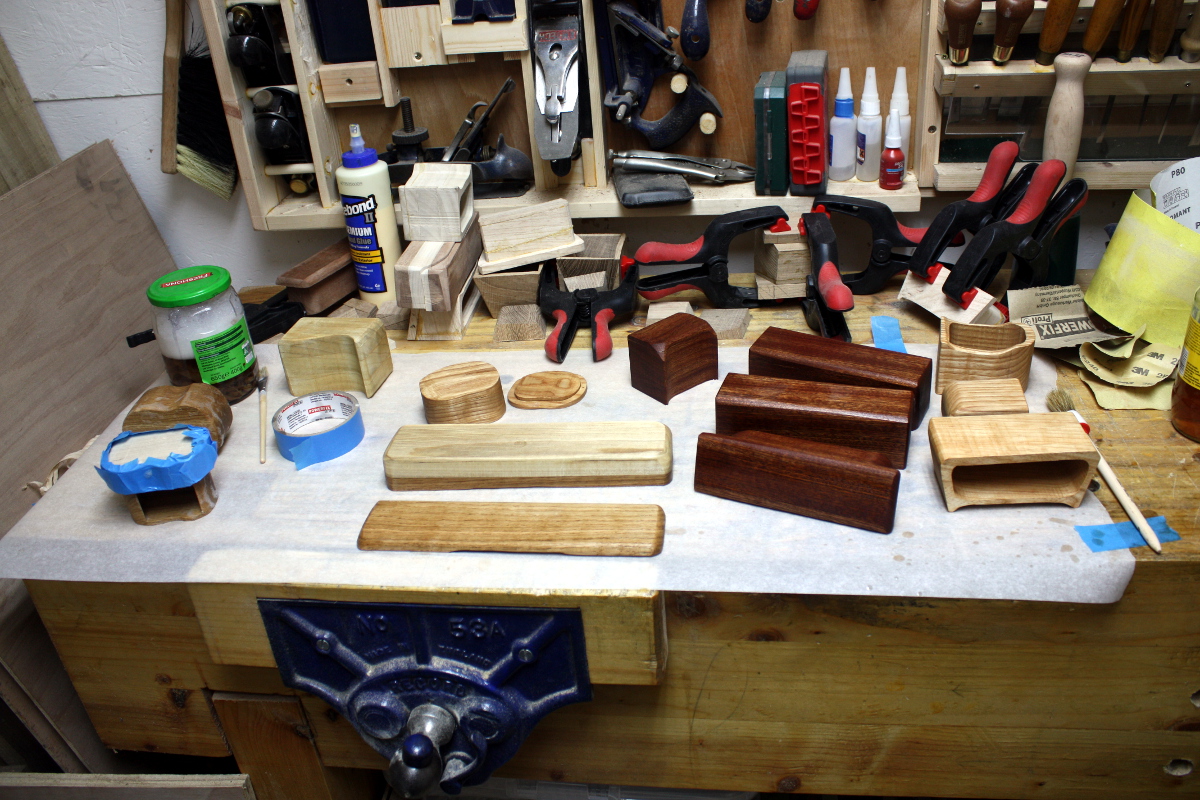
The other boxes are at various stages of glue-up, shaping and final hand sanding, and a few were getting some danish oil or sanding sealer (they'll get finished in various diffferent ways):

IMG_1594a.jpg


IMG_1602a.jpg


IMG_1598a.jpg


IMG_1596a.jpg


And I really, really, really need to get that new bench sander. This is what I'm using at the moment...

IMG_1588a.jpg


I mean, mangled fingers aside, this just ain't healthy...


http://www.stochasticgeometry.ie/2017/1 ... irritants/
 
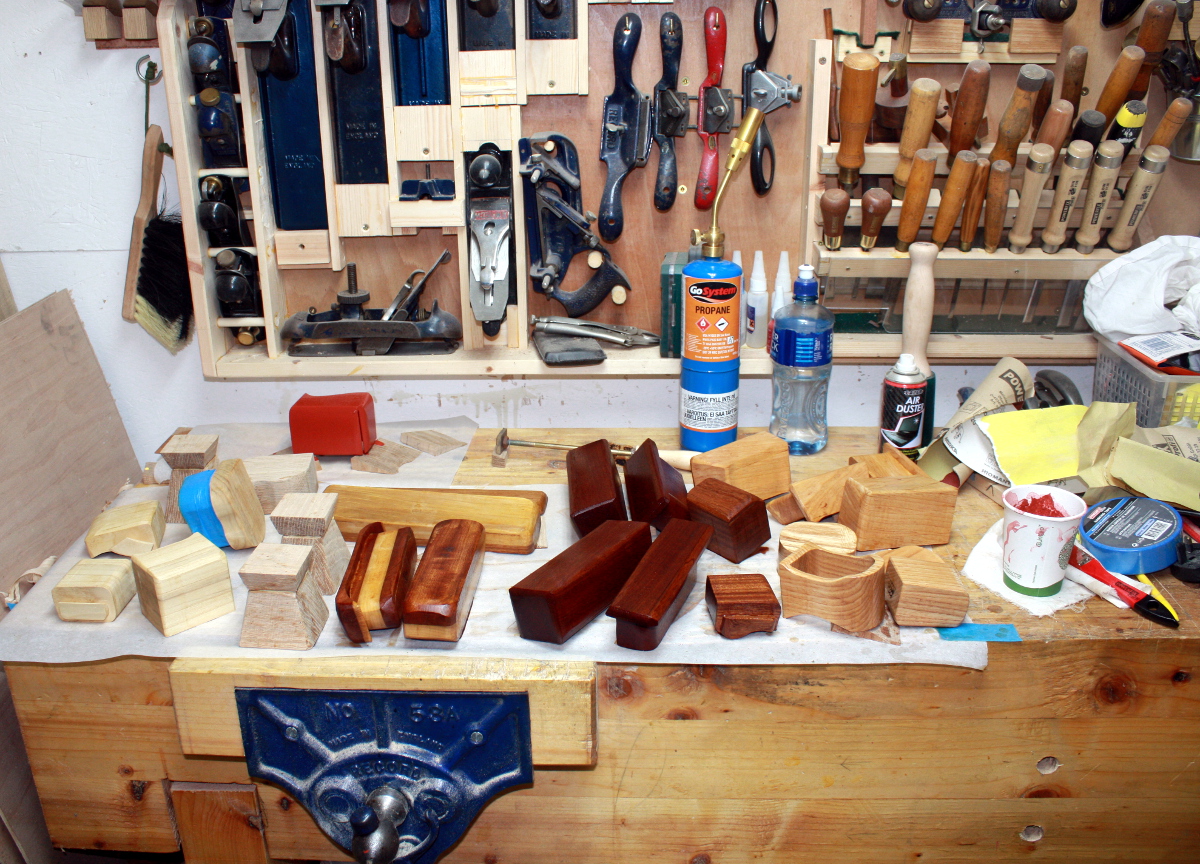
A bunch of finishing and prep-for-finishing for the boxes:

IMG_1605a.jpg


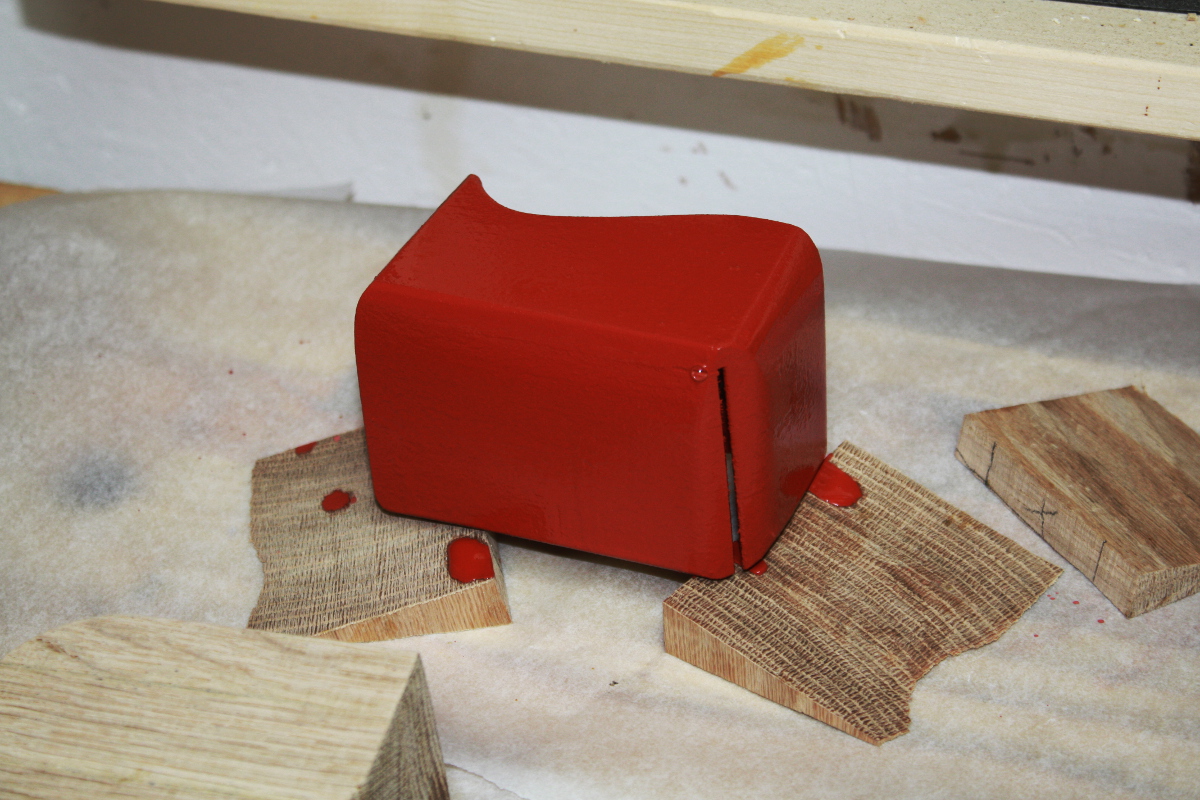
I do love that milk paint when it's wet, it's a shame it doesn't keep that jarring level of colour when it dries.

IMG_1612a.jpg
 
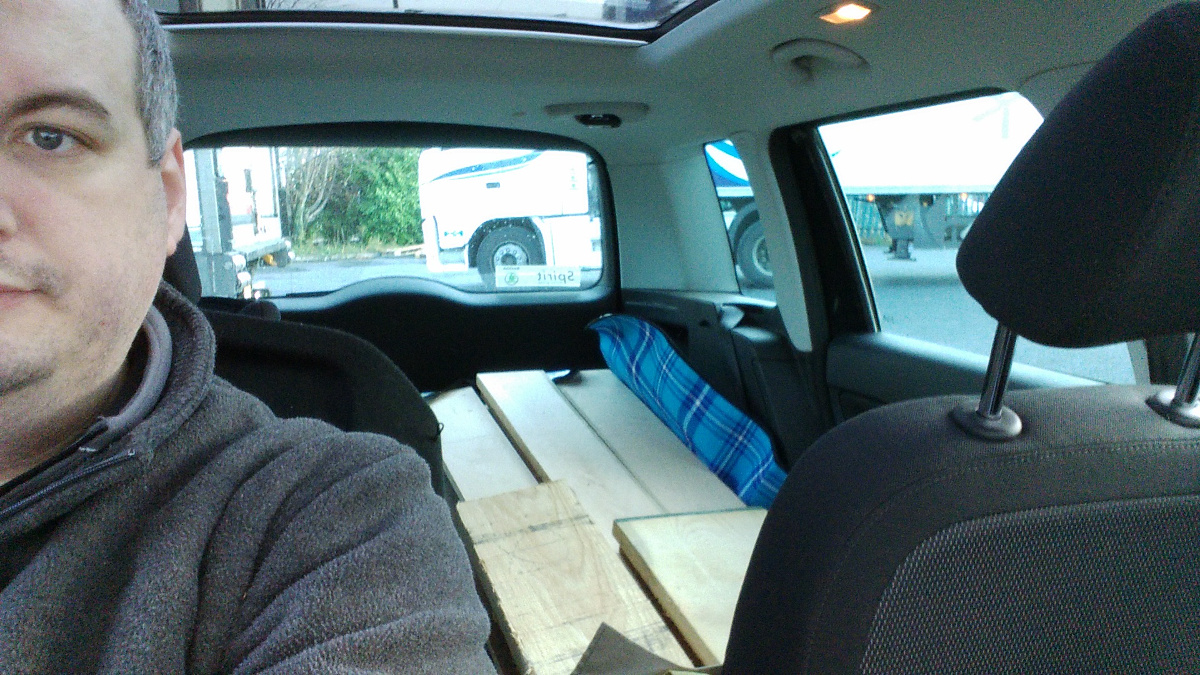
Restocked the timber store with some 8/4 and 4/4 oak, some 4/4 walnut and got a nice few boards of 4/4 beech to see what that's like to work with (and because it was just so damned pretty...).

2017-11-24-10.24.03a.jpg


(holy crap, it fits in the new car without having to leave the boot open. Score one for the Yeti!)

IMG_1636a.jpg


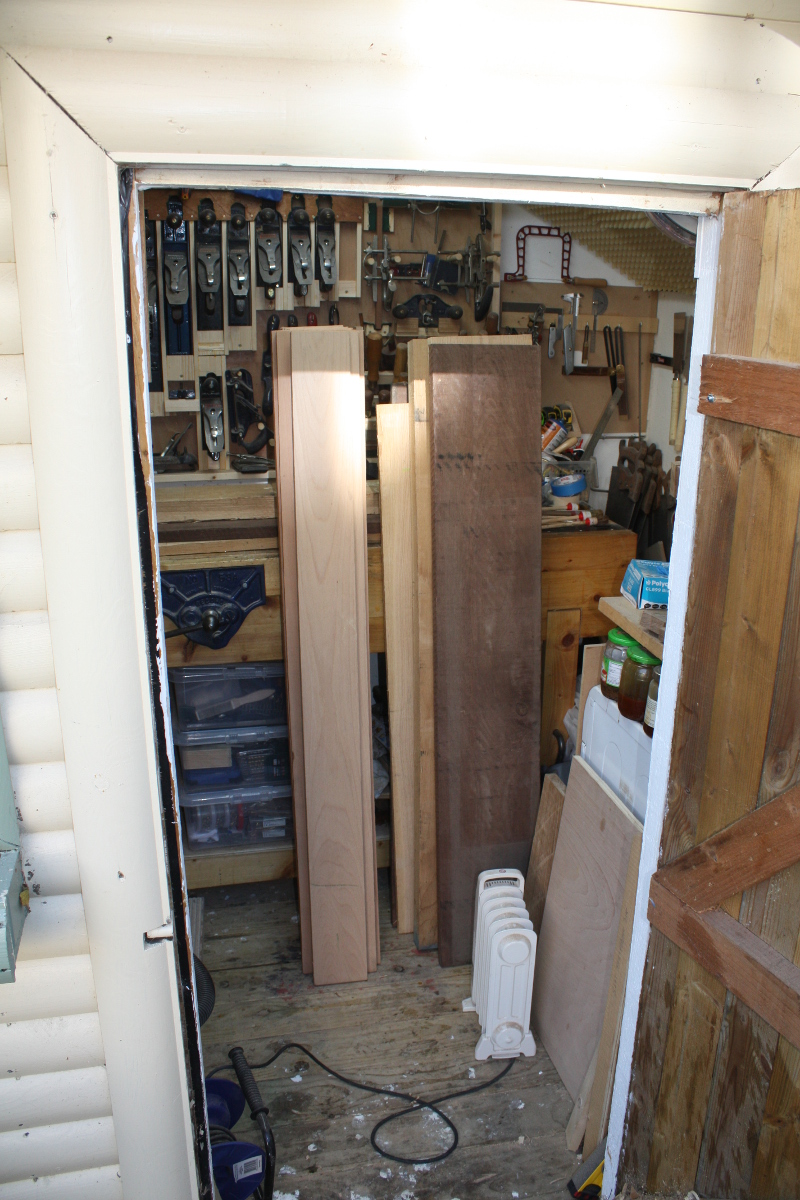
Made it back to the Wee Shed, and now it has to somehow get put away somewhere...

IMG_1643a.jpg


Timber store now quite full. This'll do me for a few months at my rate.

Oh, and bought a Triton belt-and-spindle sander because I've had more than enough of trying to break my fingers with a belt sander held down on its side for one lifetime, thanks...
 
Those look great Matt. I have space under my bench and was looking at it wondering about something like that but it's beyond my skills. So I spent the day putting up some shelves for storage. Got the bloke at B&Q to cut two 240 x 30 cm strips off a sheet for the shelves, just went to fit them and he'd cut 25 cm widths which don't reach the edge of the brackets.
 
MarkDennehy":ac6g6y71 said:
(holy rubbish, it fits in the new car without having to leave the boot open. Score one for the Yeti!)
IMG_1643a.jpg

Like your plane storage Mark - and I've been trying to persuade the boss that she'd love a Yeti (more ammunition 8) )

Cheers

Paul
 
That little car is surprising me rather often Paul, I was sure it'd turn out to be a fake jeep, but it seems to have enough of the real features to be useful (and really, I'd need the real jeep stuff once in a decade, everywhere I go in a car, there are roads).
 
Status
Not open for further replies.

Latest posts

Back
Top